admin
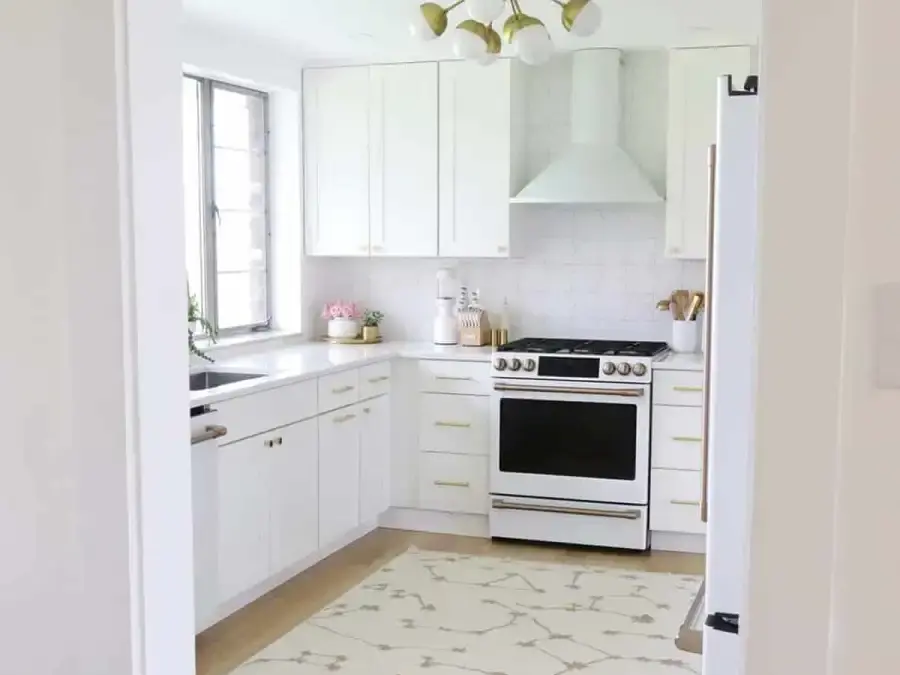
Choosing the best paint for kitchen cabinets means balancing a smooth appearance with the durability needed for a high-use surface. Cabinet doors and drawers are handled frequently, so preparation and a paint designed for cabinets matter just as much as color. This guide covers suitable paint types, color ideas, and the main steps for a more lasting finish.
What to Look for in the Best Paint for Kitchen Cabinets
Choose a high-quality, hard-drying cabinet or trim paint that is formulated to resist everyday handling. Semi-gloss enamel is one commonly used option: it offers a wipeable finish and reflects more light than a matte finish. Always check the product label for recommended surfaces, primer compatibility, application method, and drying time.
Cabinets need more careful preparation than walls because grease, moisture, and repeated contact can affect how well paint adheres. Skipping cleaning or using a paint not intended for cabinetry may lead to premature wear. Follow the paint manufacturer’s directions, including its curing time; paint can feel dry before it reaches its full hardness.
Paint Types and Finish Choices
Cabinet and furniture enamels are made for trim and high-touch surfaces. Urethane alkyd enamel is one option often selected for a durable finish. Water-based bonding primers can also be suitable when the product specifies that it adheres to the cabinet surface. Match the primer to the existing finish and the topcoat rather than choosing by name alone.
A semi-gloss finish is practical where regular wiping is expected, while lower-sheen finishes can make surface marks less noticeable but may be harder to clean. Test the color and sheen on a small, inconspicuous area before painting every door.
Kitchen Cabinet Color Ideas
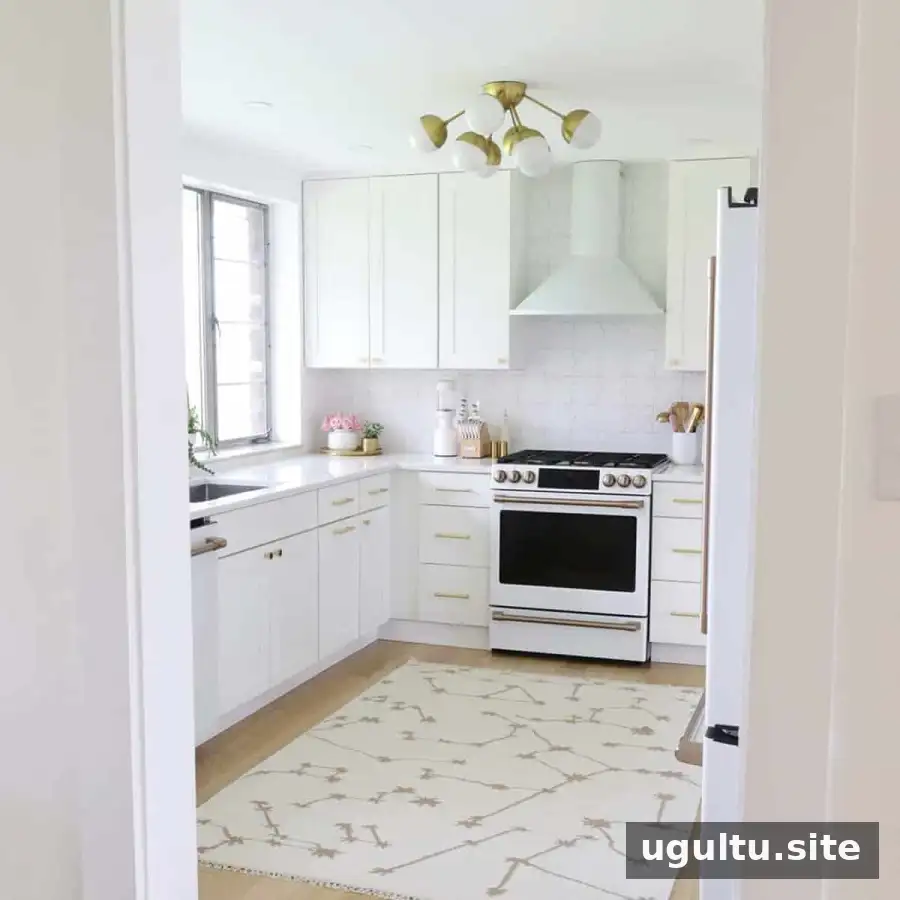
- Creamy white: A warm white with a subtle beige undertone can soften a bright kitchen.
- Classic white: A clean white works well for a timeless, light look.
- Soft evergreen: A muted green can add color without feeling overly bold.
- Deep evergreen: A richer, darker green can create contrast, especially on lower cabinets or an island.
Lighting changes how paint colors appear. Compare samples in the kitchen at different times of day and alongside your counters, flooring, and backsplash.
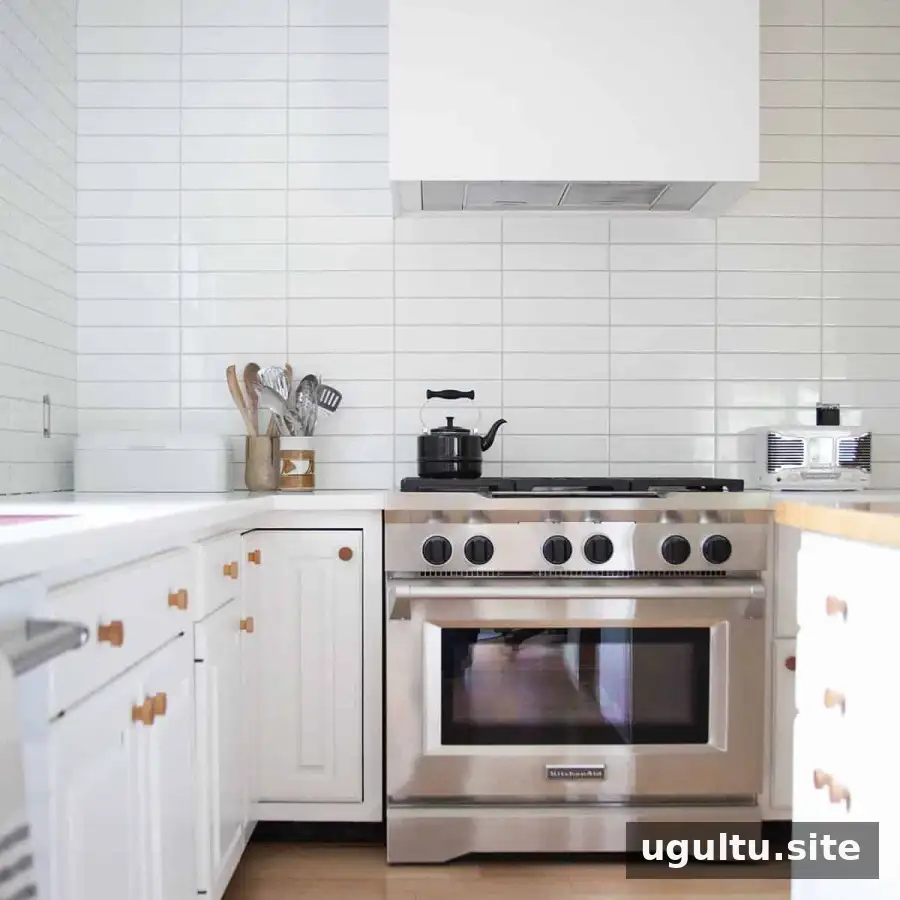
Can You Use Chalk Paint on Kitchen Cabinets?
Chalk paint can be used on kitchen cabinets, but the finished surface may need an appropriate protective topcoat. Check the paint and sealer instructions for compatibility, cleaning requirements, and expected durability before starting. A test patch helps you assess the appearance and feel of the complete finish.
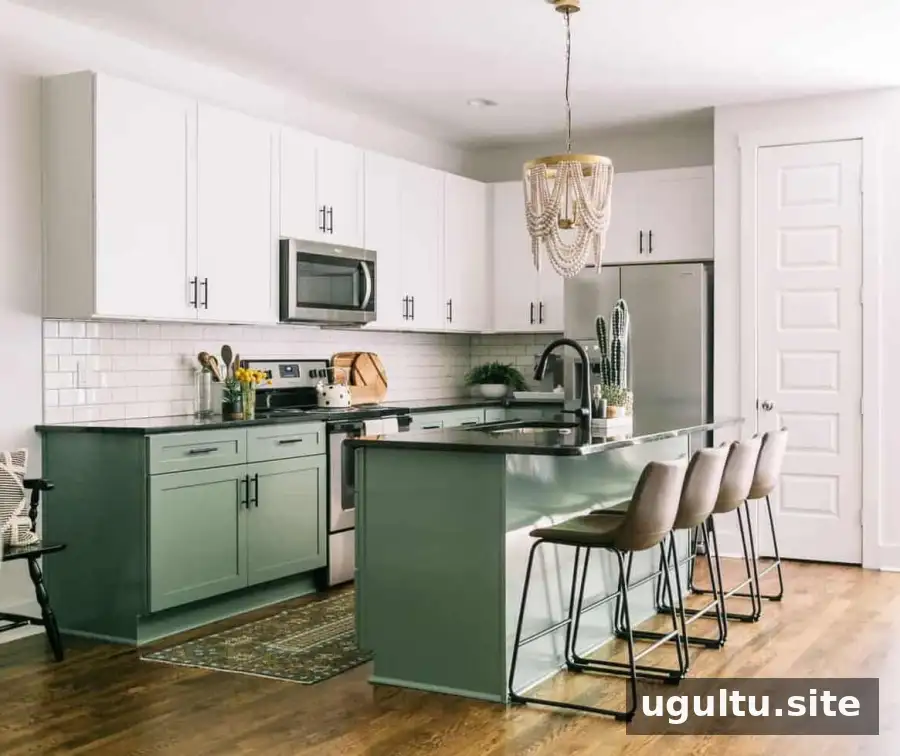
How to Paint Kitchen Cabinets
- Remove doors, drawers, and hardware. Take off hinges, handles, and other fittings that could get in the way. Label each door and its corresponding cabinet position with painter’s tape so reinstallation is easier.
- Clean thoroughly. Remove grease, grime, and residue from all surfaces. Use a suitable degreaser as directed, then wipe with a clean cloth. Wear gloves when using cleaning or deglossing products and follow their safety instructions.
- Scuff-sand the surfaces. Use fine-grit sandpaper, 180 or 220 grit. The goal is to dull the existing finish and help the primer adhere; sanding down to bare wood is not usually necessary.
- Remove dust. Brush away loose dust, then wipe the surfaces with a clean cloth. If using denatured alcohol, provide ventilation and follow the product label’s handling and disposal instructions.
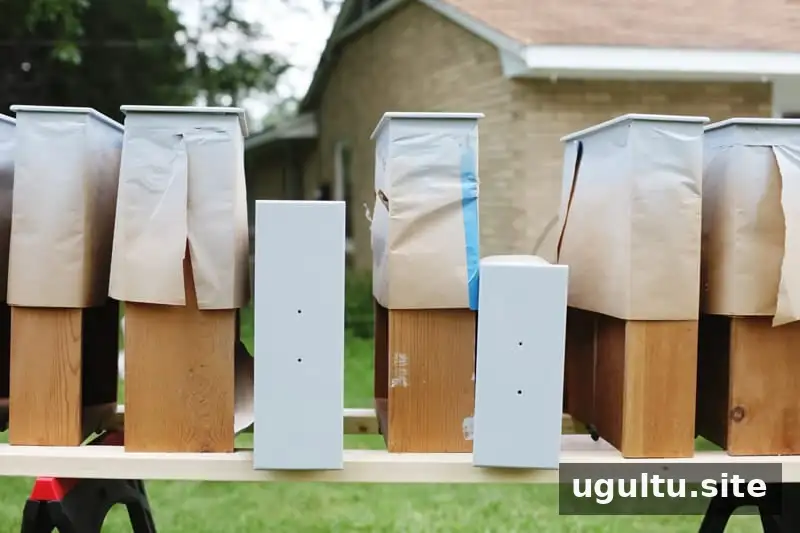
- Protect nearby areas. Cover floors, countertops, backsplash, and walls with painter’s tape, plastic, paper, or drop cloths as needed.
- Apply primer. Use a primer suited to the cabinet material and existing coating. A shellac primer may be spray-applied by experienced users, but it has strong fumes and requires suitable respiratory protection and ventilation. For brush application, choose a high-quality bonding primer intended for the surface.
- Sand lightly after priming. Once the primer is fully dry, smooth the surface with 220 or 320 grit sandpaper and remove the dust.
- Apply the paint. Use the recommended number of coats and allow the stated drying time between them. Many paints call for 2–4 hours between coats, but conditions and product formulas vary. Lower humidity and good airflow can help drying; do not use fans in a way that blows dust onto wet paint.
- Remove masking and reinstall the doors and drawers. Let the finish cure as directed before heavy use. Adjust modern hinges if needed to align the doors.
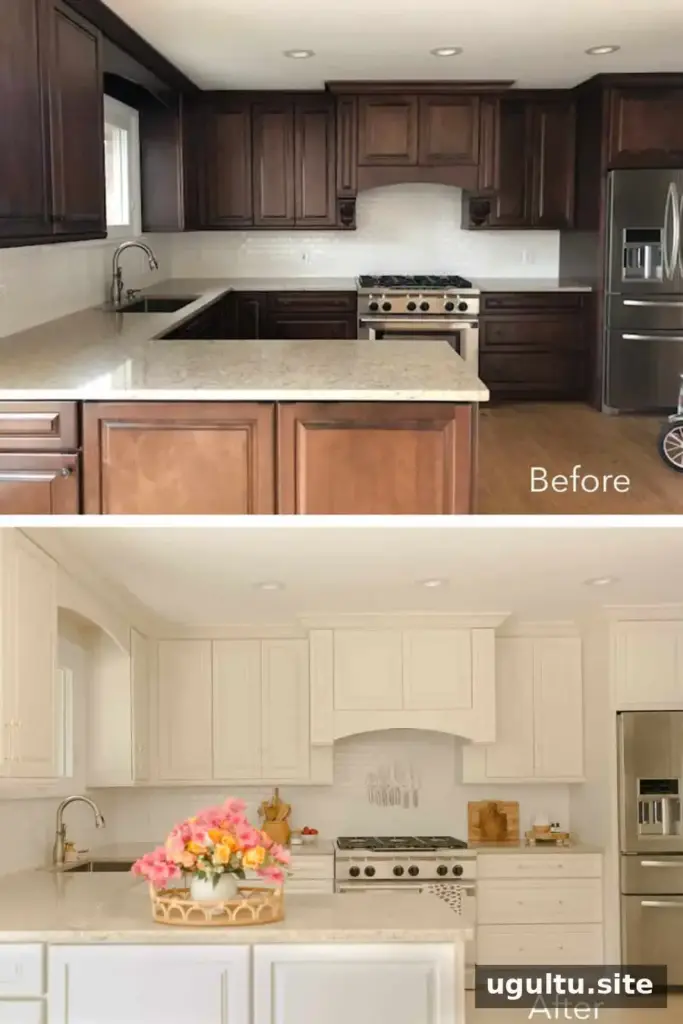
Spraying or Rolling Cabinet Paint
Spraying can produce a smooth finish without roller texture and may be faster once the work area is properly masked. It requires equipment, practice, and careful control of overspray. Rolling and brushing are also viable approaches, particularly for DIY projects without a sprayer; use tools appropriate for the paint and follow the application instructions.
Whichever method you choose, apply even coats and avoid trying to cover the surface with one heavy coat. Thin, consistent coats are easier to control and can reduce runs. Practice on a spare board or an inconspicuous area first.

Common Mistakes That Can Shorten the Finish’s Life
- Leaving grease or dust behind: Contaminants can interfere with adhesion, so cleaning and dust removal are essential.
- Skipping primer: A compatible bonding primer can help paint adhere, particularly over slick or previously coated surfaces.
- Using ordinary wall paint without checking its suitability: Select a product specified for cabinets, doors, or trim, and confirm that it suits the existing surface.
- Reassembling too soon: Paint may be dry to the touch before it has cured. Follow the label before reinstalling hardware or returning cabinets to regular use.
Good results depend on patience and a clean, well-prepared surface. Give each layer the time it needs, and use the product’s safety and application instructions throughout the project.
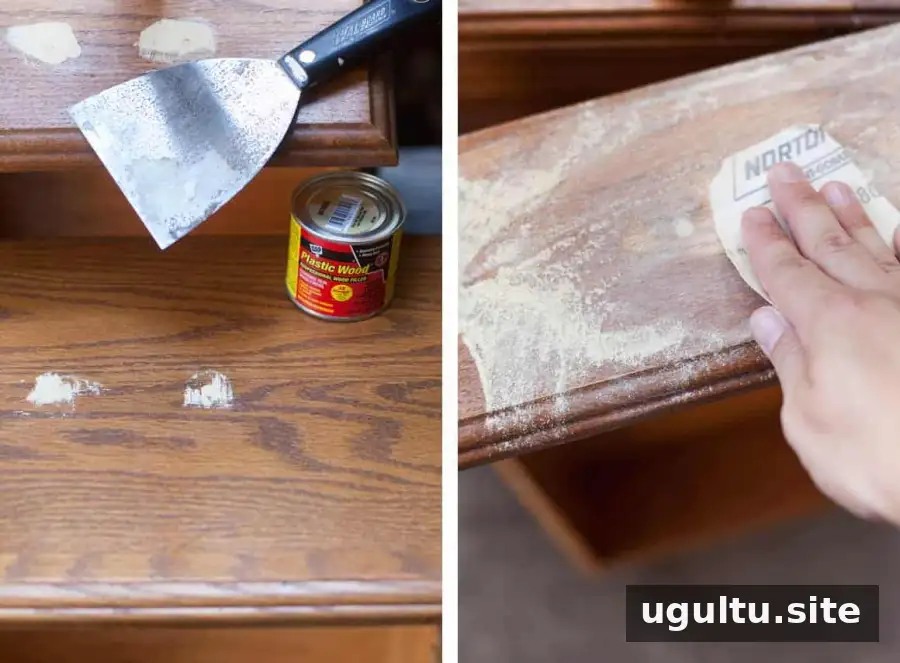
Using the Same Process on Furniture
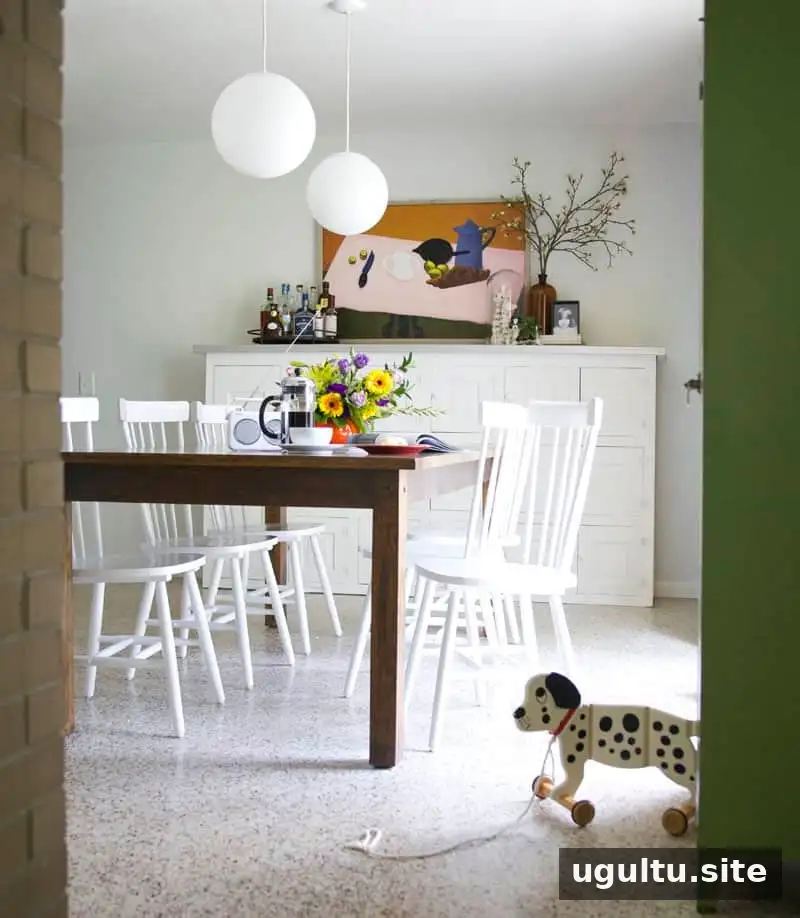
Similar preparation steps can be used for suitable wooden furniture, such as dining chairs. Check that the cleaner, primer, and paint are appropriate for the furniture material and its existing finish. For items that receive frequent contact, allow the coating to cure fully before regular use.
Plan Other Kitchen Updates
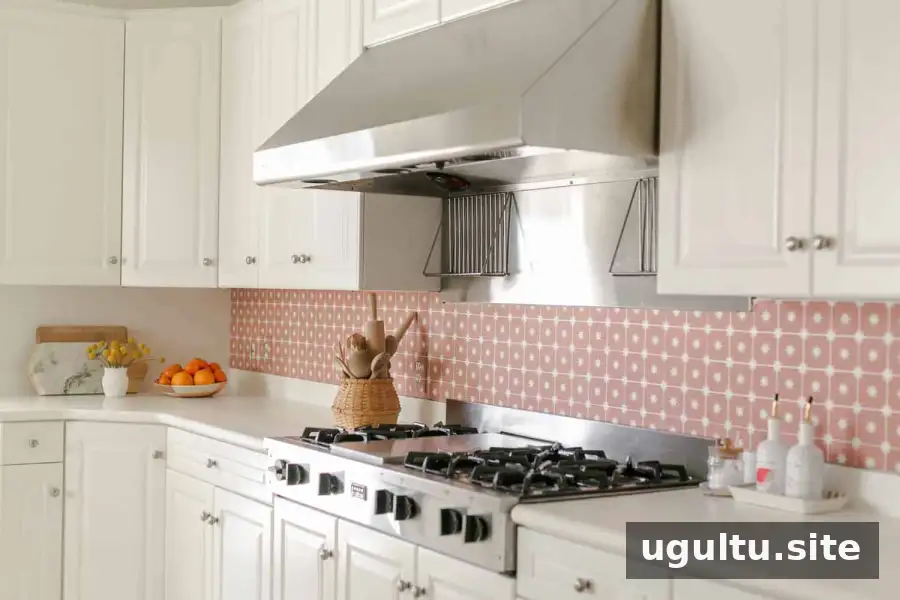
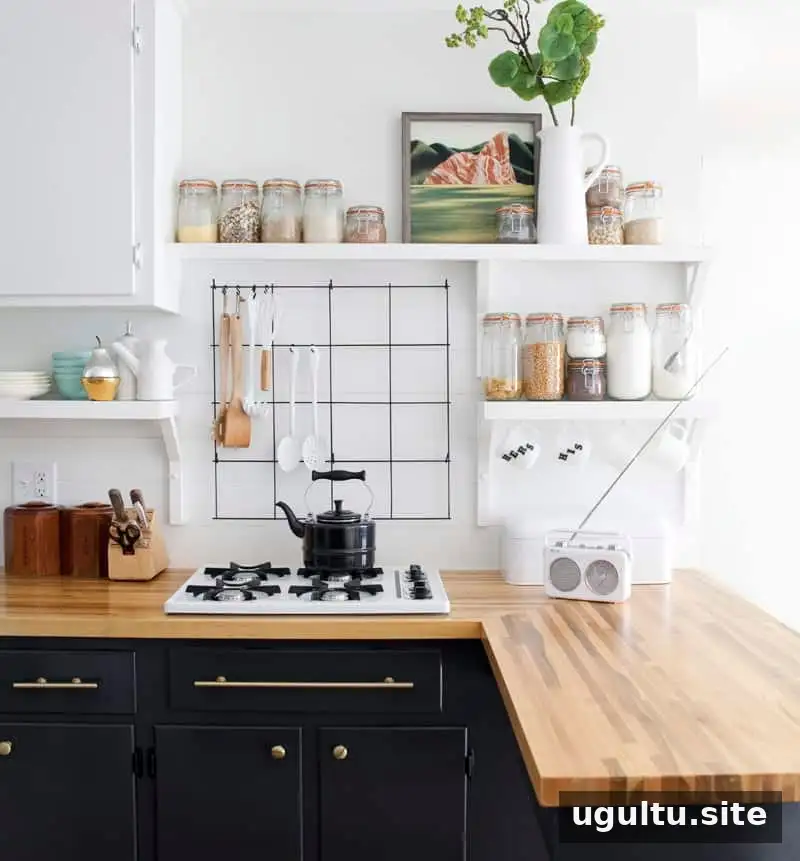
After painting cabinets, you may also consider refreshing nearby surfaces. For backsplash projects, options include removable tile, painting an existing tile backsplash, or installing new tile. Countertop updates can include a faux-marble painted finish, a concrete overlay, or tile. Check that any chosen method is suitable for the existing surface and expected kitchen use.
Final Tips for Choosing the Best Paint for Kitchen Cabinets
The best paint for kitchen cabinets is a quality cabinet-rated enamel paired with a compatible primer and careful surface preparation. Choose a color and sheen that suit your kitchen, test them in the room’s lighting, and follow the manufacturer’s instructions for drying and curing. These practical steps can help create a clean finish that stands up better to everyday use.