
 admin
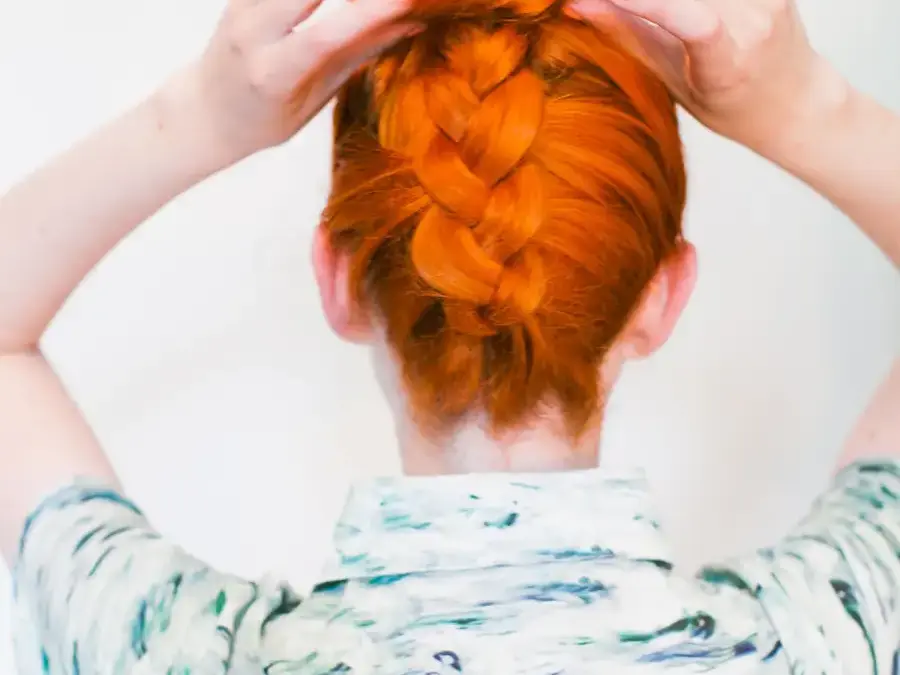
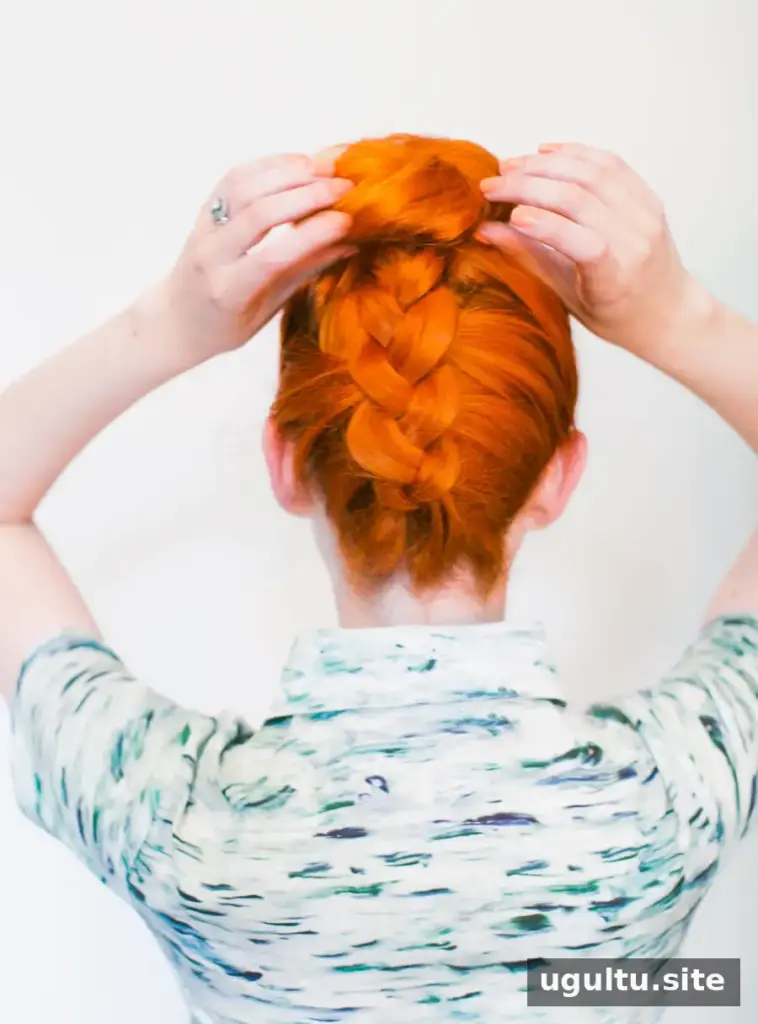
An upside down braided top knot combines a Dutch braid that begins at the nape of the neck with a simple bun at the crown. It gives a familiar top knot a distinctive detail and can be adapted for a relaxed, fuller braid or a neater style that stays secure during active days. The upside-down position may feel awkward at first, so work slowly and pause if you need to reposition your head.
How to Make an Upside Down Braided Top Knot
You will need a hairbrush, a hair elastic, and a few bobby pins. Brush your hair before starting to make it easier to separate sections as you braid. If your hair tangles easily, keep the brush nearby and smooth small sections as you go.
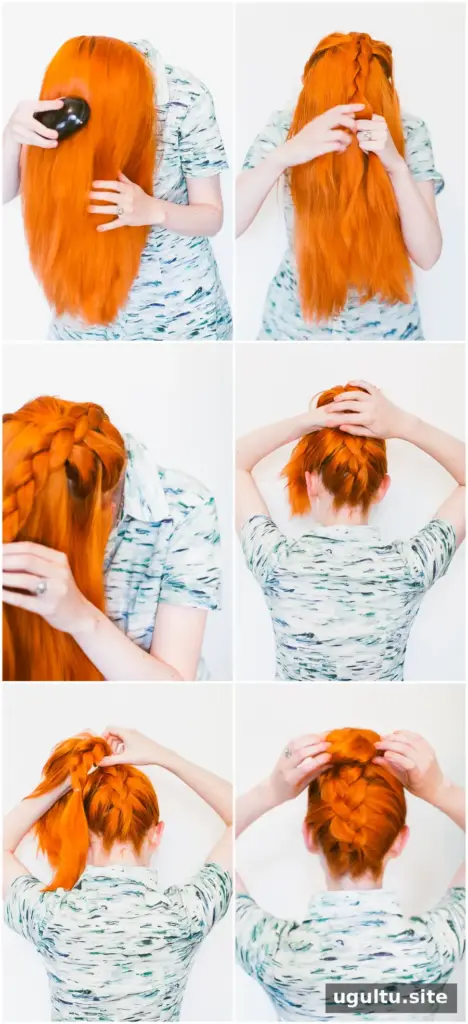
- Flip your hair forward. Bend forward so your hair falls toward the floor, then brush it thoroughly. Keep your neck comfortable and take a break if holding this position becomes uncomfortable.
- Start at the nape. Take a small section of hair at the back of your neck and divide it into three strands to begin the braid.
- Braid in the Dutch style. Cross the strands underneath one another, adding a small piece of hair to each outer strand as you work upward. Keep the additions fairly even for a consistent braid.
- Stop adding hair near your ears. Once the braid reaches ear level, continue braiding the remaining strands briefly, or move on to gather your hair if that is easier.
- Make the top knot. Gather all your hair at the crown and twist it into a bun. Secure it with a hair elastic and a few bobby pins, adjusting the pins until the bun feels stable.
Adjust the Braid and Bun to Suit Your Style
For a fuller-looking braid, gently pull the outer edges of the braided sections apart after securing the hairstyle. This technique, sometimes called pancaking, adds visual width. Use a light touch so the braid does not loosen too much. For a tighter finish, keep the braid compact and secure the bun carefully with pins.
A French braid can also be used instead of a Dutch braid. The main difference is the direction in which the strands cross: Dutch braid sections pass underneath one another, while French braid sections pass over. Either version can be paired with the top knot.
A smaller, tighter braid may be a practical choice for hikes or other active days because it keeps more hair contained. Check the braid and bun before heading out, and add a pin if any section feels loose. If you are new to braiding upside down, practicing the braid separately before adding the bun can make the full style easier to manage.
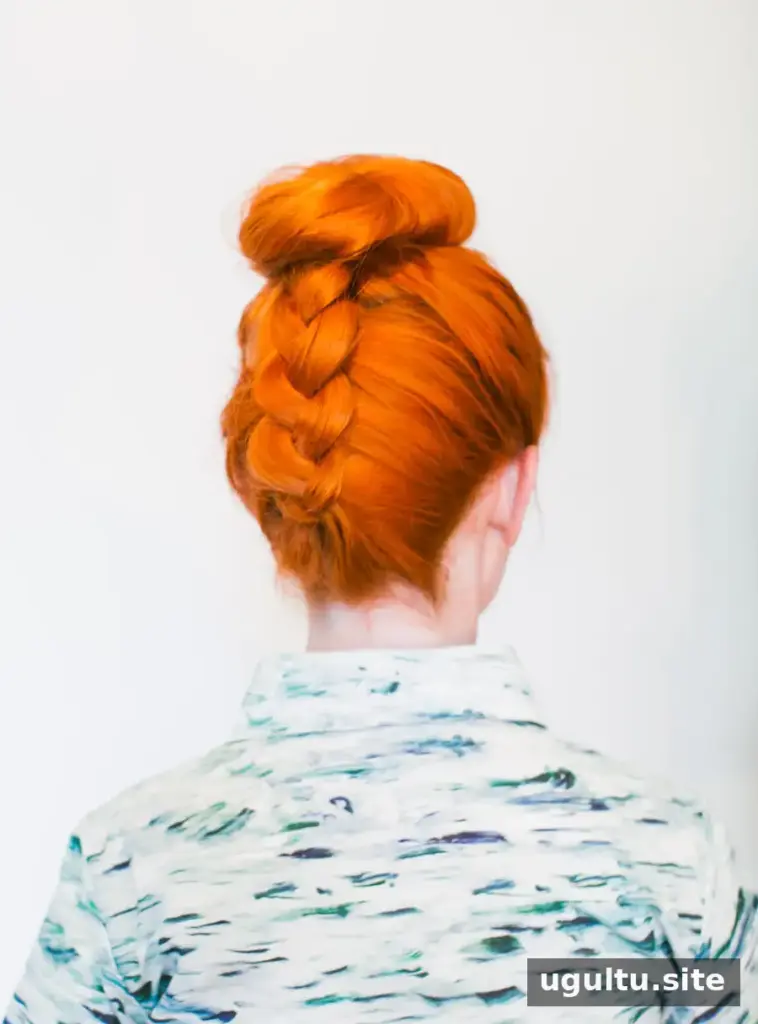
Finishing the Upside Down Braided Top Knot
The upside down braided top knot is a simple way to add detail to a classic bun without changing the basic steps for making a top knot. Start with small, even sections, keep your head and neck comfortable, and secure the finished style with an elastic and bobby pins. With practice, you can adjust the braid’s size and texture to create a look that works for everyday wear or active plans.
By Rebecca


