
 admin
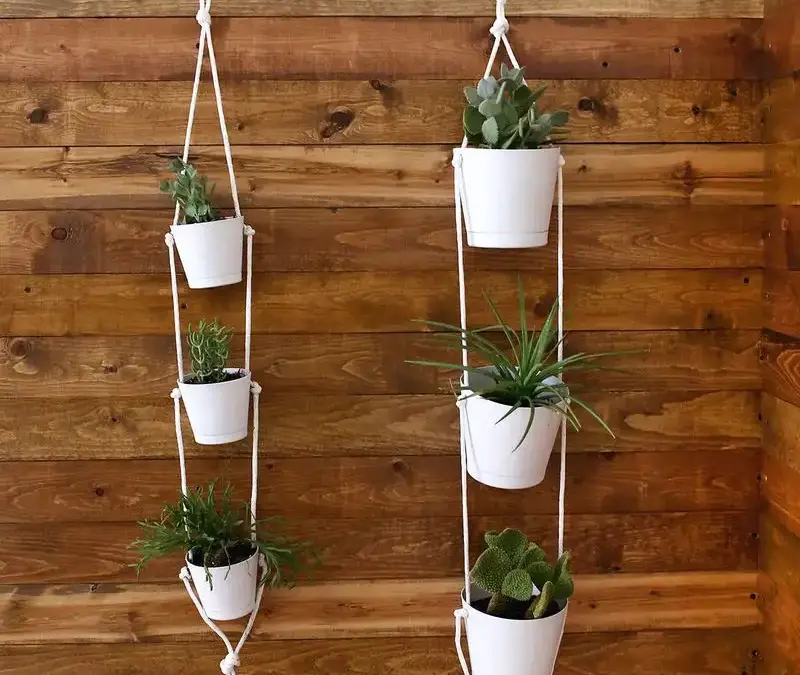
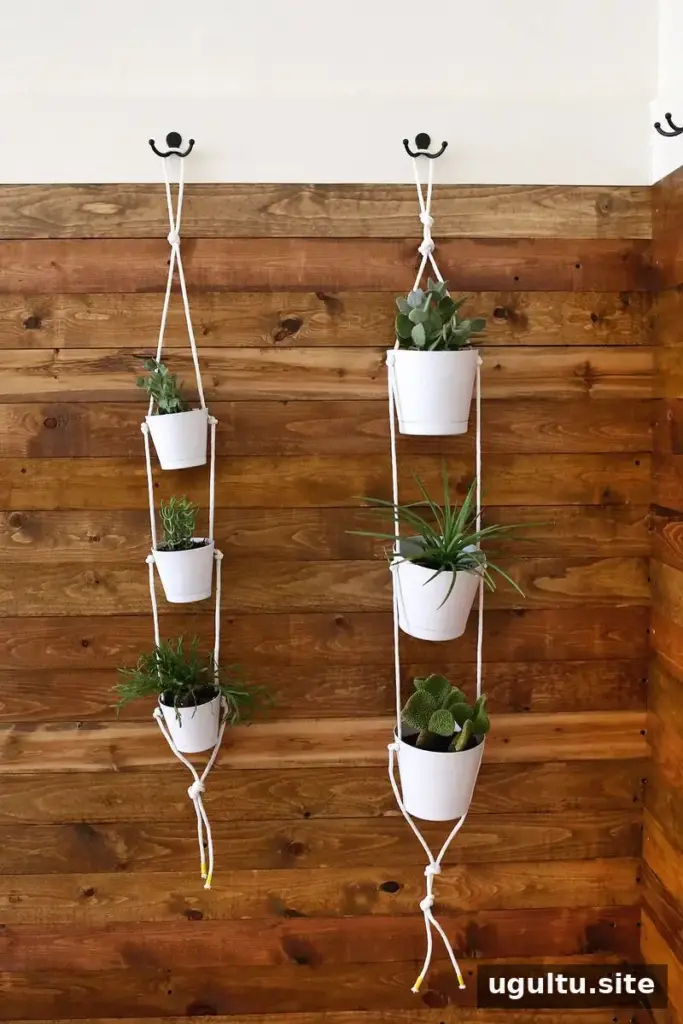
A three-tier indoor rope planter lets you display several small plants vertically while adding a simple handmade detail to your room. The project uses three plastic planters, rope, and a few basic tools. Assembly takes less than an hour per planter, excluding spray-paint drying time, and the materials cost between $10 and $20.
White pots create contrast against dark wood, but you can choose a color that works with your space. If you paint the planters, let the paint dry completely before threading the rope through the holes. This helps prevent smudges and keeps the rope clean during assembly.
Supplies for a Three-Tier Indoor Rope Planter
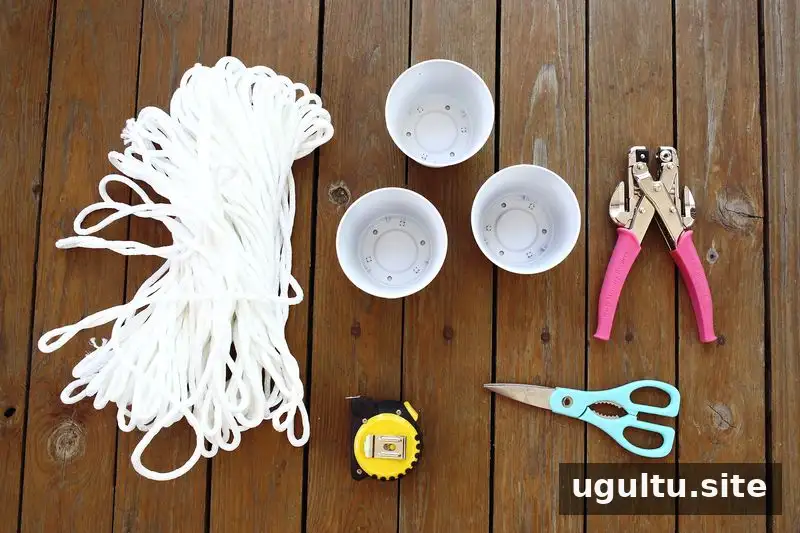
- Rope
- Three plastic planters; the example uses 4-inch and 6-inch sizes
- Crop-A-Dile tool
- Scissors
- Measuring tape
- Spray paint, if you want to change the planter color
Choose indoor planters with bases that hold water instead of letting it drip onto the floor. Before making any holes, check that your rope will fit through them. Rope thickness affects the opening size, so test the fit if possible. Work on a stable surface and protect it if you are painting or punching the pots.
How to Make the Hanging Planter
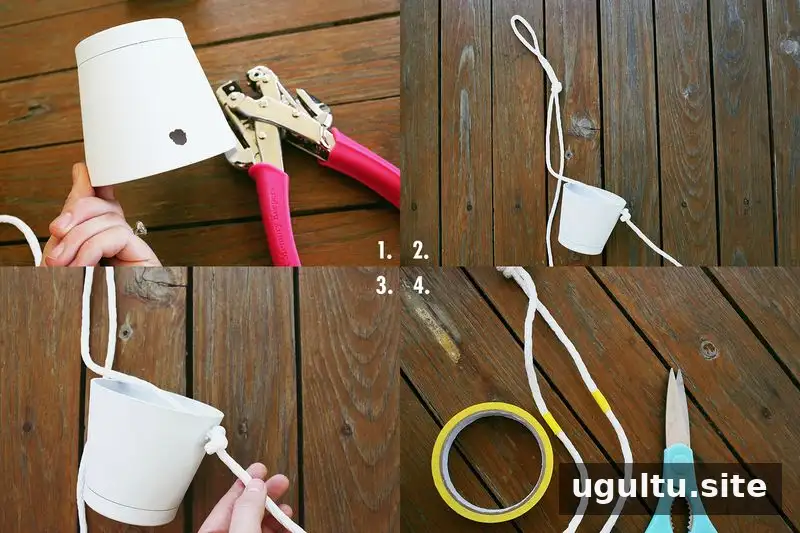
1. Make two holes in each pot
Punch two holes on opposite sides of each planter, keeping them evenly spaced. A thicker rope may need wider openings; the example used four punches to enlarge each hole. The rope will cover small irregularities around the edges. Keep the holes aligned so the planter is more likely to hang level.
2. Cut and fold the rope
Cut a piece of rope about a foot or two longer than your estimated requirement. The example uses 10 feet for the 4-inch planters and 13 feet for the 6-inch planters. Fold the rope in half and tie a knot at the fold to create the top hanging point. Measure carefully before cutting, allowing enough length for the knots and spacing.
3. Attach the three planters
Pass the rope through the inside of each planter and tie knots on the outside to secure it. Leave enough space between the pots for the plants and the look you want. After tying each pair of knots, lift the planter using the rope above it and check whether it sits level. Adjust the knots before continuing; making corrections as you go is easier than repositioning all three pots at the end.
4. Finish the rope ends
After securing the bottom planter, wrap tape around the rope ends before trimming them. This helps limit fraying. White or clear tape can blend in with the rope.
Before adding plants, test the arrangement and check that the knots hold. Choose a hanging point and hardware suitable for the combined weight of the rope, pots, soil, and plants. The finished display should hang securely without putting unnecessary strain on the support.
Planting and Watering Tips
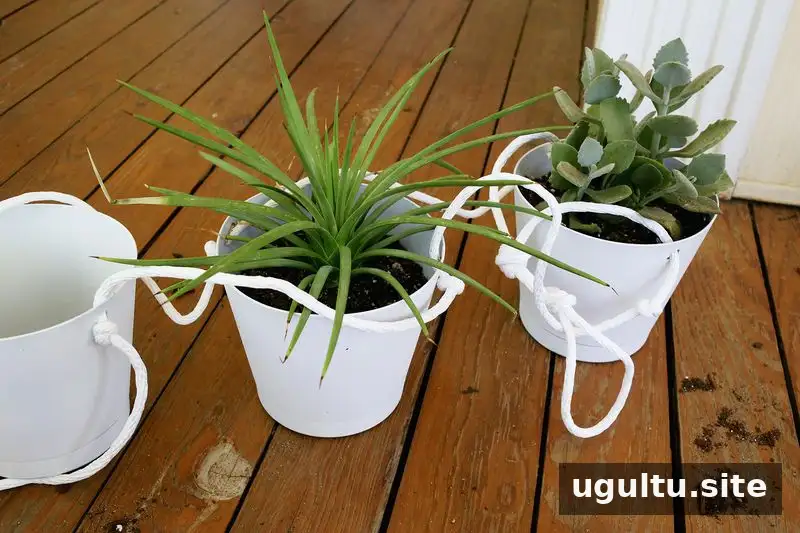
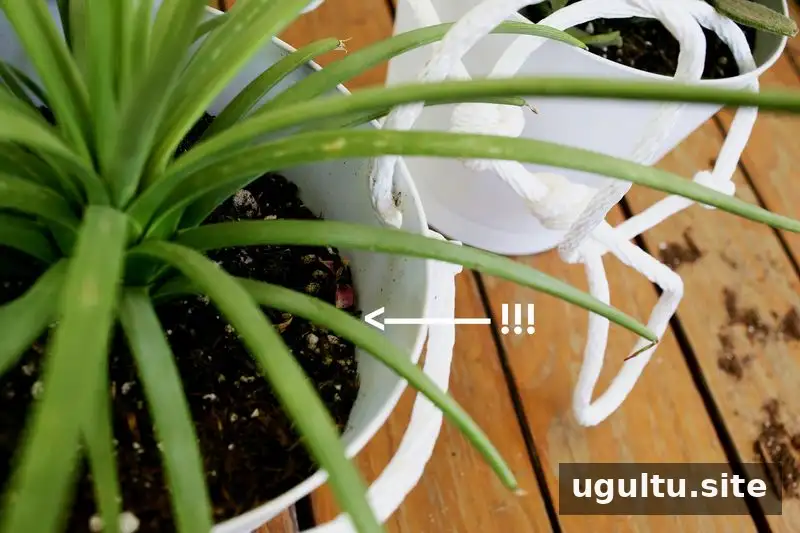
Set the planters on a flat surface while filling them with soil and plants. Brush away any dirt or dust on the rope afterward. Keep the soil level below the rope holes; if it reaches above the openings, water may escape through them during watering. Remove a little soil if needed, and water gradually while checking for leaks.
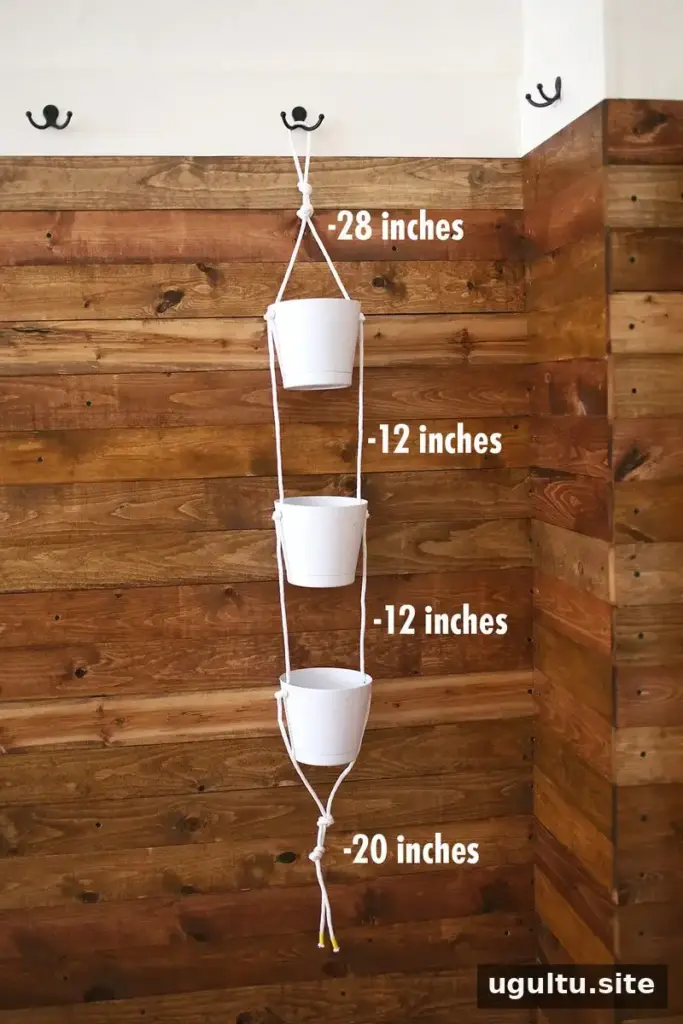
The larger planters in the example are 6 inches tall and have a 6-inch opening. Use the rope measurements shown for that size as a reference when planning your layout. Double knots are an alternative knot style, but check that they are secure before hanging the planter.
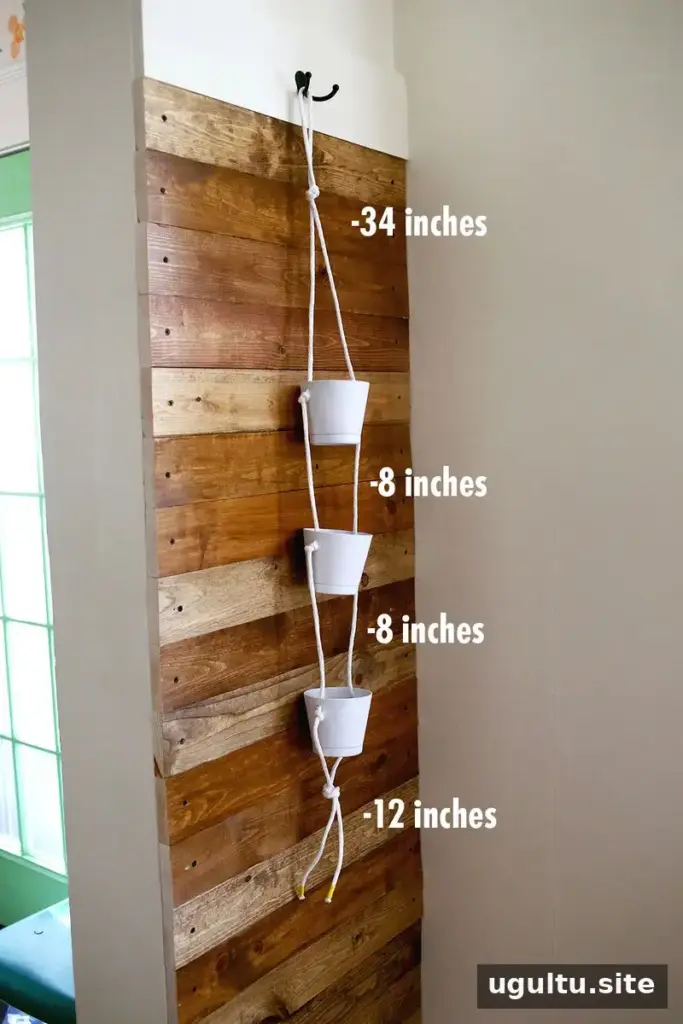
The smaller planters are 4 inches tall and have a 4-inch opening. Their rope measurements are shown below. Select pot sizes and spacing to suit the plants and the area where you intend to hang the display. Keep enough clearance between tiers so leaves and stems have room to grow.
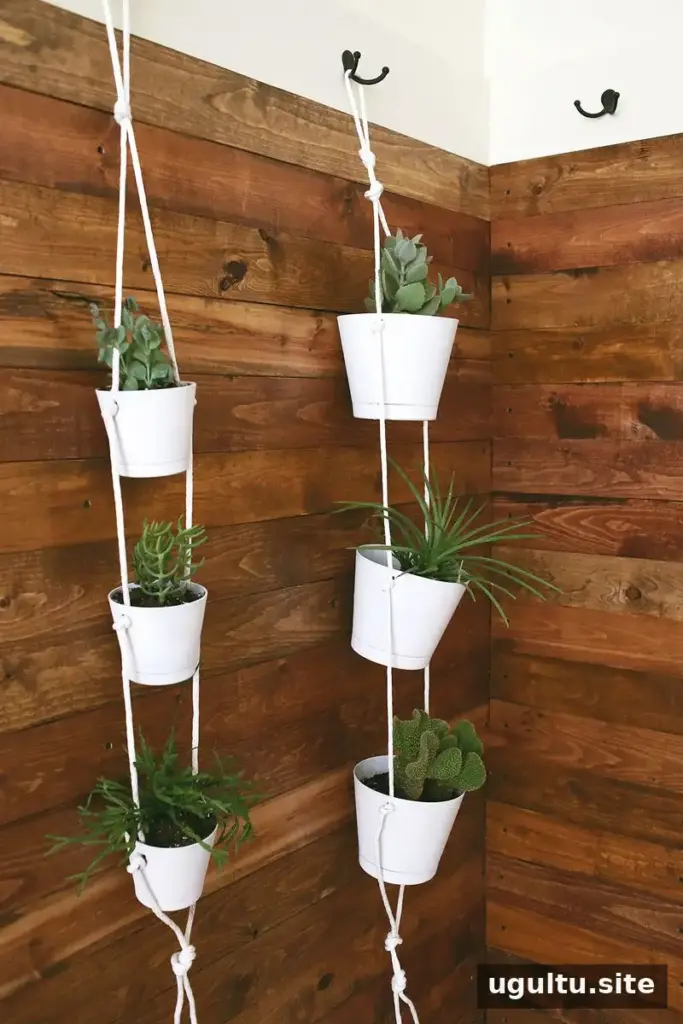
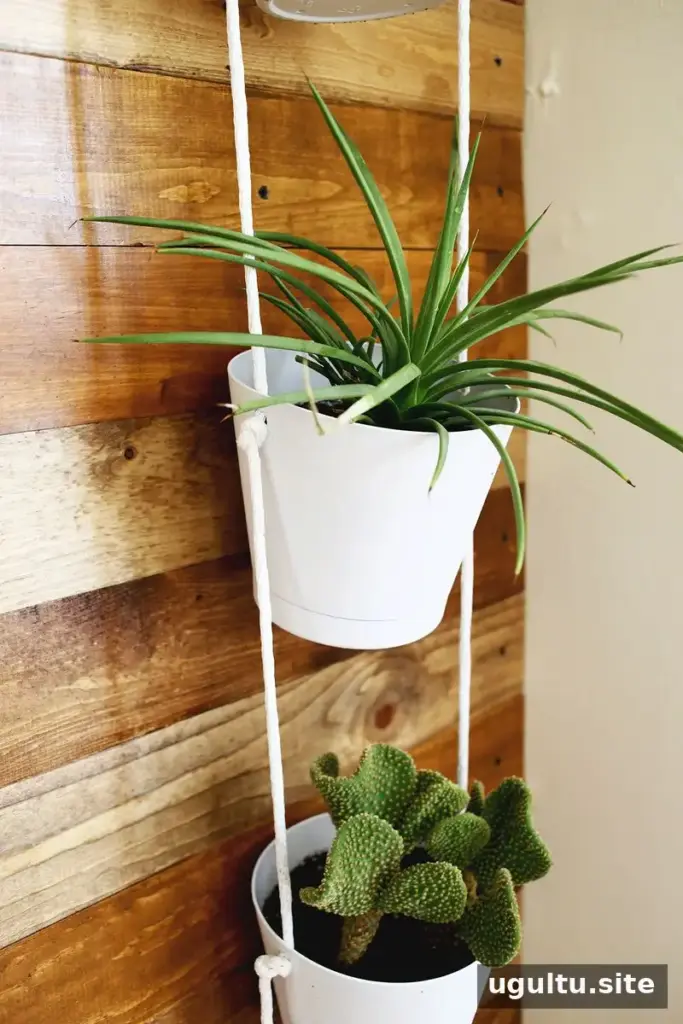
Final Checks for Your Three-Tier Indoor Rope Planter
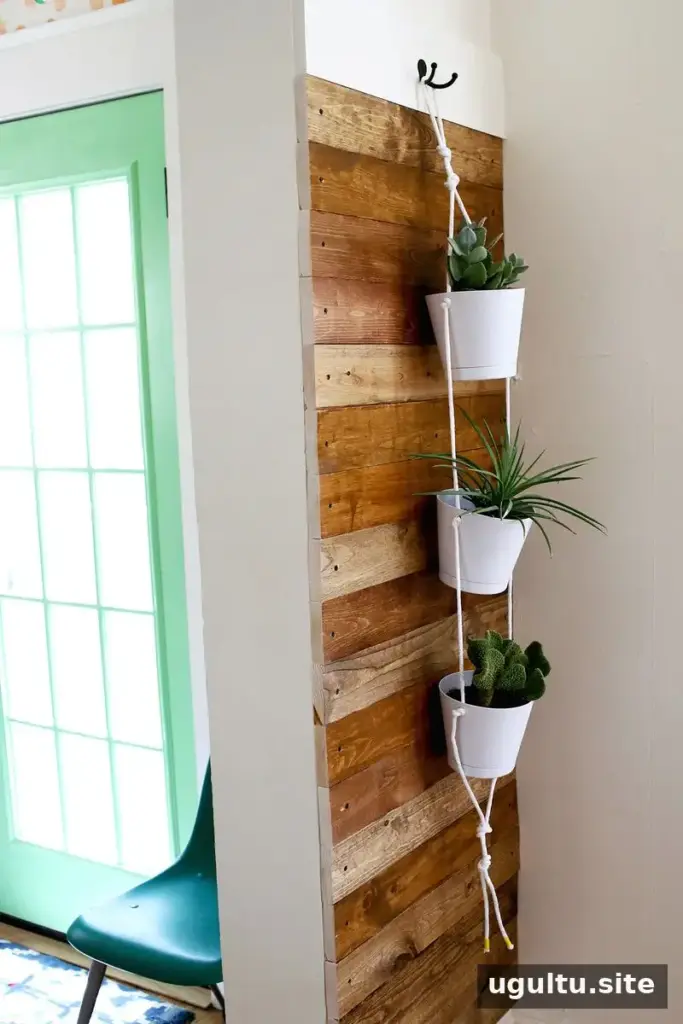
Before hanging your three-tier indoor rope planter, confirm that every knot is tight and that all three pots sit level. Water carefully and look for leaks, particularly around the rope openings. Keeping the soil below those holes helps reduce spills and makes this vertical plant display easier to maintain. Recheck the knots and hanging point after filling the planters, since soil and water add weight.
Project by Elsie.


