
 admin
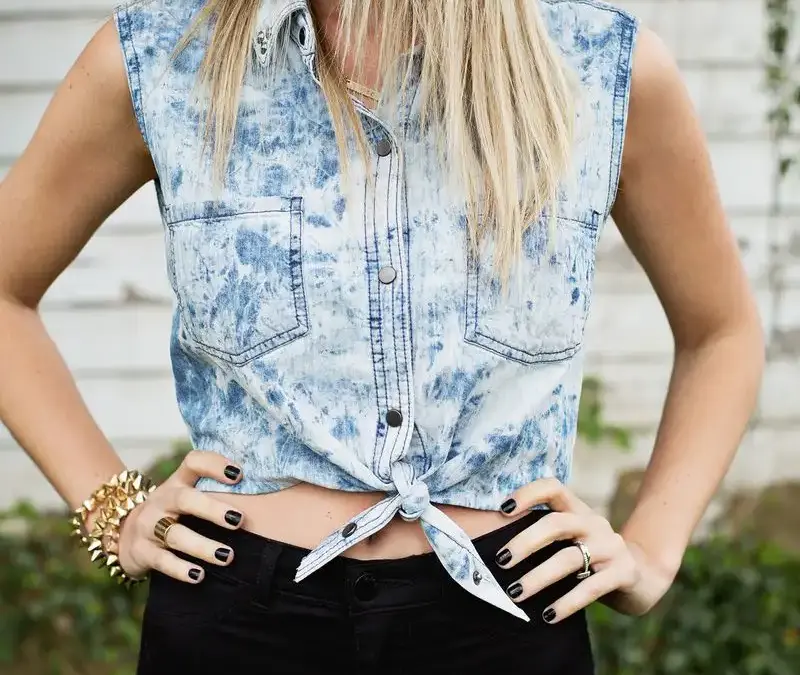
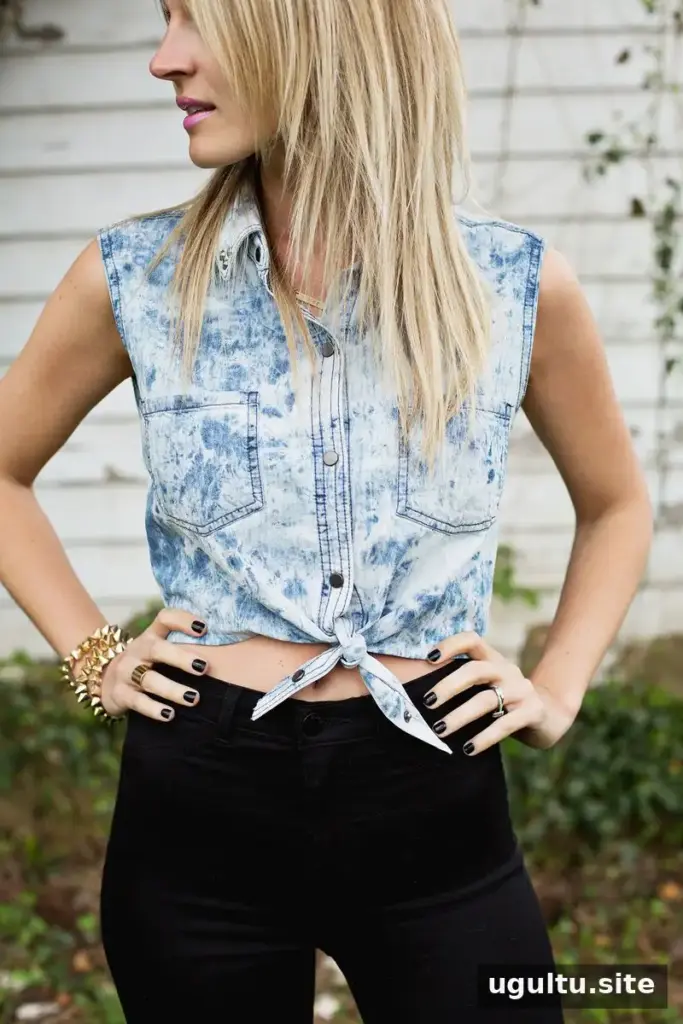
A tied crop top DIY is a simple way to give a button-up shirt a fresh, warm-weather look. This beginner-friendly sewing project turns a shirt into a sleeveless cropped top with a longer front section that can be tied. A chambray shirt works well, but the same method can be used with another button-up shirt. Before cutting, check that the shirt fits comfortably and decide where you want the cropped sides to sit.
Tied Crop Top DIY Supplies
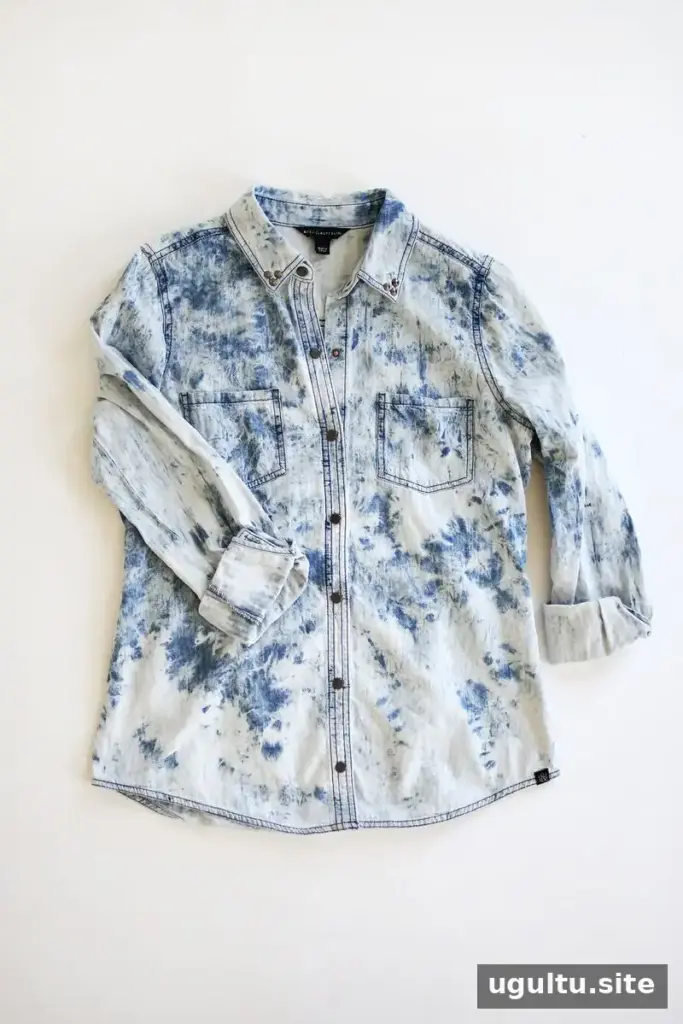
Gather these basic supplies before you begin. Having everything close by makes it easier to keep the hems even and complete each step without interruption.
- Button-up shirt
- Fabric scissors
- Sewing pins
- Standard sewing machine
Work on a flat surface and take care when handling fabric scissors. If you are unsure about the final length, try the shirt on and mark the desired crop line before cutting.
How to Make a Tied Crop Top
1. Remove the sleeves
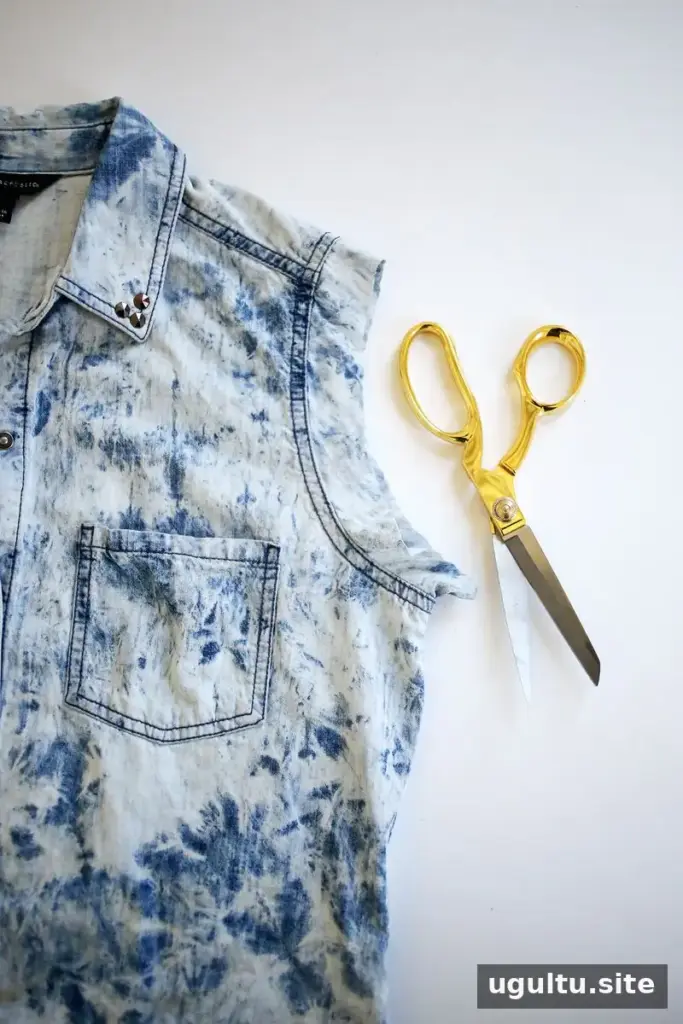
Cut each sleeve about 1 inch from the point where it joins the main body of the shirt. Leaving this small allowance provides fabric to fold under and finish the armholes.
2. Fold and pin the armholes
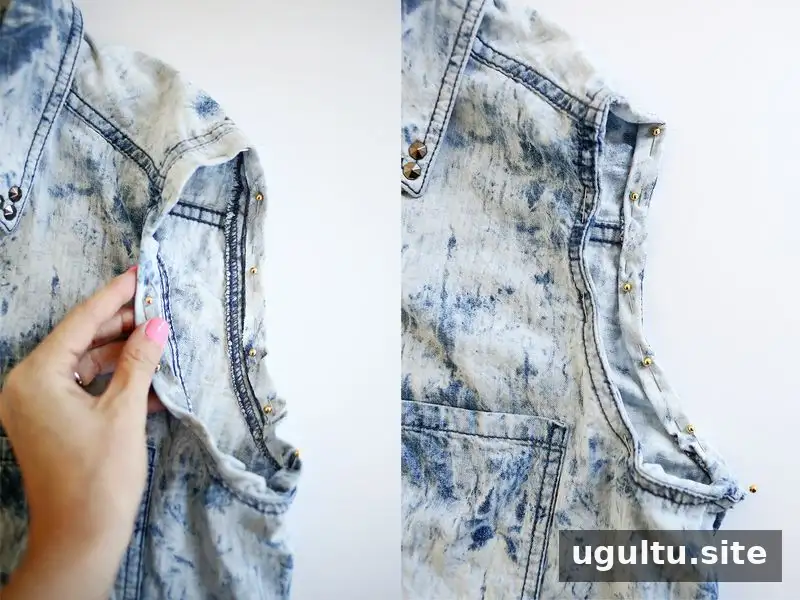
Fold the cut edge inward by 1/2 inch and pin it in place. Then remove one pin at a time, fold the fabric inward by another 1/2 inch, and replace the pin. Continue around each armhole so the raw edge is enclosed in a double-folded hem. Pinning gradually helps the fold stay even around the curve.
3. Sew the armhole hems
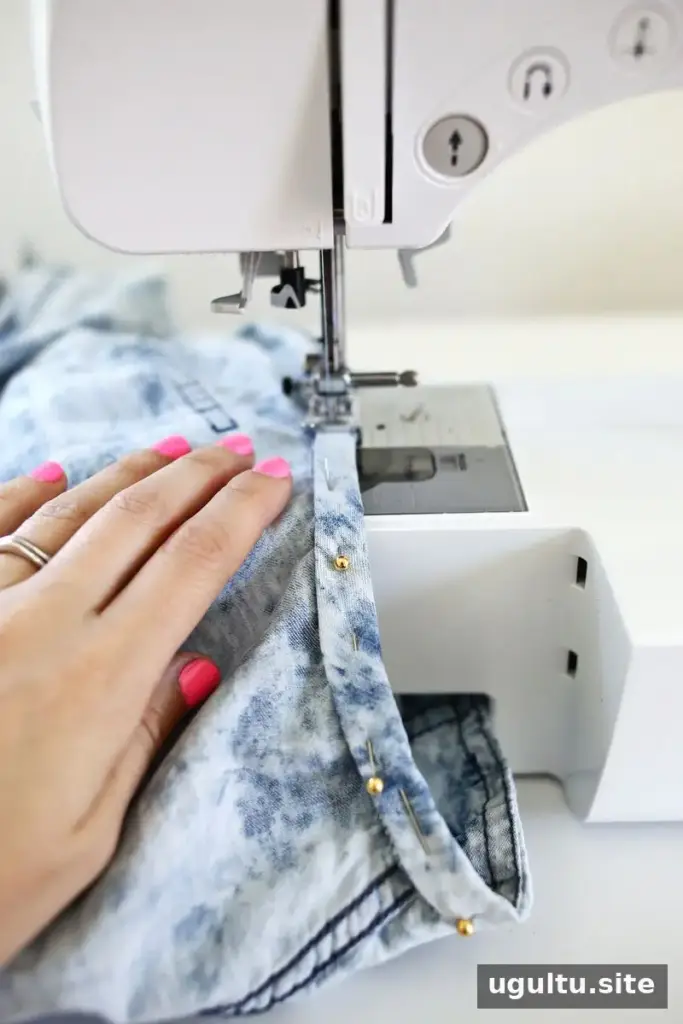
Turn the shirt inside out and sew around each armhole with a 1/4-inch seam allowance. Sew slowly around the curves, keeping the folded fabric flat so it does not bunch beneath the needle.
4. Shape and cut the bottom
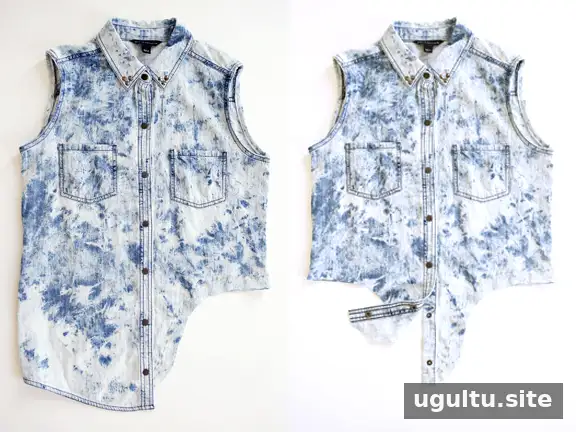
Place a pin on each side of the shirt to mark where you want the crop top to end. From each side, continue the pin line straight across the front until it reaches the area halfway to the buttons. Then curve the line downward to create a front tail about 5–6 inches long.
Cut 1 inch below the pinned line with fabric scissors. To make the two front sides match, use the removed fabric as a guide: flip it over, pin it onto the uncut side, and cut along its shape. After shaping the front, cut straight across the back of the shirt.
5. Add notches to the curves
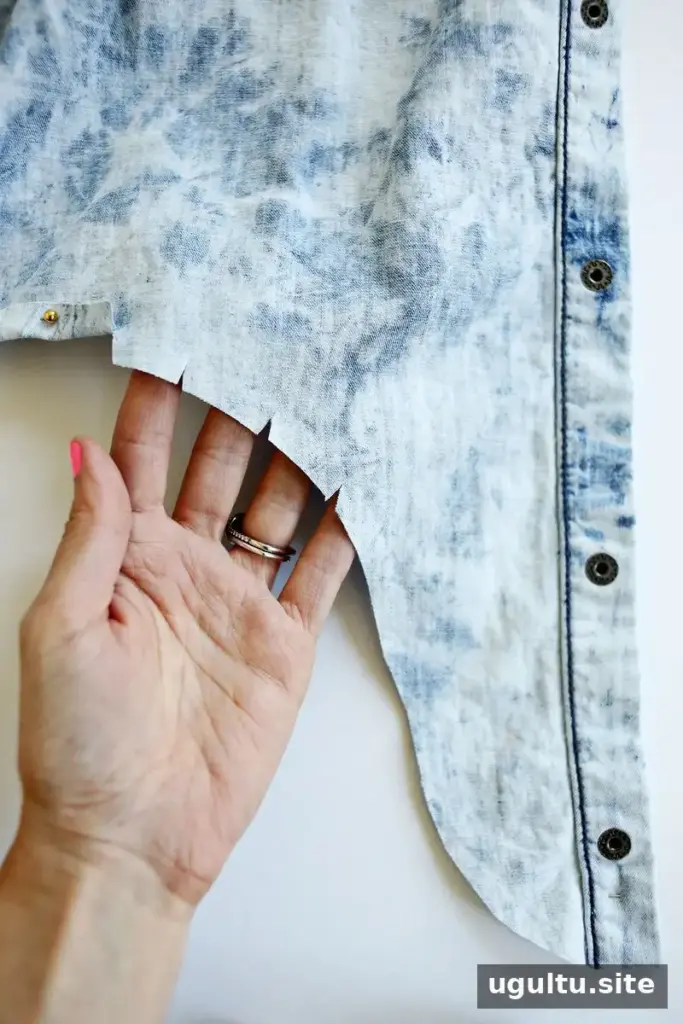
Make small notches about 1/2 inch deep along the curved edges. These cuts help the fabric lie more smoothly when folded into a hem. Keep each notch clear of the intended stitching line so the finished edge remains secure.
6. Finish the bottom hem
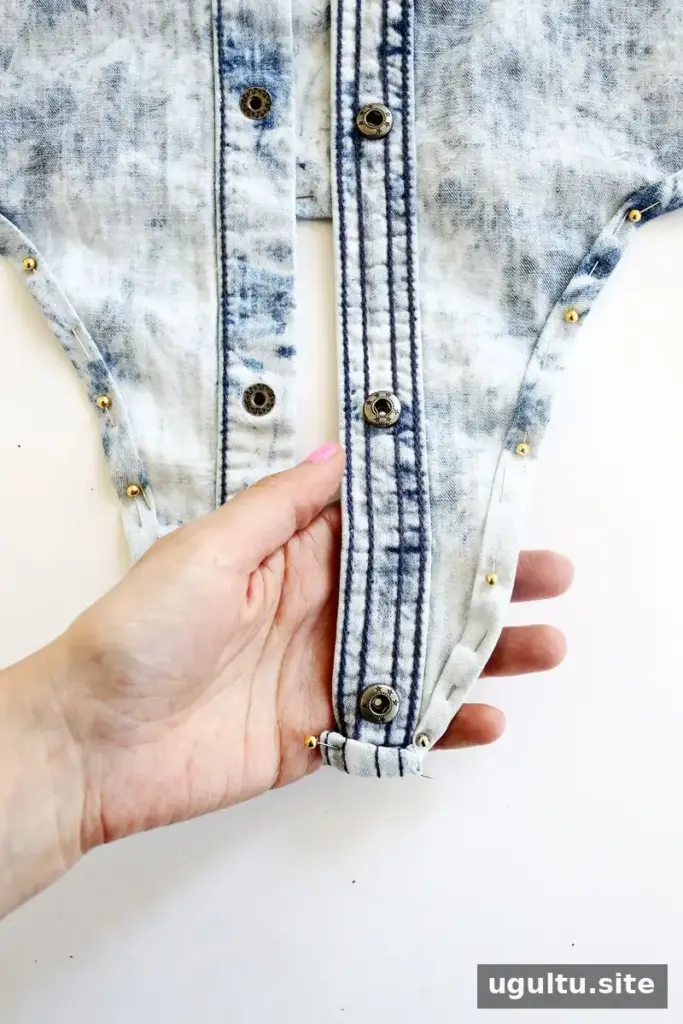
Fold the bottom edge under by 1/2 inch and pin it. Remove one pin at a time, fold the edge under by another 1/2 inch, and replace the pin until the entire hem is double-folded. Sew around the hem with a 1/4-inch seam allowance. Check that the front curves and back edge remain smooth as you sew.


Wear and Care Tips

The finished sleeveless button-up can be worn with high-waisted bottoms, which pair naturally with its cropped shape. Tie the longer front sections together for the intended look, and adjust the knot so it feels comfortable. Before wearing, check the armhole and bottom stitching for loose threads. For a neat result on future projects, measure both sides before cutting and keep the shirt laid flat while marking.
This tied crop top DIY is a practical way to refresh a button-up shirt using a few basic supplies and straightforward sewing techniques. The finished piece brings together a sleeveless shape, a cropped back, and a longer front that can be tied.
— Laura


