
 admin
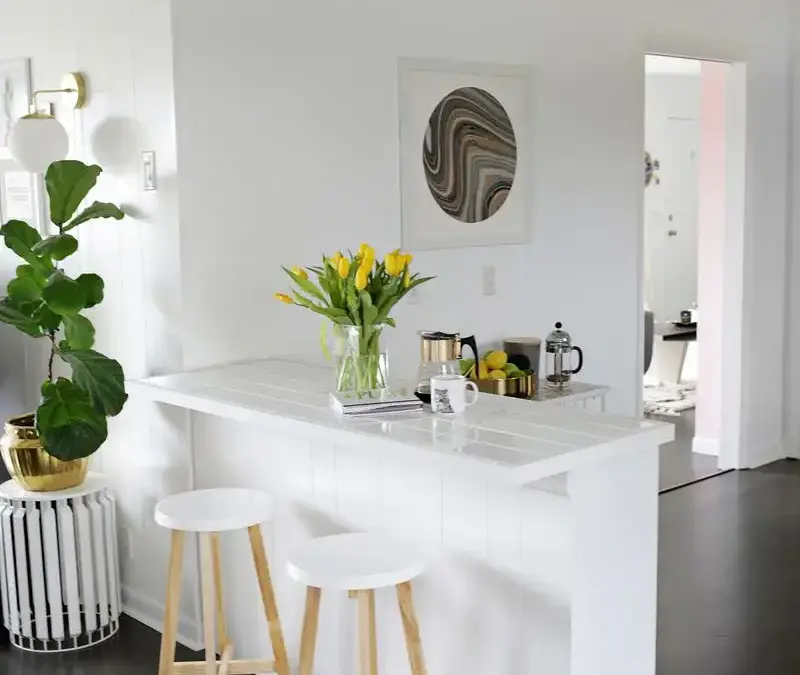
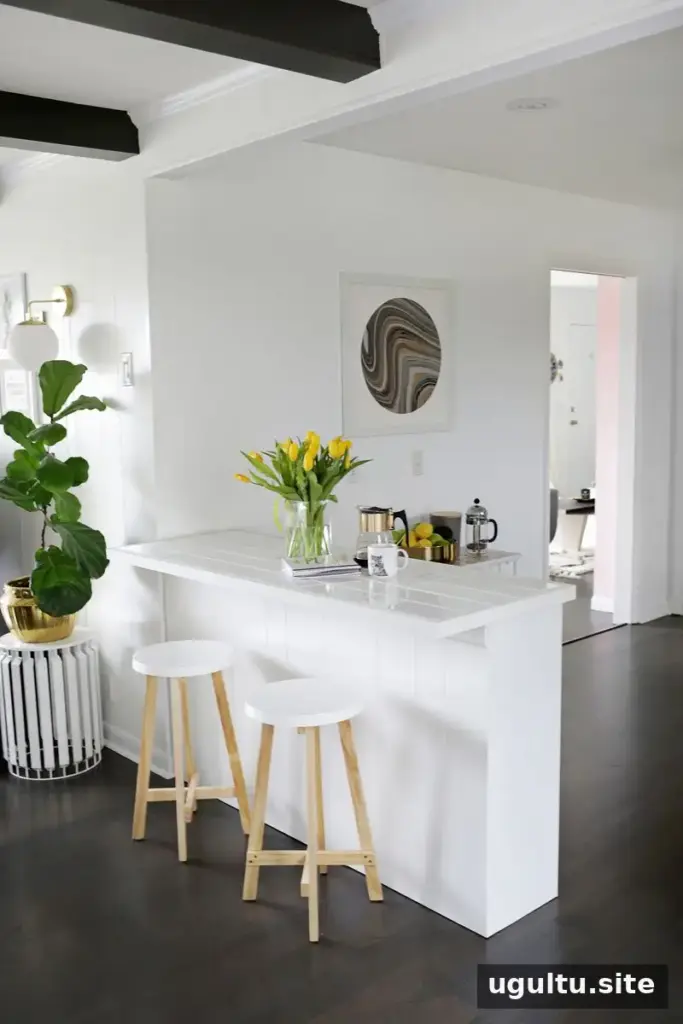
A tiled countertop DIY project can create a practical, brighter work surface while you save for a larger kitchen renovation. This approach uses whole tiles arranged to fit a measured base, so a tile saw may not be needed. It is especially useful when the countertop has some flexibility in its final dimensions, such as a peninsula with an overhang.
Planning a tiled countertop DIY project
In this kitchen, an extra-tall bar peninsula was difficult to use for food preparation. The plan was to shorten the cabinets to counter height and make a new top as a temporary solution before a later renovation phase adds more cabinets and a peninsula for counter stools. A lighter countertop also suited the dark floor stain better than the existing black stone top.
Before buying materials, decide where the countertop will meet a wall and how much overhang is needed. Measure the available space, then look for tile sizes that can cover the surface using whole tiles. Tile dimensions printed on packaging may differ from the actual measurements, so measure the tiles themselves. Spacers can help fine-tune the overall layout when using individual tiles.
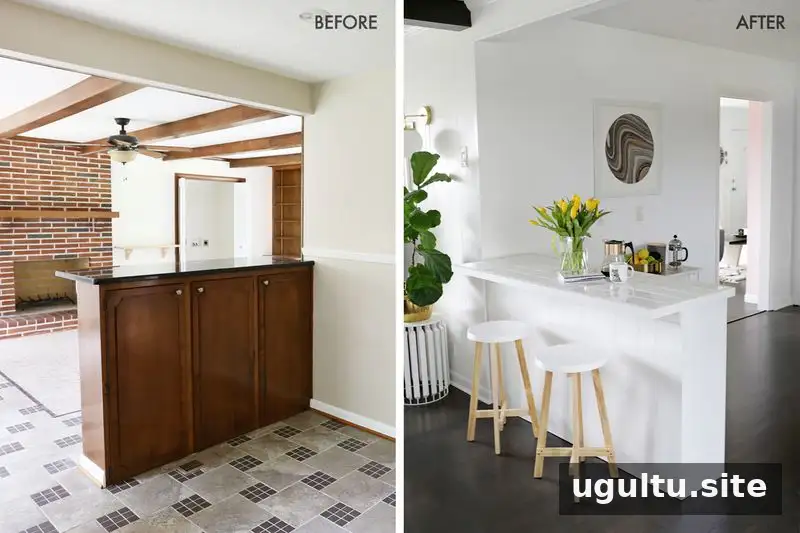
The original peninsula was bar height, making it too tall for comfortable kitchen prep. Lowering the cabinet height made the surface more practical for everyday use.
Materials and tools
- A wood board, about 3/4 inch thick, cut to the planned size
- Hardie backer board and a box cutter
- Tile, tile adhesive, and grout
- A tile trowel, rubber float, grout sponge, and bucket
- Tile spacers, if the tile is not supplied on mesh backing
- Grout haze remover, if needed
- Wood trim for the countertop edges; the trim used here was 1 1/2 inches tall and 3/4 inch thick
- Wood screws and a drill
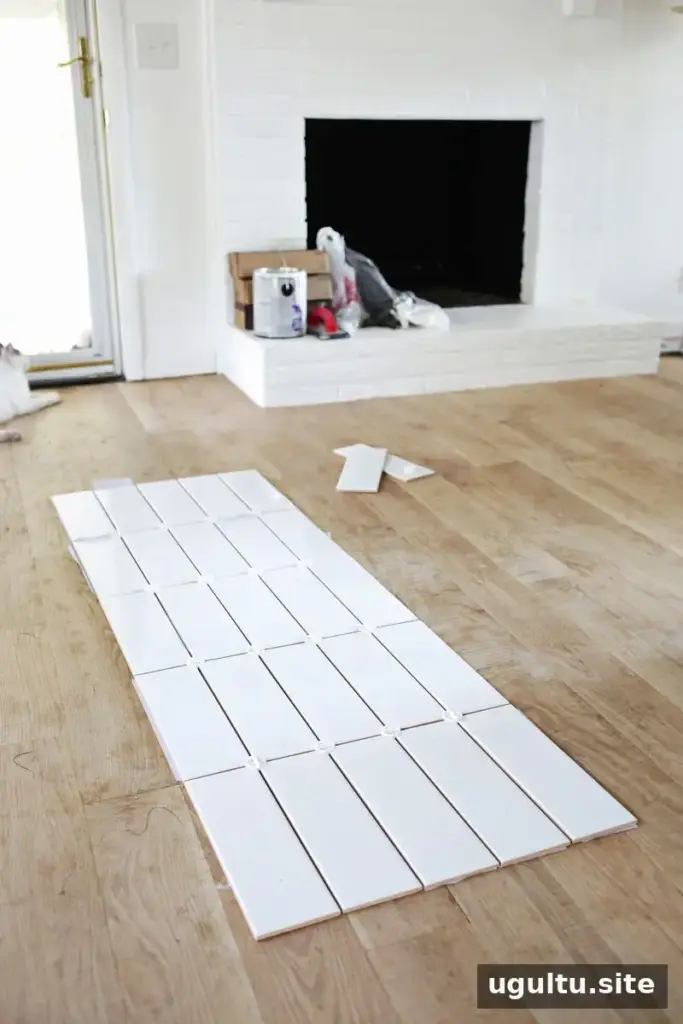
Lay out the tiles with spacers before cutting the board. This lets you measure the tiled area accurately and check that the planned overhang and edges look balanced. The wood board and Hardie backer should match the dimensions of the tile layout.
Prepare the countertop base
Have the wood board cut to size at a home improvement store. Mark the same dimensions on the Hardie backer, then score the marked lines deeply with a box cutter. Align a scored line with the edge of a sturdy surface and press down to snap the board along the score. Work carefully and follow the product manufacturer’s handling guidance.
Set the Hardie backer on top of the wood and fasten it with screws and a drill. Use screws around the perimeter, about 1 inch in from the edge, as well as at the designated fastening points. Secure attachment helps keep the backer in place as tile adhesive and grout are applied.
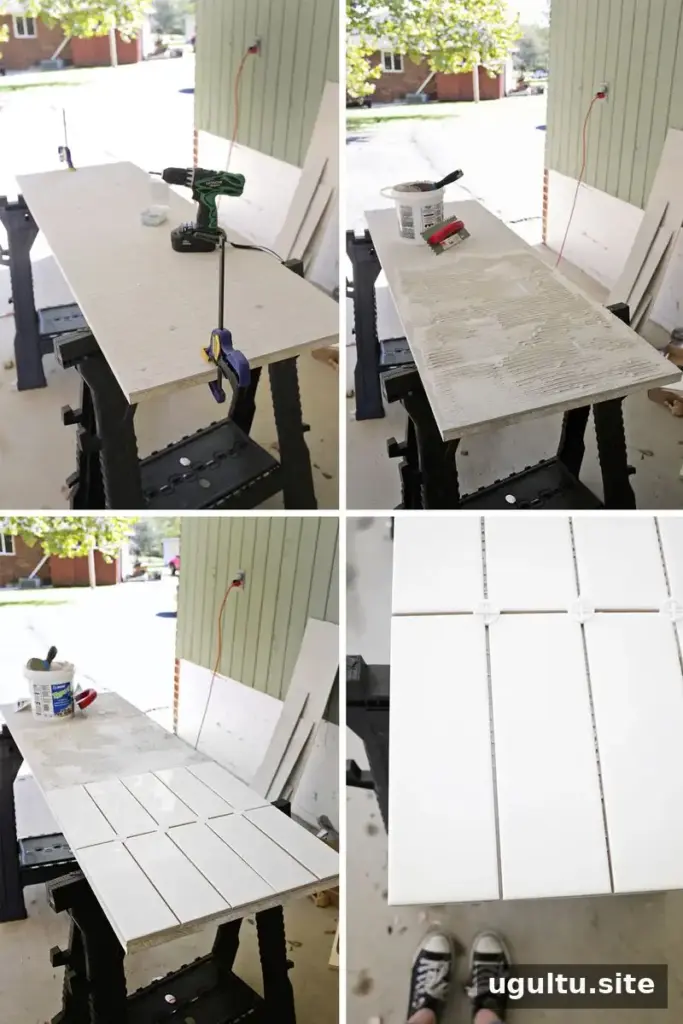
Spread a thin layer of tile adhesive over about half of the surface with a trowel, then make ridges in the adhesive. Place the tiles with spacers at the corners, checking that the edges align with the board below. Continue in sections until the surface is covered, adjusting tiles as needed. Allow the adhesive to set for 24 hours, or follow the product instructions if they specify a different time.
Why use Hardie backer under tile?
Skipping the backer can cause problems. In the original project, adhesive moisture warped a wood board that had been tiled without Hardie backer. The backer helps separate the tile installation from the wood base and reduces the chance of the board bending as moisture is introduced. For a stable result, use the appropriate backing material and secure it properly rather than tiling directly onto the wood.
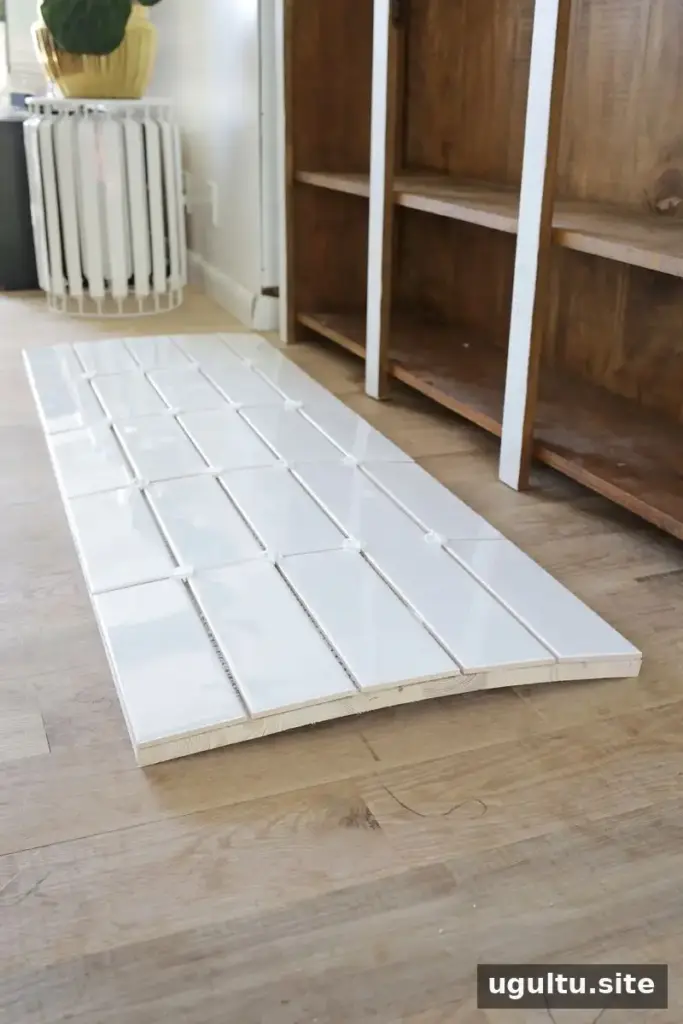
This example shows how moisture from the adhesive can warp an unsupported wood board. The Hardie backer was added on the next attempt to help keep the base flat.
Apply grout and clean the tile
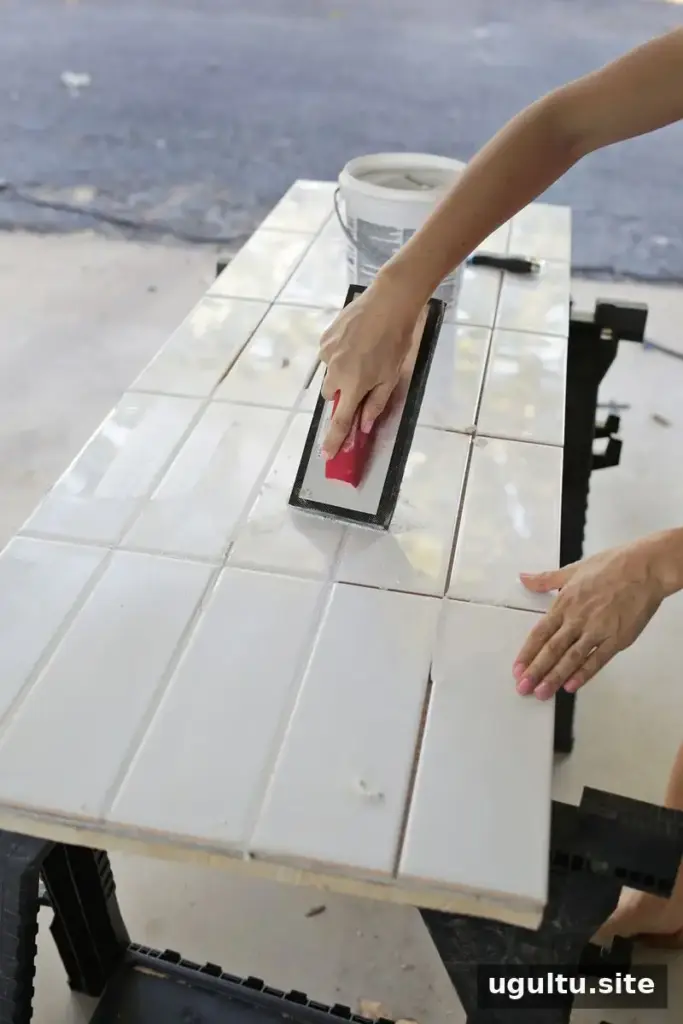
After the adhesive has set, use a rubber float to press grout into the spaces between the tiles. Work across the surface until the joints are filled, keeping the float at an angle to help pack grout into the gaps.
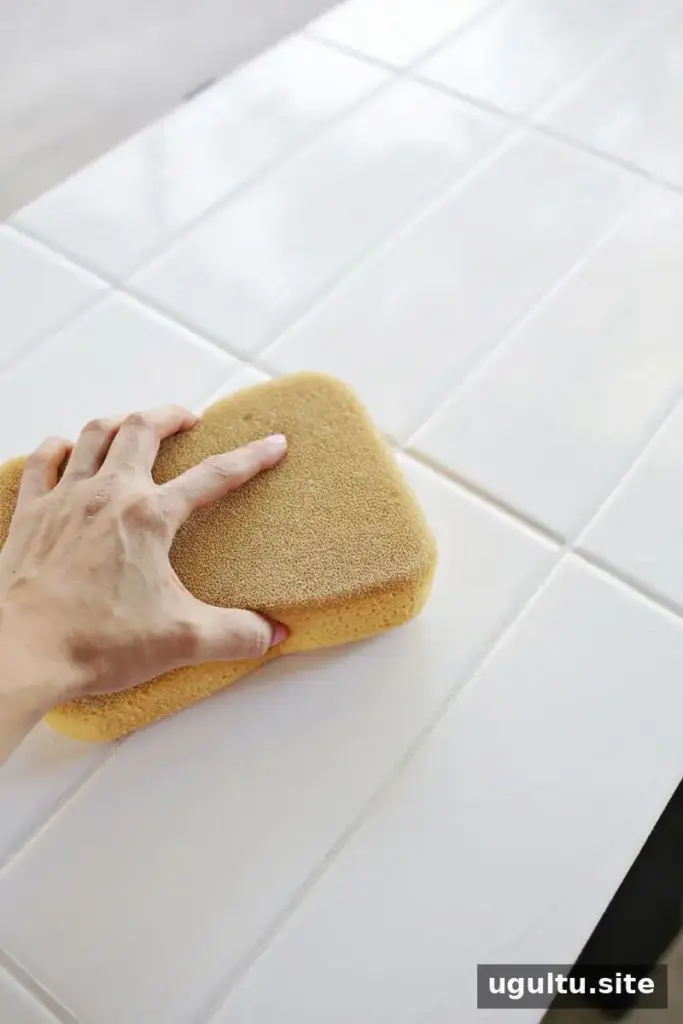
Keep a bucket of clean water and a grout sponge nearby. Wipe grout from the tile faces soon after grouting each section, rinsing the sponge frequently and replacing the water when it becomes cloudy. Removing excess grout promptly can reduce the haze left on the tile. Let the grout dry for 24 hours, then use a grout haze remover if residue remains and the product is suitable for the tile.
Frame and secure the countertop
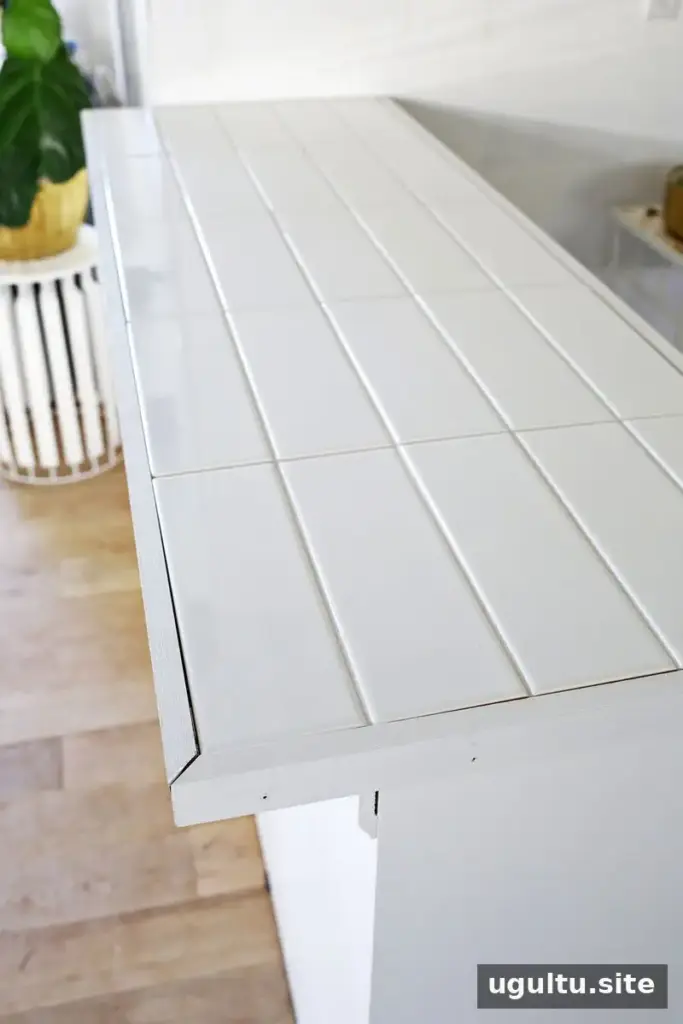
Once the tile is set, cut wood trim to frame the edges. The project used a miter saw to make 45-degree corners; if you do not have a saw, a store can cut the trim straight, and the pieces can be joined with a simpler corner arrangement. Paint the trim edges if desired, then attach the pieces with nails or wood screws. Fill gaps between the trim and tile with acrylic caulk.
Attach the finished countertop to the cabinets with wood screws driven from underneath. The cabinets should also be secured to a wall stud so they remain stable if someone leans on the counter. Check that the cabinet base is level and adequately supported before fastening the top.
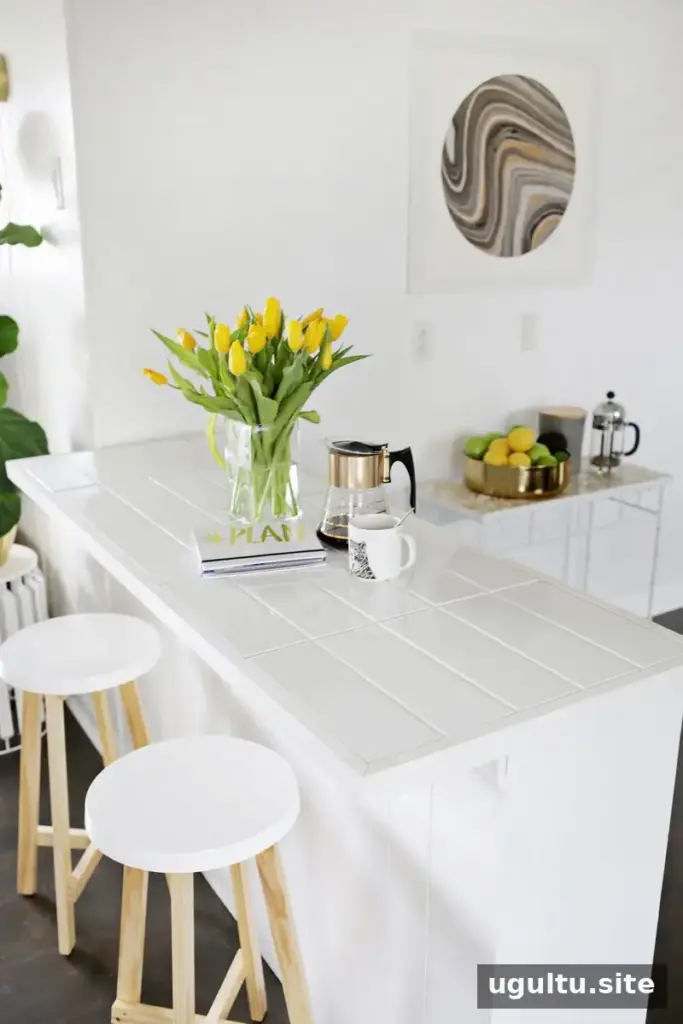

Final thoughts on this tiled countertop DIY
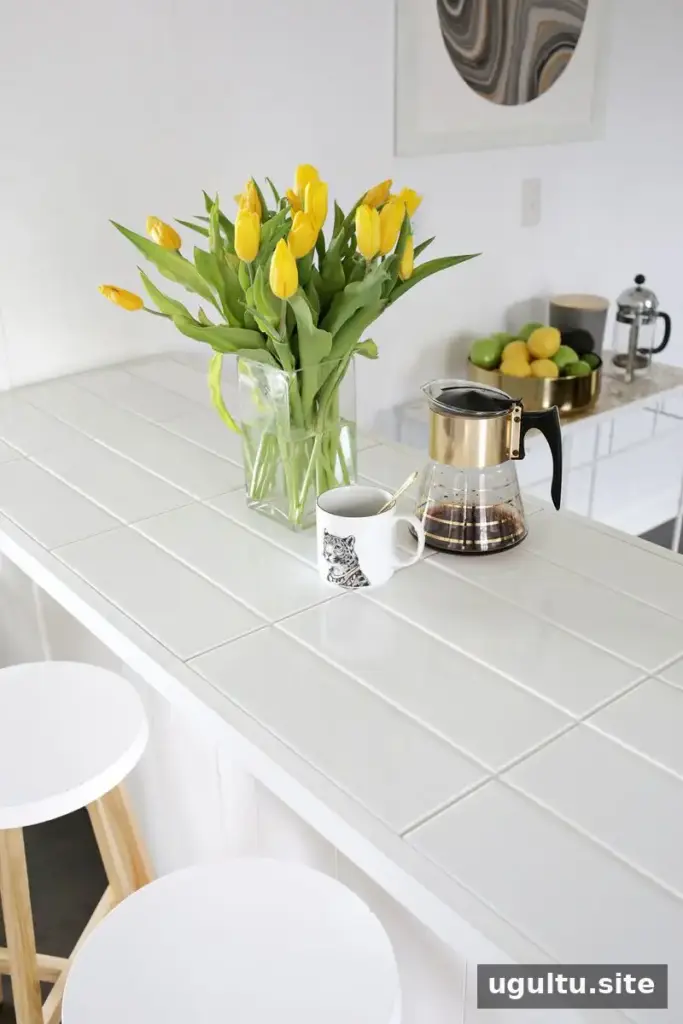
A tiled top can provide useful counter-height workspace during a phased kitchen renovation, and its surface can be wiped clean as needed. Measure the tile layout carefully, use a stable backer, and plan the trim before installation. Those steps make this tiled countertop DIY easier to fit together without renting a tile saw. Follow the instructions for the adhesive, grout, and tile you choose, especially for drying times and any recommended sealing.


