
 admin

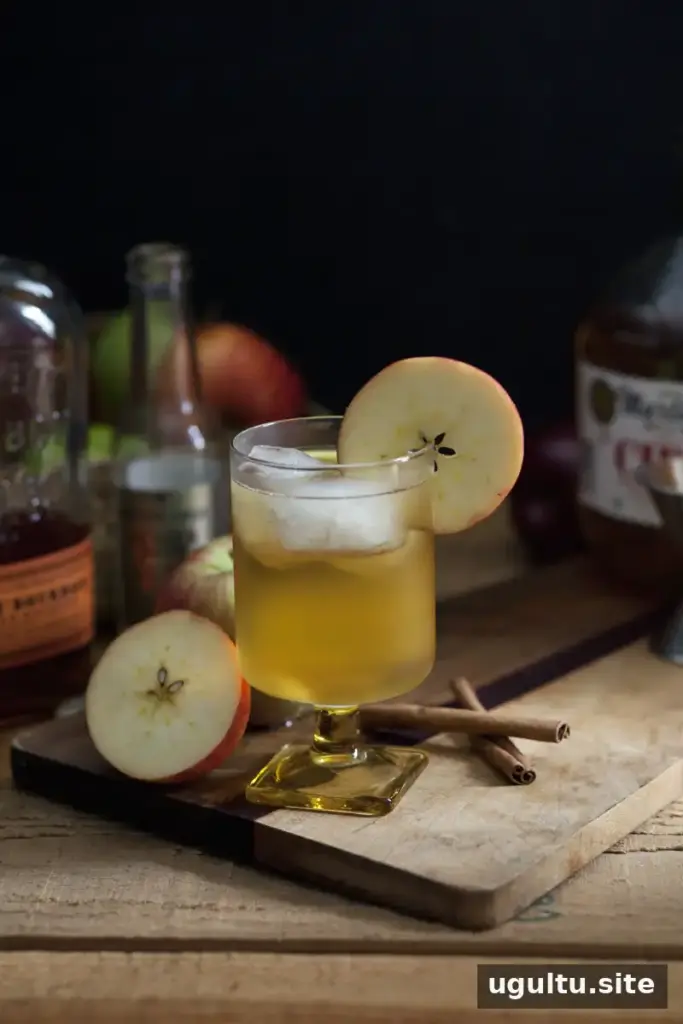
Natural light still life photography can be shaped with a window and a few simple materials. The direction and softness of the light affect the mood, contrast, and overall appearance of a photograph, so learning to control it is a useful first step. These three window-light setups can help you create dramatic, bright, or evenly lit food and product images at home.
Prepare and diffuse window light
For the setups below, use sheer white curtains or privacy film to soften direct sunlight. On an overcast day, the light may already be diffuse enough that extra material is unnecessary. Check how the light falls on your subject before arranging the scene, and adjust the setup if the shadows are too harsh.
Dark and moody natural light still life photography
This dramatic approach is often called chiaroscuro: a strong contrast between illuminated areas and deep shadows. The lit part of the subject draws attention, while a darker background helps create a rich, intimate mood.
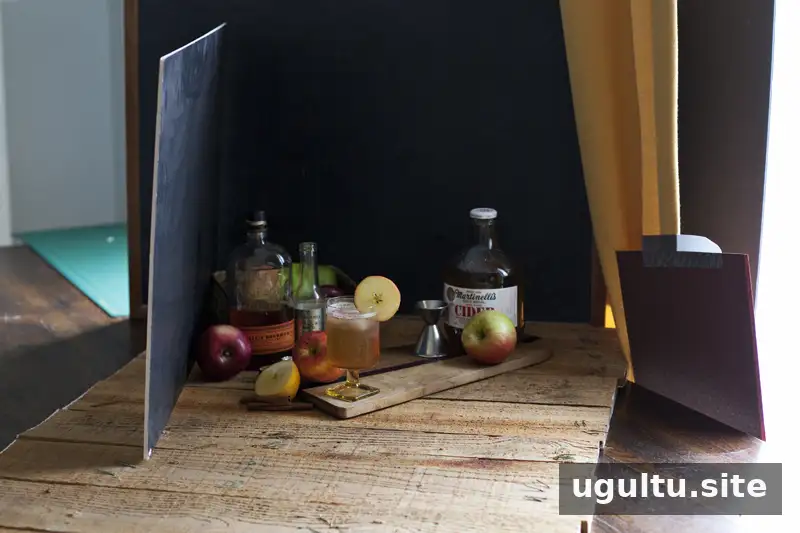
In this arrangement, window light reaches the side of the subject while the background and surrounding props remain in shadow.
To try this look, choose a dark backdrop and use a black flag to absorb or block some of the incoming light. A black chalkboard can work as a backdrop, while textured wood boards make a contrasting surface. For stronger contrast beneath the subject, consider a dark surface such as a chalkboard, stained wood, or dark baking sheet.
A black flag is any non-reflective dark material used to reduce or block light. Black foam board, a board covered with black fabric, or a photography flag can all serve this purpose. Avoid reflective materials, which may bounce light back onto the scene.
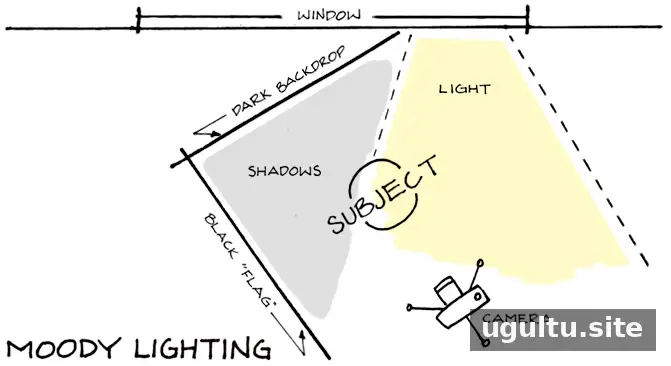
Arrange the backdrop and flag beside the window as shown. If you need to prop them up, use stable, heavy household items and make sure the boards cannot tip over. Keep the subject just inside the window light and the background in shadow. For additional contrast, place a small dark card between the window and the foreground surface to limit the light reaching that area.

This setup creates a distinctly dramatic look that can suit cozy, seasonal subjects such as warm drinks and comfort foods.
Bright and airy window lighting
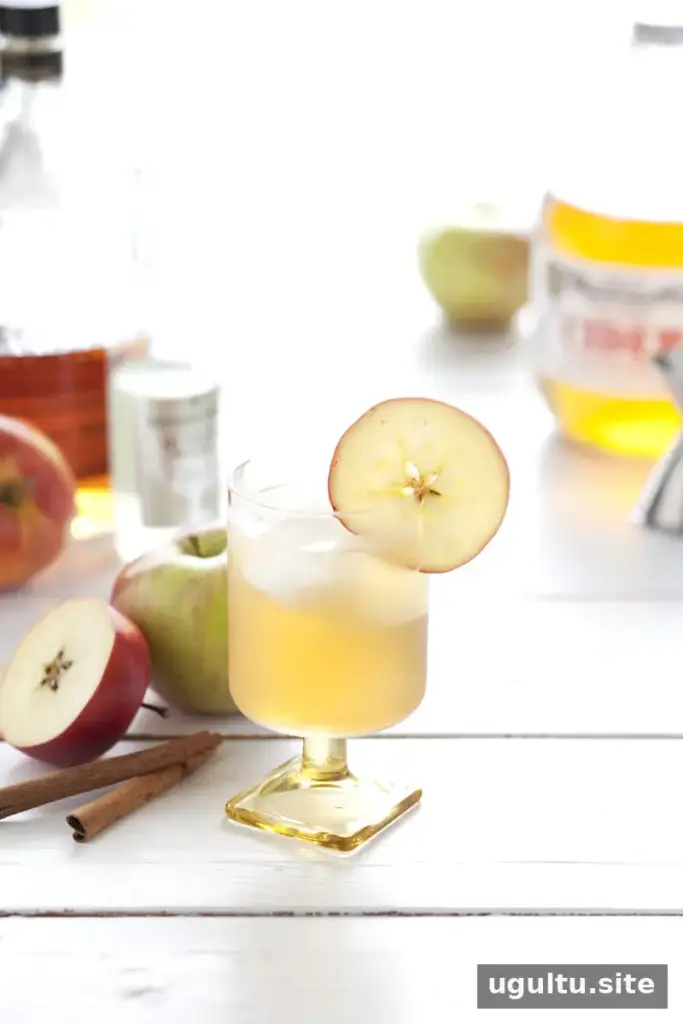
A bright, airy style uses a light-colored setting, generous illumination, and restrained props for a clean, fresh appearance. It works especially well for images where you want the subject and its surroundings to feel light and uncluttered.
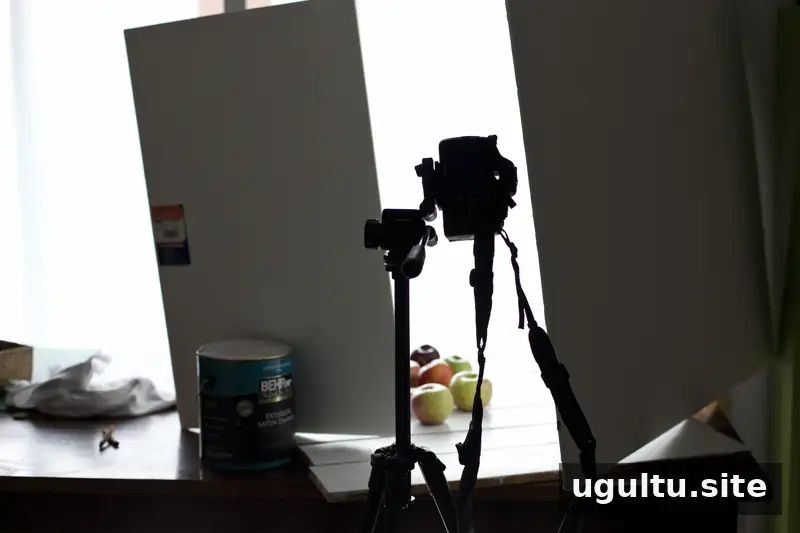
Backlighting can create bright highlights around a subject and help produce a luminous background. For this setup, use a predominantly white surface and large pieces of white foam board. White-painted boards add texture, while layered linens, lace, or lightly crumpled white paper can provide subtle detail without making the scene feel busy.
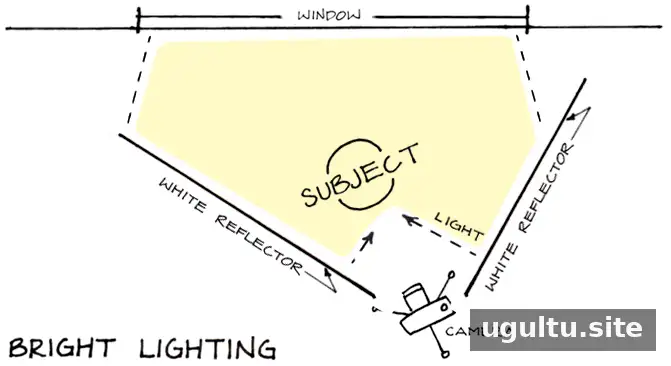
Place the subject in front of the window and angle it slightly so the light comes from behind and to one side, rather than directly from behind. Use white foam board or a reflector to bounce some of the window light onto the front of the subject.
Without a reflector, the front of the subject may appear too dark against a very bright window. A larger reflector can soften the contrast across a wider area; for close-up photographs, a piece of white card may be sufficient. Check the subject and background in your camera’s preview, then move the reflector closer or farther away to adjust the fill.
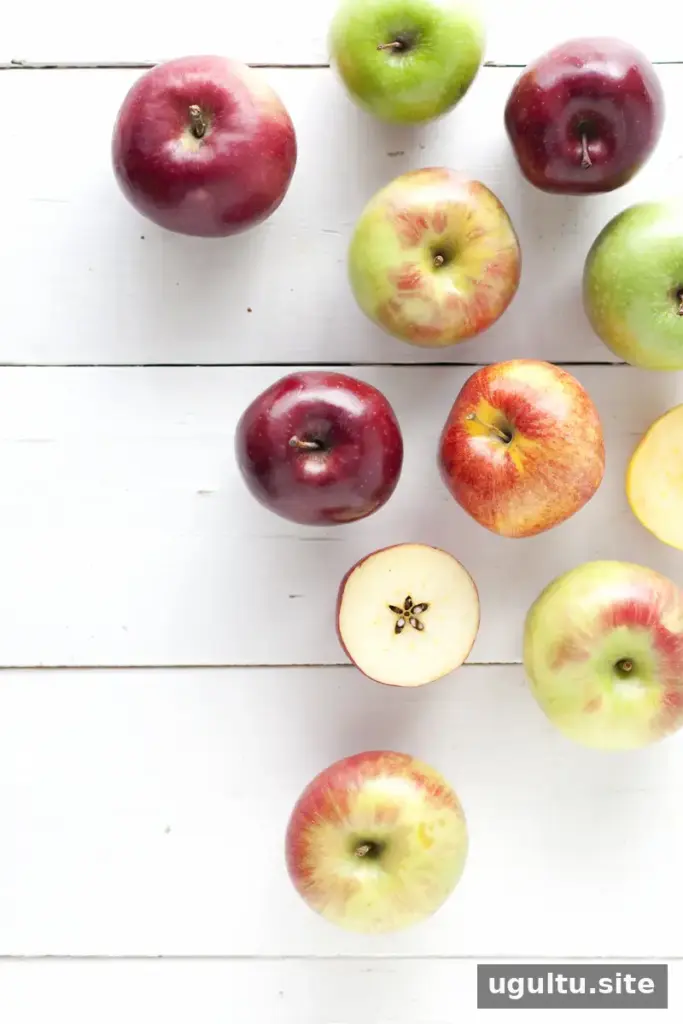
This arrangement produces plenty of light and relatively limited shadows. The backlight supplies the highlights, while the white surfaces help keep the overall scene feeling bright.

How to create even lighting
If you are still choosing a style, even lighting is a flexible starting point. It works with a range of backdrops, colors, and props, and can help make the light across the scene feel more balanced.
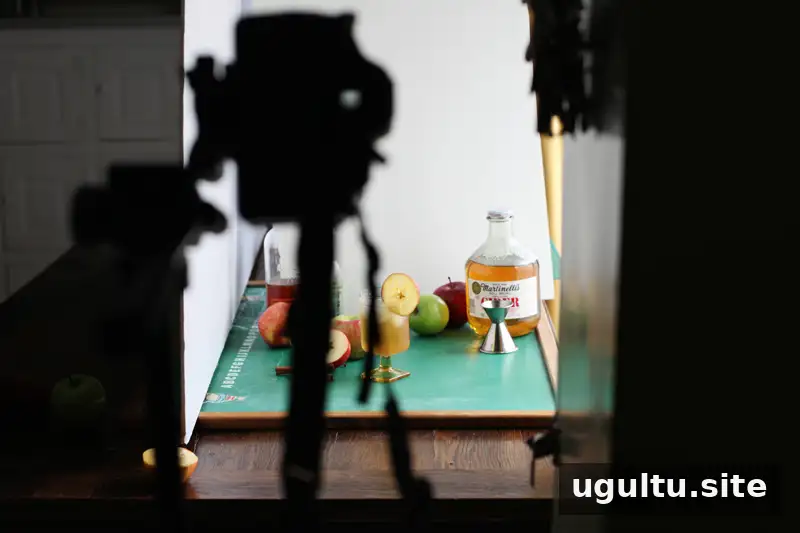
Create a simple light setup beside a window with two large pieces of white foam board or a white reflector. If you prefer a non-white background, use one reflector and choose a different backdrop material for the scene.
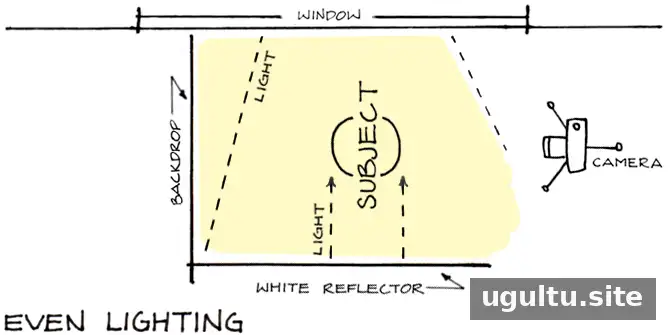
Position the white reflector parallel to the window, close to the subject but outside the camera frame. It will bounce window light back onto the subject, brightening the side opposite the window while retaining soft shadows. The direct window light should remain stronger than the reflected light for a natural-looking result.
A white backdrop can also reflect light toward the rear of the subject, though it is optional. You can instead show part of a room or use a medium-toned textured surface, such as fabric stretched over a board or wallpaper. Moving the backdrop farther from the subject can soften its shadows. Tilting it slightly backward may also help it reflect light upward.
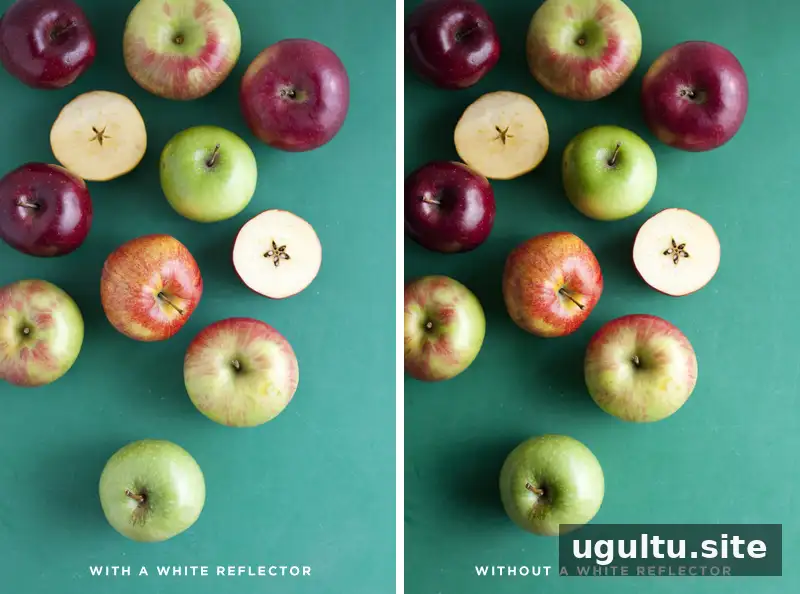
To make the shadows more pronounced, remove the white reflector. For deeper shadows, add a black flag—but avoid blocking the window light directly from the subject unless you want a much more dramatic chiaroscuro effect.
Practical tips for better results
- Make one change at a time, such as moving the reflector or flag, so you can see how it affects the light.
- Keep boards and props securely supported, especially when positioning them near a window or above a tabletop.
- On sunny days, diffuse direct light with sheer white curtains or privacy film; on overcast days, first check whether the light is already soft enough.
- Review both the subject and the background in the frame so that bright areas and shadows support the intended mood.
With practice, natural light still life photography becomes easier to control. Start with the setup that best suits your subject, then adjust diffusion, reflectors, and dark flags to shape the light and refine the final image. —Mandi


