admin
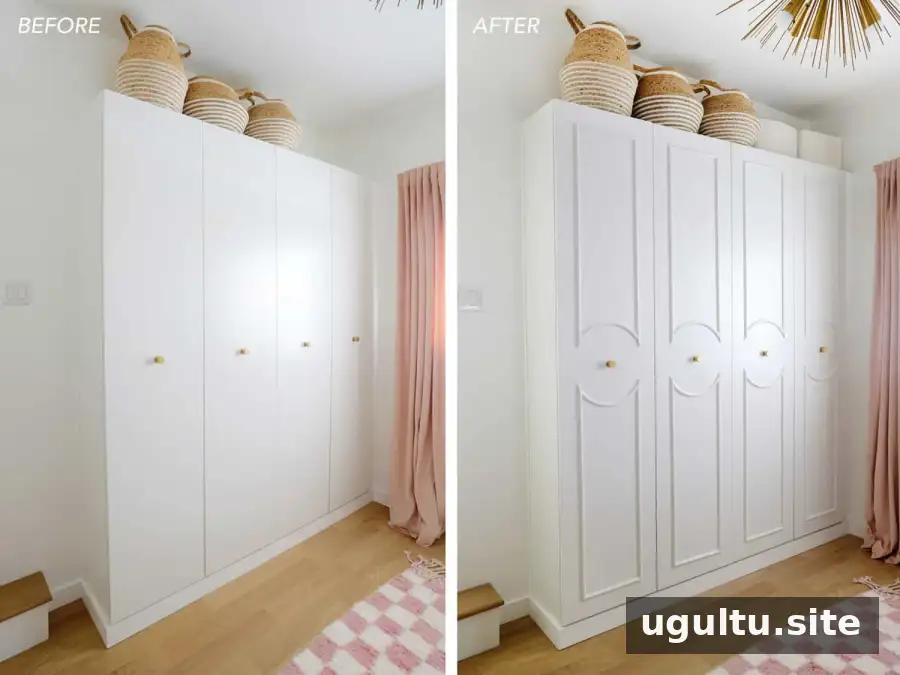
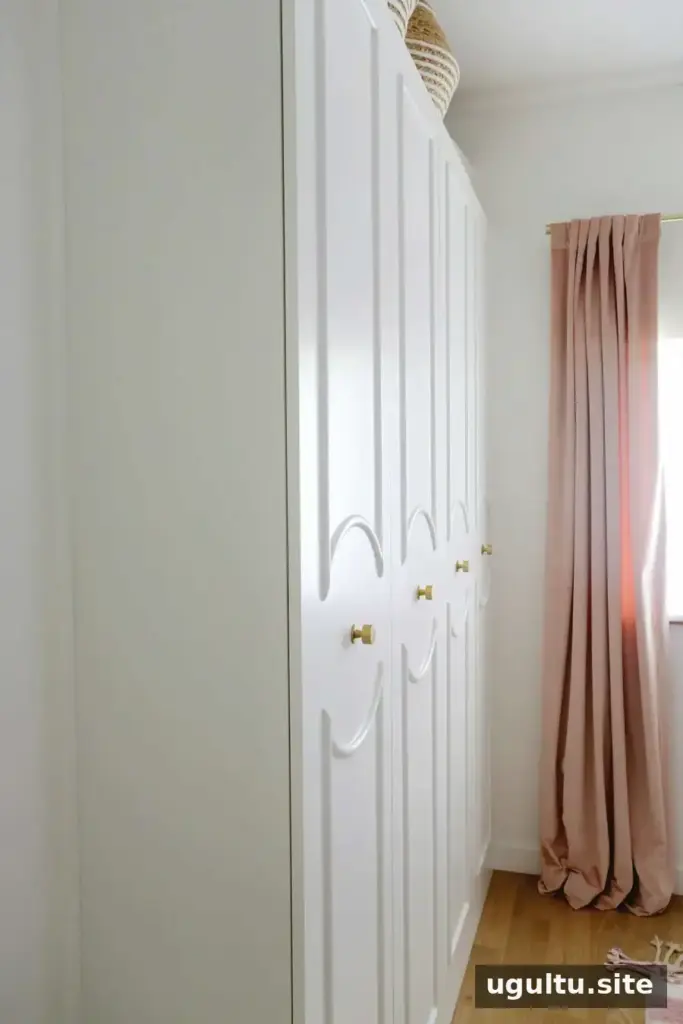
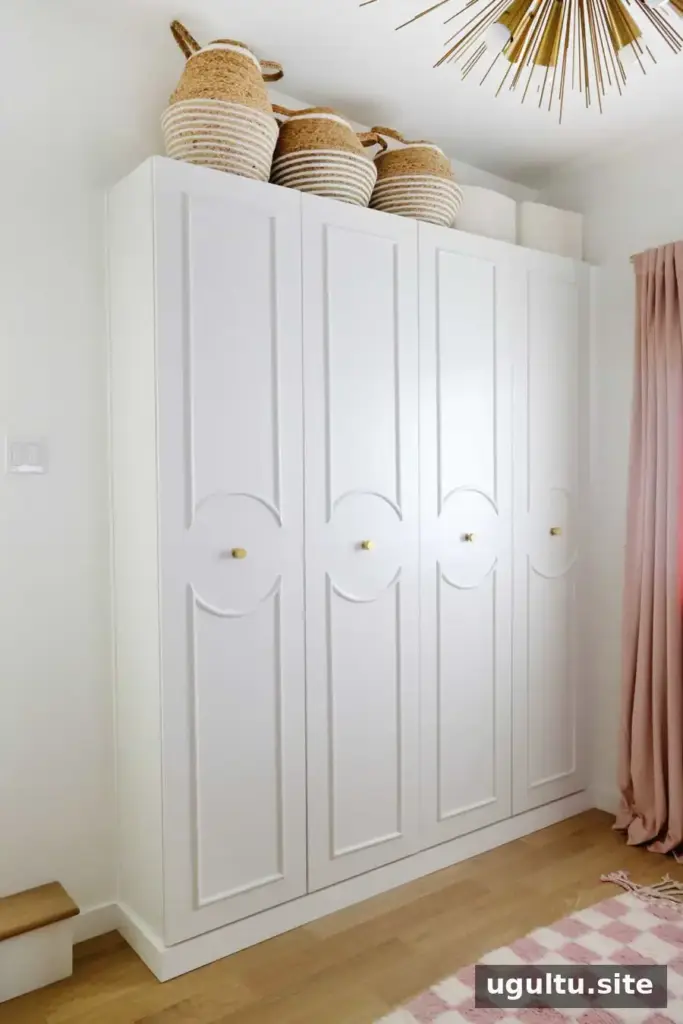
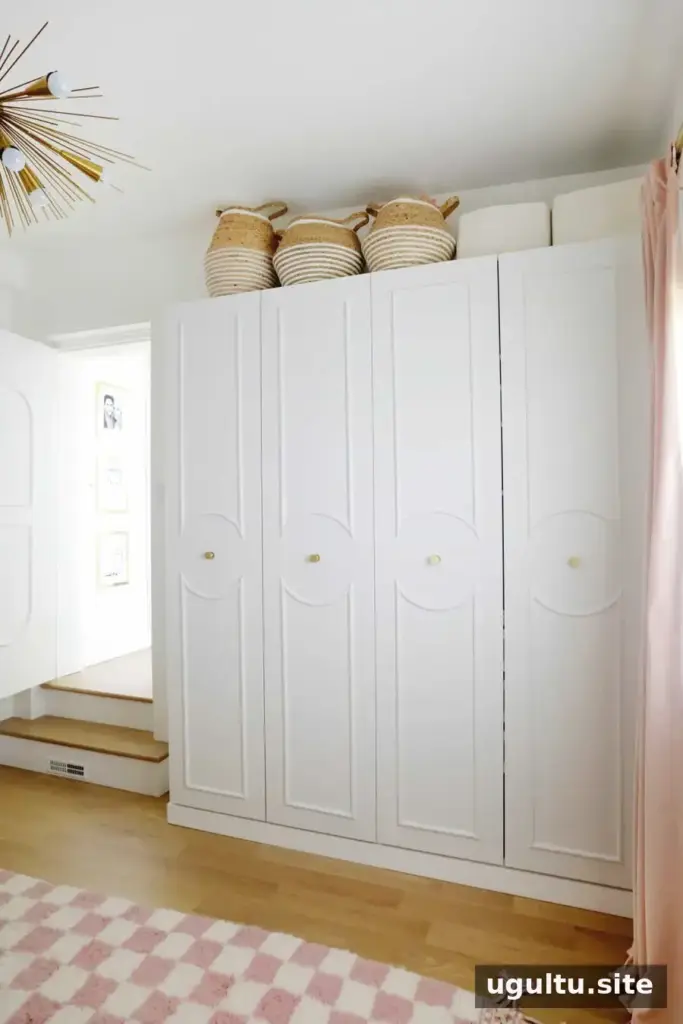
IKEA PAX wardrobe trim is a practical way to give plain wardrobe doors a more tailored, custom appearance. This project uses straight and flexible half-round molding to create an arch detail, then finishes the doors with filler, caulk, primer, and paint. The instructions below cover a four-door project that takes about one day and costs approximately $50.
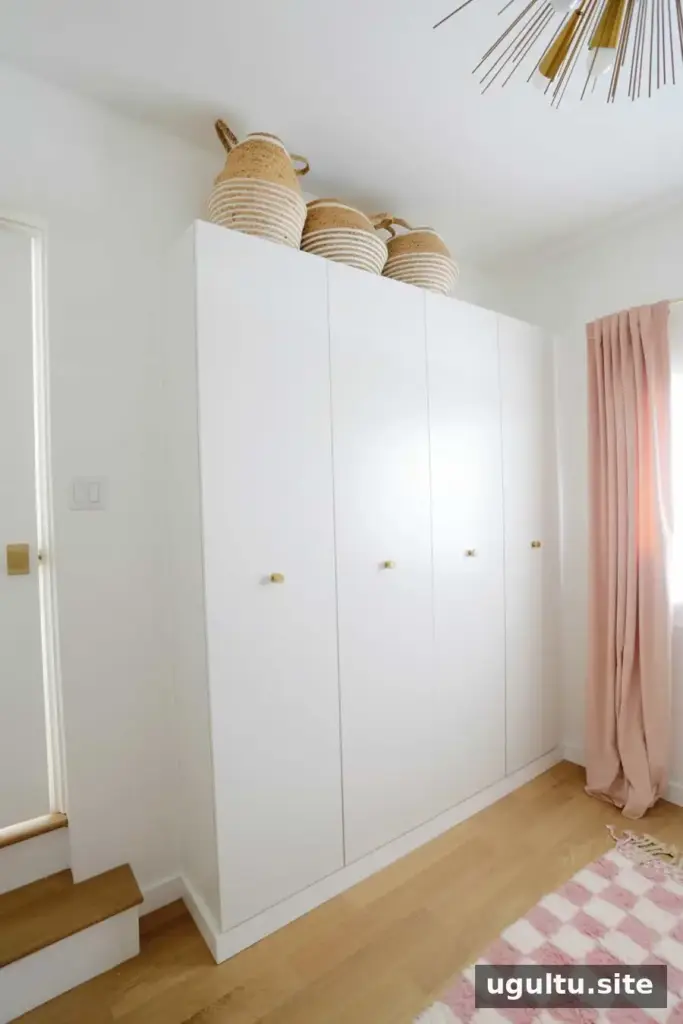
How to plan IKEA PAX wardrobe trim
This design works best with a single knob positioned near the center of each door. Install the hardware before planning the molding so the trim can be laid out around it. A 14-inch wooden circle serves as a guide for the curved section, while the straight molding frames the arch.
Measure carefully and use the same spacing on every door. In this design, the straight trim sits 3.5 inches in from the door edge. Before attaching anything, tape the pieces in place and check that the layout is level and consistent.
Materials and tools
- Drill, painter’s tape, and a level
- 14-inch wooden circle
- Straight half-round molding, 3/8 inch by 3/4 inch
- Flexible half-round molding, 3/8 inch by 3/4 inch
- Miter saw, or hand saw and miter box; craft saw for flexible molding
- Finish nail gun and 3/4-inch brad nails
- Wood filler, fine sandpaper, and caulk
- Primer suitable for laminate and acrylic paint
- A spindle brush for molding and a small roller for flat areas
Flexible molding can be difficult to bend evenly from a straight length. Pre-bent pieces are an option for the arch and can make positioning easier. Always follow the tool and material manufacturers’ safety instructions, especially when cutting molding.
Make the arch guide and mark the molding
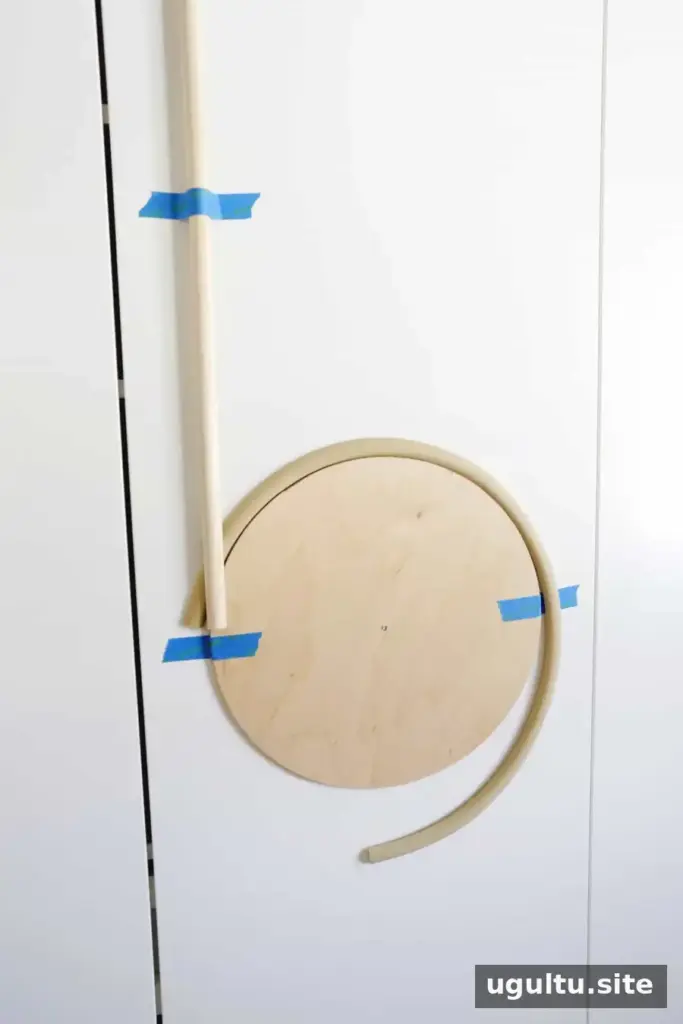
Remove the door knob and drill a hole through the center of the wooden circle, sized to fit the knob screw. Hang the circle on the screw as a temporary guide, then secure it against rotation with painter’s tape.
Drape the flexible molding over the top of the circle. Position the first straight molding piece on the upper-left side, 3.5 inches from the door edge, with its end just touching the circle. Tape both pieces in place while you check their alignment.
Use a pencil to mark where the straight molding meets the flexible piece, following the angle down to the circle. This line provides a guide for the cut. Repeat the layout on the opposite side so the arch looks balanced.
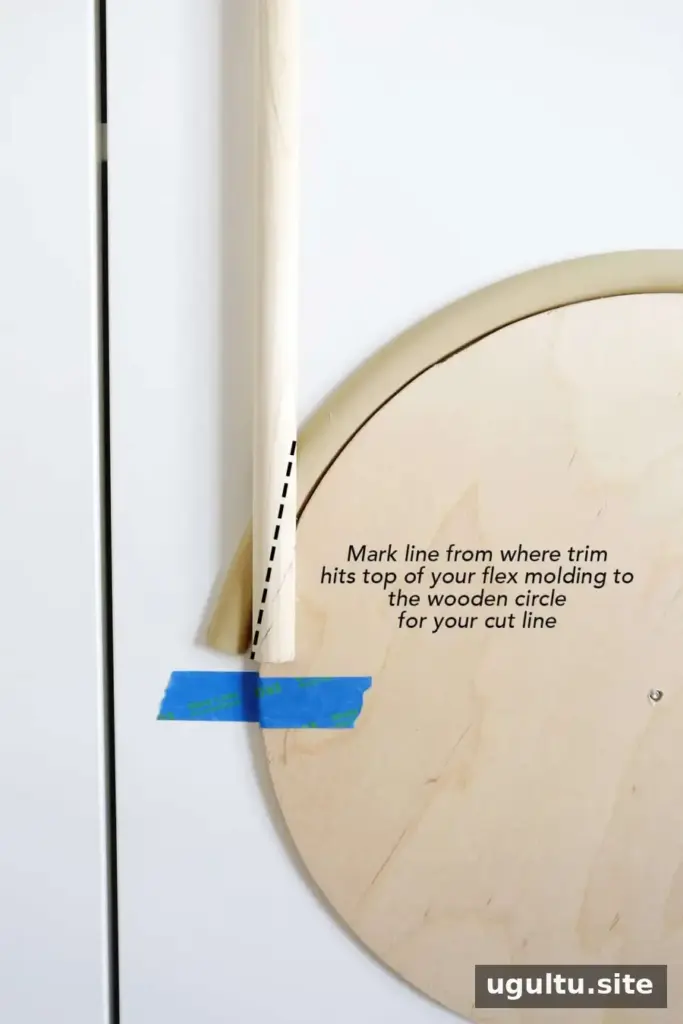
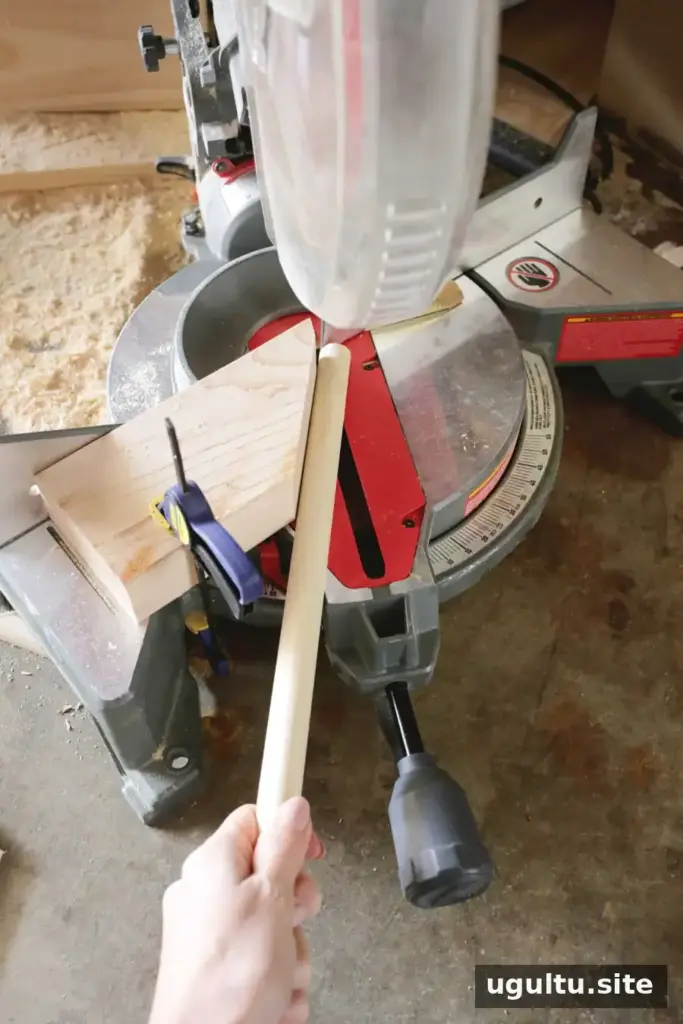
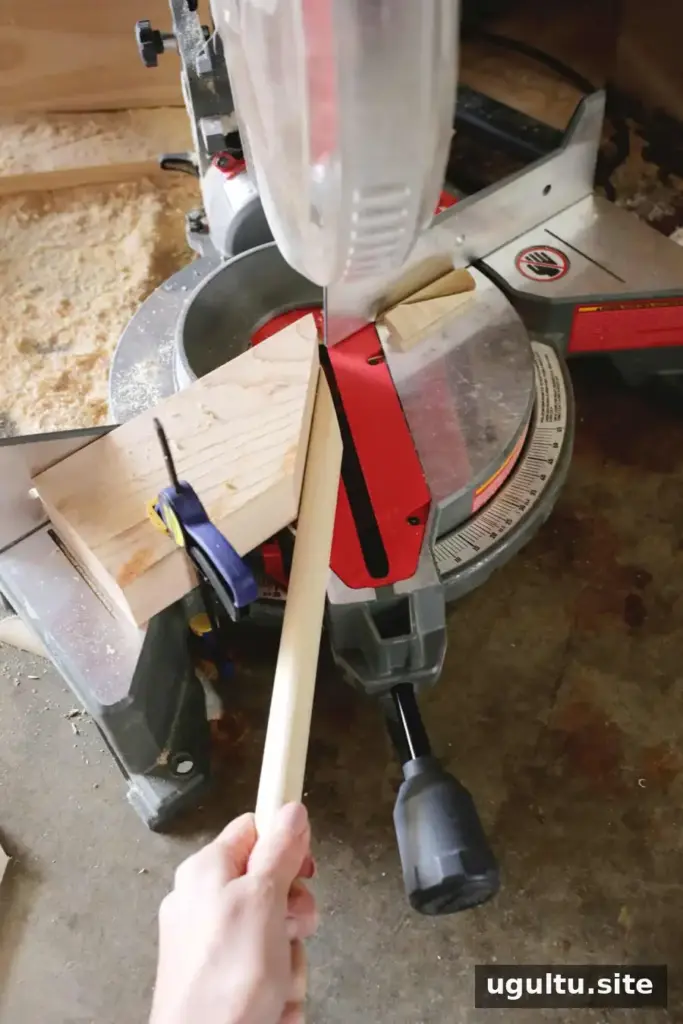
The angled cut may be greater than 45 degrees, which is beyond the range of many miter saws. One approach is to clamp or glue a scrap piece of wood to the saw as an additional guide. Make a 45-degree cut in the scrap, keep it secured, then set the saw to 25 degrees. Together, the angles create a 70-degree cut (45° + 25°), matching the example layout.
For the opposite side, create a matching guide on the other side of the saw or turn the molding over to cut a mirrored angle. If you do not have a power saw, use a hand saw to cut carefully along the marked line. Small gaps can be filled later, but accurate cuts make the final finish neater.
Cut and fit the flexible molding
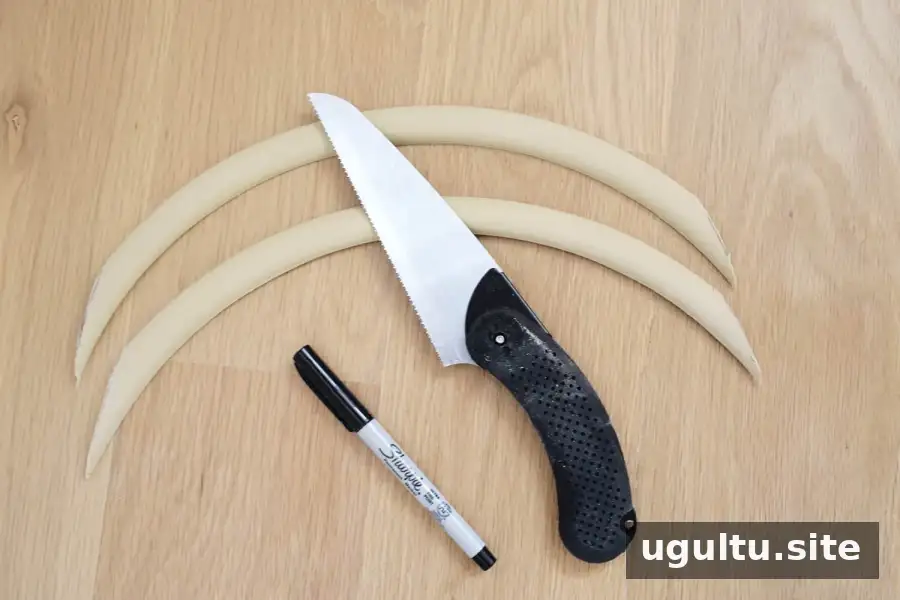
With the straight pieces temporarily taped back in place, mark where they overlap the flexible molding. Use those marks to determine the flexible section’s cut points. Flexible molding can shift or spring back while being cut, so work slowly and keep it firmly supported.
A craft saw or hand saw is a useful choice for this material, particularly for steep angles. A heavy-duty craft knife can also be used with repeated careful cuts; keep your hands clear of the blade. Dry-fit the cut pieces together before attaching them, then repeat the process for the lower arch.
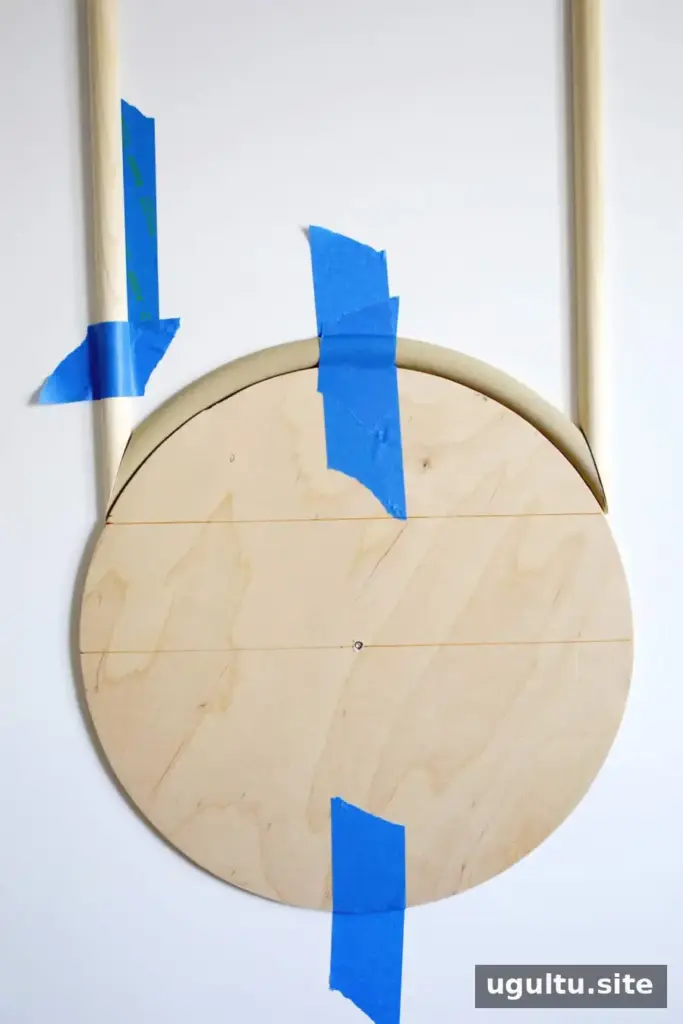
Once the curved sections fit, cut the vertical straight pieces to finish 3.5 inches from the top and bottom of the door. Use mirrored 45-degree angles to join them to shorter horizontal pieces. Test the complete layout on the door before moving on.
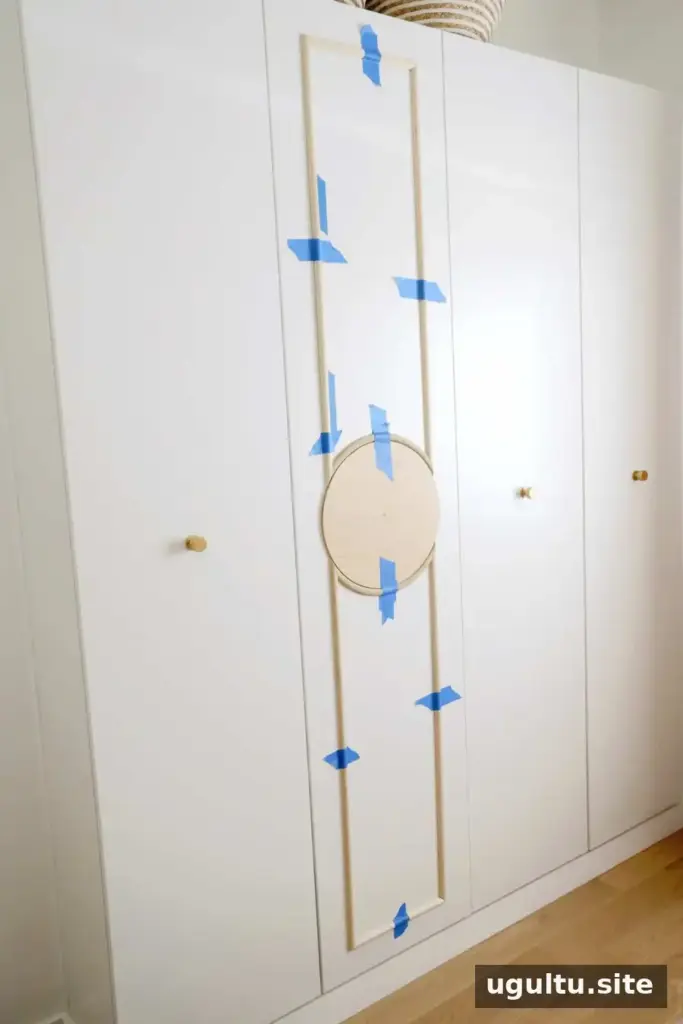
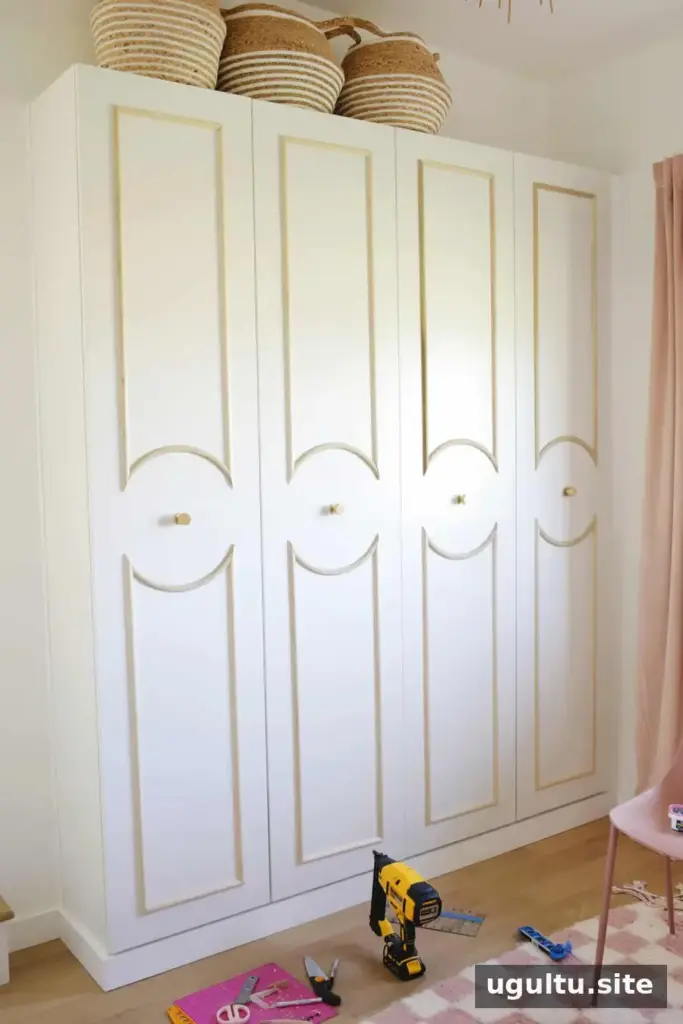
Attach, fill, and paint the trim
Repeat the layout for the remaining doors. Reuse the first set of cut pieces as templates to help keep the designs consistent. Tape the molding in place, check that it is level with the door edges, and attach it with a finish nail gun and 3/4-inch brad nails. Wood glue between the molding and door can provide additional hold.
Fill nail holes and any small gaps with wood filler, then let it dry and sand the surface smooth. Apply caulk where the trim meets the door for a more continuous appearance. Taking time to smooth these joints before painting helps the added molding look integrated with the door.
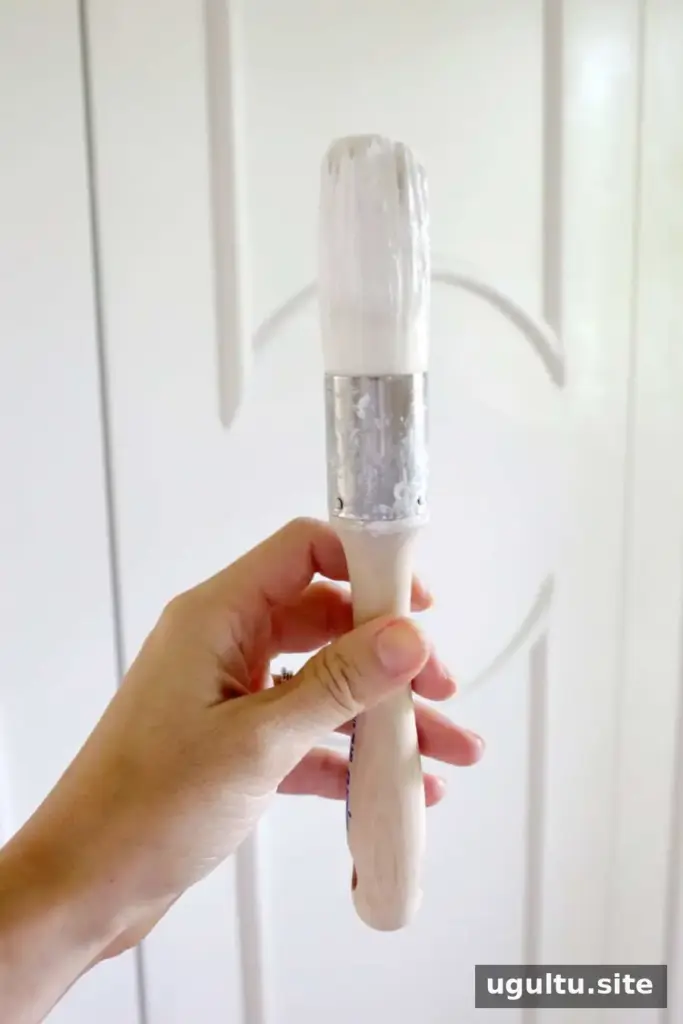
Because the doors have a laminate surface, use a primer designed for laminate before applying acrylic paint. This helps paint adhere and, when the primer is suitable for the surface, avoids the need to sand the doors first. Use a spindle brush to reach around the molding and a small roller on flat areas. Allow each coat to dry according to its product instructions before using the wardrobe.
When the paint has dried, reinstall the hardware and fill the wardrobe. The project specifications are approximately $50, four doors, and one day of work; actual time and cost can vary depending on materials and tools already available.
Final thoughts on IKEA PAX wardrobe trim
Adding IKEA PAX wardrobe trim creates a decorative, arched door detail using straightforward materials and careful measuring. Keep the spacing consistent, dry-fit each section before fastening it, and take extra care when cutting flexible molding. These steps help produce a polished finish that suits the room. — Laura