admin
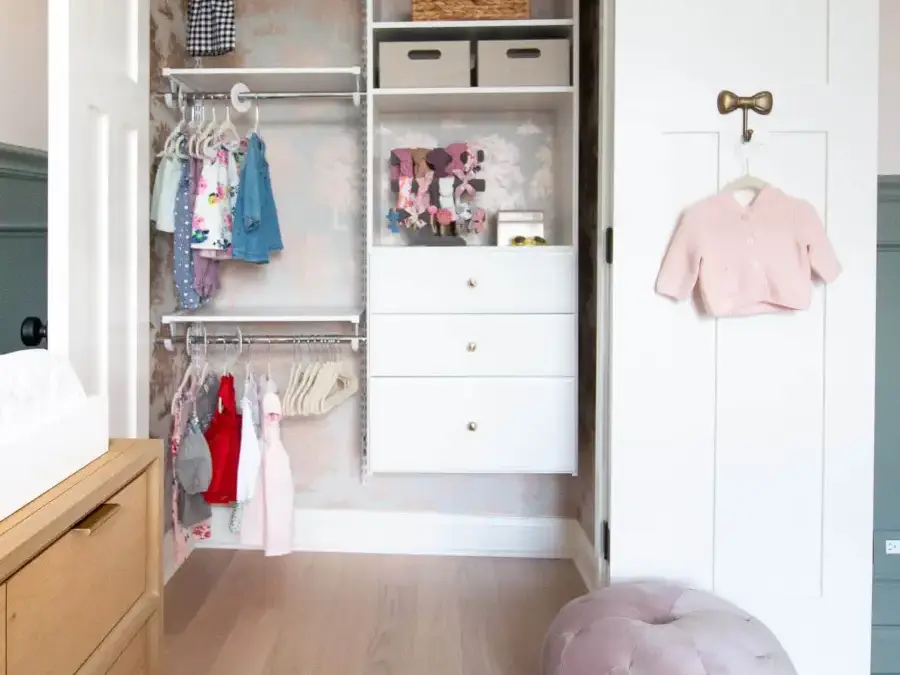
Learning how to wallpaper a nursery closet can be a manageable way to add color and pattern to a small space. With careful wall preparation, accurate measuring, and a little patience, you can create a polished feature that makes the closet feel like part of the room’s design. The steps below cover the supplies and techniques needed to complete the project.
For this nursery, the chosen design was Alebrijes, a whimsical pattern inspired by creatures seen on a trip to Mexico. Designer Erin hand-paints her designs, and the bold, colorful paper was selected to make a striking contrast in the closet.
Choosing Wallpaper for a Nursery Closet
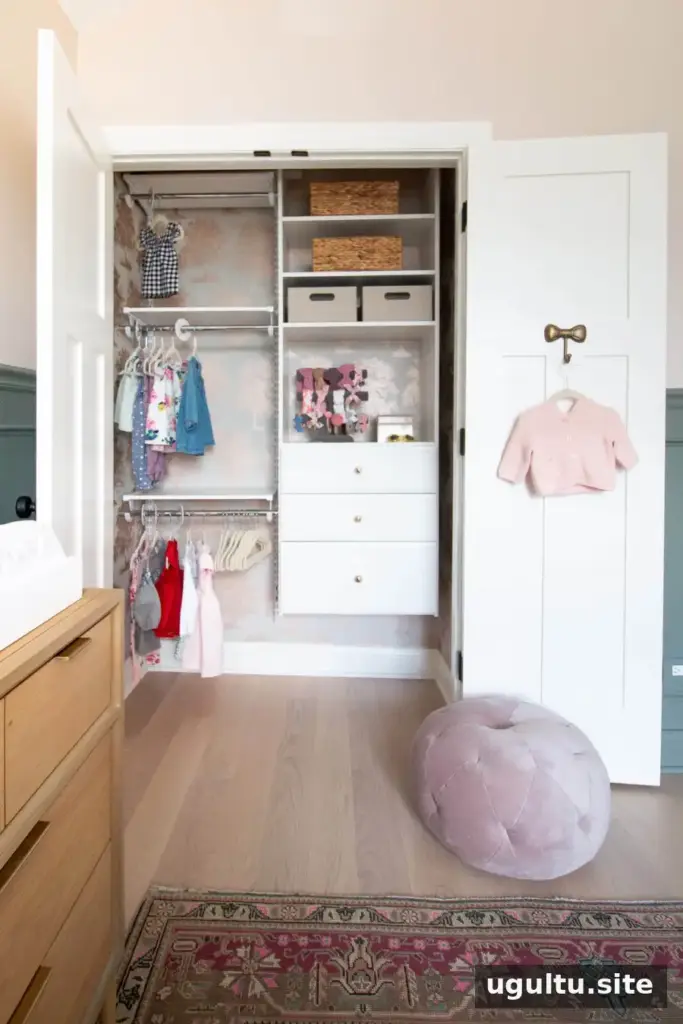
Closets are a useful place to experiment with a strong pattern: the paper makes an impact when the door is open without covering the room’s full wall area. Before choosing a design, consider how its colors work with the nursery and whether the pattern repeat will be easy to match across panels.
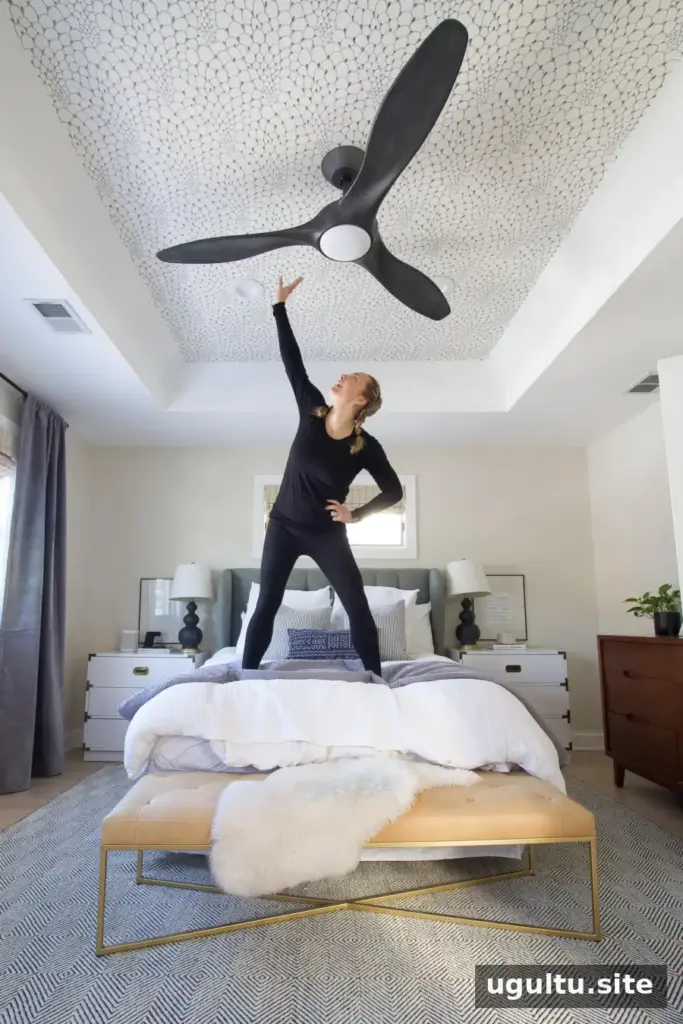
Large or distinctive motifs may need extra planning so the most appealing parts of the design land at eye level. Check the wallpaper’s pattern repeat and installation instructions before calculating how much to buy.
Wallpaper Supplies
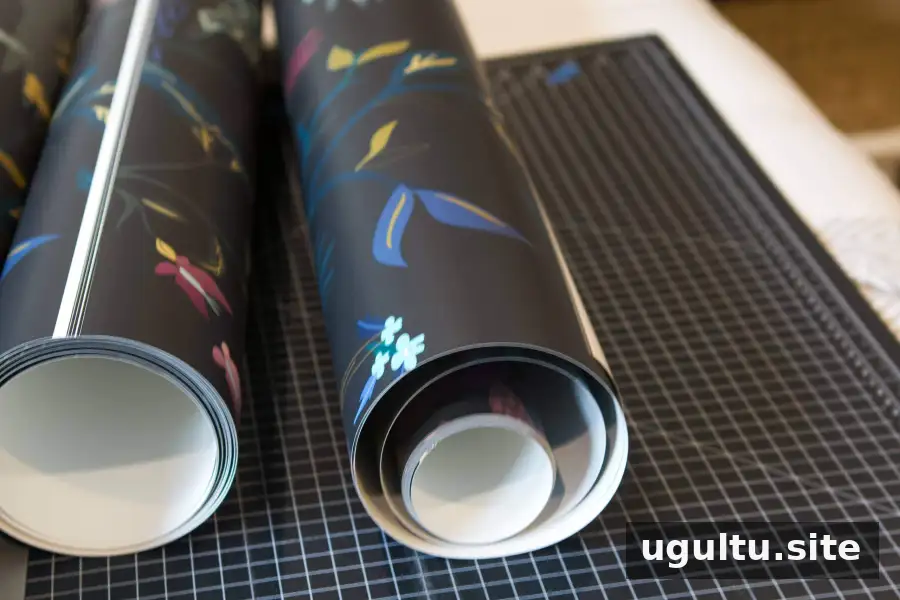
Gather the tools before starting so the paper can be applied and adjusted while the adhesive is workable:
- Wallpaper
- Wallpaper adhesive
- Tray and roller
- Paintbrush
- Tape measure and pencil
- Level or laser level
- Plastic smoothing tool
- Metal smoothing tool or straight edge
- Wallpaper brush
- Snap-off utility knife
- Sponge and bucket
- Seam roller
- Step ladder
- Primer
How to Wallpaper a Nursery Closet
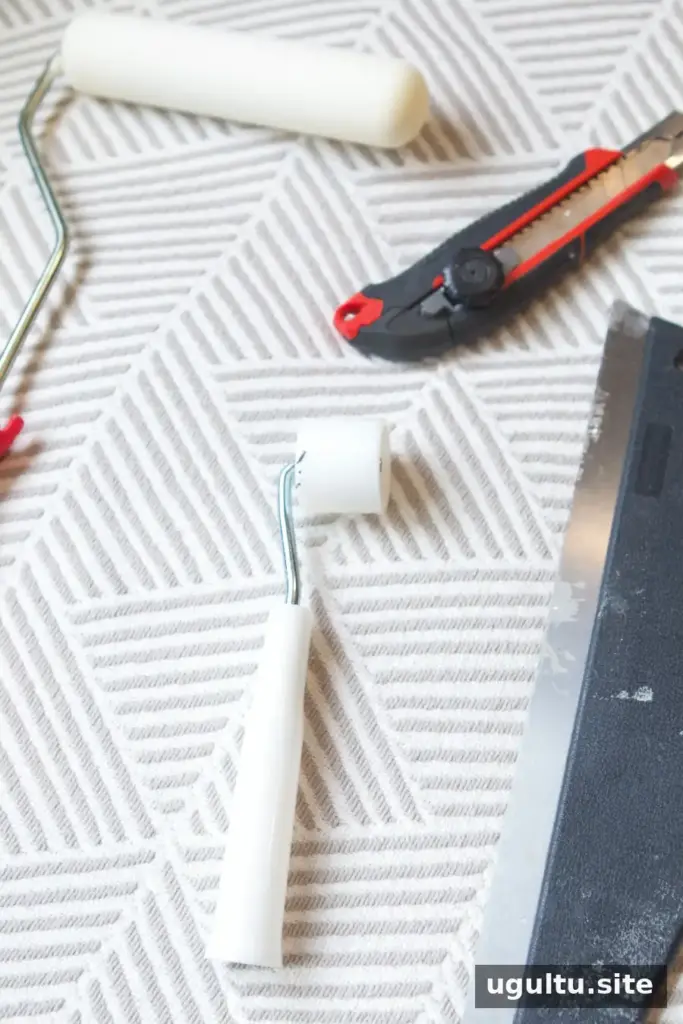
Measure the closet walls and allow extra paper for matching the pattern. Pattern alignment creates some offcuts, so ordering only the exact wall area may leave you short. Use a wallpaper calculator as a starting point, then confirm the amount against the paper’s pattern repeat and the supplier’s guidance.
Prepare the Walls
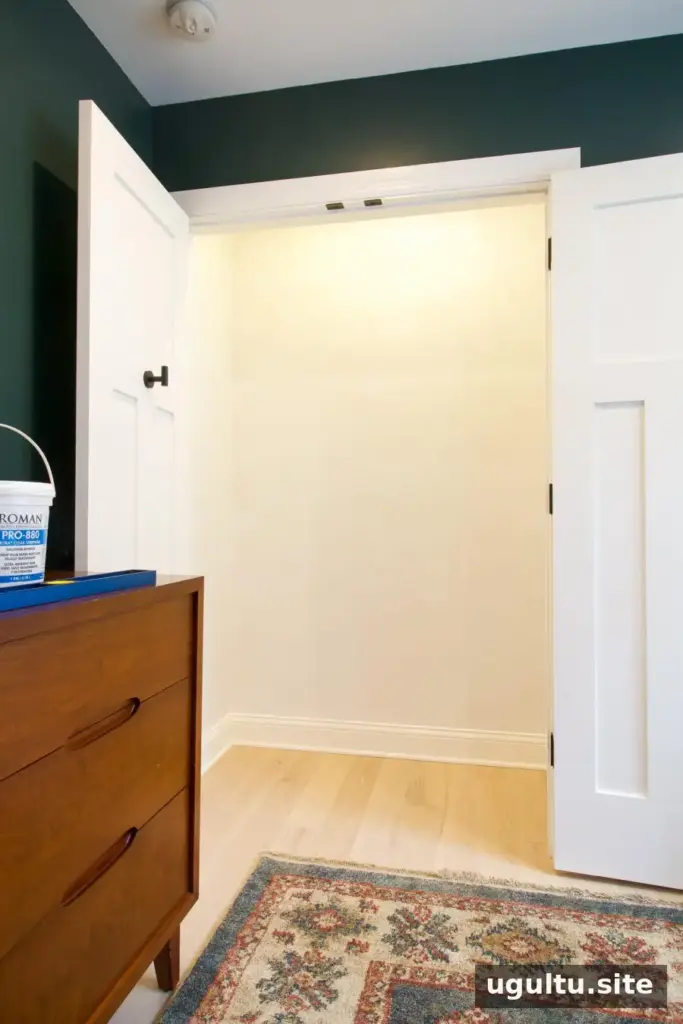
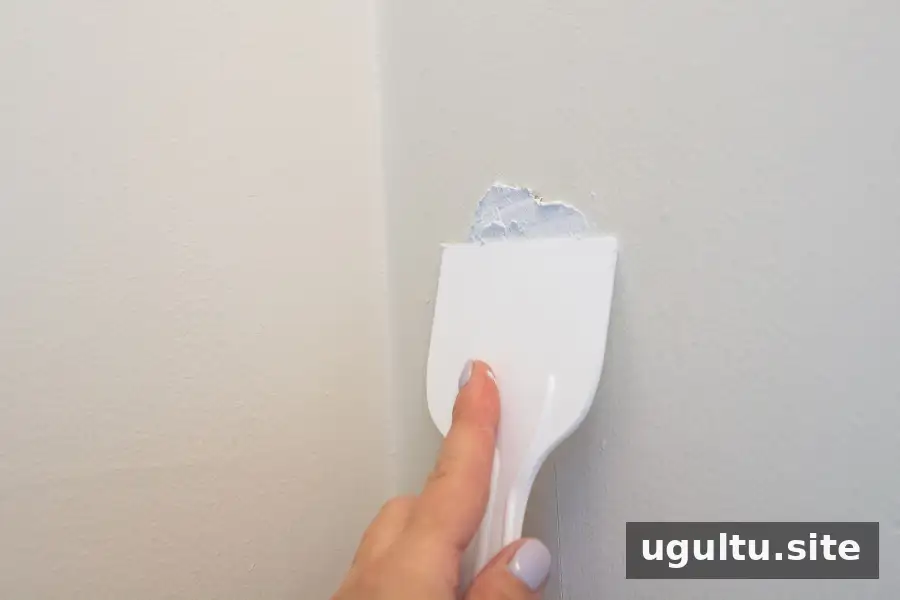
Remove shelves, rails, and other fixtures that would get in the way. Patch holes and dents, then let the repairs dry and sand them smooth. In this closet, a previous storage system had left 17 holes, all of which were patched before installation.
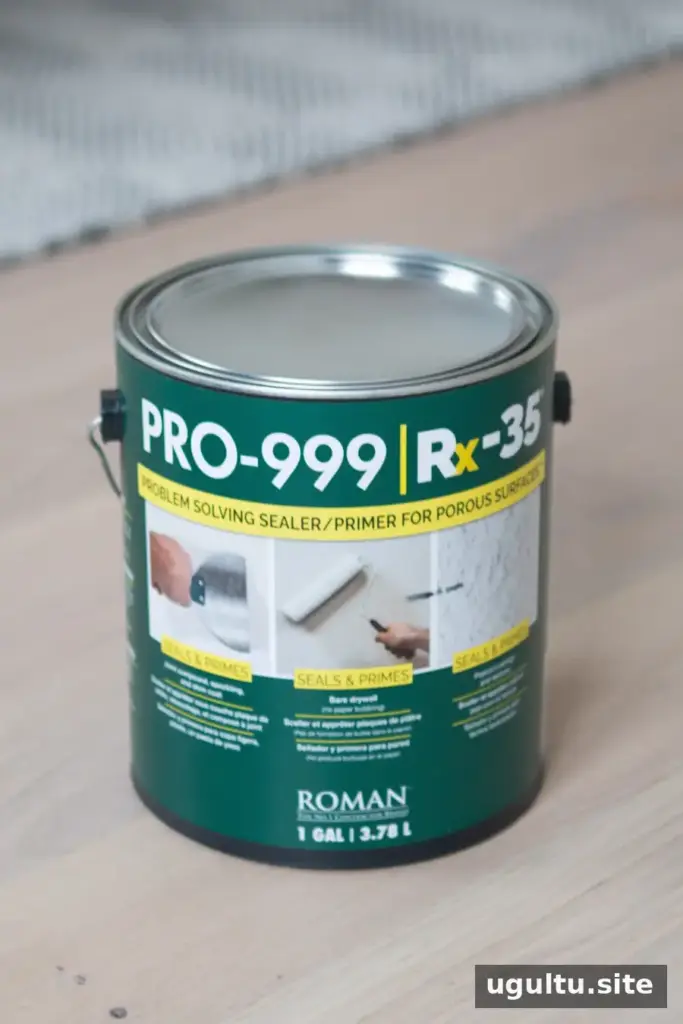
Apply a suitable wallpaper primer to help create an even surface and support adhesion. Allow the primer to dry fully according to its label. A clean, smooth wall makes it easier to position the paper and reduces the risk of bumps showing through.
Ask Someone to Help
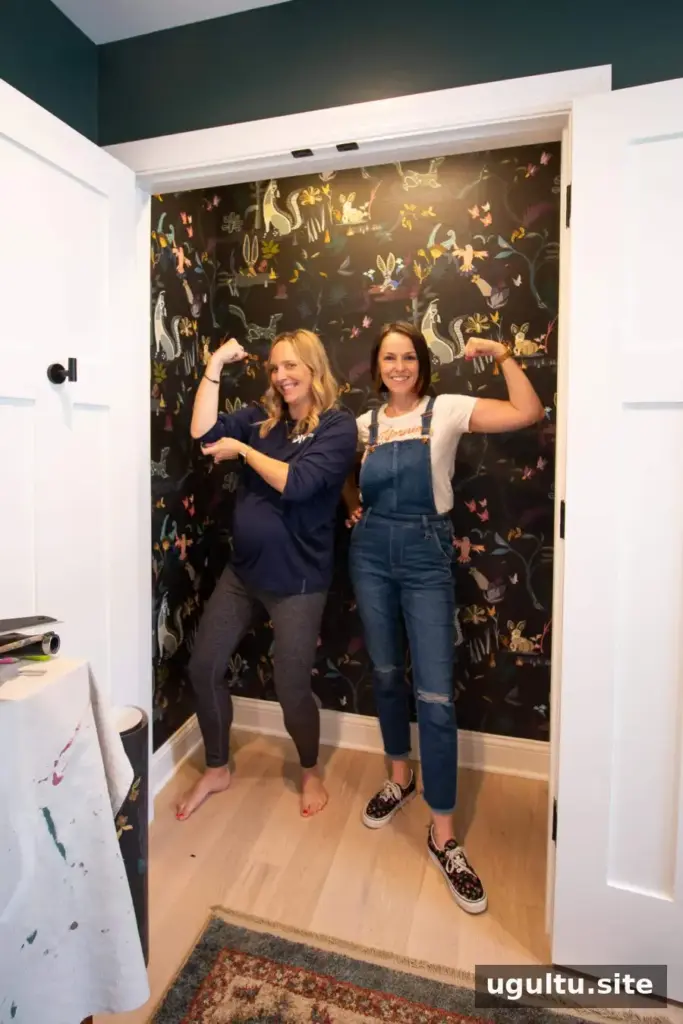
Wallpapering is easier with a second person, especially when working from a ladder. A helper can pass tools, hold the paper, and keep an eye on pattern alignment. If working alone, arrange all supplies within easy reach and move the ladder carefully rather than stretching.
Mark a Level Starting Line
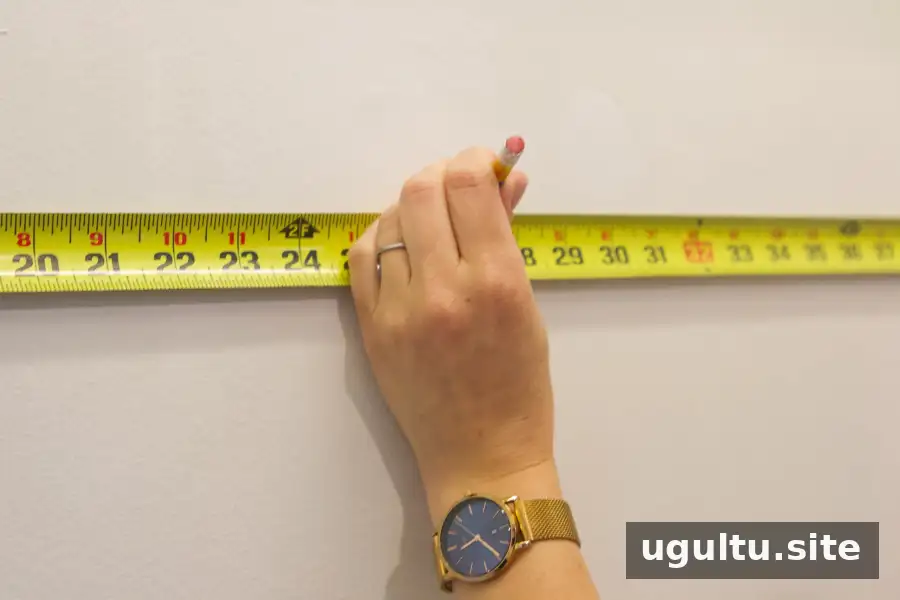
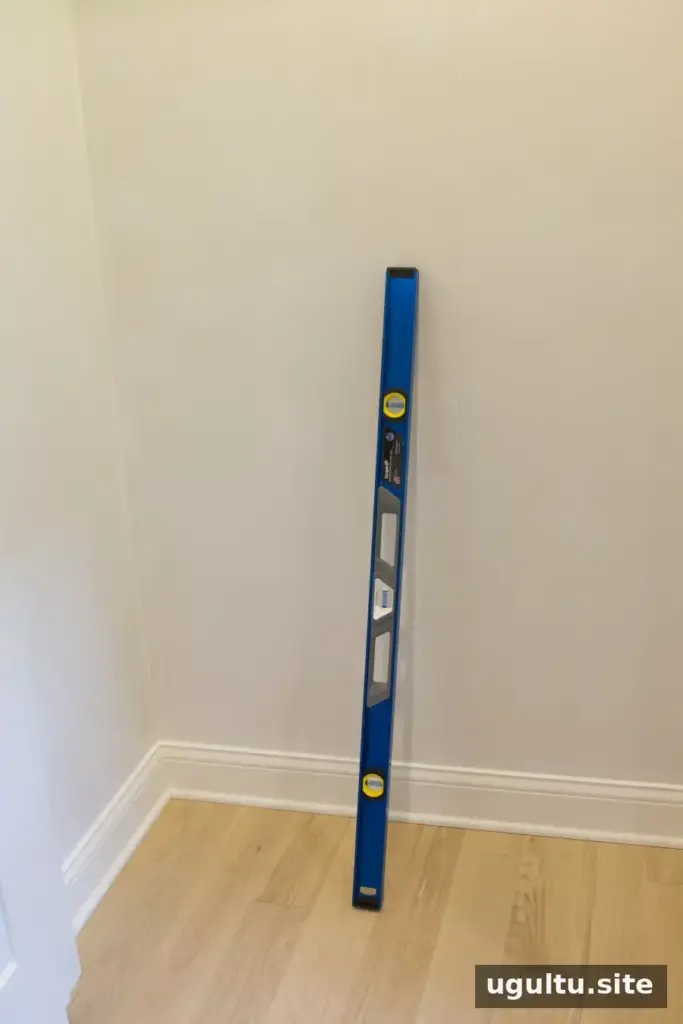
Measure the back wall and mark its midpoint. Use a level or laser level to draw a straight vertical line from the ceiling to the floor at that point. This line provides a reliable guide for the first panel; do not assume the corner or ceiling is perfectly square.
Prepare and Apply the Adhesive
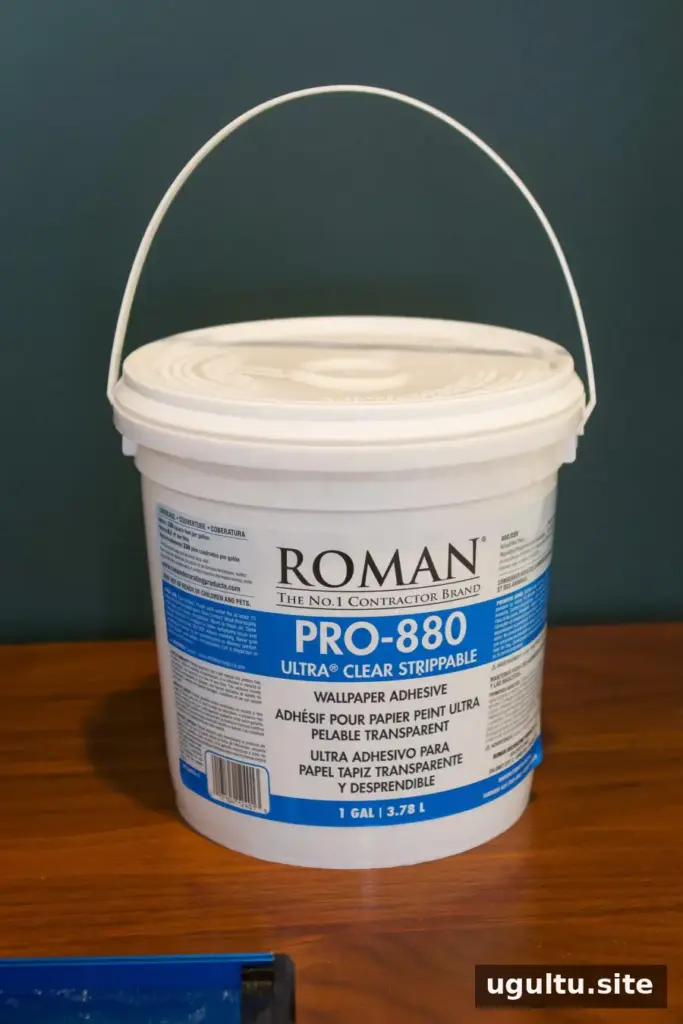
Use the adhesive specified for the wallpaper and follow its instructions first. For the adhesive used in this project, Erin recommended thinning three cups with about 1–2 tablespoons of water. Stir it in a tray until evenly mixed, without adding more water than needed.
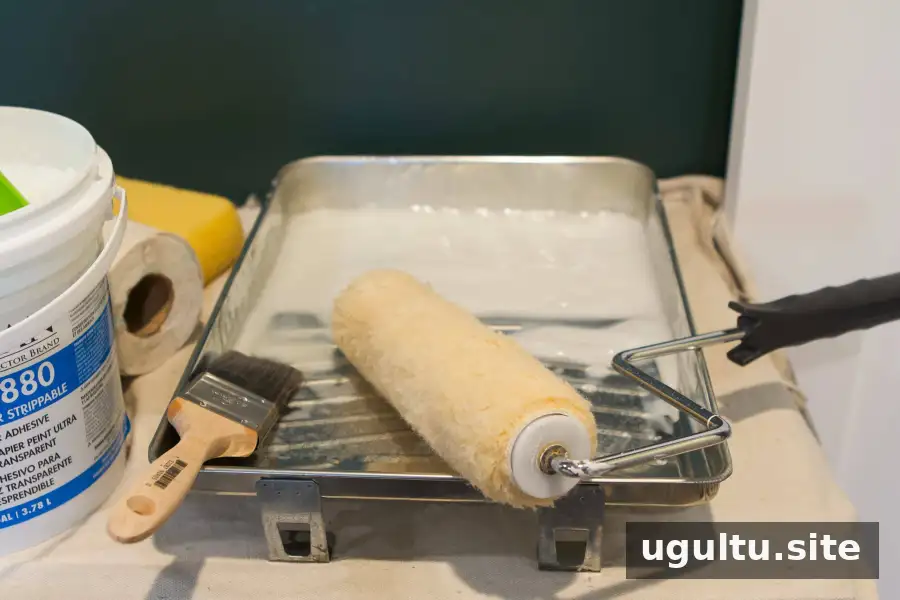
Apply adhesive to the wall with a roller, using a brush near the ceiling, floor, and corners for better control. The paper used here could be installed by pasting the wall rather than pasting and booking the paper. Wallpaper types differ, so check the manufacturer’s instructions before choosing an application method.
Hang the First Strip
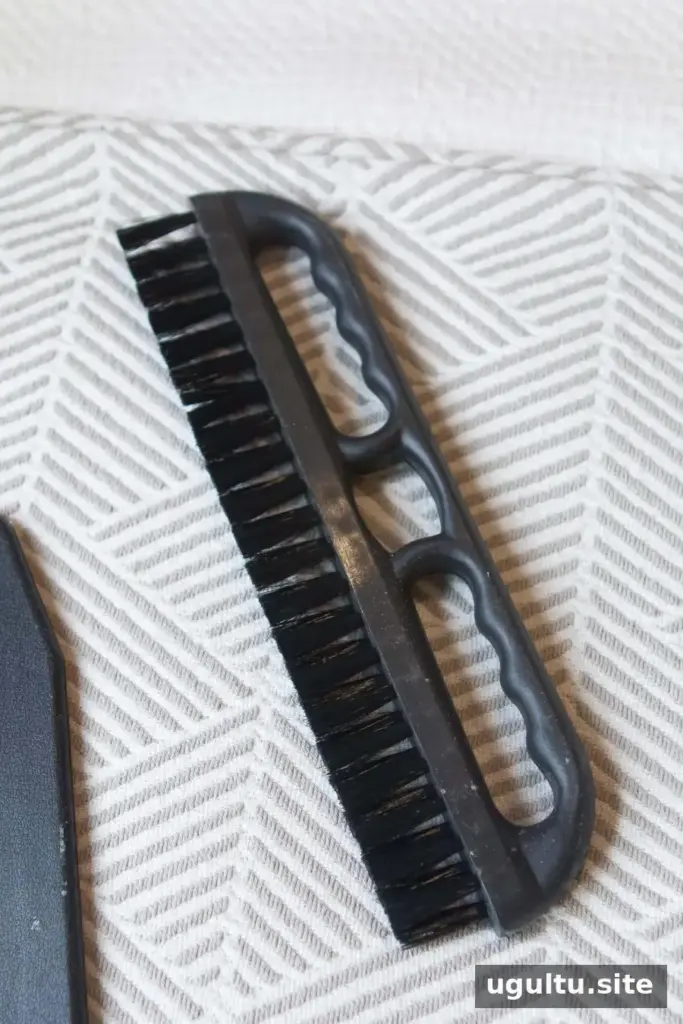
Decide where you want prominent parts of the design to appear, then position the first strip along the marked vertical line. Keep the paper straight from ceiling to floor. Once it is in place, brush from the center toward the edges to smooth it and push out air bubbles.
If the adhesive is still wet, many wallpapers can be gently lifted and repositioned. Work slowly and avoid pulling hard, which could stretch or damage the paper.
Trim the Edges and Clean Away Adhesive
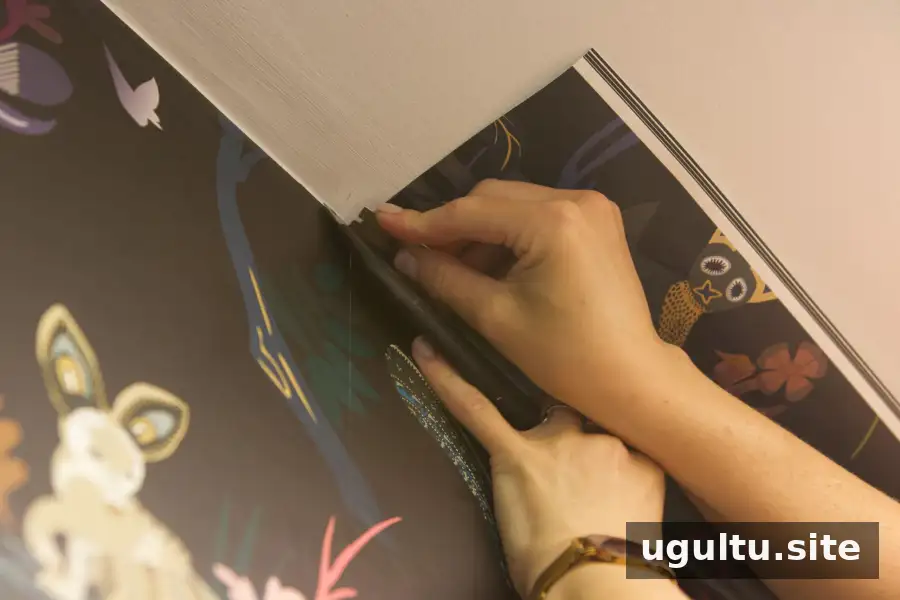
After positioning the strip, press a metal straight edge into the ceiling or floor corner and trim the excess with a sharp utility knife. Use a fresh blade for each panel to help make clean cuts, and handle blades carefully.
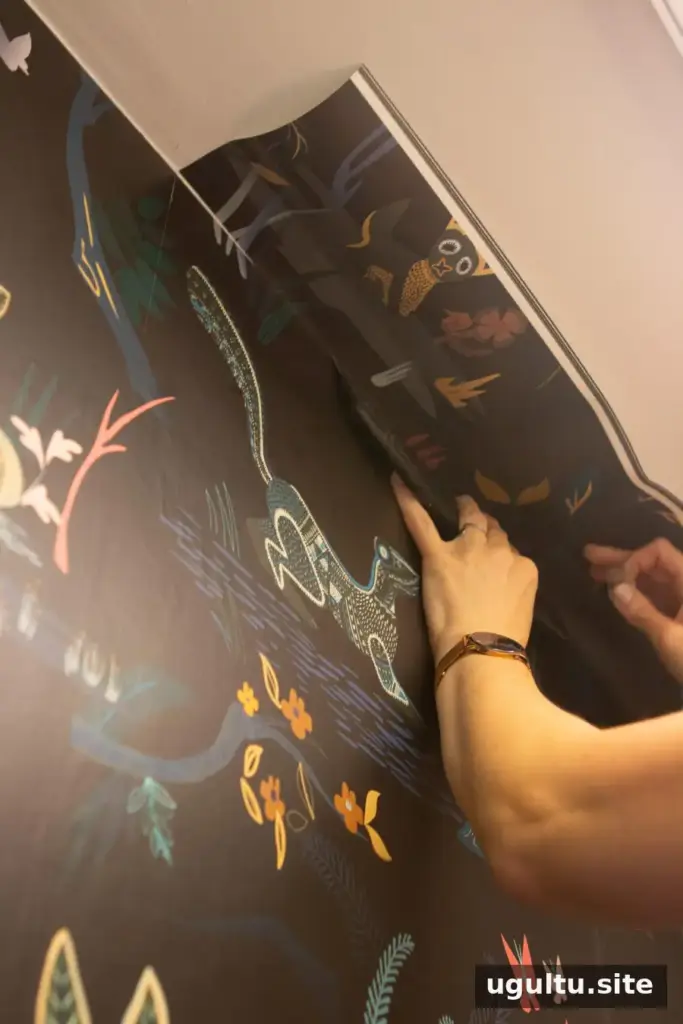
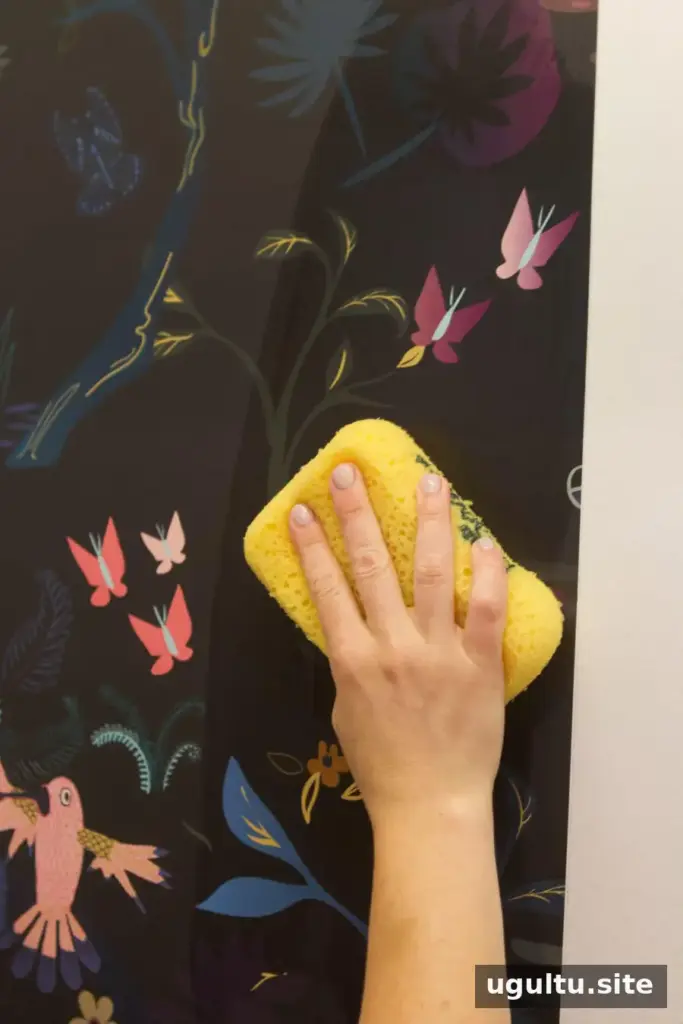
Wipe away excess adhesive with a clean, damp sponge while it is still wet. Follow the wallpaper’s care instructions and avoid scrubbing, which could affect the surface or pattern.
Align the Pattern and Seams
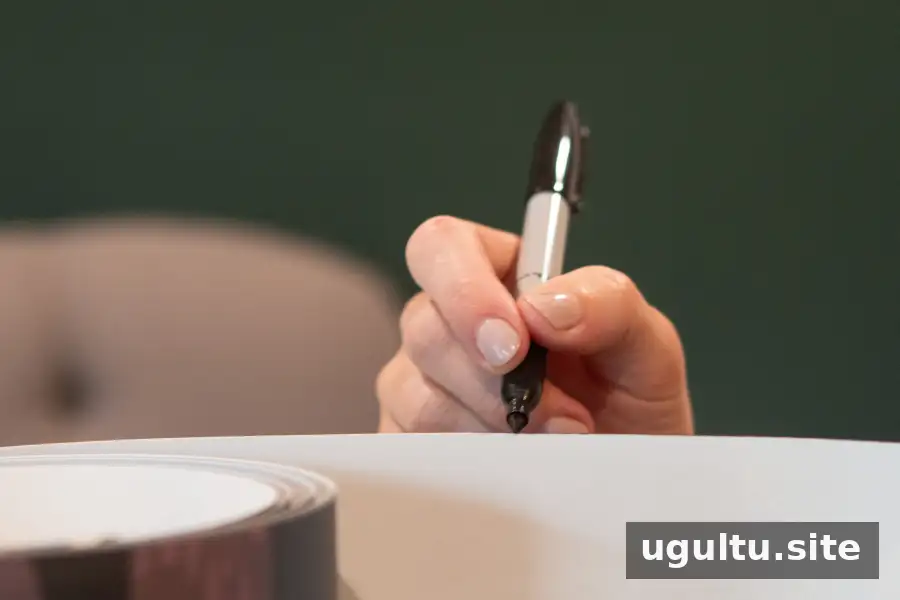
With dark wallpaper on a light wall, pale slivers may show where panel edges meet. One way to reduce the contrast is to color the exposed paper edges with a marker that closely matches the design. Test it on a spare piece first to make sure it does not bleed or stain the visible surface.
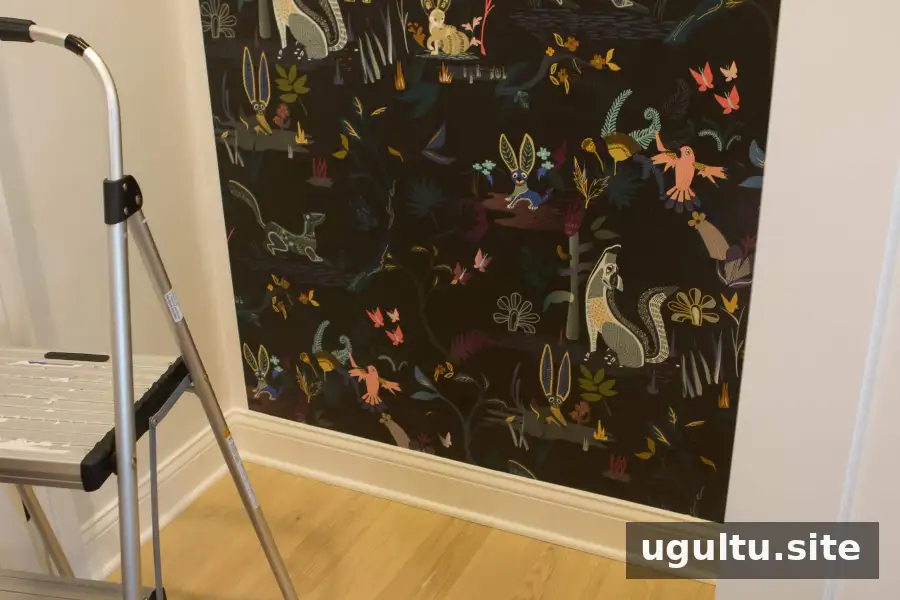
Match each new strip to the pattern on the panel beside it. Look for clear reference points, such as a leaf or character, and check the alignment before pressing the full panel into place. Once the seams meet, gently use a seam roller to press them down without flattening the paper’s texture.
Wallpapering Inside Corners
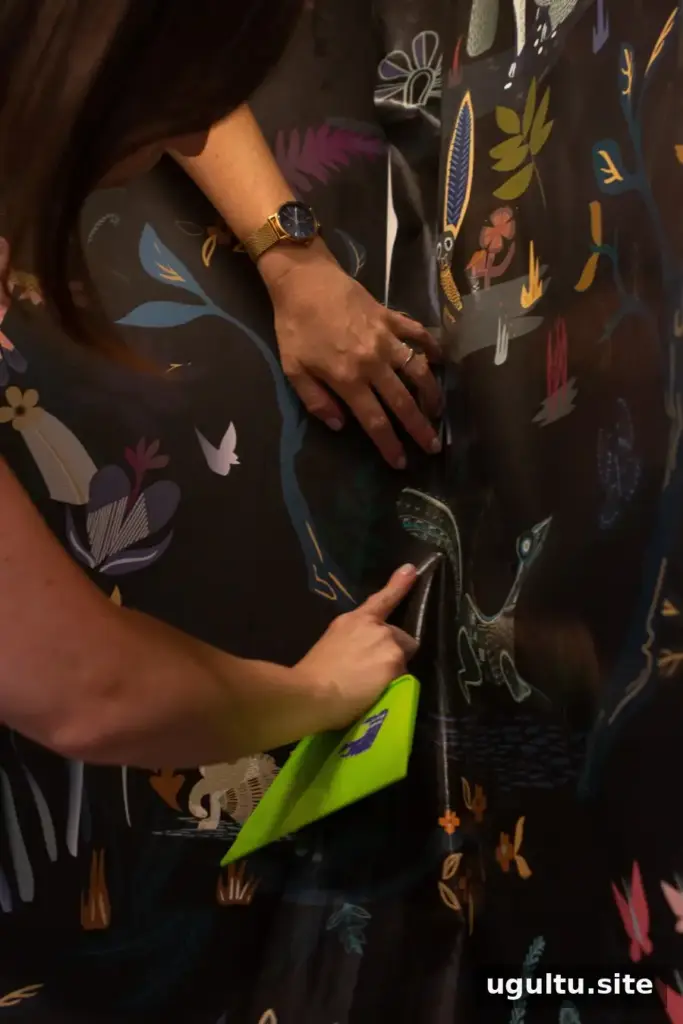
Corners can be challenging because walls are not always perfectly straight. One option is to fold a full-width panel around the corner so it covers part of the adjoining wall. Dampen the paper with a sponge if the wallpaper’s instructions allow it; this can make it easier to ease into the corner. Smooth carefully, then trim the top and bottom.
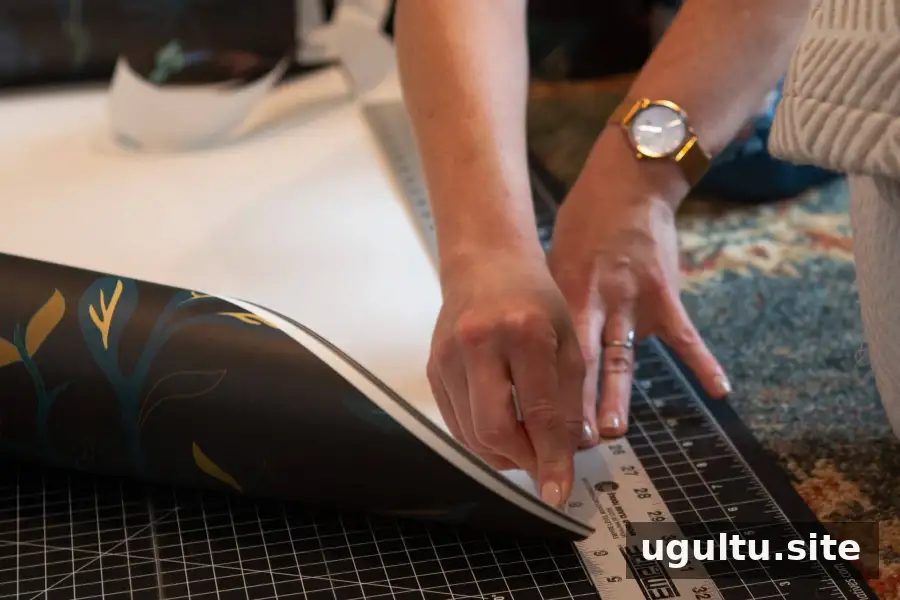
Another option is to cut a smaller strip for the back wall and use the remaining paper on the side wall. Measure the corner at the top, middle, and bottom, then cut the strip wider than the largest measurement. This accounts for uneven walls and helps prevent a gap. Place the remaining panel on the adjoining wall and align its pattern as closely as possible.
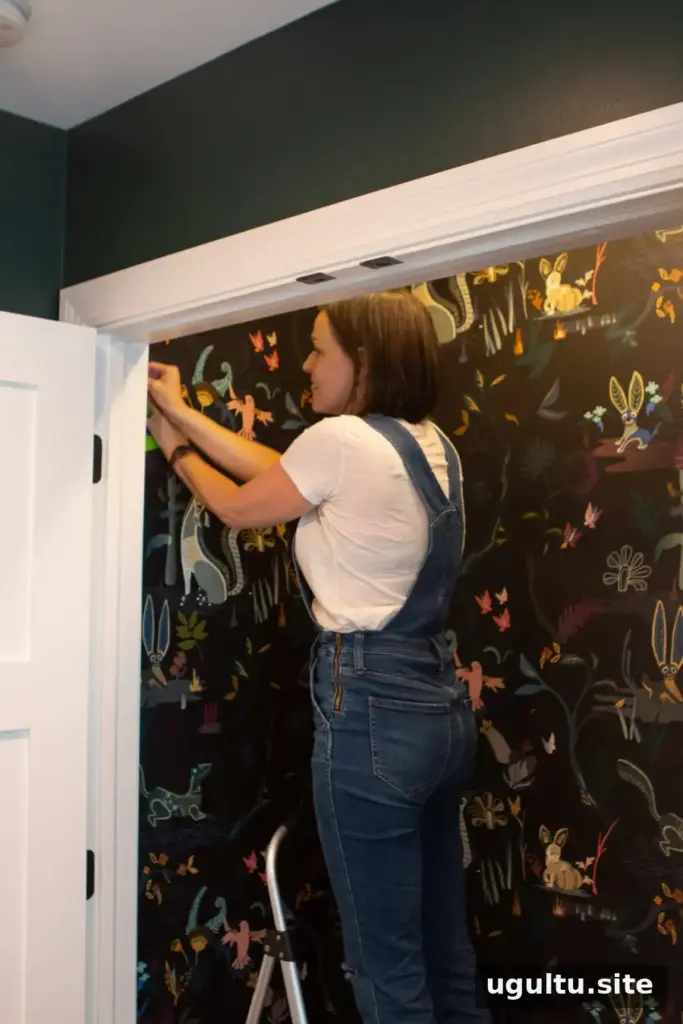
Start Small and Work Carefully

If wallpapering feels intimidating, a closet can be a practical first project because it uses less wall area than a full room. Take time to prepare the surface, measure more than once, and follow the wallpaper and adhesive instructions. Minor imperfections may be less noticeable inside a closet, but careful installation still makes a difference.
For anyone considering professional installation, Erin notes that labor may cost about as much as the wallpaper itself. This is a general estimate, so request a local quote before setting a project budget.
Nursery Closet Before and After
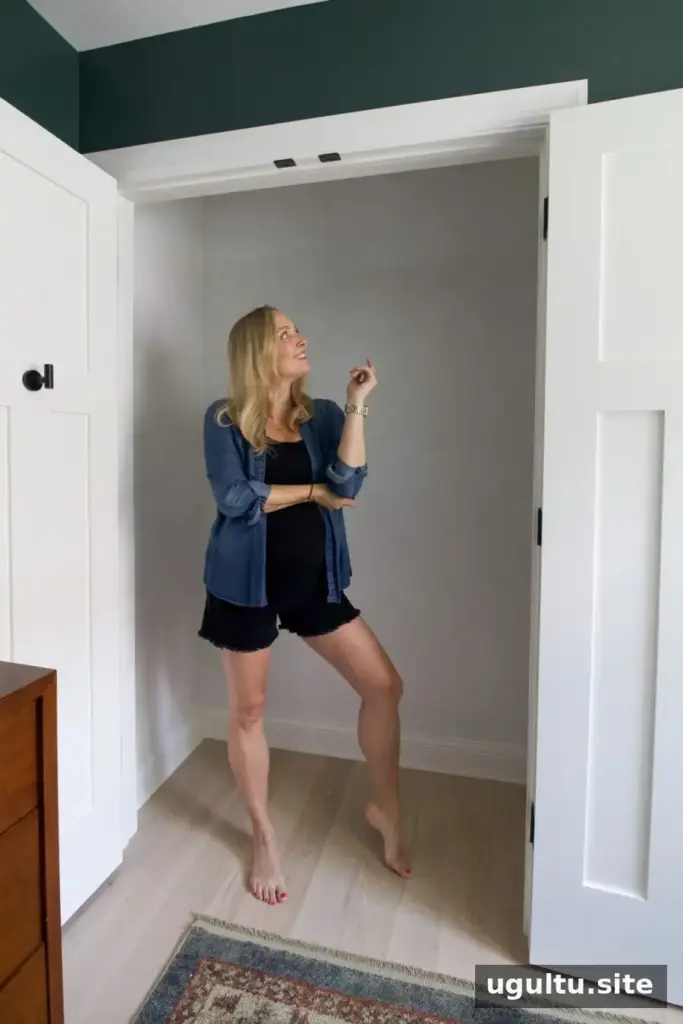
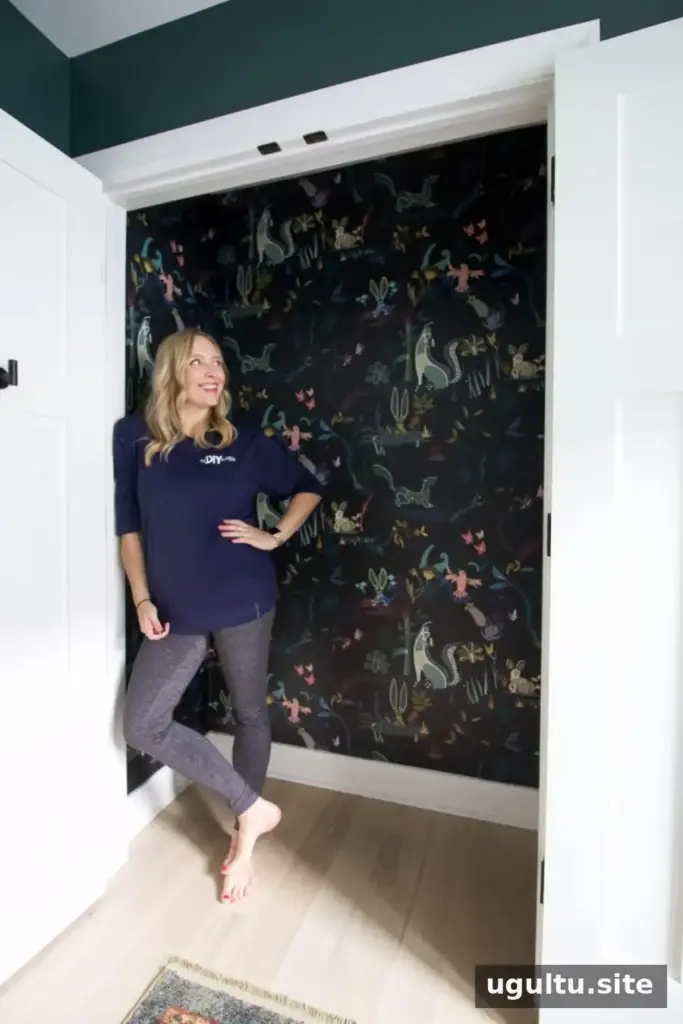
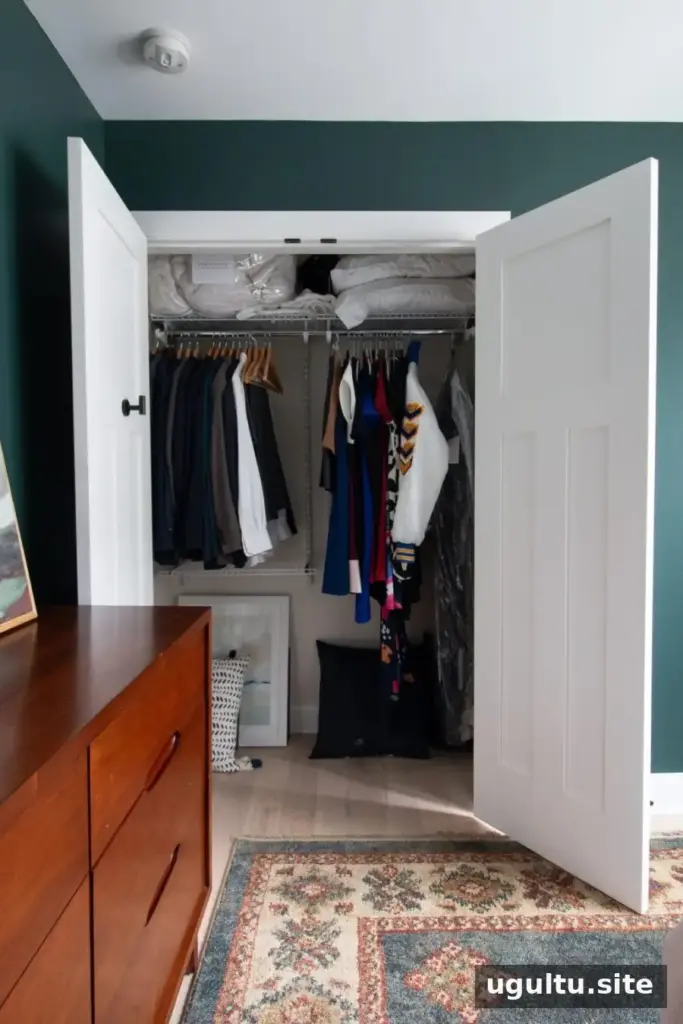
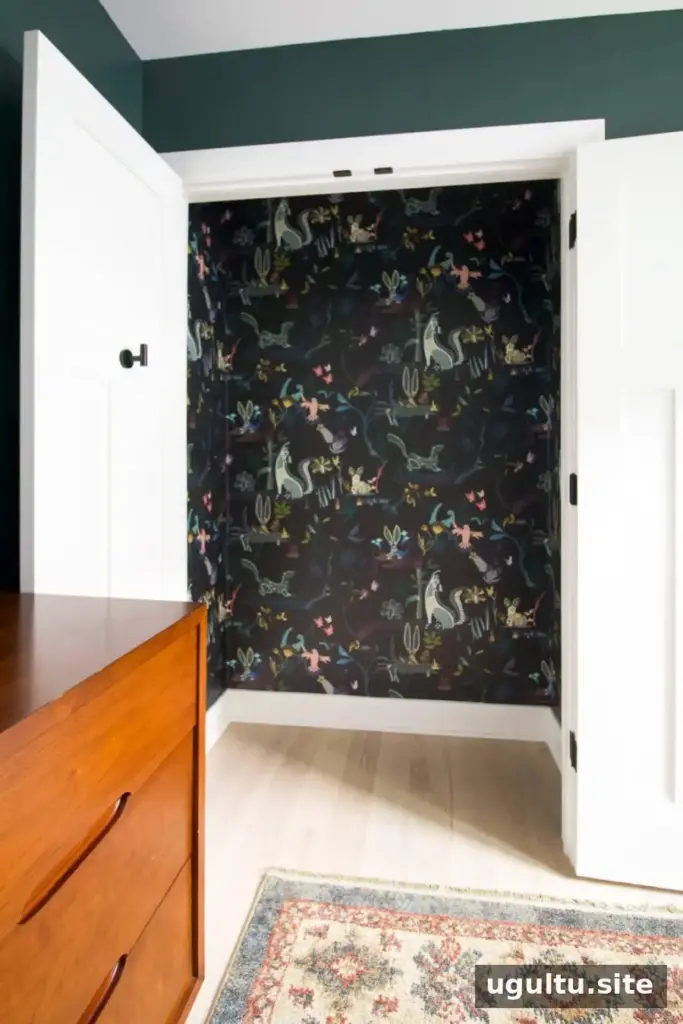
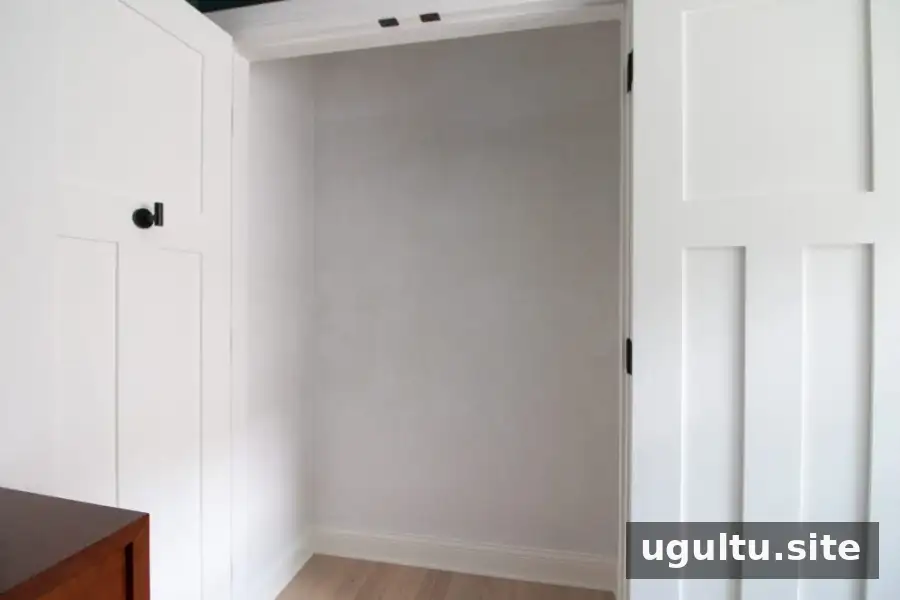
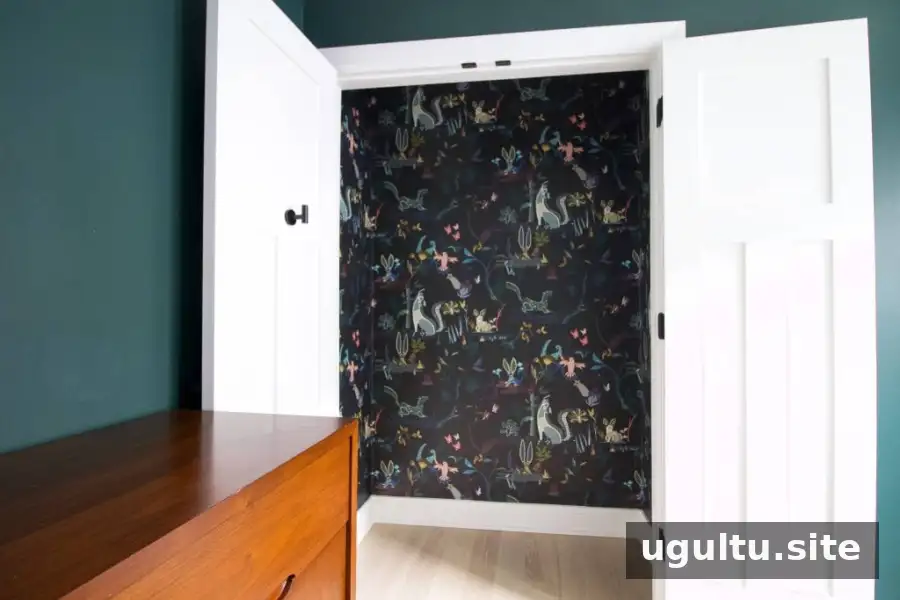
The finished closet features a bold, whimsical design that adds color and character to the nursery. Repeating colors or motifs from the wallpaper elsewhere in the room can help the overall design feel connected.
What Comes Next?
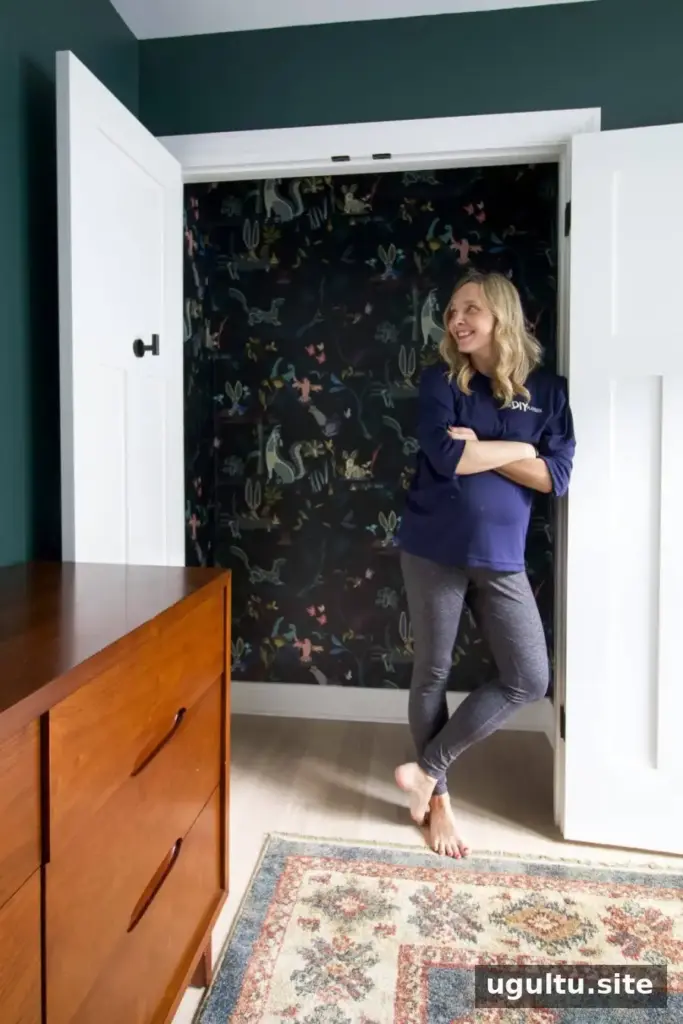
Once the wallpaper is fully dry, reinstall or add closet storage according to its instructions, taking care not to scrape the new surface. Measure the interior before selecting shelves or organizers so the finished closet remains functional as well as decorative.
Casey

More Wallpaper Project Ideas
- Using peel-and-stick wallpaper
- Wallpapering a closet
- How to wallpaper a ceiling
With the right preparation and a clear plan for matching the design, you can wallpaper a nursery closet and turn a practical storage area into a thoughtful part of the room.