
 admin
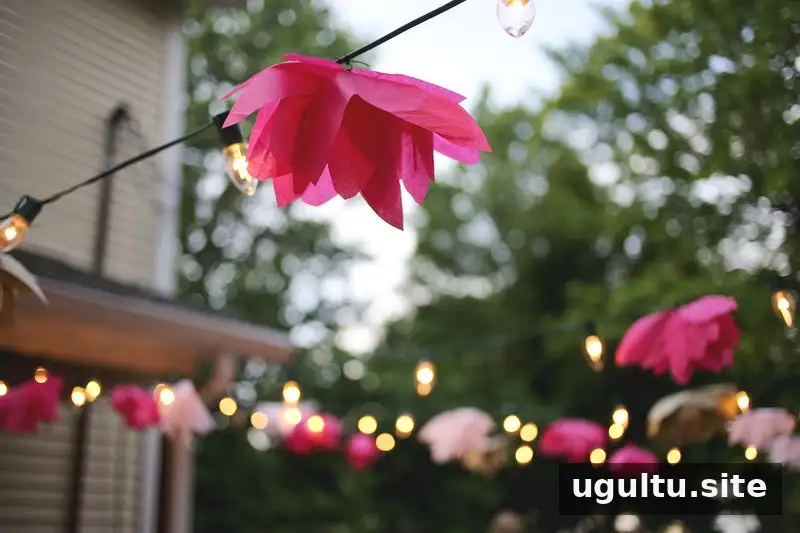
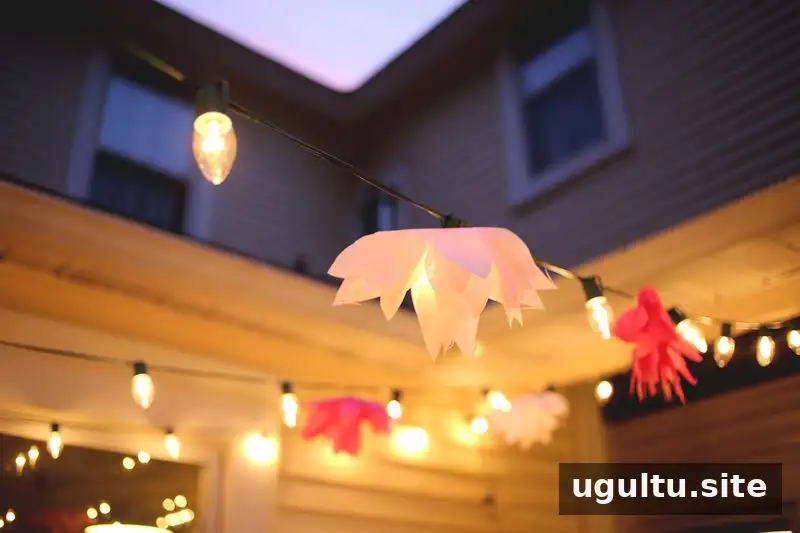
Tissue paper flowers DIY projects are an easy way to add color to a party space without complicated materials or steps. These lightweight blooms can be made in different colors and attached to string or a lights cord for a festive display. The method below uses a stack of tissue paper, scissors, a needle, and thread.
Tissue Paper Flowers DIY: Materials and Preparation
Before you begin, gather tissue paper, scissors, a needle, thread, and the string or lights cord where you plan to hang the finished flowers. A stack of six tissue-paper sheets works well for each bloom. Cutting the sheets together helps keep the layers aligned, while working on a clear surface makes shaping them easier.
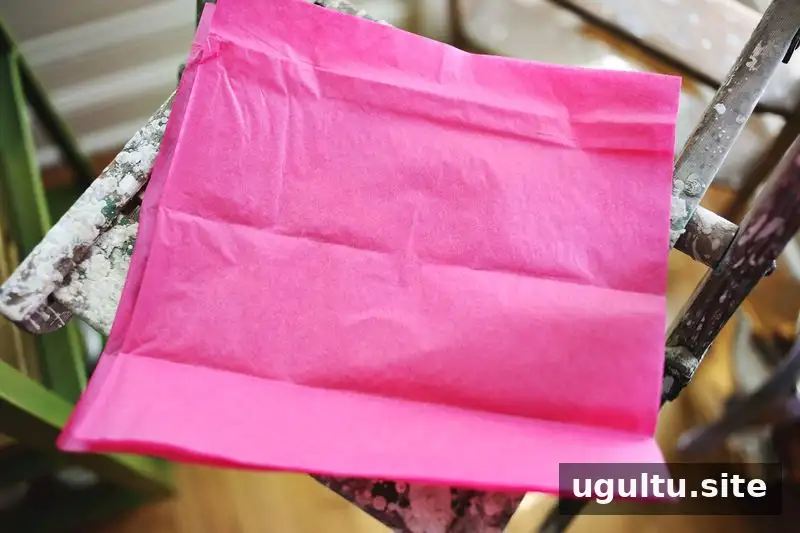
1. Cut the tissue paper. Stack six pieces of tissue paper and cut them into a 10×10-inch square. If you want to make several flowers, prepare multiple stacks before moving on to the shaping step.
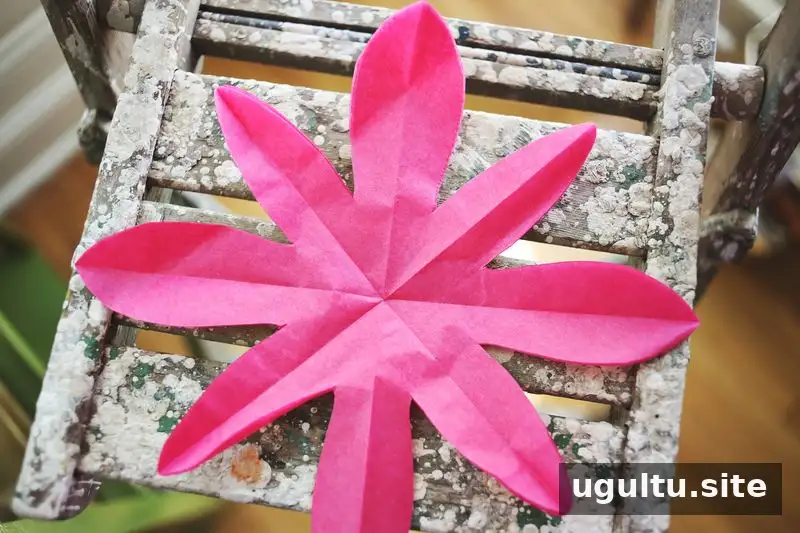
2. Shape the petals. Fold the stack, or estimate the shape by eye, and cut it into a large flower outline. The petals do not need to be perfectly even, and their number is flexible. For a more consistent look across a group of flowers, use the first cut shape as a guide for the next stack.
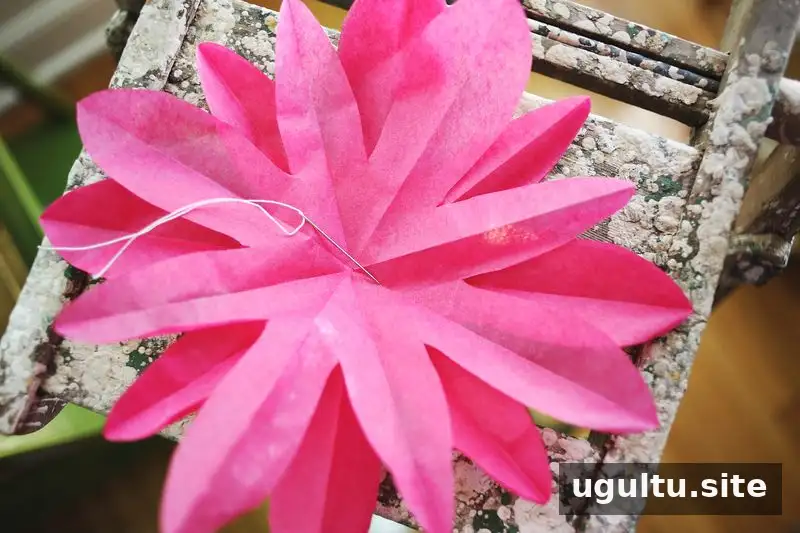
3. Build the bloom and secure it. Gently twist and stagger the paper layers to create a fuller, flower-like shape. Use a needle and thread to stitch through the center and hold the layers together. Leave extra thread at the back; it can be used to tie the flower to a string or lights cord.
Hanging Tissue Paper Flowers Safely
Attach each bloom securely, then check its position before switching on the lights. When flowers are hung on a lights cord, keep every bloom from touching a light to reduce the risk of a fire hazard. A practical approach is to arrange the decorations while the cord is unplugged, then inspect the spacing once everything is in place.

These simple tissue flowers can bring color and atmosphere to a porch or party area. Try combining different tissue-paper colors or spacing the blooms along the cord to suit the display. Because the flowers are lightweight, handle them gently when adjusting their position so the paper layers keep their shape.
Finishing Touches
For a coordinated decoration, make flowers with the same square size and vary the colors or petal outlines. Keep the extra thread at the back long enough to tie each bloom where you want it, and trim it only after the flower is secure.
Project instructions by Elsie.
With a few basic supplies and a little careful shaping, this tissue paper flowers DIY project offers a straightforward way to create handmade party decorations. Remember to keep blooms clear of lights whenever you use a lights cord.


