admin
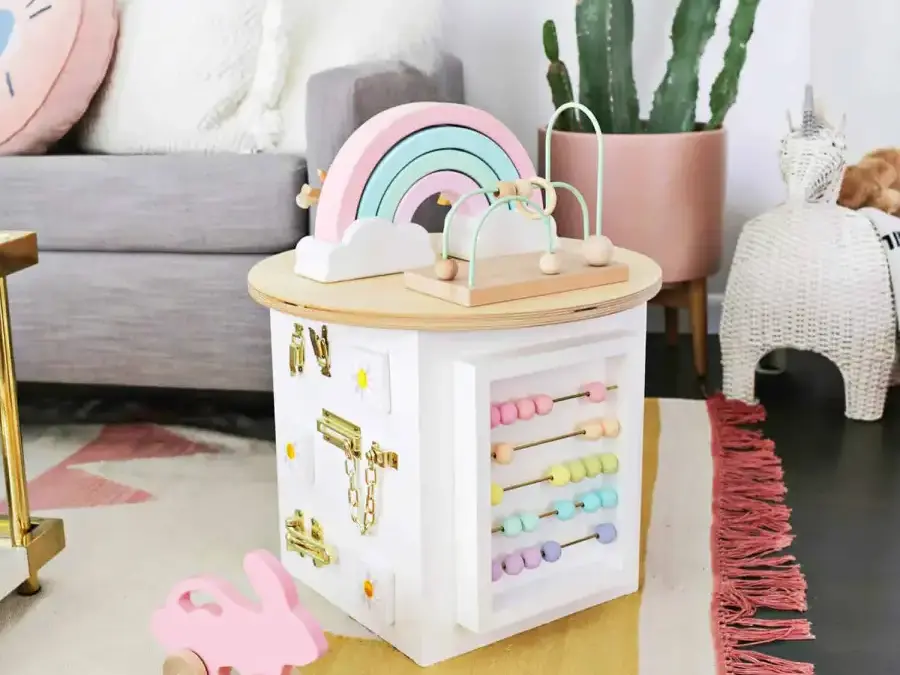
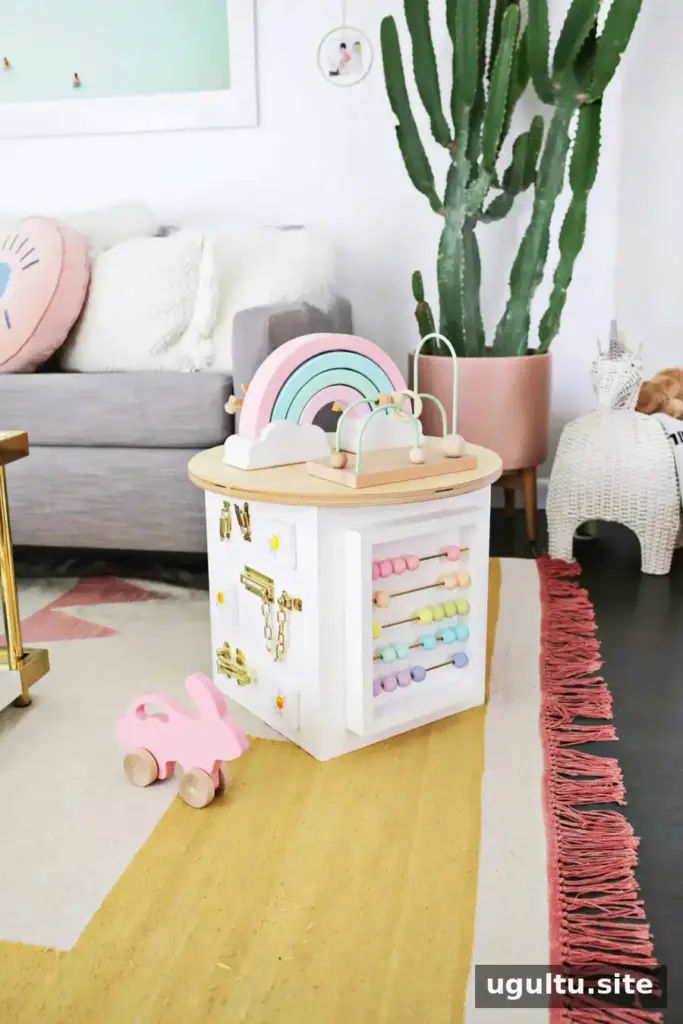
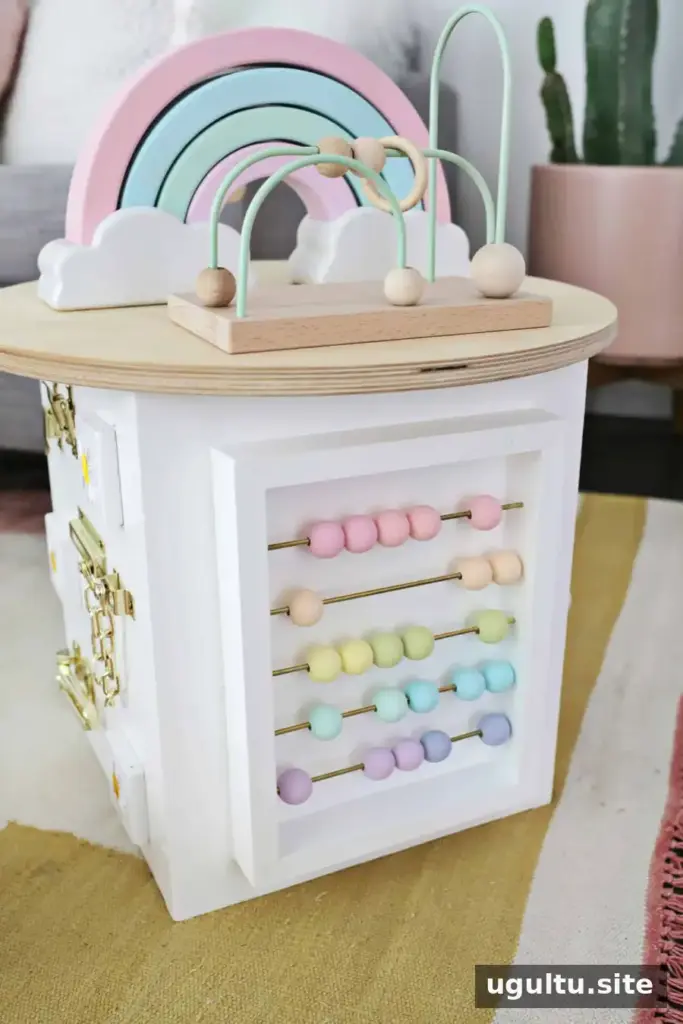
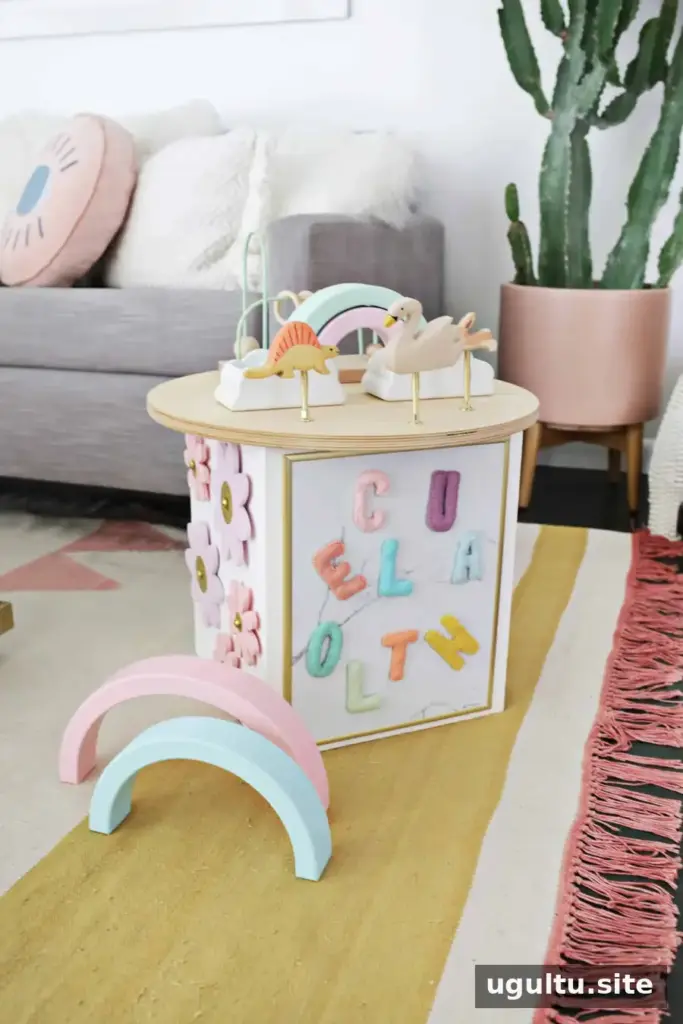
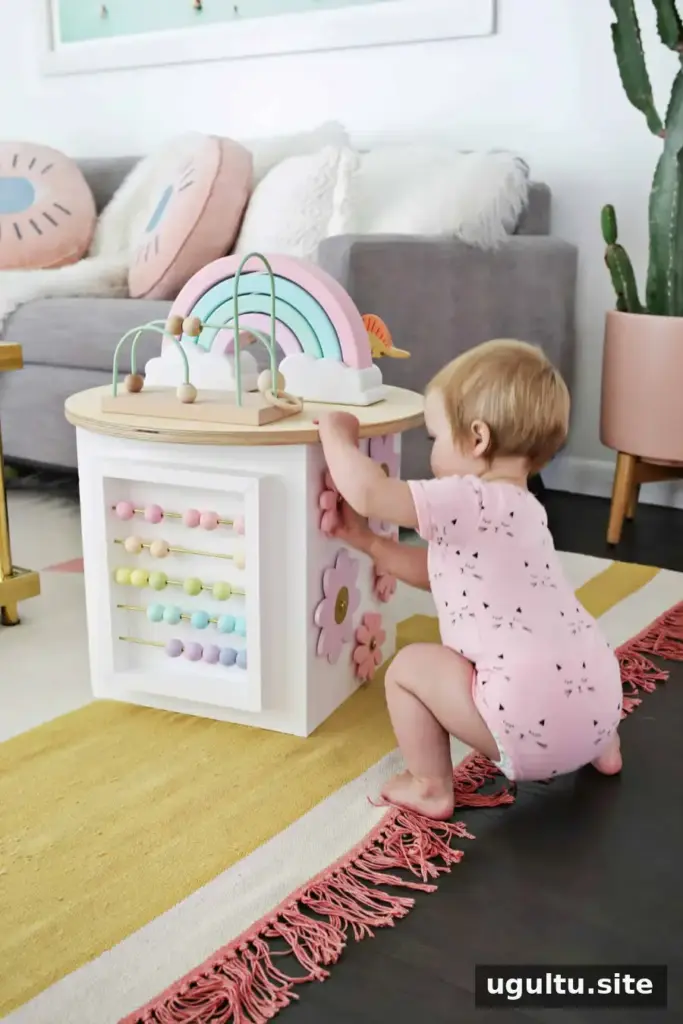
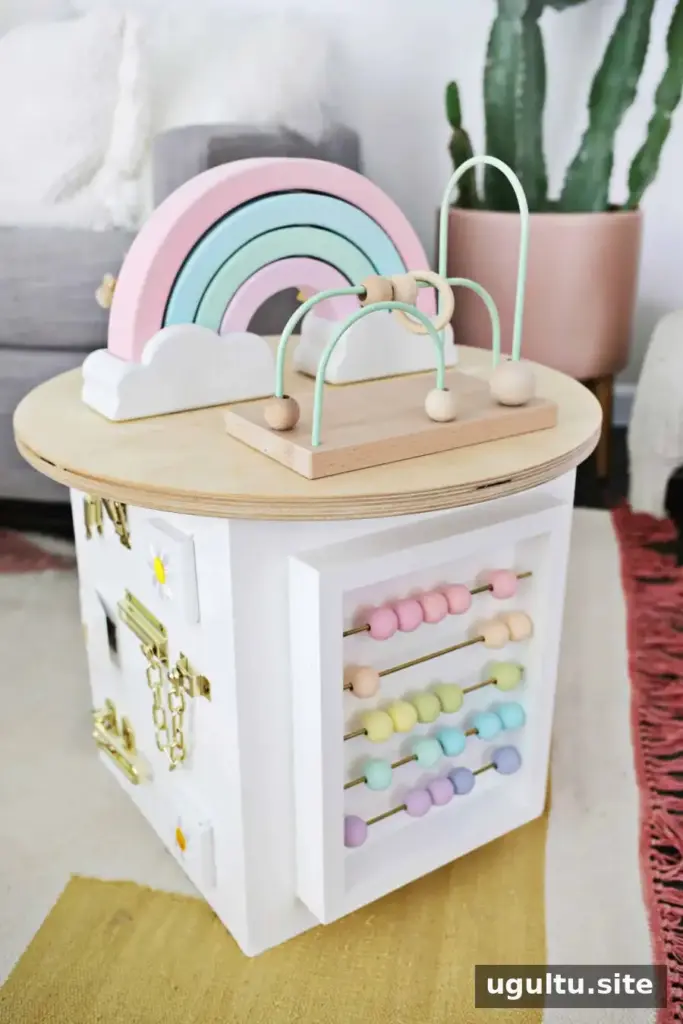
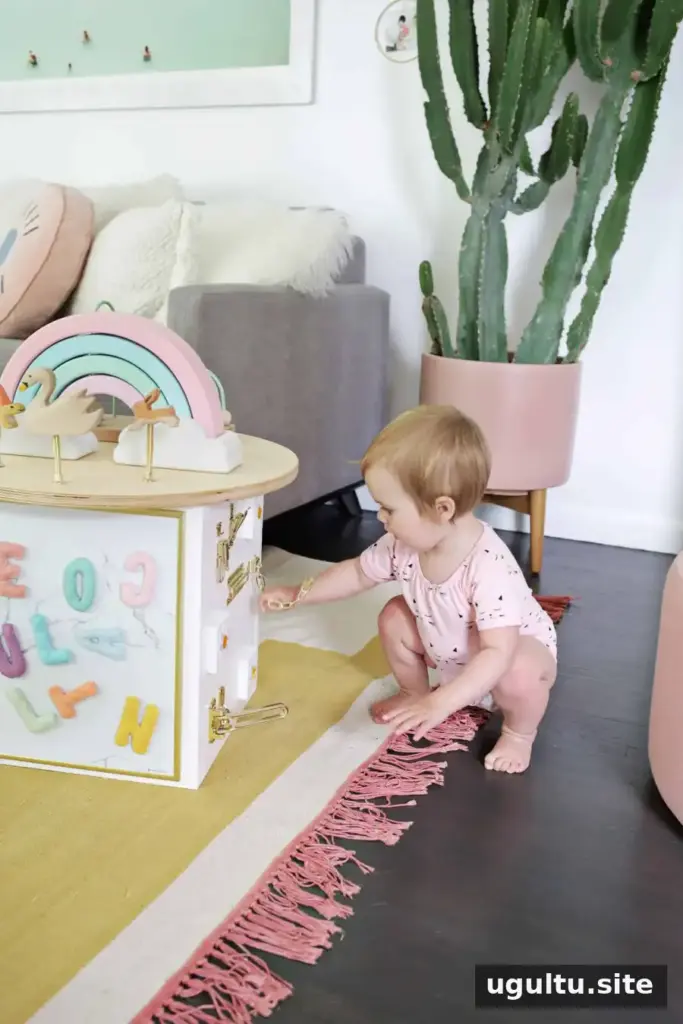
A toddler activity center DIY project lets you create a hands-on play cube with activities suited to your child’s interests and a finish that fits your space. This design combines doors and latches, a magnetic board, spinners, an abacus, and a round top with additional play features. Adjust the decorations and activities to suit your toddler, and plan for close adult supervision during use.
Toddler Activity Center DIY: Materials and Measurements
Gather the main structure materials first, then select the play features you want to add. The finished design uses four 15-inch side pieces and a 19-inch round wooden top.
Main structure:
- One 12-inch-wide, 3/4-inch-thick board cut into four 15-inch-long pieces
- One 19-inch-diameter, 3/4-inch-thick round wooden circle
- Drill and drill bits, wood glue, nails, hammer, and sandpaper
Door and latch side: Assorted door latches and hinges, three or four wooden squares about 3 inches wide and 1/2 inch thick, thin elastic cord, and patches or stickers for decorating.
Magnetic board side: A magnetic dry-erase board, felt, matching embroidery thread, small magnets, and cotton stuffing or batting.
Abacus side: 1-inch wooden beads, five 1/8-inch brass tubes, a tube cutter, non-toxic paint, and 1 1/2-inch-by-3/4-inch trim board.
Spinner side: Wooden shapes, machine screws, and matching nuts and washers. A 3/16-inch-by-1 1/2-inch screw is suggested.
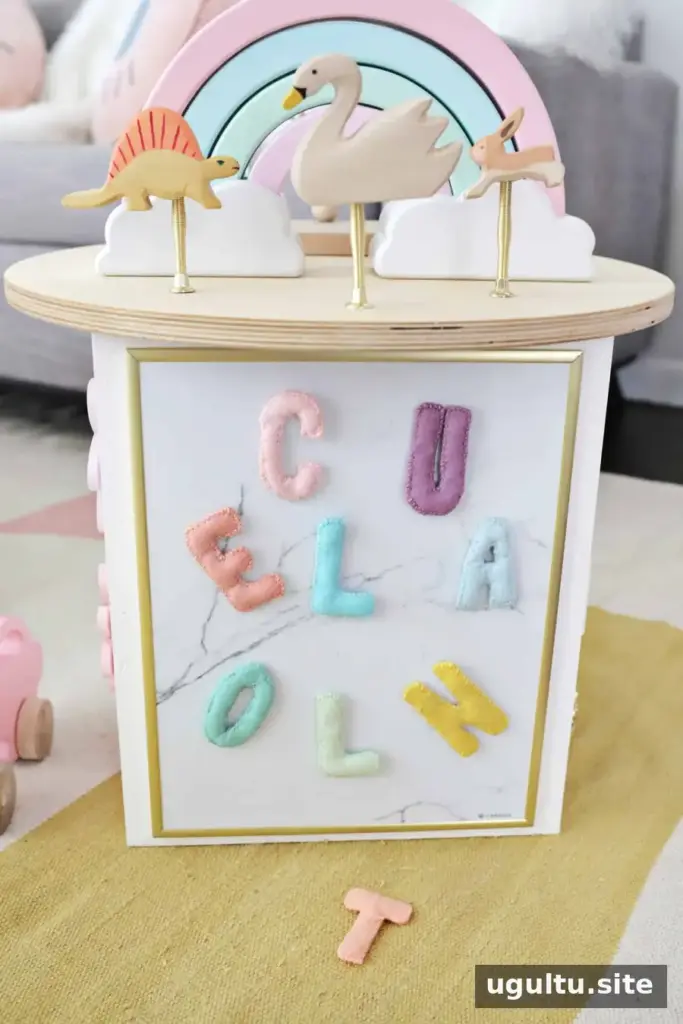
Top: A small bead maze, a wooden pull-apart shape toy, wooden animals about 1 inch thick, food-grade mineral oil, and spring doorstops.
Build the Activity Center Base
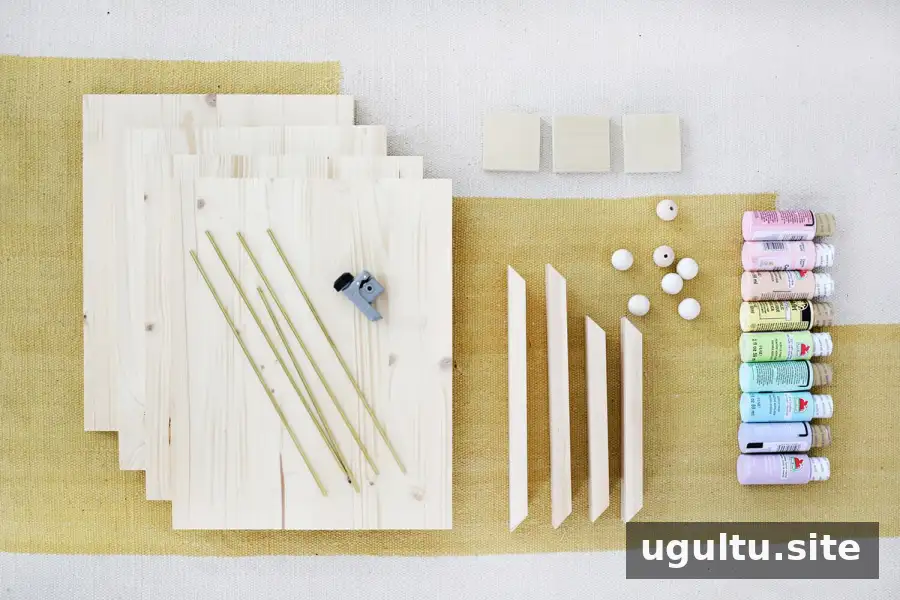
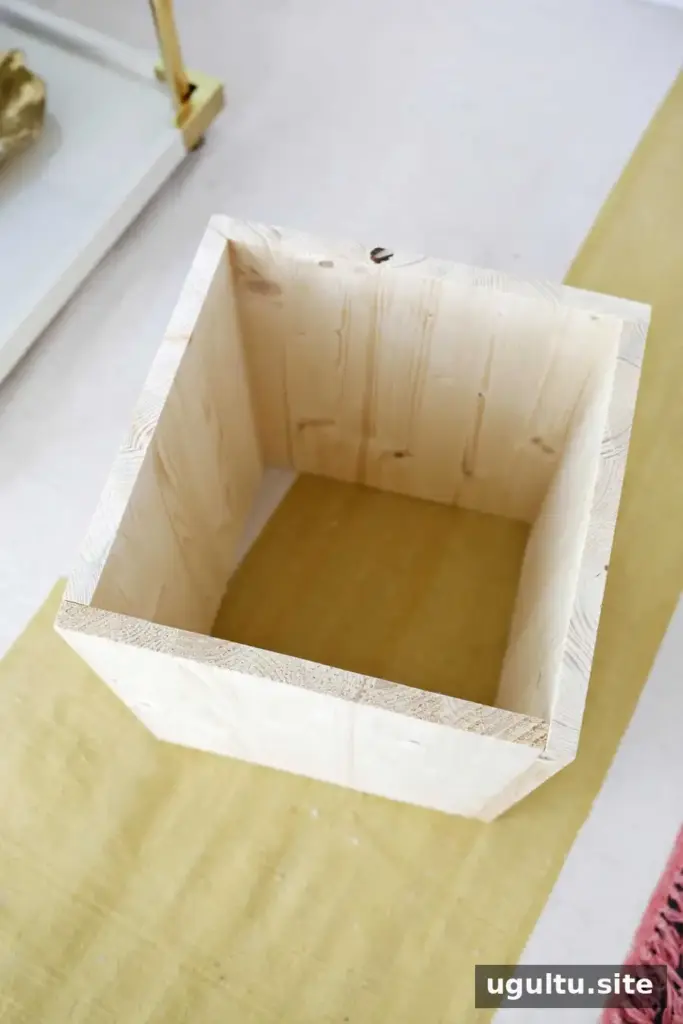
Stand the four 15-inch side pieces upright to form a cube-like base. Join the edges with wood glue and nails. Sand rough surfaces and sharp corners, then paint the base if desired. Allow finishes and adhesives to dry fully before adding play parts.
Add Doors and Latches
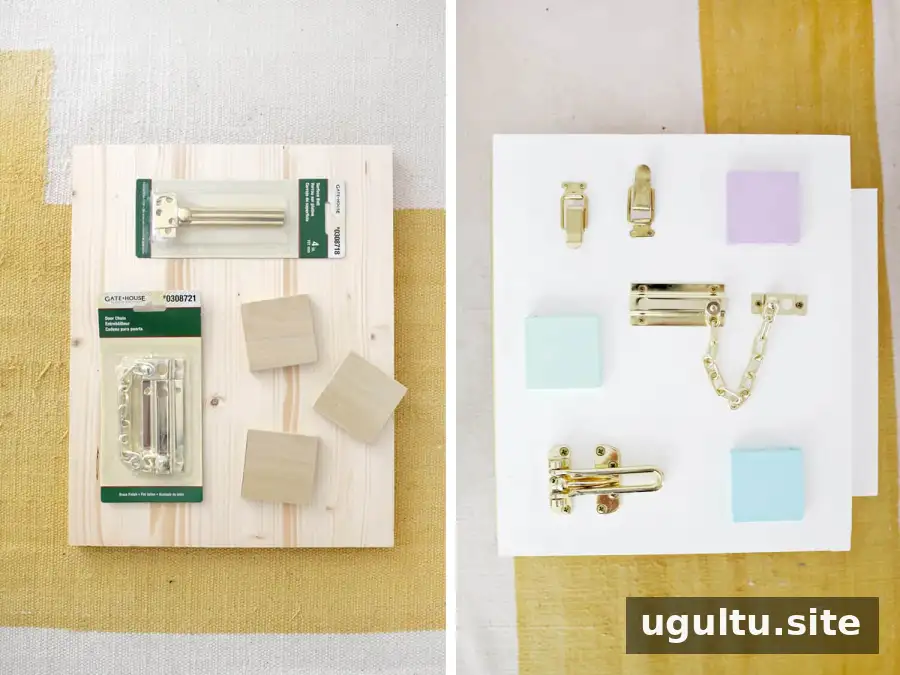
Drill a small hole through each 3-to-4-inch wooden square, about 1/4 inch from the edge. If the drill bit cannot pass through in one go, mark matching positions on both sides and drill from each direction. Position the doors, hinges, and latches on one side of the base, then install the hardware.
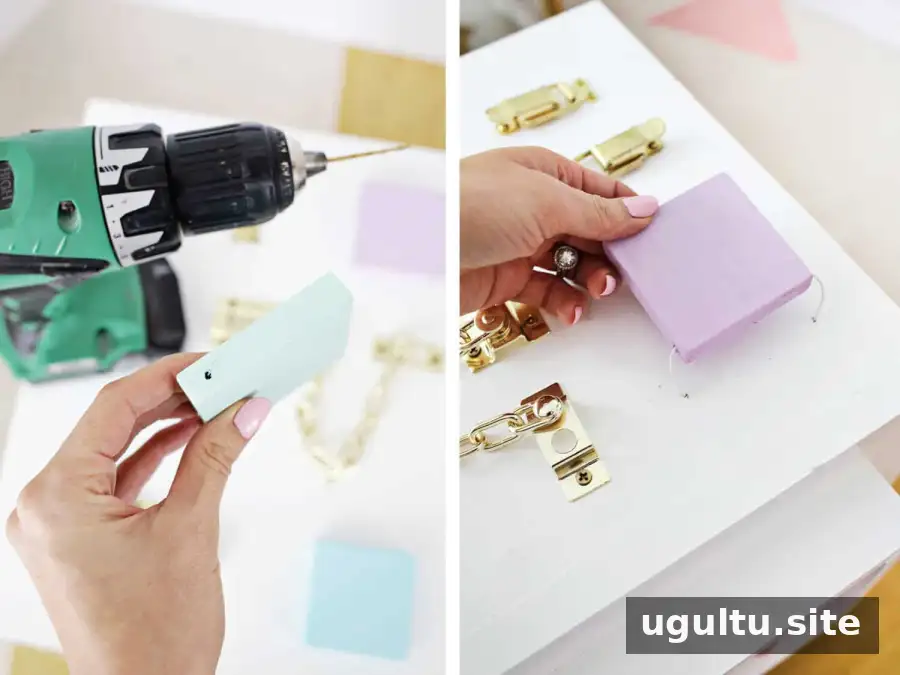
Drill small holes in the panel above and below the door openings. Thread elastic cord through the holes and tie it so each door opens easily and returns to its closed position. Check that the cord and hardware are firmly secured.
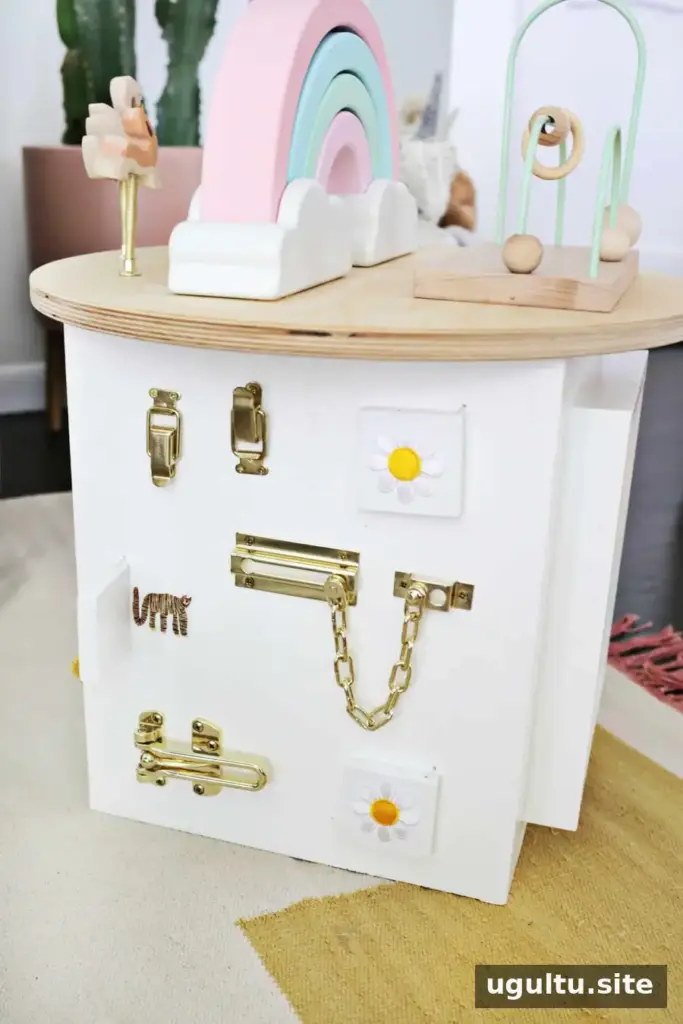
Decorate the doors with patches or stickers, making sure embellishments cannot be pulled off easily.
Make a Magnetic Board and Spinners
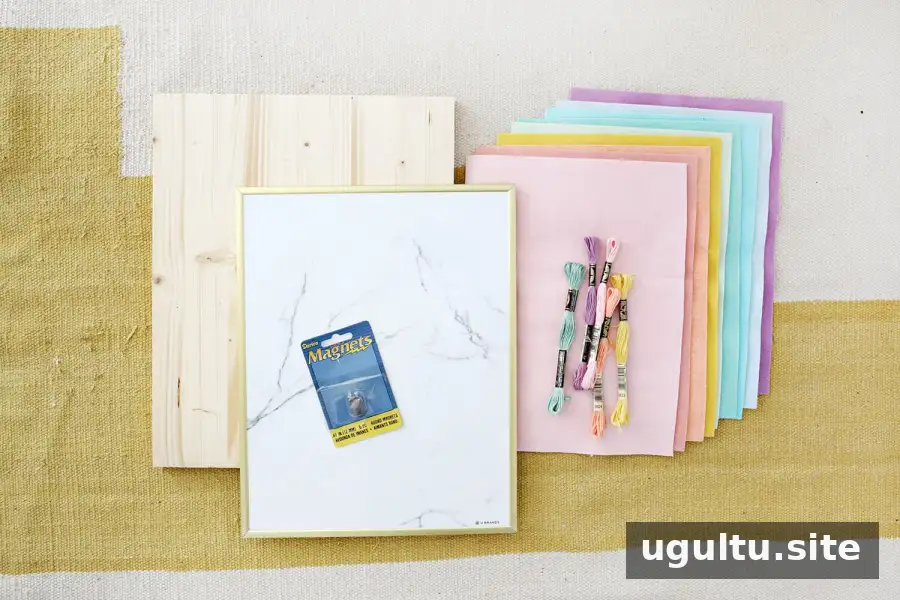
Attach the magnetic dry-erase board to one side of the base using a suitable adhesive.
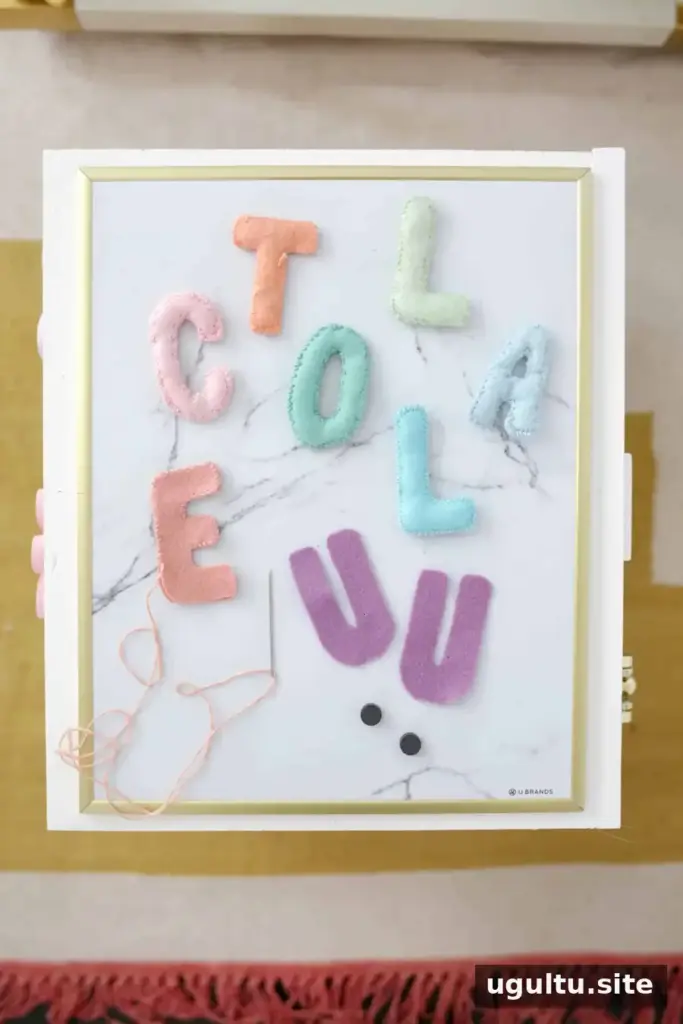
Fold felt and cut matching pairs of shapes or letters. Stitch around each pair, adding cotton batting and two or three small magnets inside before closing the seam. Keep magnets enclosed rather than attached to the outside; loose magnets can be a serious choking and ingestion hazard.
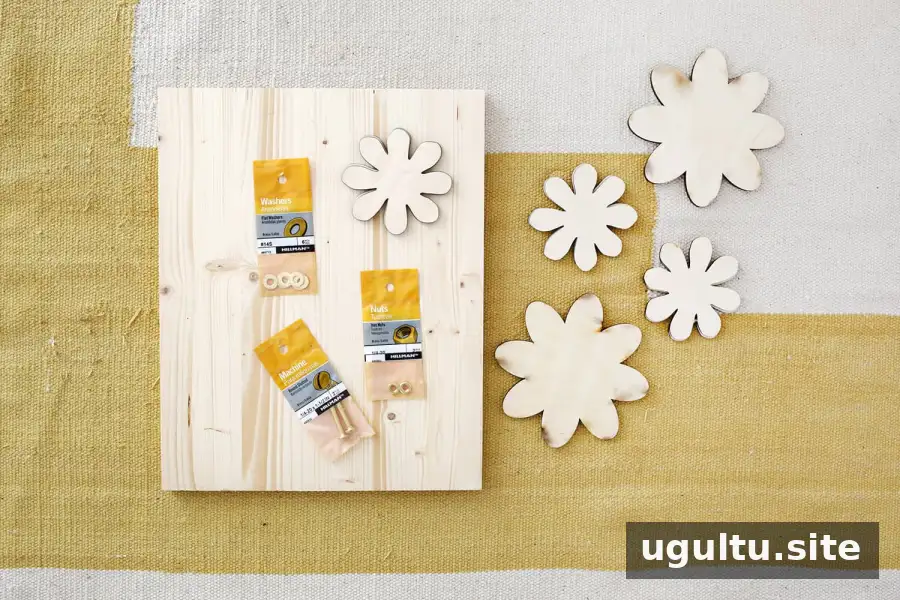
For the spinner side, glue two or three thin wooden shapes together if they need extra strength, then paint them and let them dry.
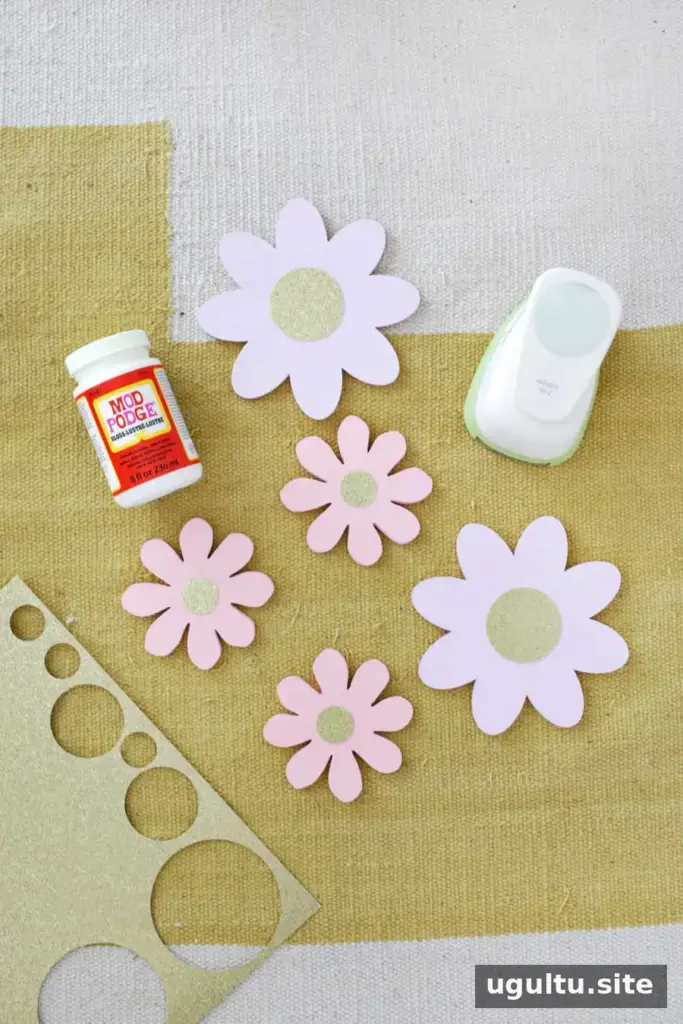
Arrange the shapes with enough space to turn, and drill a hole through each shape and the panel.
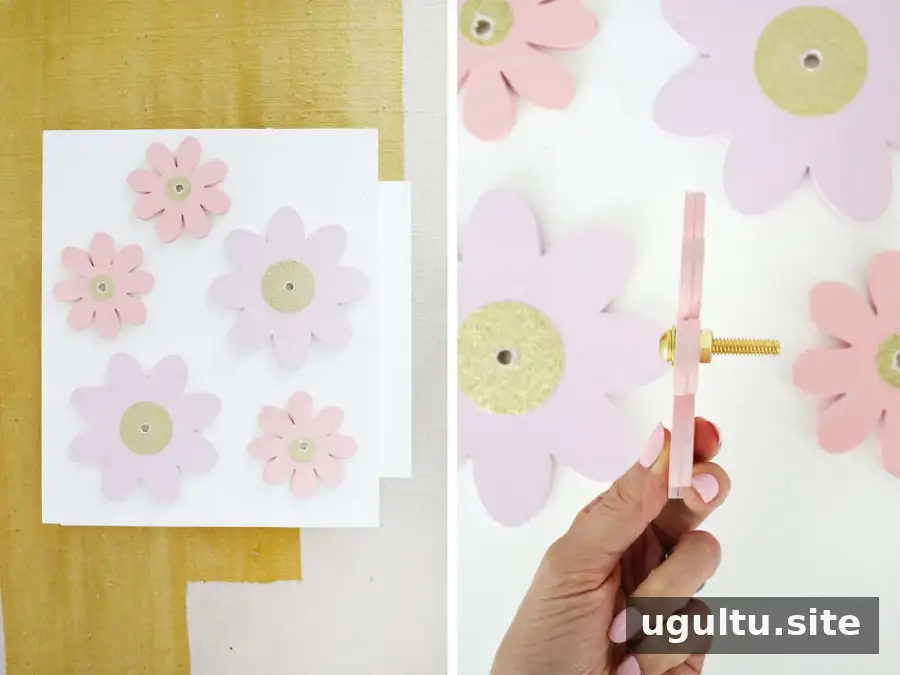
Place a washer and shape on each machine screw, add a nut, and fit the screw through the panel. Secure it with a second nut, tightening the pair toward each other while leaving enough clearance for the shape to rotate.
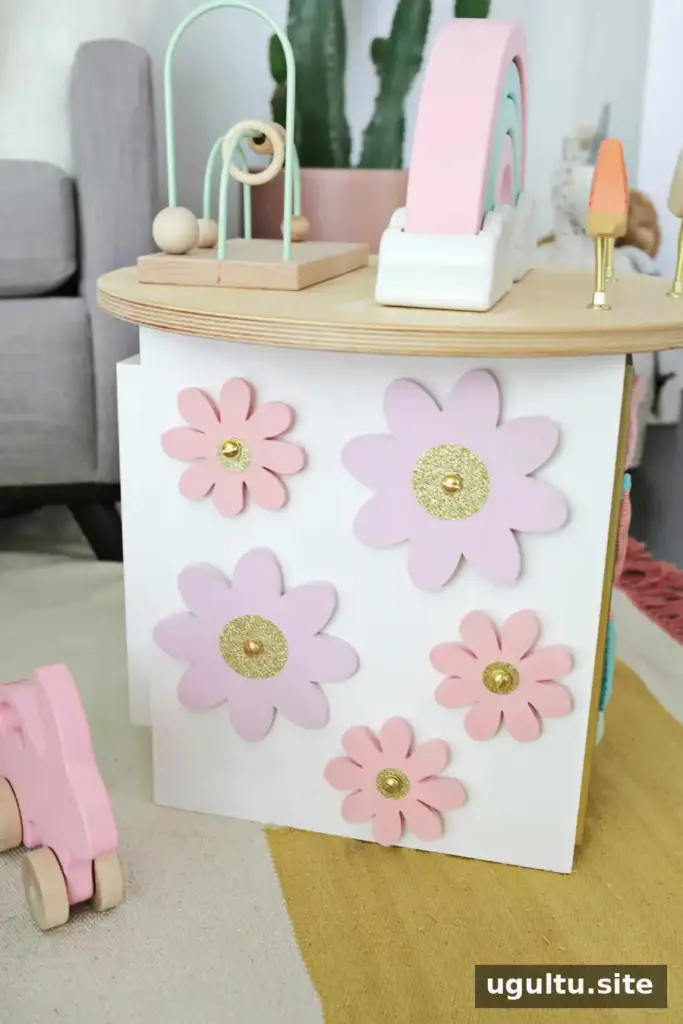
Check every fastener before play.
Build and Fit the Abacus
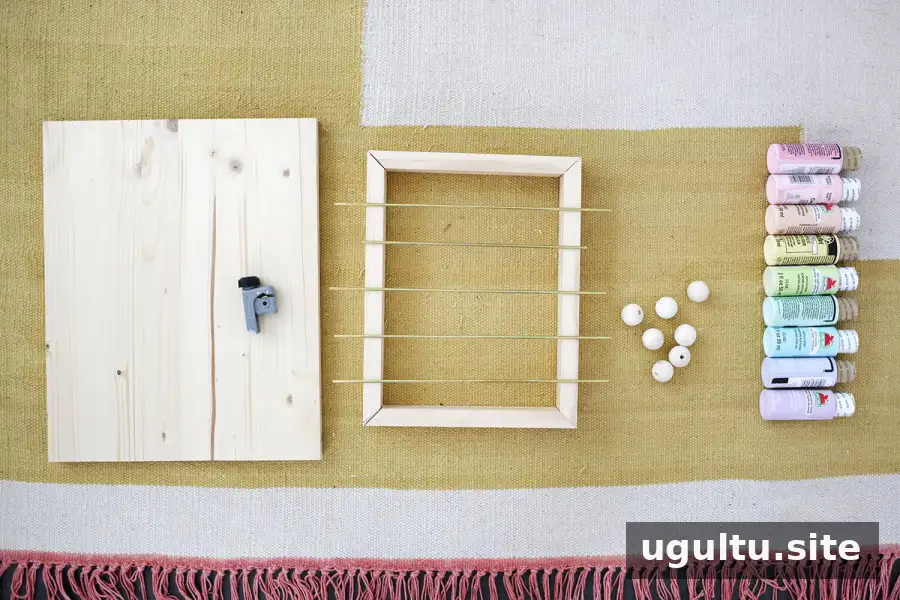
Cut two trim pieces 7 1/2 inches long and two 11 1/2 inches long. Arrange the longer pieces along the outside of the shorter ones to form a rectangle. Mark five evenly spaced rod positions along the long sides. Angled 45-degree cuts can create joined corners, but square cuts are also an option.
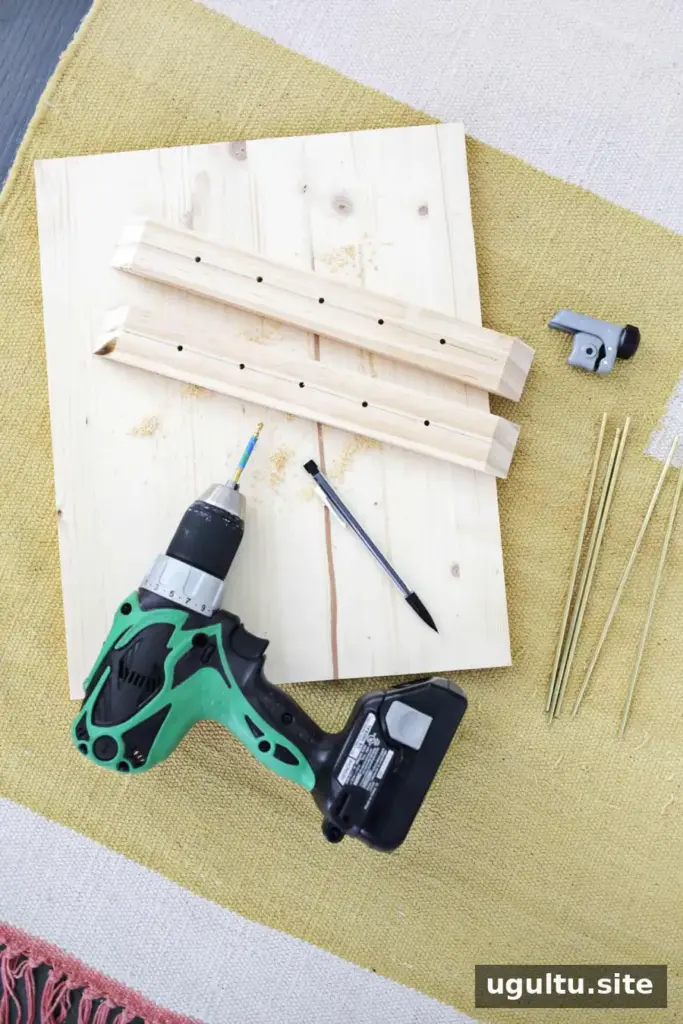
Use a 1/4-inch drill bit to make holes 1/2 inch deep at the marks. Cut five brass tubes to 8 1/2 inches.
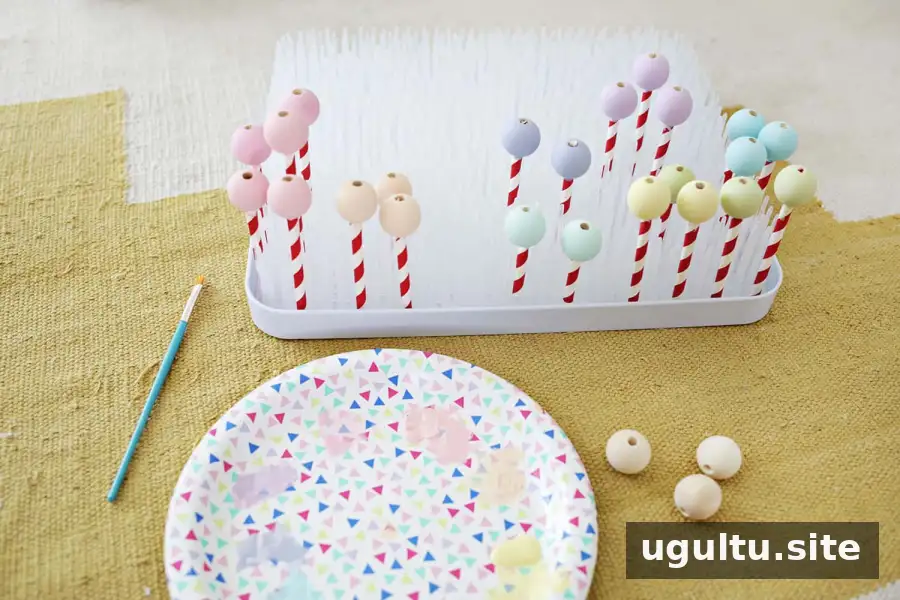
Paint the beads and frame pieces, allowing them to dry completely. Thread the beads onto the tubes, place the tube ends in the drilled holes, and assemble the frame with wood glue and nails.
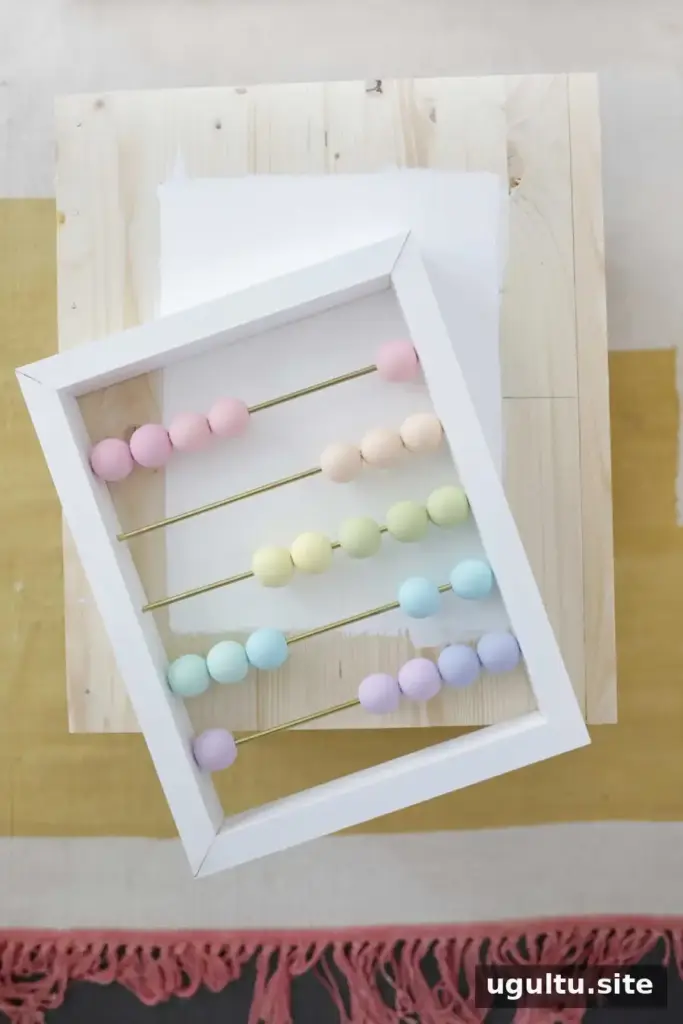
For a strong bond, keep the glue-contact surfaces bare; paint around the frame after attaching it.
Finish the Top
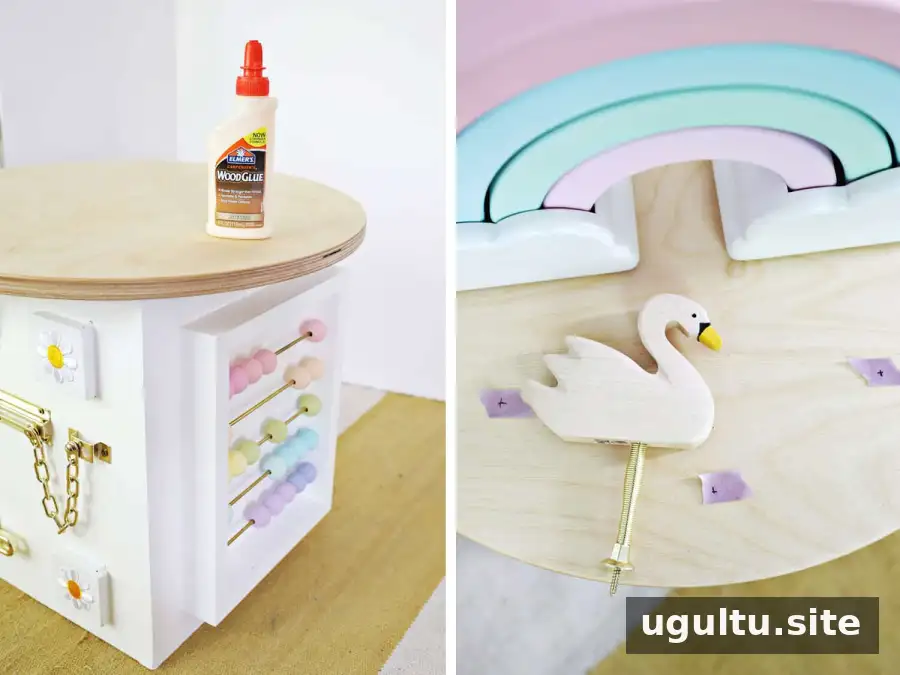
Apply food-grade mineral oil to the wooden top and let it dry according to the product directions. This is a finish choice, not a substitute for cleaning or safe construction. Attach the top to the base with wood glue, then secure the bead maze and the bases of the wooden shape toy.
To add spring-mounted animals, remove the rubber caps from three spring doorstops. Drill a hole in the bottom of each wooden animal to fit the end of a spring. Drill mounting holes in the top, secure the spring bases, and use a suitable adhesive to attach the animals to the springs.
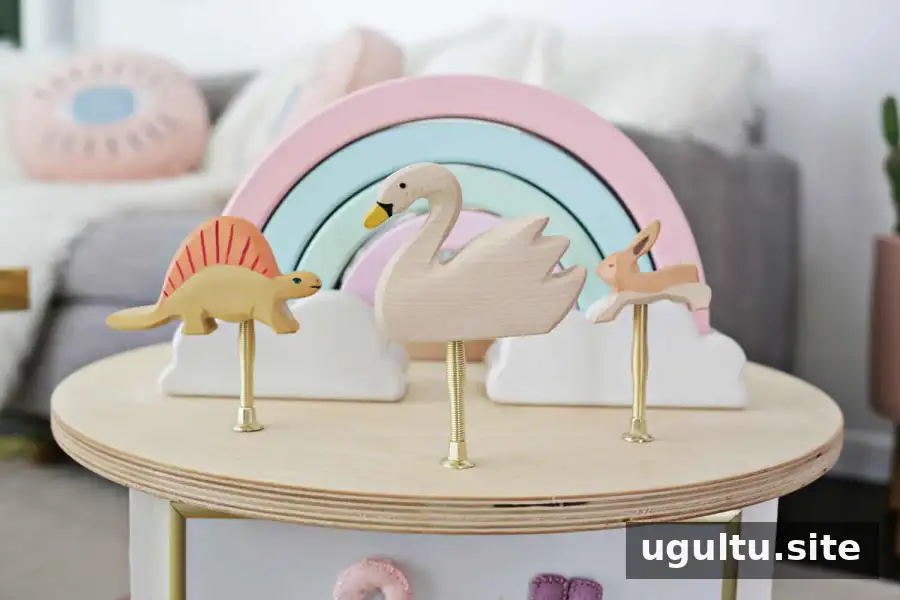
Make sure all parts are firmly fixed and cannot detach during play.
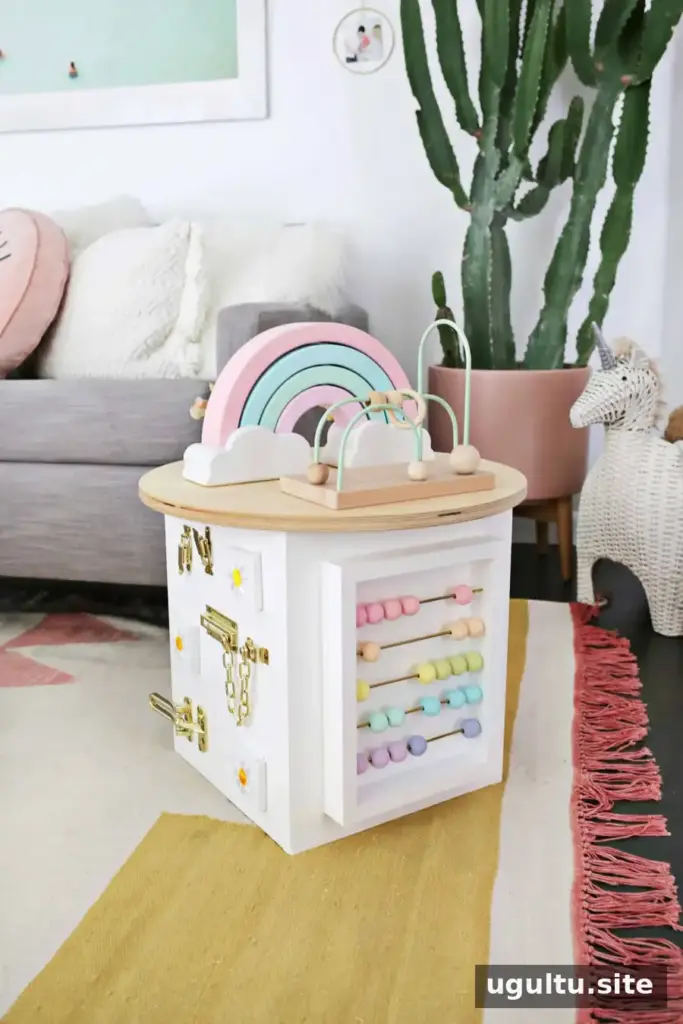
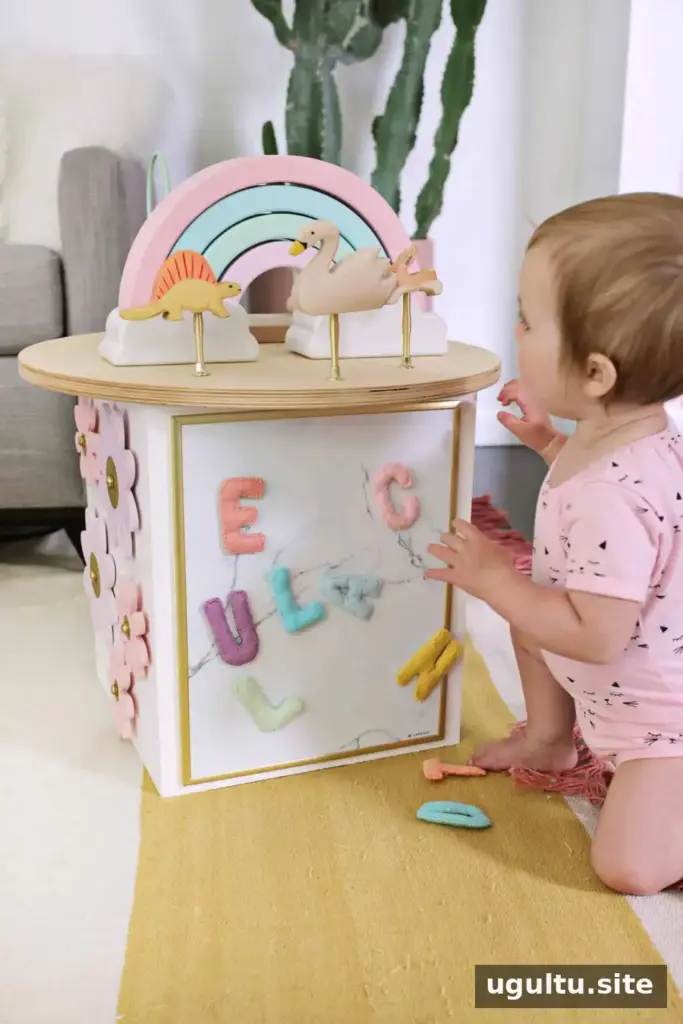
Safety Checks Before Play
Inspect the activity center carefully before each use. This is a DIY toy, so supervise your toddler throughout play and keep the cube on a stable surface. A child may pull on the structure or try to climb it; stop use if it tips, shifts, or has loose parts.
- Check that screws, nuts, latches, springs, and decorations are secure.
- Keep small magnets and other small parts inaccessible if they could come loose; swallowed magnets require urgent medical attention.
- Use non-toxic paints, but do not treat them as food-safe or suitable for chewing.
- This activity center is not a teething toy. If your child regularly mouths or chews toys, wait until they are past that stage before offering it.
- Sand splinters and rough edges, and let paint, glue, and finishes cure fully before use.
Enjoy a Custom Play Space
A toddler activity center DIY project can bring several kinds of hands-on play into one compact structure, and the activities can be adapted as interests change. Watch how your child uses each feature, and make adjustments only when the center is not in use. With regular safety checks and close supervision, the finished cube can offer an engaging place to explore. By Laura.