
 admin

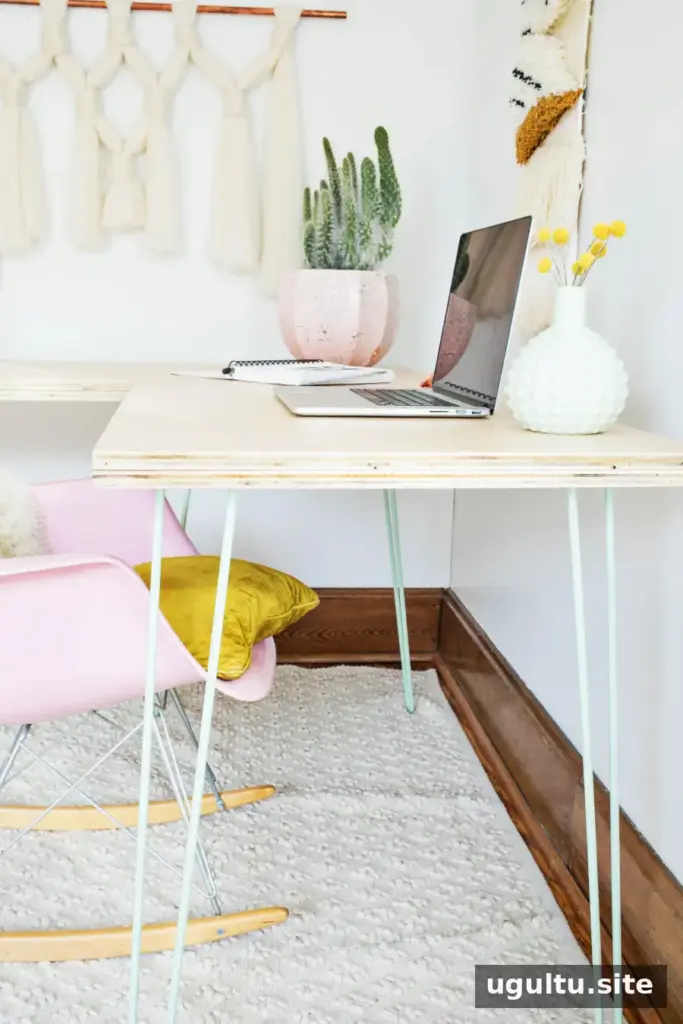
A transformable hairpin leg desk can make a small studio more useful without requiring a permanently large work surface. This design uses two plywood sections that can be arranged as a corner workstation or joined into a longer desk, making it easier to adapt the room for different tasks.
The tabletop is made from four plywood pieces assembled into two sections. Threaded inserts and removable bolts connect the sections, while six powder-coated hairpin legs support the desk. The project can be completed with basic drilling and sanding tools, though careful measuring is important for the pieces to align in both layouts.
Why build a transformable hairpin leg desk?

A corner arrangement leaves more open floor space for projects. When a longer work surface is needed, the two sections can be rearranged and joined end to end. This makes the desk useful for shared work areas, assembly tasks, or rooms that need to serve more than one purpose.
The overlapping tabletop pieces fit together like a puzzle at the center. Powder-coated hairpin legs provide support while keeping the furniture visually light. Before starting, consider where the desk will be used most often and check that there is enough clearance for both configurations.
Materials and tools
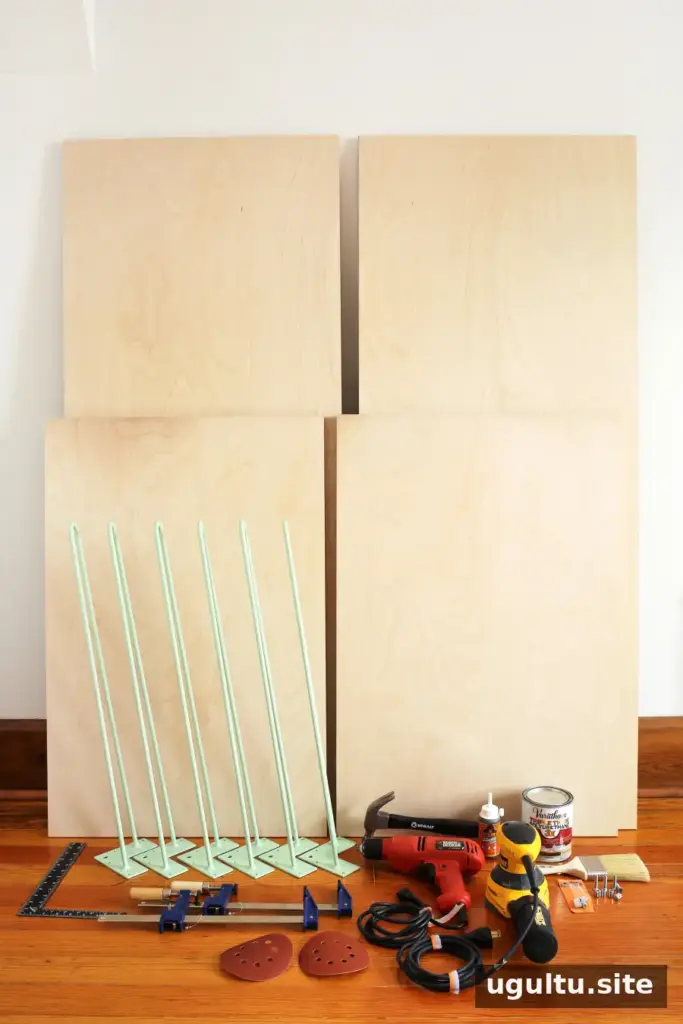
Gather the following supplies before beginning:
- One 3/4″ x 4′ x 8′ sheet of formaldehyde-free plywood, cut into two 2′ x 8′ lengths. Cut each length at the 5′ mark to make two 2′ x 3′ pieces and two 2′ x 5′ pieces.
- Six powder-coated hairpin legs
- Twenty-four #6 x 3/4″ flathead screws
- Ten #6 x 1 1/4″ flathead screws
- Four 1/4″ 20 x 13mm threaded insert nuts
- Four 1/4″ 20 x 1 1/4″ flathead machine screws
- One quart of semi-gloss polyurethane or another preferred sealer
- Wood glue and a 3″ natural-bristle brush
- Power drill, 5/16″ drill bit, and 1/8″ drill bit
- 80-grit and 120-grit sandpaper; an orbital sander is optional
- Hammer, carpenter’s square, pen, and clamps if available
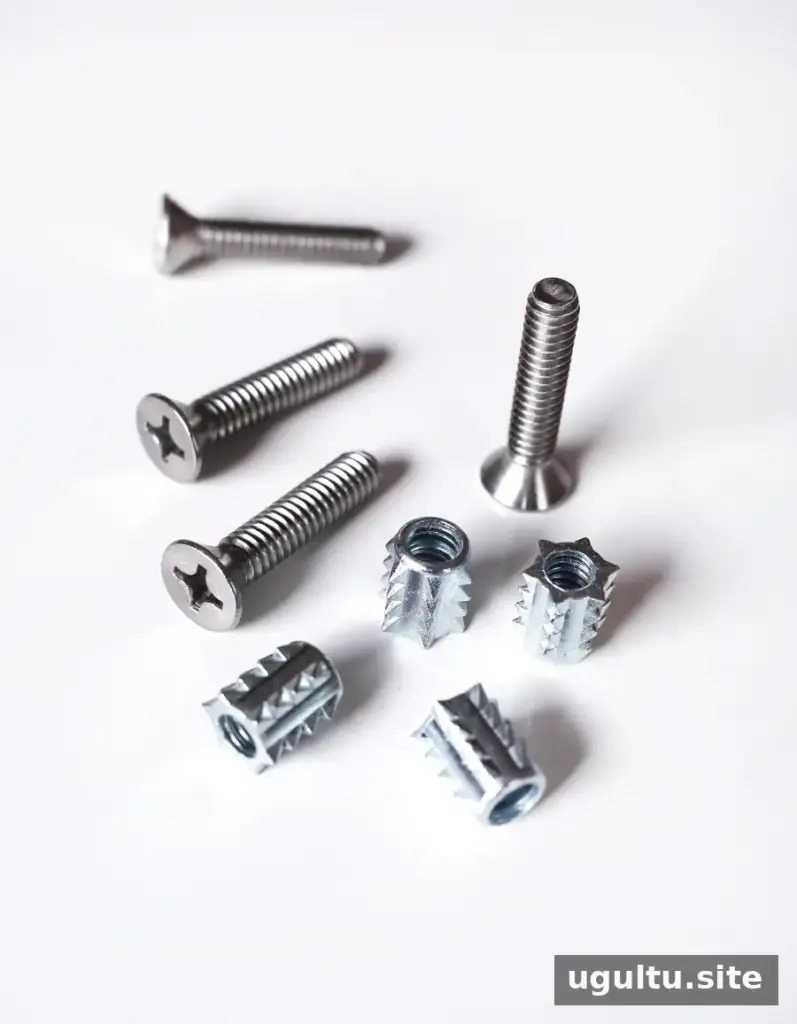
Threaded insert nuts create reusable fixing points, allowing the desk sections to be unbolted and reconnected without repeatedly driving screws into the plywood. Dustin Stewart deserves credit for introducing these useful fasteners. Check that the inserts and machine screws match before drilling.
Prepare and fit the plywood sections
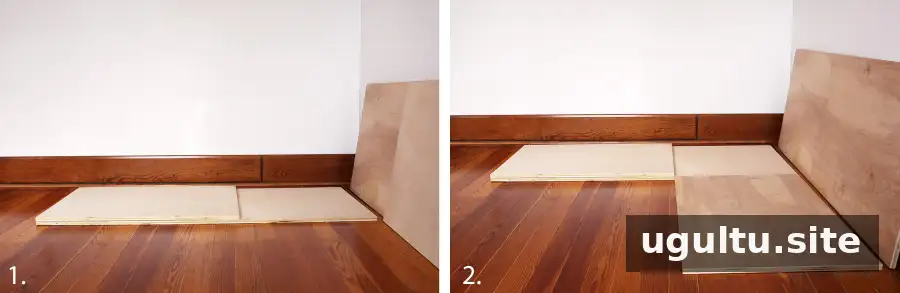
The plywood should be cut into the four specified pieces before assembly. The sheet has a light birch veneer on one side and a reddish finish on the other. Decide which face should show on the finished desk, and keep the visible sides consistent as the pieces are glued and fastened.
Dry-fit the corner and long layouts
Place one 2′ x 5′ piece on the floor, then position a 2′ x 3′ piece on top with three edges flush and the intended finished face upward. Add the second 2′ x 3′ piece at a right angle to the first arrangement. Place the second 2′ x 5′ piece over it, checking that the edges meet neatly and the overlap is tight.
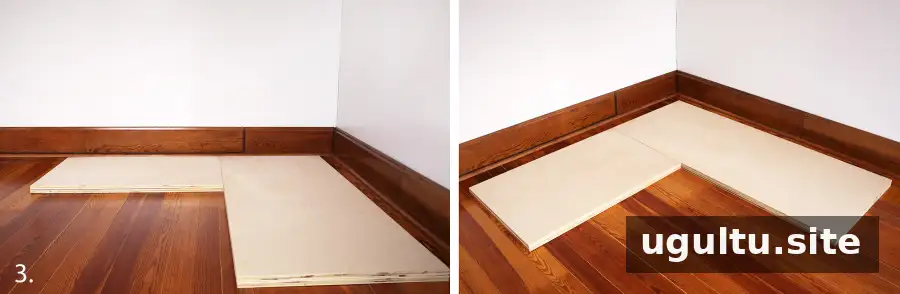
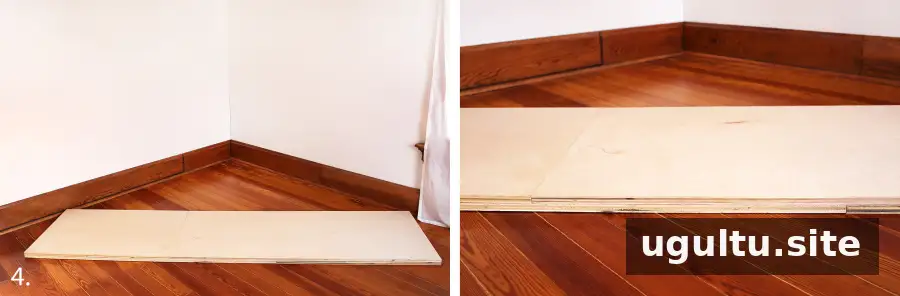
Next, rearrange the pieces into a long 2′ x 8′ desktop. Check that the edges are straight and that the overlapping areas have no gaps. If one outer edge extends beyond the other, adjust the fit and sand or trim the excess at the outside edge.
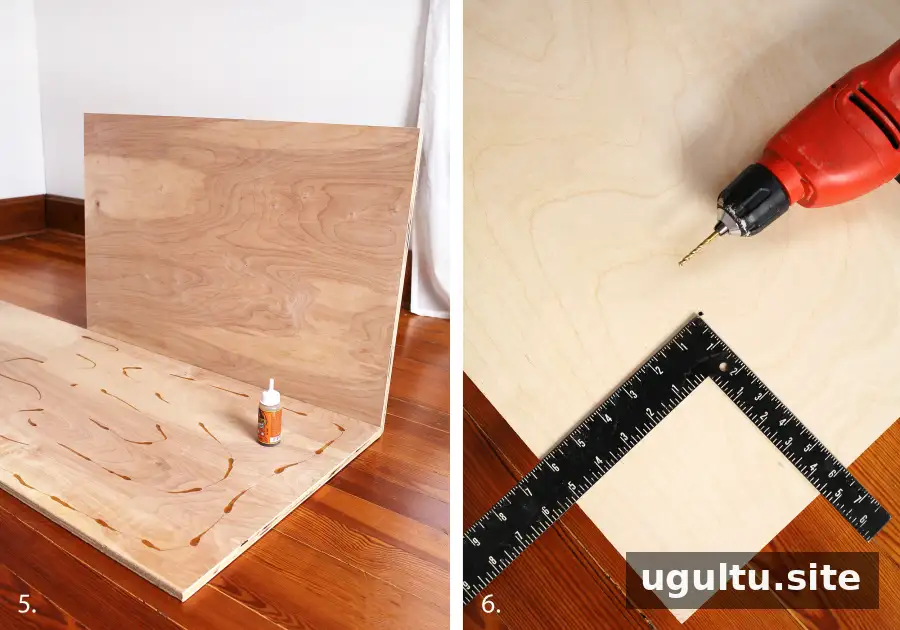
Once the dry fit is satisfactory, separate the pieces. Apply wood glue in spaced sections where each 2′ x 3′ piece will rest on a 2′ x 5′ piece. Align the three edges and clamp the boards if clamps are available.
Glue and fasten the two tabletop halves
Pre-drill at the marked positions on each 2′ x 3′ piece, drilling into the plywood below without breaking through the desktop surface. A piece of tape around the drill bit, about 1 1/4″ from its tip, can serve as a depth guide. Repeat the process for the second half, including a hole near the center as described in the layout.
Drive five #6 x 1 1/4″ screws into the prepared holes on each half to secure the glued pieces. Wipe away squeezed-out glue promptly with a damp cloth, or sand it after it has dried. Keep the intended visible faces on the unscrewed sides.
Join the sections with removable hardware
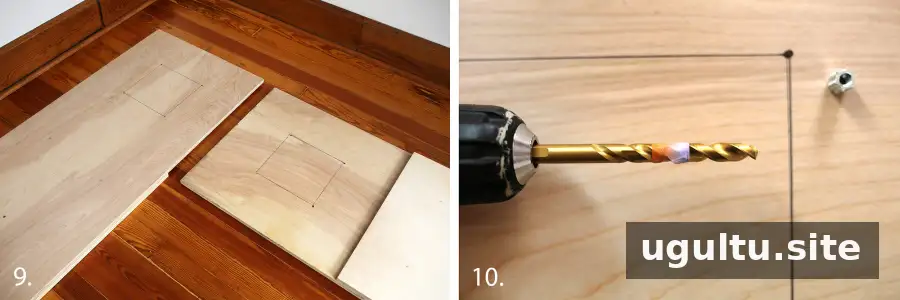
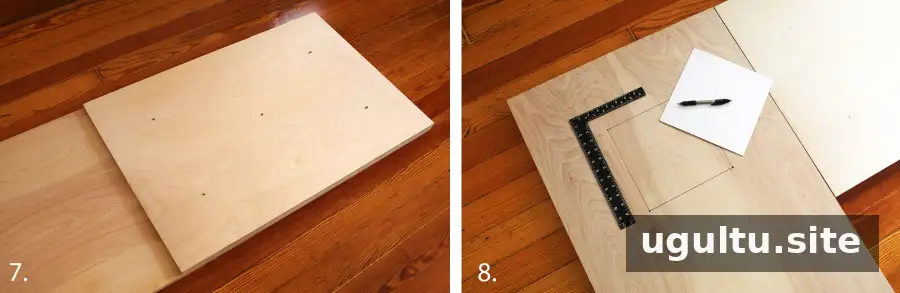
With both sections upside down, overlap them in the corner arrangement. Measure and mark a square centered over the joint. Accurate centering matters: the same holes need to line up when the sections are repositioned into the long layout.
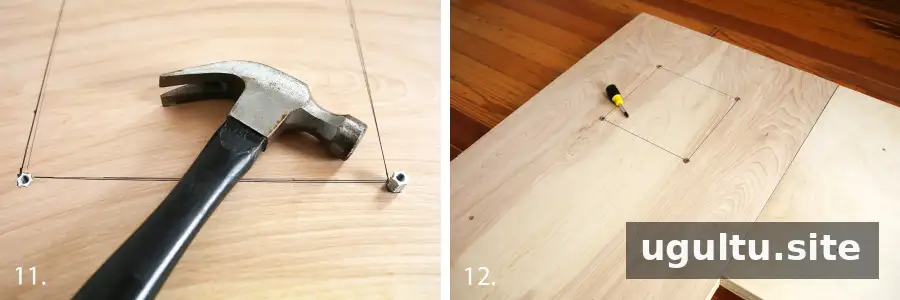
Using a 5/16″ bit, drill at the four corners of the marked square. Use tape as a depth stop so the bit goes about 1 1/4″ deep, and slightly widen the holes as described so the inserts can fit snugly. Separate the sections, then hammer the threaded inserts into the piece that was not drilled all the way through. Set them flush with the wood.
Bring the sections back together and fasten the joint with the four 1/4″ 20 x 1 1/4″ flathead machine screws. The sections should now be removable and reconnectable through the same centered holes. Test the fit before attaching the legs.
Attach the legs and finish the desk
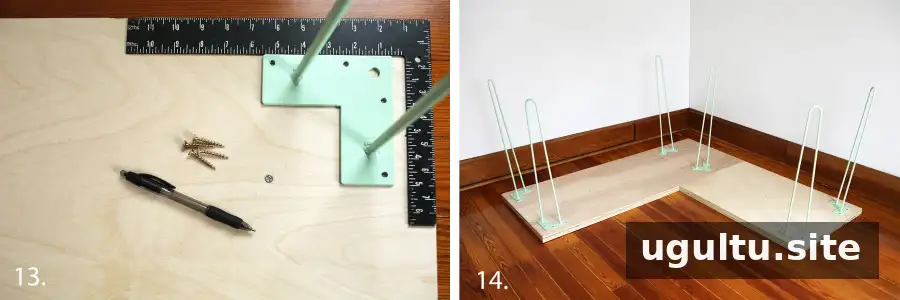
Keep the desktop upside down and mark the leg positions 1 1/2″ in from each corner at both short ends. For support in both desk arrangements, place the remaining two legs around the overlapping area, centered over the marked square and about 1/2″ away from it, facing one another. Pre-drill approximately 3/4″ deep and fasten all six legs.
Sand the top and edges by hand or with an orbital sander, using 80-grit and then 120-grit paper. Wipe away dust with a damp cloth before applying stain, paint, or polyurethane according to the product instructions. Finish all edges, including those that may be hidden in one arrangement but visible in the other.
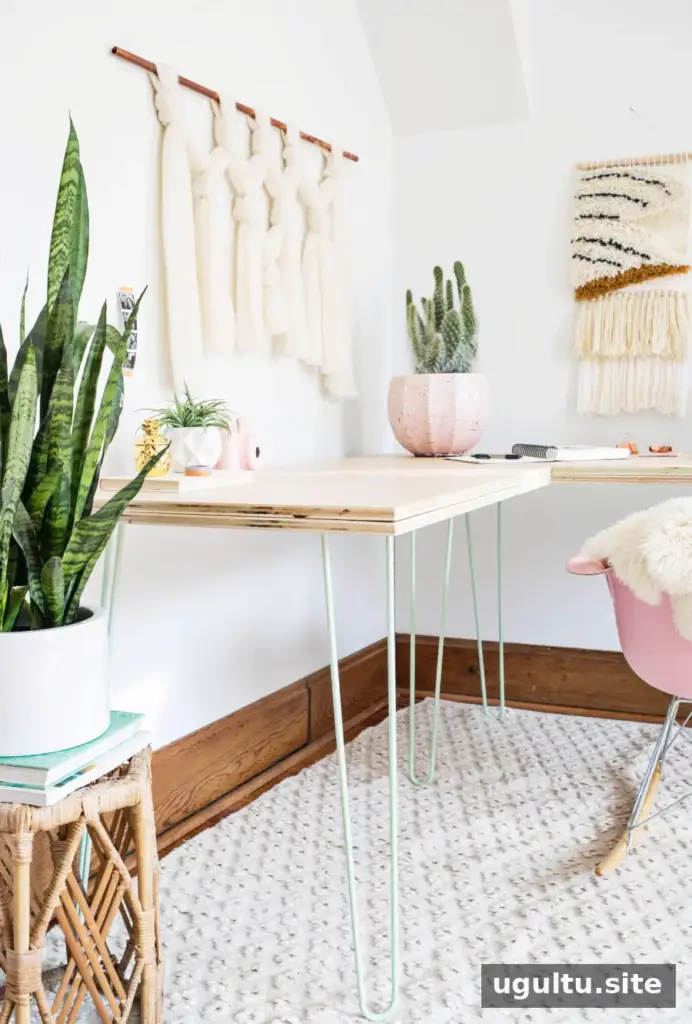

The original design uses mint powder-coated hairpin legs for a polished look with a mid-century feel. A different leg style or a drawer unit can also be used, provided the supports are positioned to keep the tabletop stable in both configurations.


To change the desk shape, clear the surface, remove the four center bolts, reposition the two sections until the holes align, and reconnect them. Keeping the tabletop clear while moving the pieces helps prevent items from shifting or falling.
Cost and practical considerations

The estimated project cost is about $225 when the required power tools and a brush are already available. The legs account for much of the expense, while leftover polyurethane can be saved for other woodworking projects if stored according to its label.
Before building, confirm the plywood cuts, hardware sizes, and hole locations. Work on a stable surface, protect your eyes while drilling and sanding, and follow the safety instructions for adhesives and finishes. This transformable hairpin leg desk offers two workspace layouts from one adaptable tabletop.
—Rachel


