
 admin
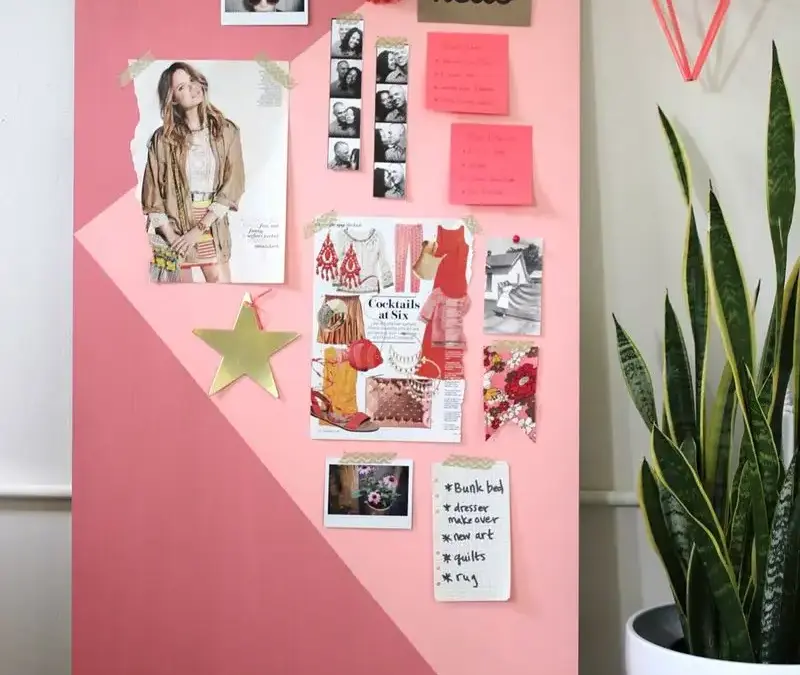
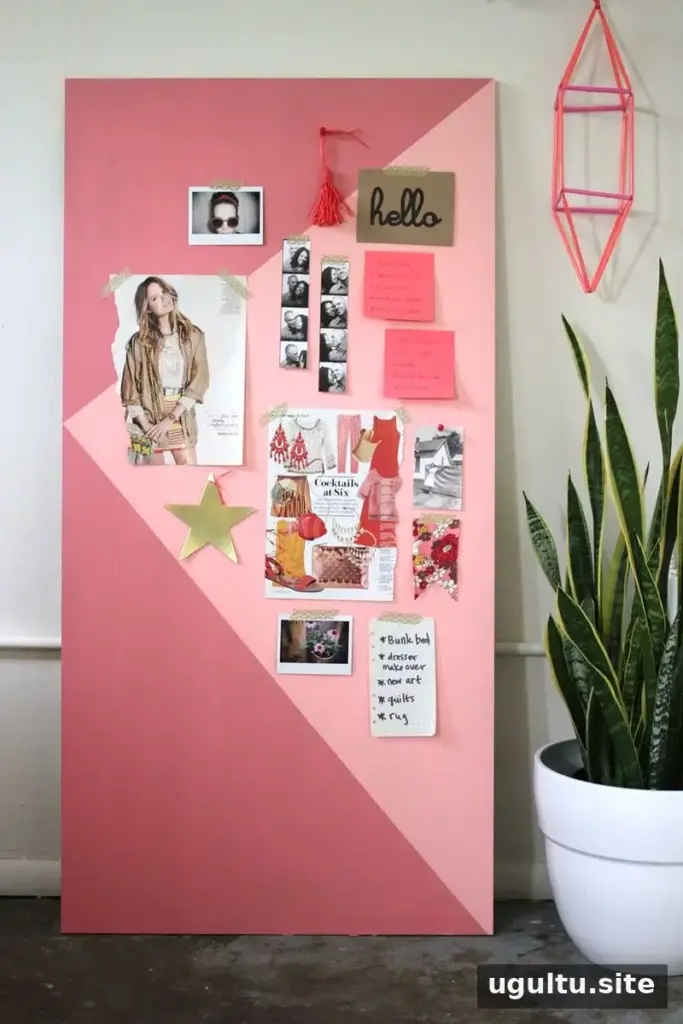
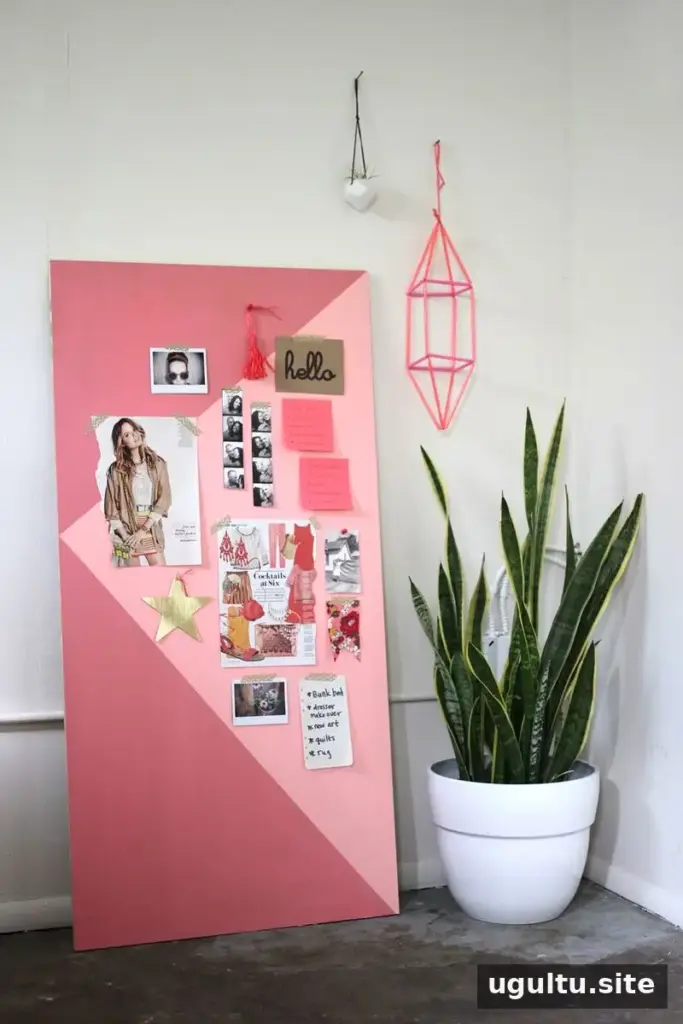
A color block mood board gives photos, magazine pages, and other creative references a dedicated place while adding a decorative accent to a room. This portable DIY version uses an MDF panel, acrylic paint, and washi tape to create a graphic design without needing to mount anything on the wall. The project was created by Rachel for a studio space, but the same approach can work in a home office or craft area.
Materials for a Color Block Mood Board
The board in this project measures about 4 feet by 2.5 feet. Gather the following supplies before starting:
- A piece of MDF cut to approximately 4′ x 2.5′, or pre-cut hardwood
- Acrylic paint in two or more colors
- Washi tape for marking the design
- A 4-inch-wide paintbrush or a small roller
- Paper towels or cardboard to protect floors and nearby surfaces
If you choose hardwood, sand it first to create a smooth painting surface. Set the panel on a protected, level area so you can paint comfortably and keep paint off floors and walls.
How to Make the Painted Board
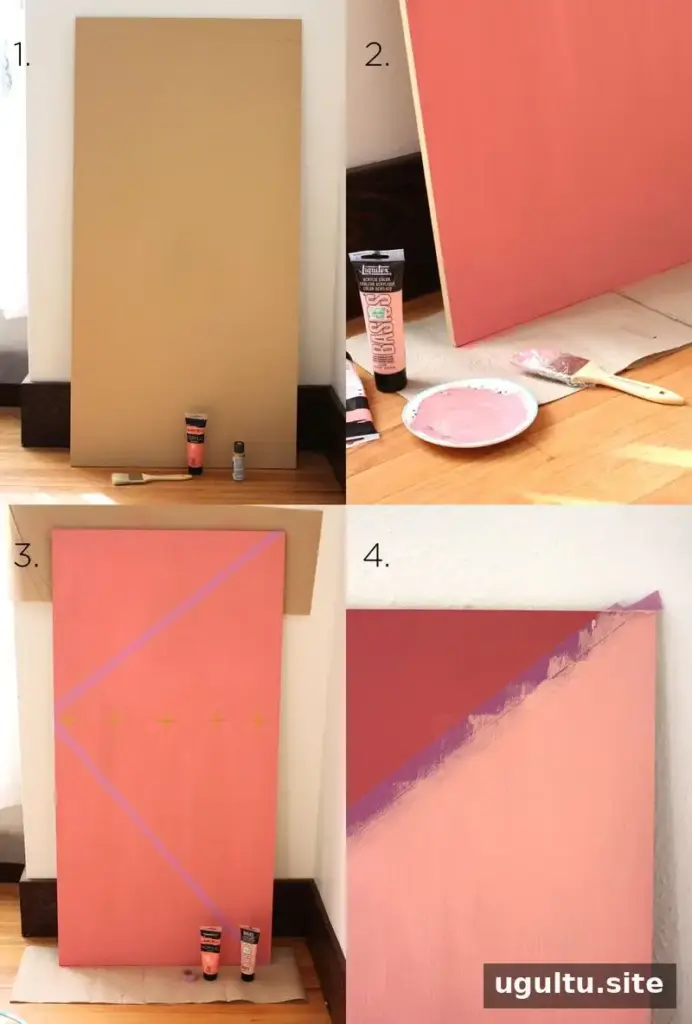
- Prepare and paint the surface. Start with a clean board and apply the first coat of acrylic paint. Depending on the paint and the coverage, a second coat may be needed. If the paint is difficult to spread smoothly, a small amount of water can help; test this carefully and avoid making the paint too thin.
- Let the base coat dry. Follow the paint label’s drying guidance before adding tape. A dry surface helps the tape adhere and makes it easier to create clean edges.
- Mark out the color-block design. Use washi tape to create the shape you want. For the original design, the tape outlined a triangle positioned slightly above the center of the board.
- Paint the taped area. Apply two coats of a lighter color inside the shape, taking care not to brush over the tape line. Let the paint dry before removing the tape slowly.
Choose Colors That Suit Your Space
A bright color combination can make the board a focal point, while a more restrained palette keeps it subtle. Options include black chalkboard paint, black-and-white stripes, or polka dots. For a crisp result, plan the color order before painting: when possible, apply the lightest color first and add darker colors afterward. This can help prevent a dark base from showing through a lighter top coat.
Display Ideas and Safety Tips
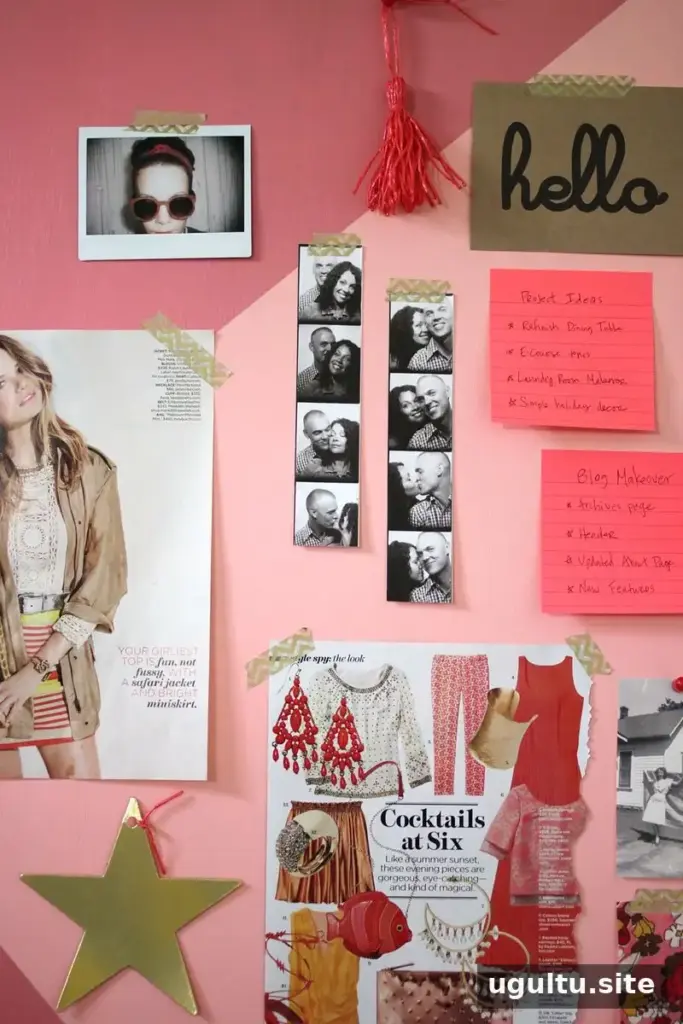
Use washi tape or push pins to attach photographs, magazine pages, and other sources of inspiration. Rearrange items when a project changes or whenever you want to refresh the display. Keep the layout practical by leaving enough open space to add new references without covering the painted design entirely.
Because the panel can stand without being attached to a wall, it can suit rented spaces where you want to avoid making holes. However, a large board may tip over if knocked. Secure it appropriately if young children use or spend time in the room, and position it away from busy walkways.
Conclusion
A color block mood board is a straightforward way to combine a useful inspiration display with a custom-painted accent. Choose a stable panel, allow each coat to dry, and use tape to guide the design. With a few basic supplies, the finished board can be updated as your ideas and projects evolve.


