
 admin
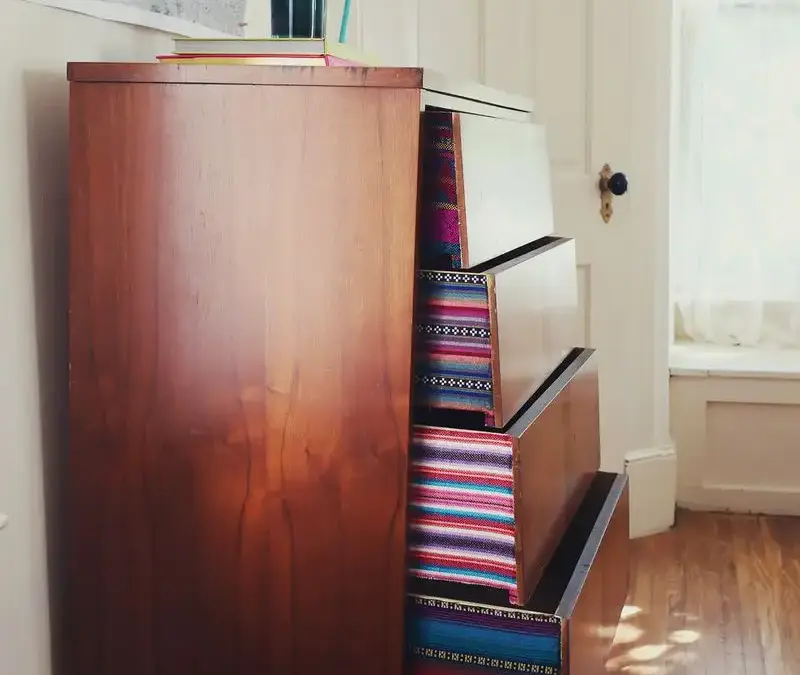

Fabric lined dresser drawers are a simple way to bring color and pattern into a room without changing the furniture itself. Lightweight fabric can brighten the inside of a neutral dresser, and the project requires only a few basic craft supplies. Choosing a thin, closely woven fabric is important: bulky material may make drawers harder to open and close.
What You Need for Fabric Lined Dresser Drawers
Gather your materials before removing the drawers so you can measure and work efficiently. For this project, prepare:
- Four fabric pieces, or one piece for each drawer you plan to line
- Tacky craft glue
- Fabric scissors
- A small paintbrush
- Decoupage sealer, such as Mod Podge
The original project used four different fabrics. You can use a single pattern throughout for a coordinated look, or choose different prints for a more varied finish. Before starting, check that the fabric is clean and free of loose threads.
How to Line Dresser Drawers with Fabric
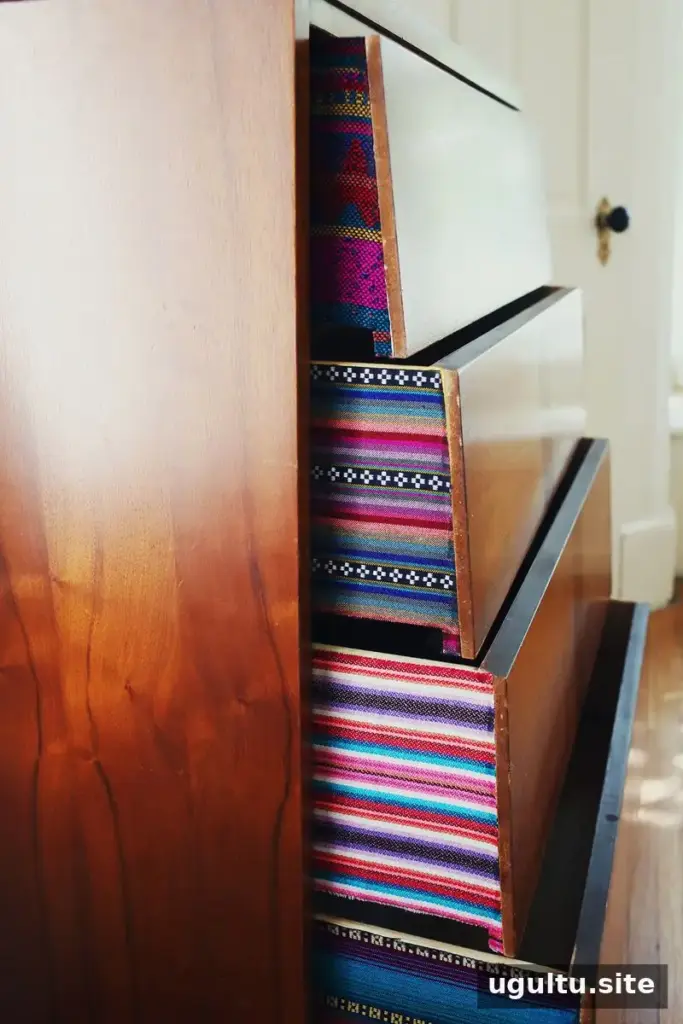
Work on a clean, flat surface and take care to measure each drawer separately. Drawer dimensions can vary, so measuring one and assuming the rest are identical may lead to pieces that do not fit.
- Remove the drawers. Take them out of the dresser and place them on a stable work surface.
- Measure and cut the fabric. Measure the surface you intend to cover and cut the fabric to size. Leave yourself room to make small adjustments before applying adhesive.
- Apply the glue. Spread a thin, even layer of tacky craft glue over the drawer surface, reaching the edges so the fabric can lie flat.
- Position the fabric. Lay it onto the glued surface and smooth it gently. Trim any excess fabric with scissors, taking care not to cut into the drawer.
- Seal the edges.
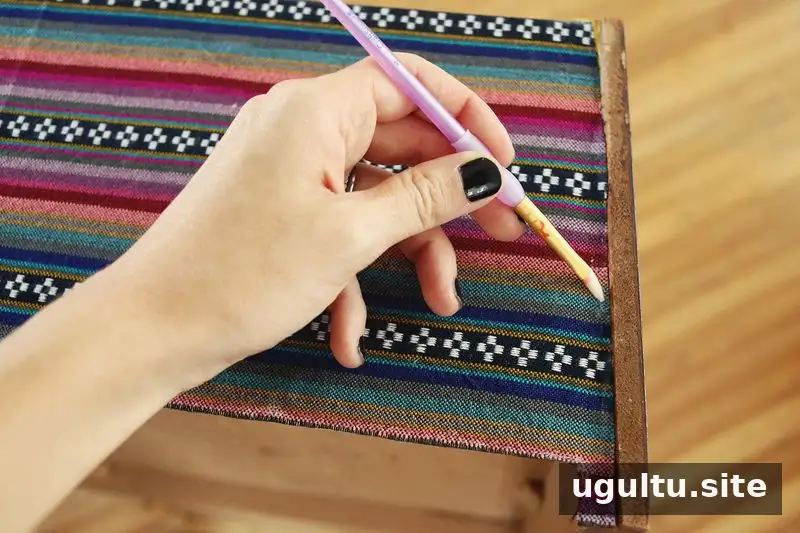
Use a small paintbrush to apply decoupage sealer along the fabric edges. This helps seal them and reduce fraying. If the fabric frays easily, allow the first coat to dry and apply another.
- Let everything cure. Leave the drawers undisturbed until the glue and sealer have fully cured, following the product directions. Returning drawers to the dresser too soon may shift the fabric.
Choose Fabric That Will Not Catch
Fabric thickness is one of the most important considerations. The project used a thin woven fabric described as about twice the weight of standard cotton. As a general guide, choose fabric heavier than lightweight cotton but not as thick as upholstery fabric. A busy print can also help make small glue marks less noticeable.
Check the drawers before beginning. If they already fit tightly or are difficult to slide, adding fabric may make them harder to use. You can also test your chosen adhesive and fabric on an inconspicuous area first, especially if you are concerned about the drawer’s finish.
What to Expect from the Finished Drawers

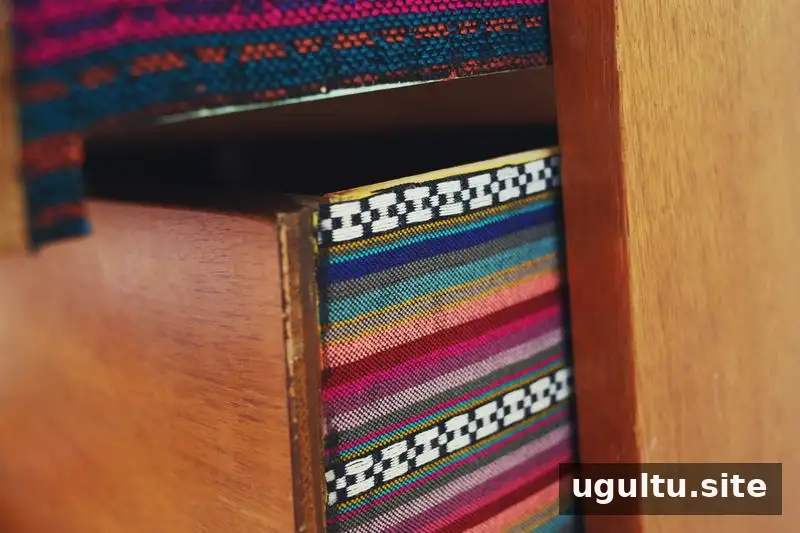
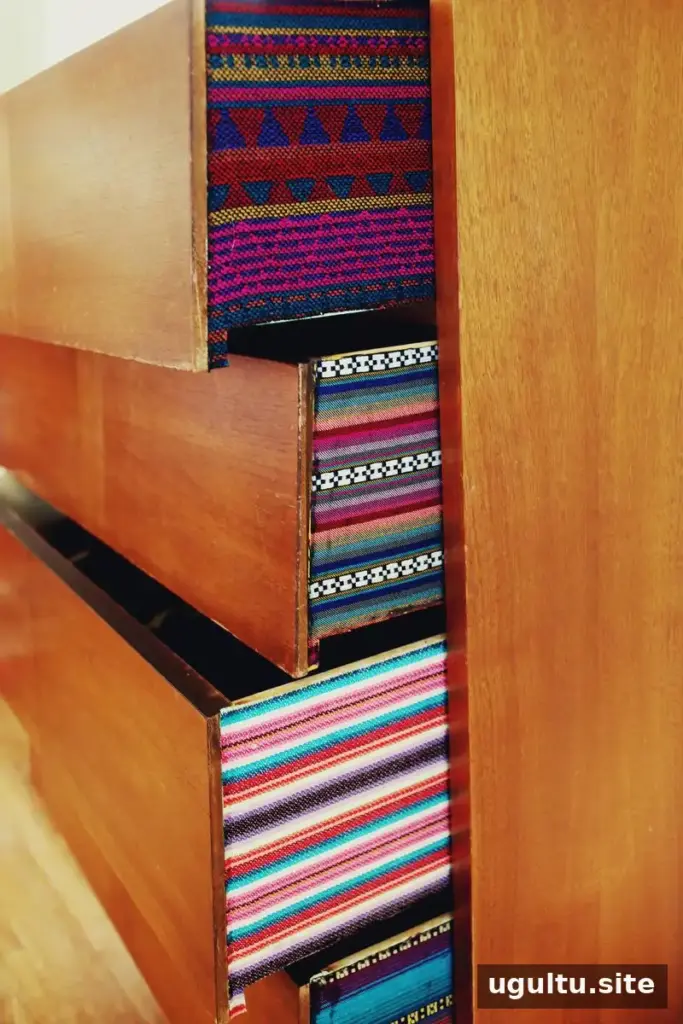
In the completed project, the fabric did not interfere with opening or closing the dresser drawers. Results can vary depending on the drawer’s clearance, the fabric thickness, and how evenly it is applied, so check that the fabric sits flat before allowing the adhesive to cure. The finished lining adds a decorative detail while keeping the dresser practical.
Conclusion
Fabric lined dresser drawers can be an easy furniture update when you select a suitably thin fabric, measure each drawer carefully, and let the adhesive cure completely. If your drawers have a tight fit, consider leaving them unlined or choosing a lighter material to help preserve their movement.


