
 admin
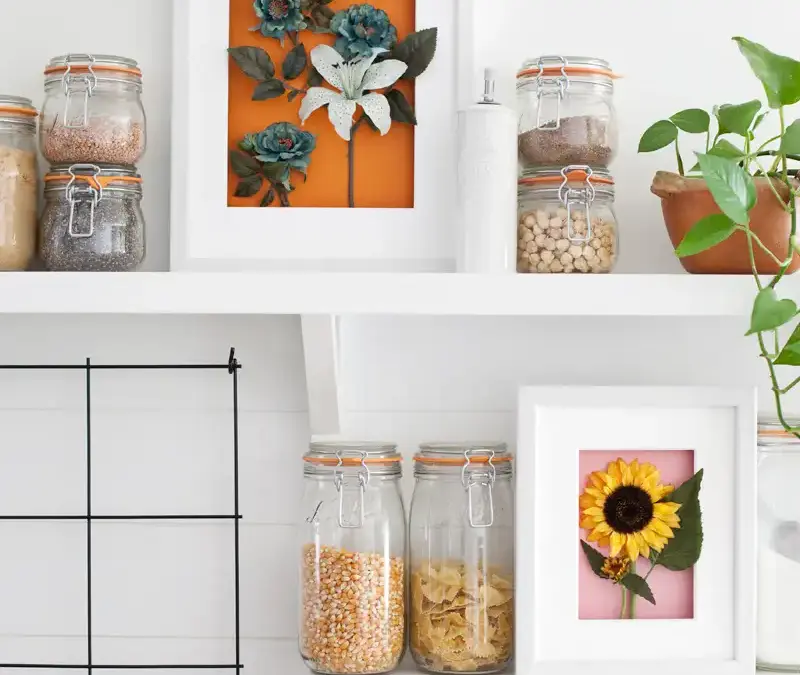
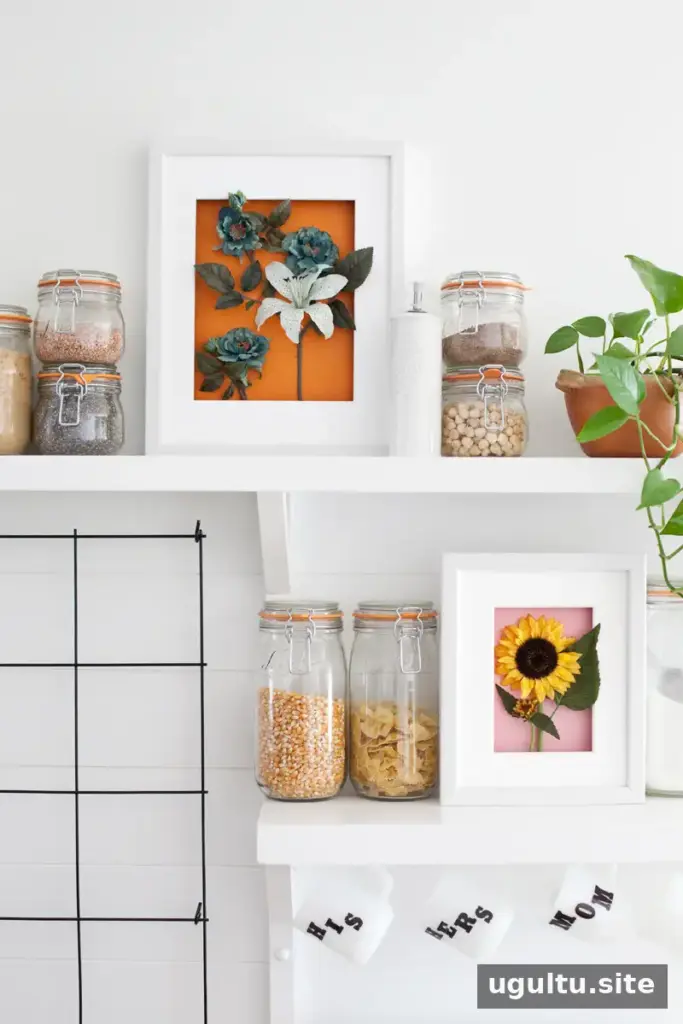
Floral shadow box art is a simple way to bring seasonal color to a kitchen, living room, or hallway. With a shadow box, cardstock, and artificial flowers, you can make dimensional wall decor without a lengthy or complicated process. Choose flowers that suit your room, then follow these steps to assemble a polished arrangement.
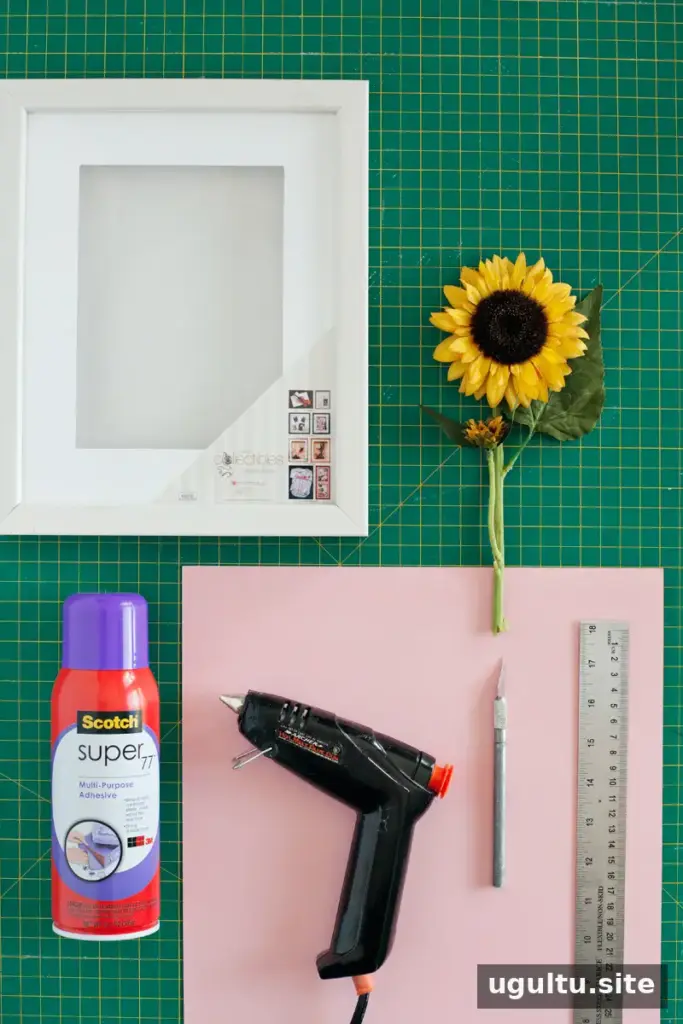
Supplies for Floral Shadow Box Art
- A shadow box
- Cardstock or poster board in your preferred color
- Artificial flowers
- Spray adhesive
- A hot glue gun
- Cutting materials, such as a cutting mat, steel ruler, and craft knife
- Wire cutters for trimming the flower stems
Before starting, check the inside dimensions of the frame and choose backing paper that can be trimmed to fit. Protect your work surface when using spray adhesive, and follow the product label for safe application.
Step 1: Prepare the Shadow Box Backing
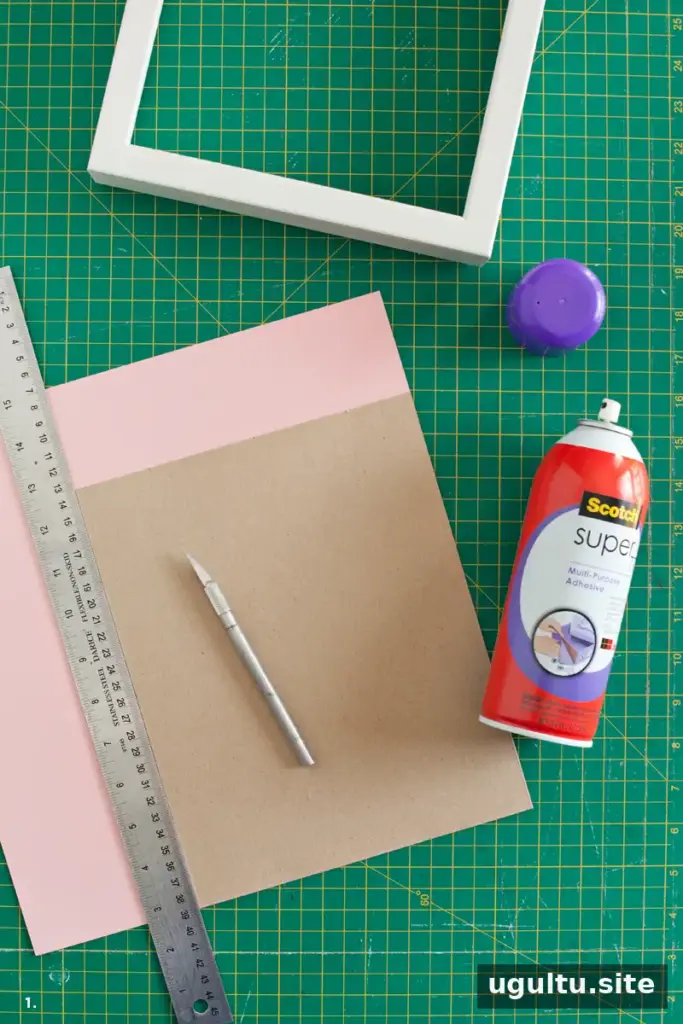
Remove the sturdy backing from the shadow box. Attach the cardstock or poster board to it with spray adhesive to create a firm, clean surface for the flowers.
One convenient method is to spray the smaller cardboard backing rather than the larger sheet of cardstock. This keeps adhesive away from the area where you will place a ruler to measure and cut. Press the backing onto the paper, smooth it down, and trim the cardstock to the correct size. Make sure the edges sit neatly inside the frame before moving on.
Step 2: Arrange and Attach the Flowers
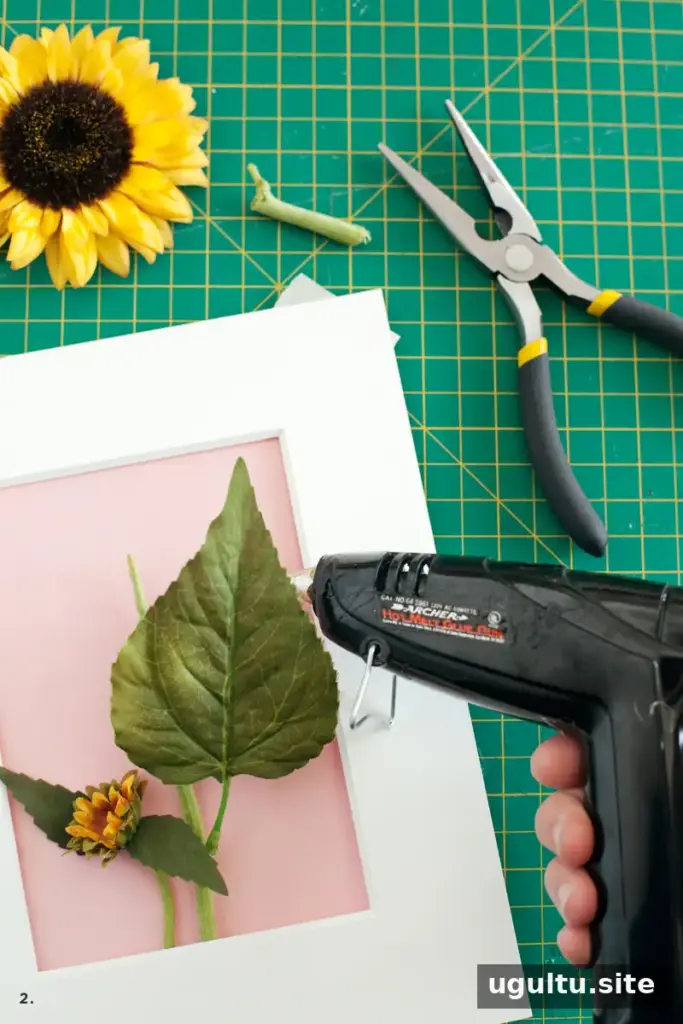
If your frame includes a mat, use it as a guide while arranging the flowers. Try a few layouts before gluing so you can adjust the balance of color and shape. Wire cutters can help shorten stems or remove excess parts that make the arrangement difficult to position.
Once the layout looks right, secure the flowers to the backing with a hot glue gun. Keep glue spots behind petals or leaves where possible, so they are less noticeable in the finished piece. Allow the glue to set before lifting or moving the backing.
Assemble and Display Your Floral Shadow Box Art
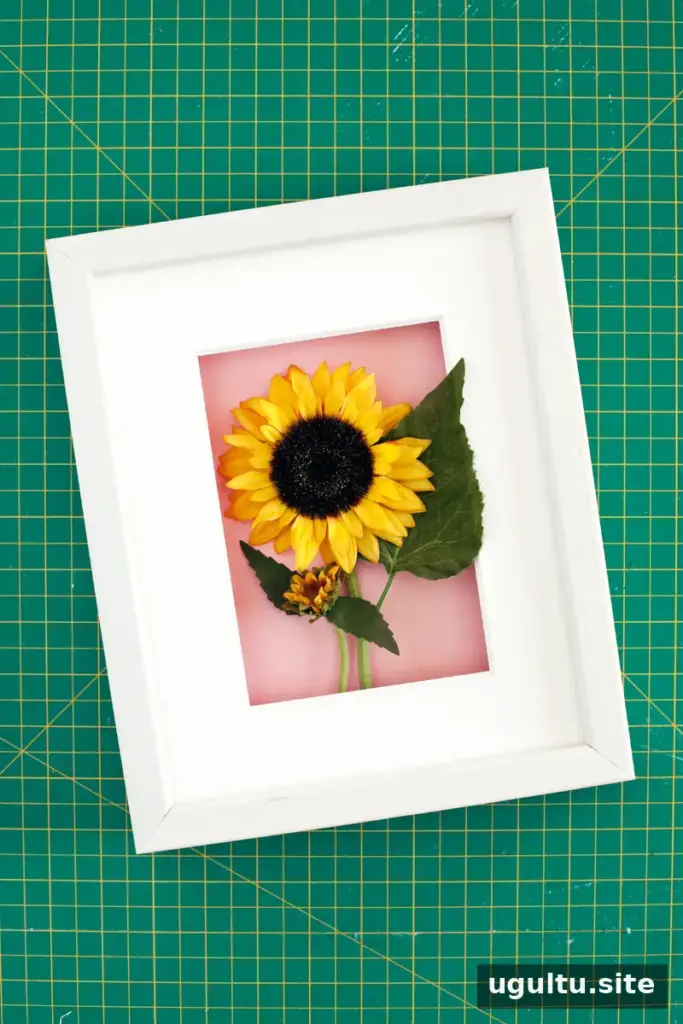
Place the finished backing and remaining frame pieces together, then hang the shadow box in your chosen spot. You can leave out the glass for a more dimensional arrangement, with flowers or leaves extending in front of the mat. Keep in mind that an open frame can collect dust over time, so occasional gentle dusting may be needed.
If you prefer to use the glass, flatter leaves may fit between the mat and glass. Check that the arrangement is not pressed tightly against the glass before closing the frame, as this can flatten delicate pieces or prevent the frame from fitting together properly.
A Quick Seasonal Wall Decor Project
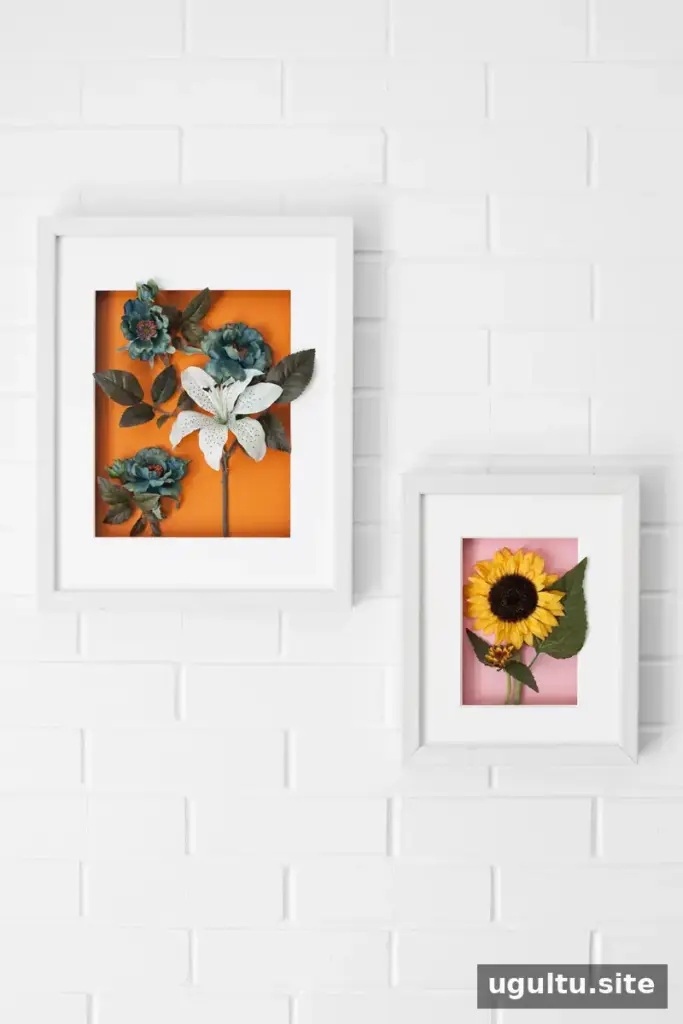
This floral shadow box art project can be completed with a small set of materials and offers plenty of room to customize the colors and arrangement. For a coordinated display, use similar backing colors across several frames or choose different flowers for each box. Take a final look at the frame before hanging it to ensure all pieces are secure and the backing is fitted correctly.
—Mandi


