
 admin
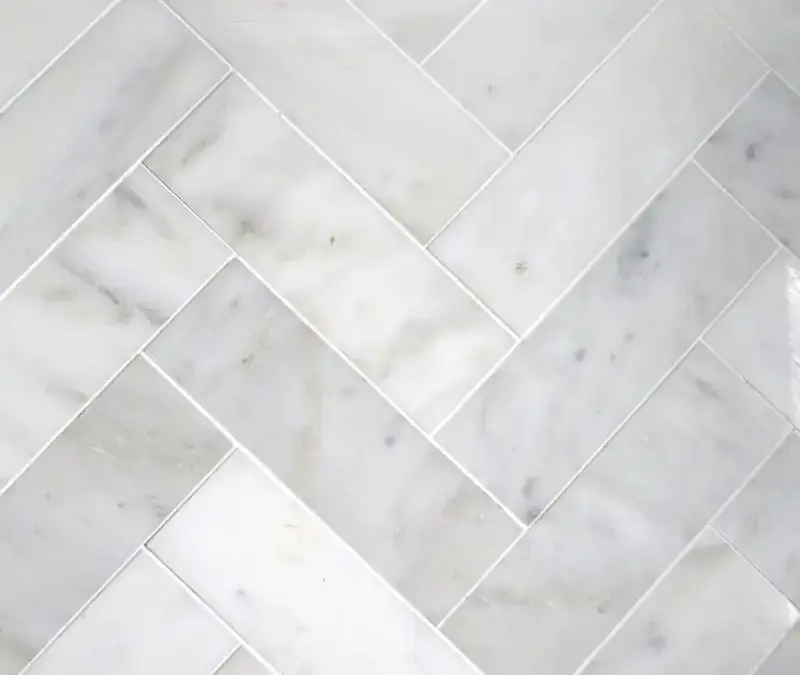
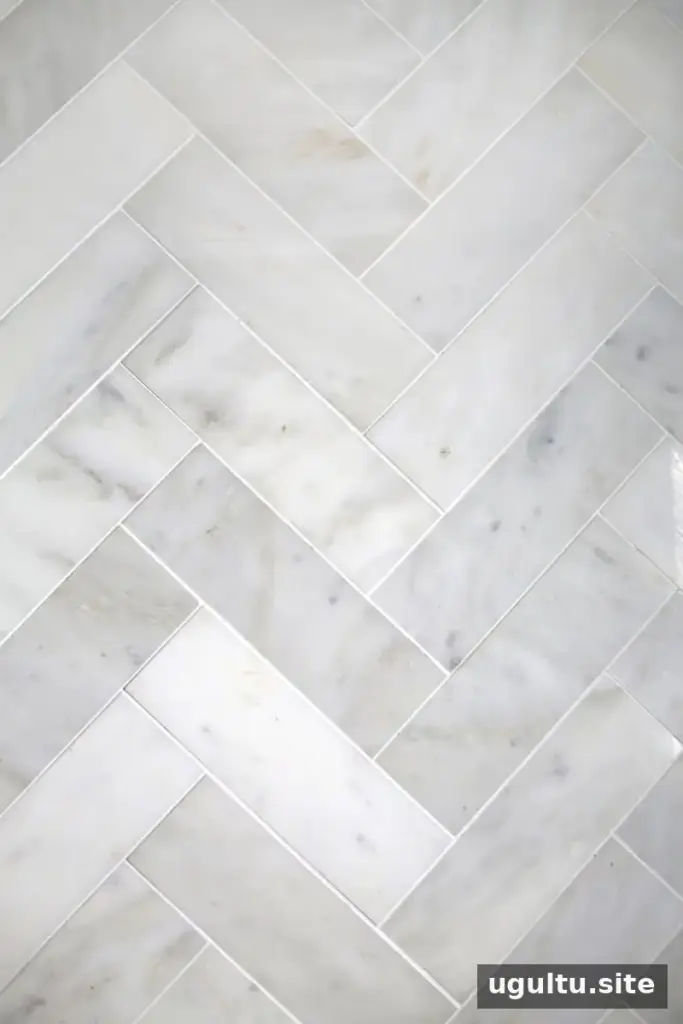
A herringbone marble tile floor can add pattern and a custom look to a small bathroom without requiring specialty patterned tile. In this project, basic 12×12 marble tiles were cut into 4×12 strips and arranged in a herringbone pattern. The approach made a simple tile choice feel more distinctive while keeping the material consistent with marble used elsewhere in the home.
Why choose herringbone marble tile?
Small bathrooms have limited floor area, so the scale and layout of the tile can make a noticeable difference. The original plan was to use the same 12×12 marble installed in the kitchen, breakfast nook and sunroom. Although that tile worked well in larger rooms, smaller pieces were preferred for the bathroom to create a more detailed, patterned appearance.
Decorative marble and intricate layouts can increase renovation costs. Tile installation may also cost more than wood flooring, particularly when a design requires extra cuts. Reusing a readily available tile and changing its format offered a way to achieve a more tailored look without choosing a more expensive patterned product.
How the 12×12 marble was adapted
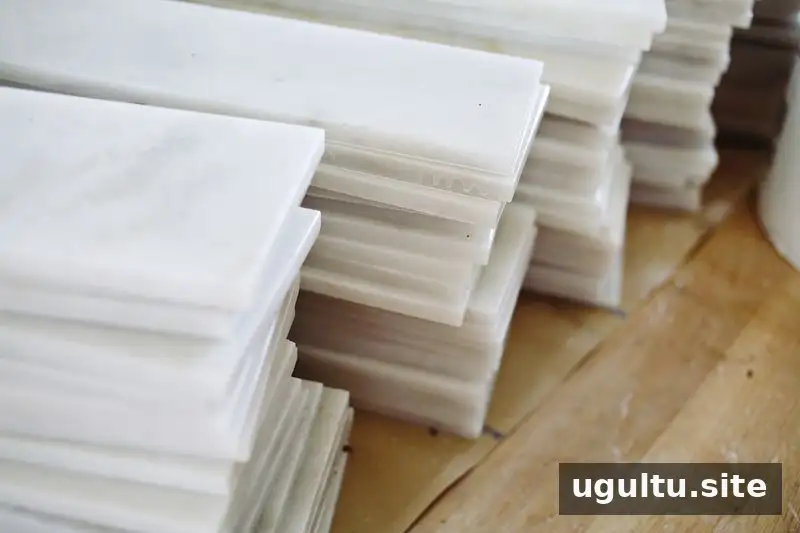
The tiles were cut into 4×12 strips, then laid in a herringbone arrangement. Each original tile required two additional cuts to create the strips. This added preparation and labor, so the layout was discussed with the tile installer before work began.
- Confirm the dimensions: Agree on the strip size and pattern before cutting begins.
- Discuss labor costs: Additional cuts can affect installation time and price, so include them in the project estimate.
- Plan the layout: Ask the installer to consider the room’s edges and transitions so the pattern fits the available floor space.
- Choose grout with the finished look in mind: The completed floor shown here uses white grout.
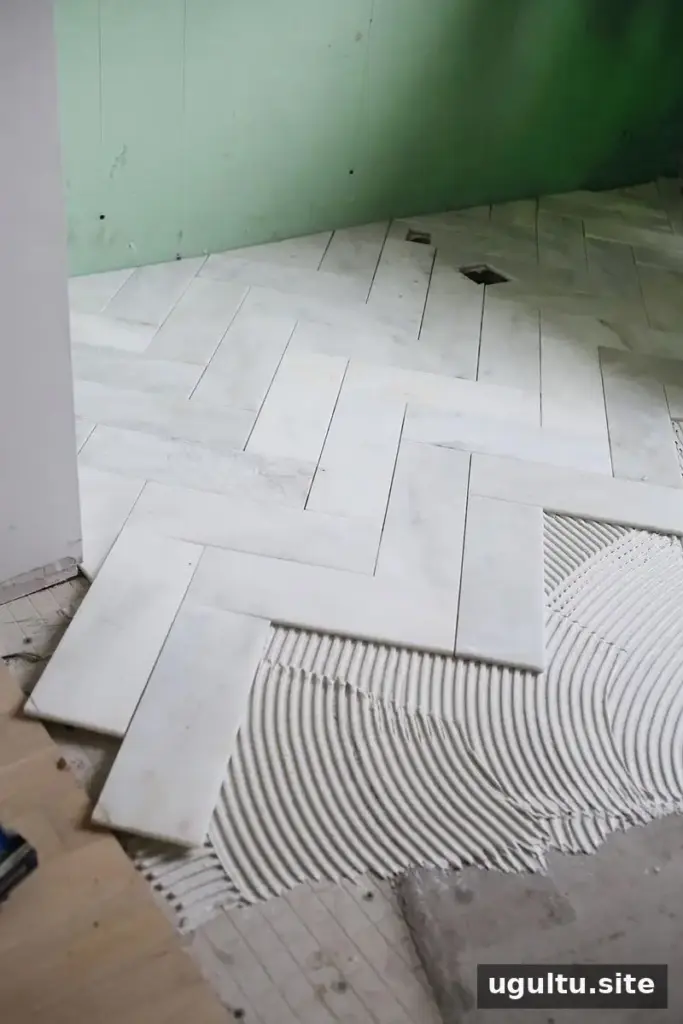
A practical update for a small bathroom
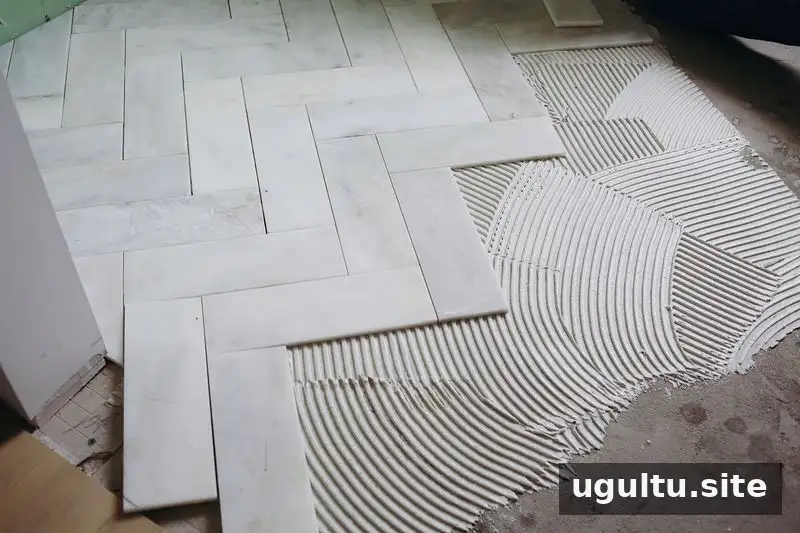
The herringbone layout gave the bathroom floor a more intricate appearance than standard square tile. It also shows how a straightforward material can be customized through cutting and placement. The first installation photos were taken while the floor was still messy, so they capture the work in progress rather than the finished room.
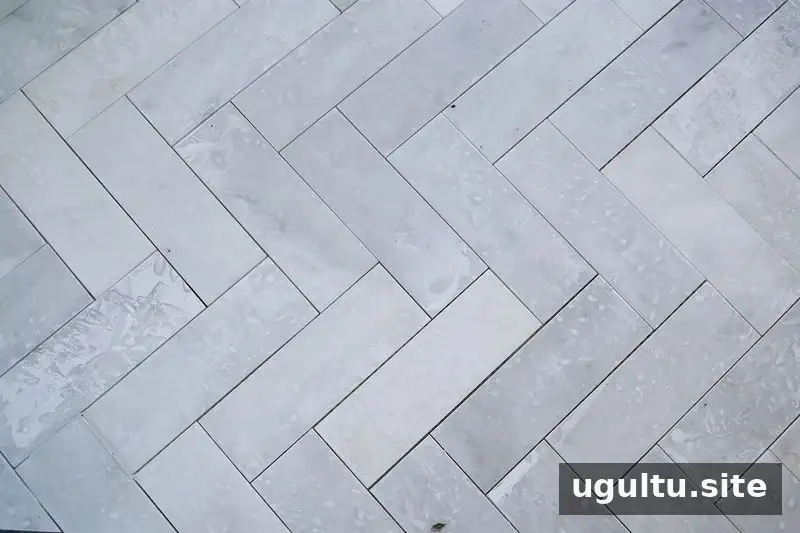
The new pattern brought visual interest to a compact area. For any renovation, it is helpful to review a small sample or layout with the installer before committing to cuts across all the tile. This can help confirm that the proportions suit the room and clarify the amount of extra work involved.
Grout and finishing details
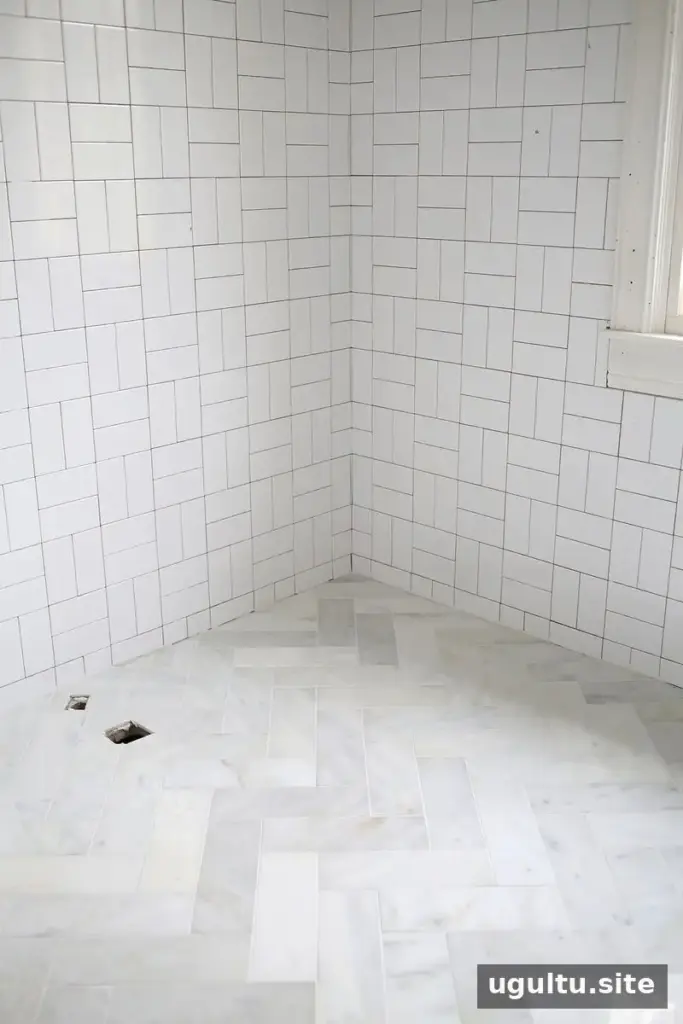
The floor is shown with white grout, while the walls were still awaiting grouting at the time of the update. Grout is part of the overall finish, so confirm its color and the planned installation sequence with the tile professional. Allow the tile and grout work to be completed before judging the final appearance.
Herringbone marble tile can be a useful option when a small bathroom needs more pattern but the project budget does not allow for specialty designs. Cutting 12×12 marble into 4×12 strips created a custom effect here, though the extra cuts should be discussed with an installer in advance. — Elsie


