
 admin
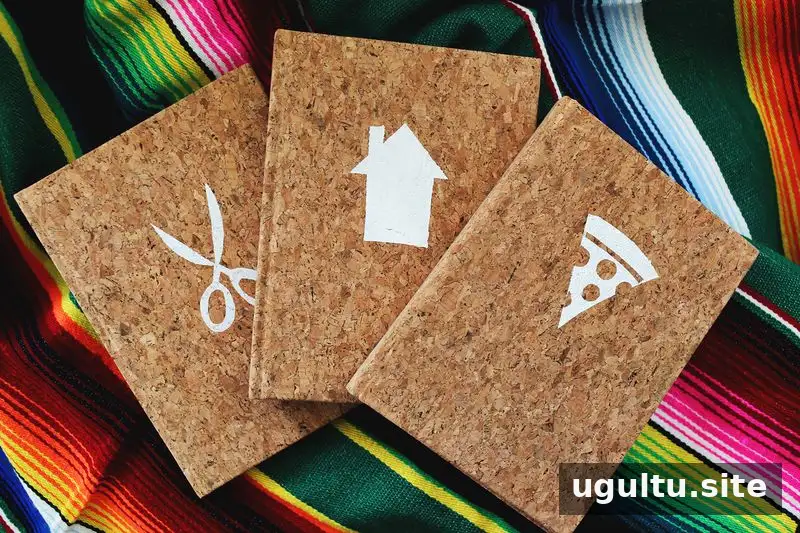
Idea journals offer a simple way to collect inspiration without letting notes about crafts, home decor, and recipes become one big jumble. Keeping a separate notebook for each topic makes it easier to find an idea later, whether you are planning a project, refreshing a room, or deciding what to cook. A few simple labels can also make plain cork-covered journals feel personal and easy to recognize.
Why keep separate idea journals?
A dedicated notebook gives each kind of inspiration a home. Use one for craft projects, another for decor plans, and a third for recipes or meal ideas. This system is especially helpful when you save thoughts in quick bursts: instead of sorting everything later, add each note to the appropriate journal right away.
For easier browsing, add a date to each entry and leave a little space for updates. You can also reserve the first page for an index, then record page numbers as the notebook fills up.
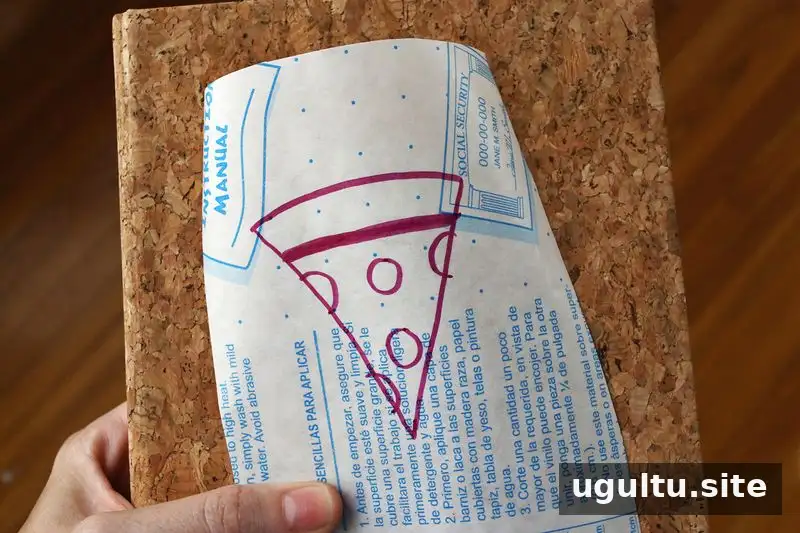
How to decorate idea journals with contact paper
A simple graphic on each cover can identify the notebook at a glance. Choose a small symbol that connects to its topic, such as a craft-related shape, a home detail, or a food-inspired design. Keep the artwork uncomplicated so it is easier to cut and paint cleanly.
- Cut a piece of contact paper large enough to cover the area where you want the design.
- Cut the chosen shape from the center of the contact paper. Keep any small interior pieces you will need to define the design.
- Place the contact paper on the journal cover, then position the saved detail pieces within the open area.
- Press the edges down carefully so paint is less likely to seep underneath.
Before painting, check that the cover is clean and dry. If you are unsure how the paint will behave on the material, test it on a discreet spot first.
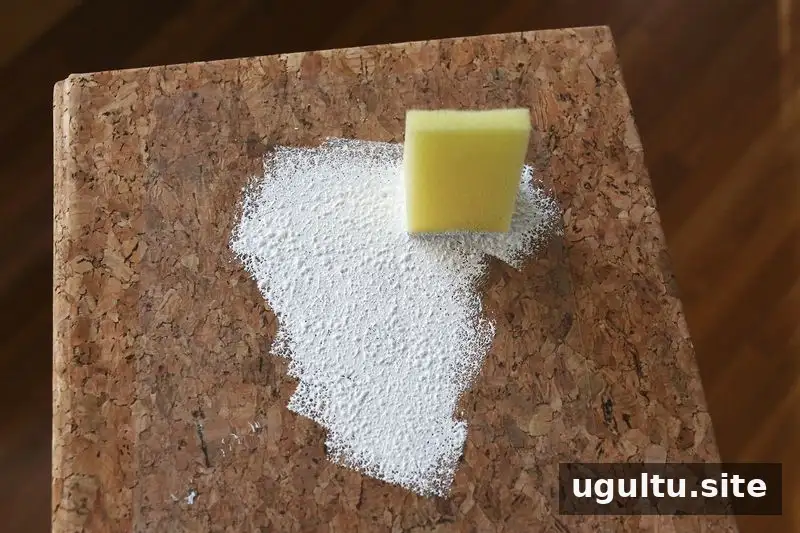
Apply paint and remove the stencil
Use a sponge to dab paint over the exposed shape rather than sweeping it on with a brush. Light, controlled dabs help reduce paint bleed beneath the contact paper. Build up the color gradually instead of applying a heavy layer all at once.
Let the paint dry completely before peeling away the contact paper. Removing it too early can smudge the design or disturb the painted edges. Lift the paper slowly; if an edge resists, ease it away rather than pulling sharply.
Make each journal useful day to day
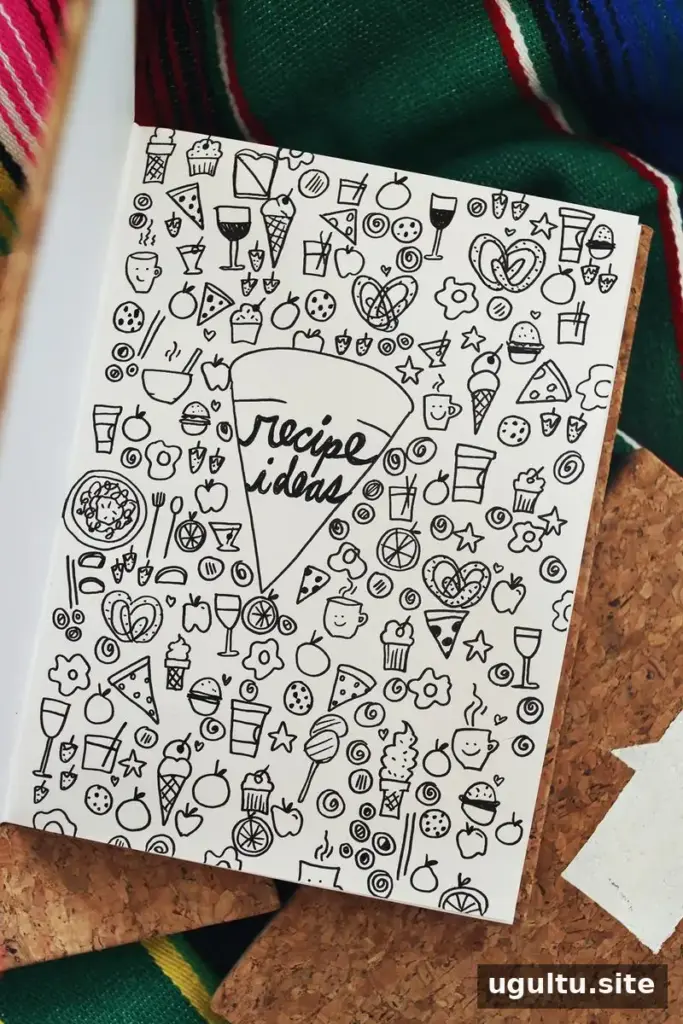
Decorating the cover is only the first step. Add a title page inside each notebook so its purpose is clear, then keep the format simple enough to maintain. For example, a recipe journal could include space for the dish name, source, and notes, while a craft journal might have room for materials and next steps.
Keep the journals somewhere visible and convenient. A notebook that is easy to reach is more likely to be used when an idea comes up. If you collect loose notes or printed references, choose one pocket or section for them so they do not disappear between pages.
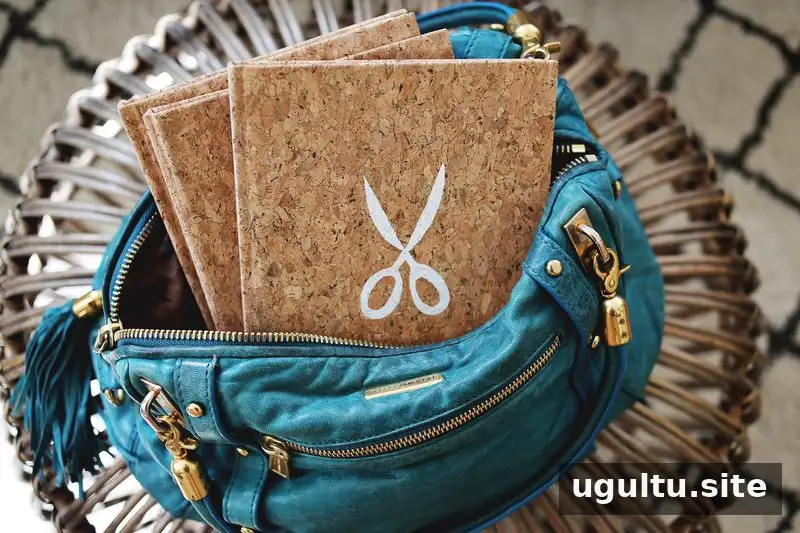
Keep inspiration organized with idea journals
Separate idea journals can make seasonal planning and everyday brainstorming feel more manageable. Distinct covers help you choose the right notebook quickly, while dated entries and simple indexes make older ideas easier to revisit. Start with a few broad categories and adjust them as your interests or projects change. The best system is one that is easy to keep using.


