
 admin
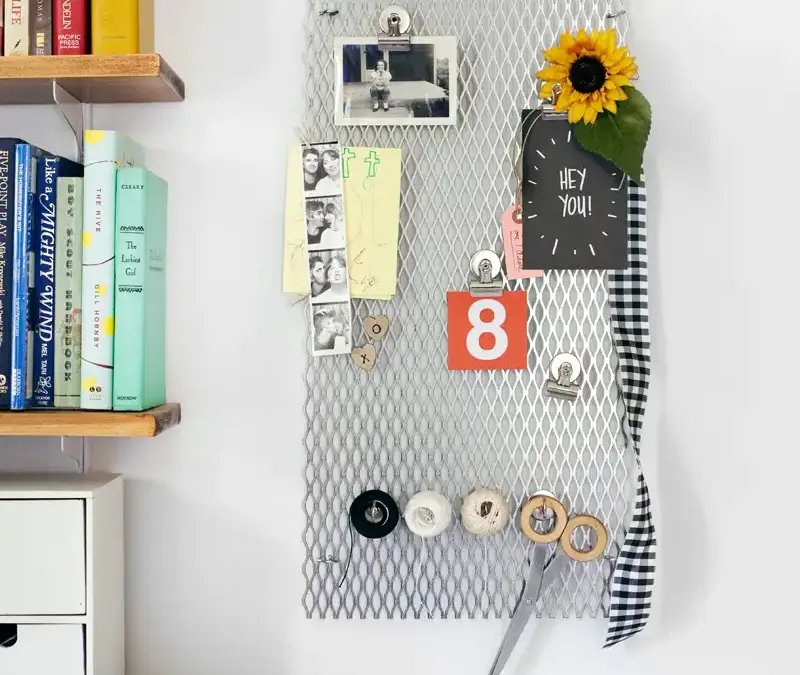
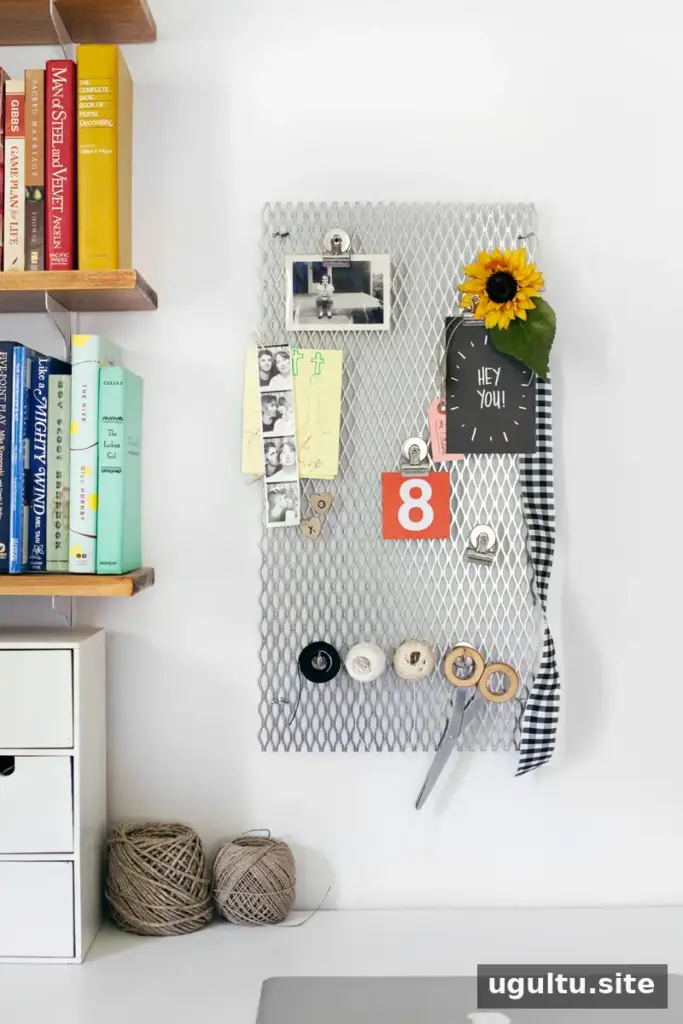
A metal grate memo board is a practical way to keep notes, reminders, and visual inspiration within reach at your desk. Its open, industrial-style design also makes it easy to rearrange what you display. With a grate, four cup hooks, and basic tools, you can put together a useful workspace organizer in a few straightforward steps.
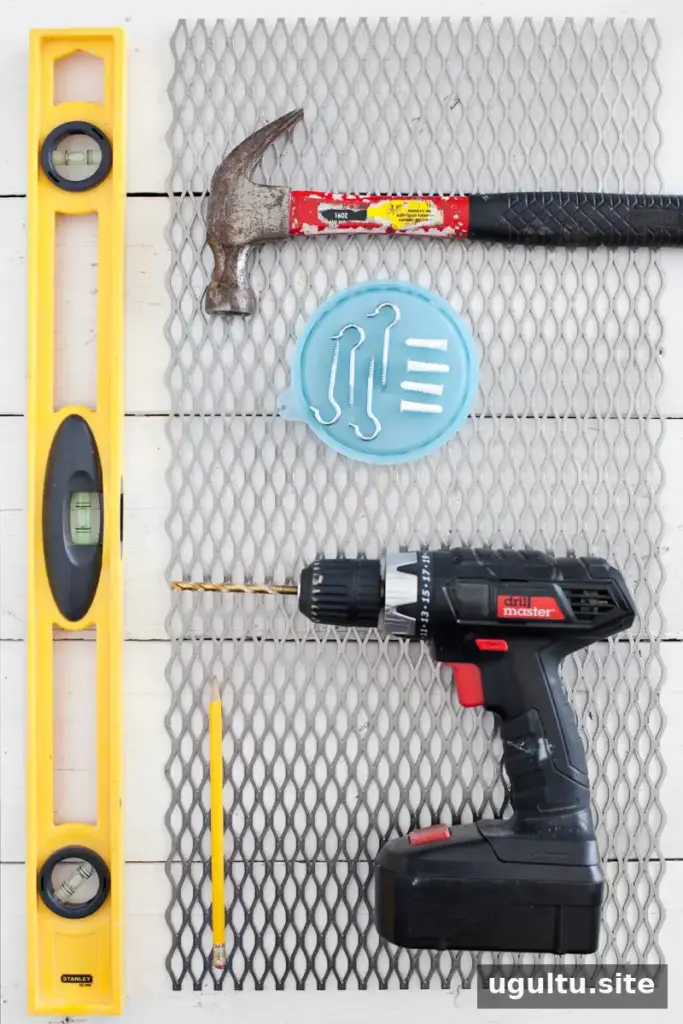
Supplies
- One metal grate
- Four cup hooks; choose a size that fits through the grate openings and is not too thick
- Four drywall anchors that fit the cup hooks
- Power drill with a drill bit
- Hammer
- Level
- Pencil
A salvaged grate can give the board a more weathered look, while a new grate can be painted to suit your room. Before mounting, check the grate for sharp edges and choose a wall location with enough space to reach the items you plan to display.
How to Make a Metal Grate Memo Board
Step 1: Mark the hook positions
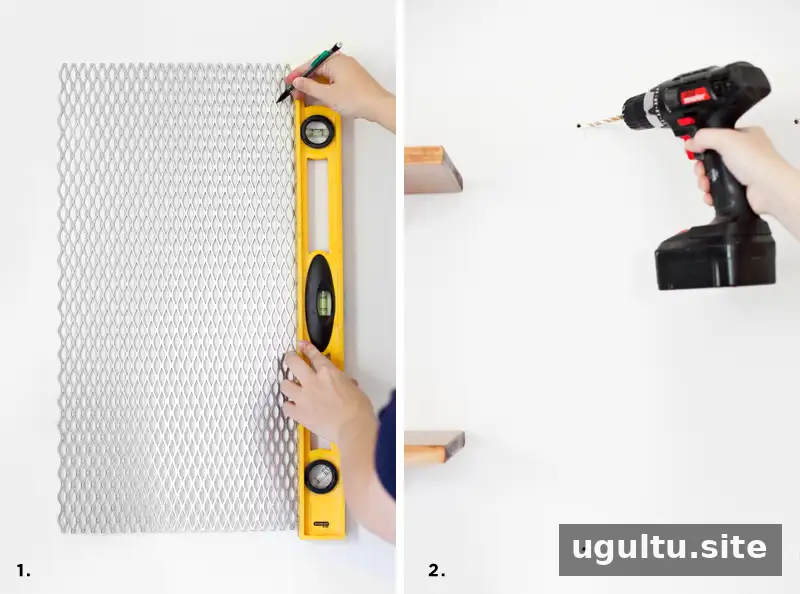
Decide where the board will hang. Hold the grate against the wall and use a level to align it. Mark four hook locations with a pencil, positioning them so the hooks can pass through the grate and support it securely. Measure and check the marks before drilling; small adjustments are easier to make at this stage.
Step 2: Drill the holes
Drill at the center of each mark. Make the holes approximately the size of the drywall anchors. If you are unsure, begin with a smaller bit and widen the holes gradually. This helps prevent openings that are too large for the anchors to grip.
Step 3: Fit the anchors
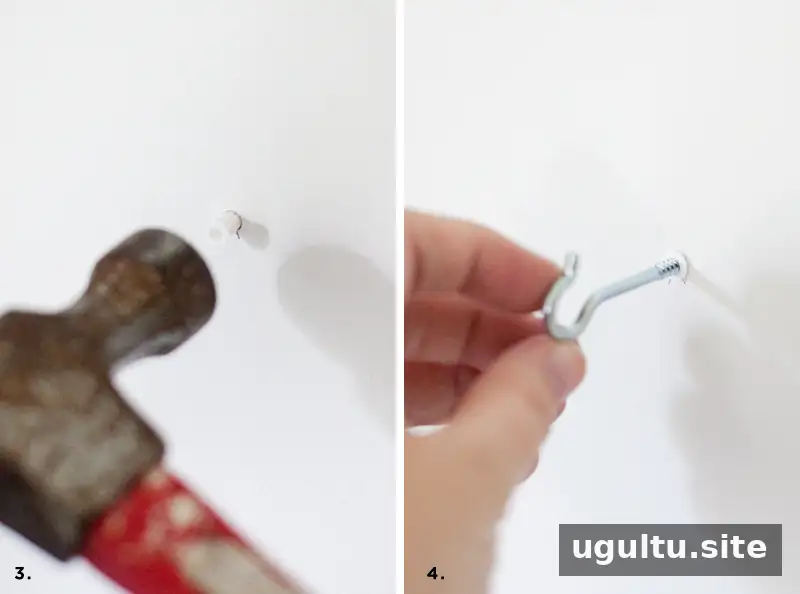
Tap each drywall anchor into its hole with a hammer. The anchor should fit snugly, but avoid striking it so hard that it becomes damaged. If it will not go in, slightly enlarge the hole rather than forcing the anchor. Use anchors suited to your wall type, and consider a more appropriate mounting method if the wall is not drywall.
Step 4: Install the cup hooks
Twist a cup hook into each anchor. You may find it easier to place the grate against the wall first to confirm the hook positions. If needed, remove and reinstall the hooks to make small adjustments.
Step 5: Hang and level the grate
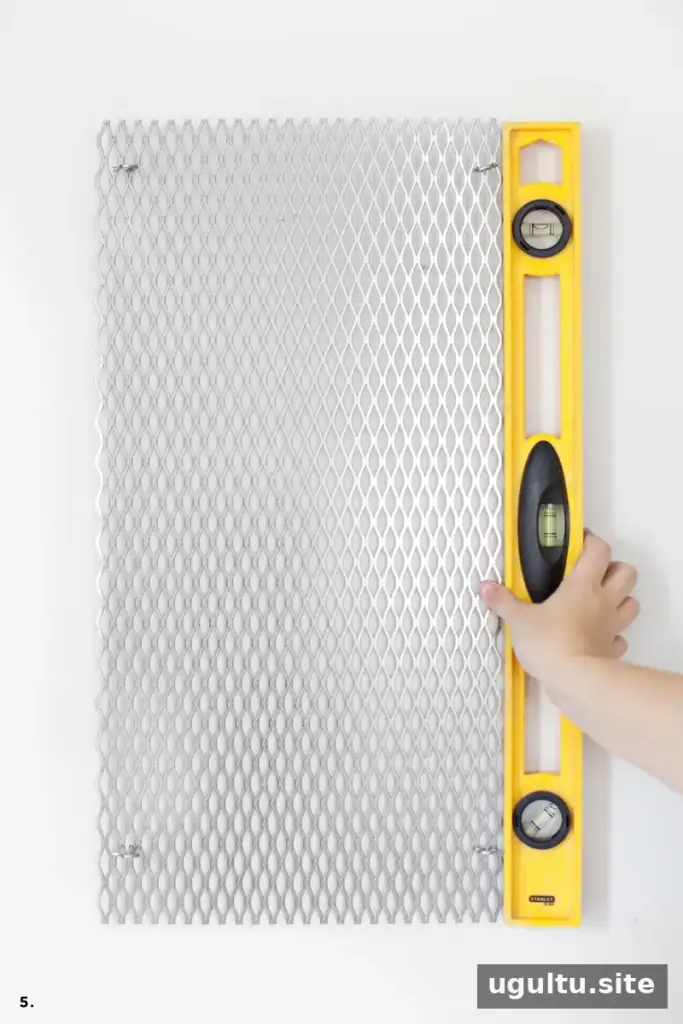
Set the grate onto the hooks and check that it sits level. Turn the hooks slightly to improve the fit and alignment. Make sure the grate is supported at all four points before adding notes or accessories, and avoid hanging items that exceed what the mounting hardware can safely hold.
Use magnets, mini clothespins, or mini binder clips to attach reminders and inspiration. Magnetic hooks can also hold lightweight tools or supplies at the bottom of the board. Keeping frequently used items near the edges can make them easier to reach without covering the notes behind them.
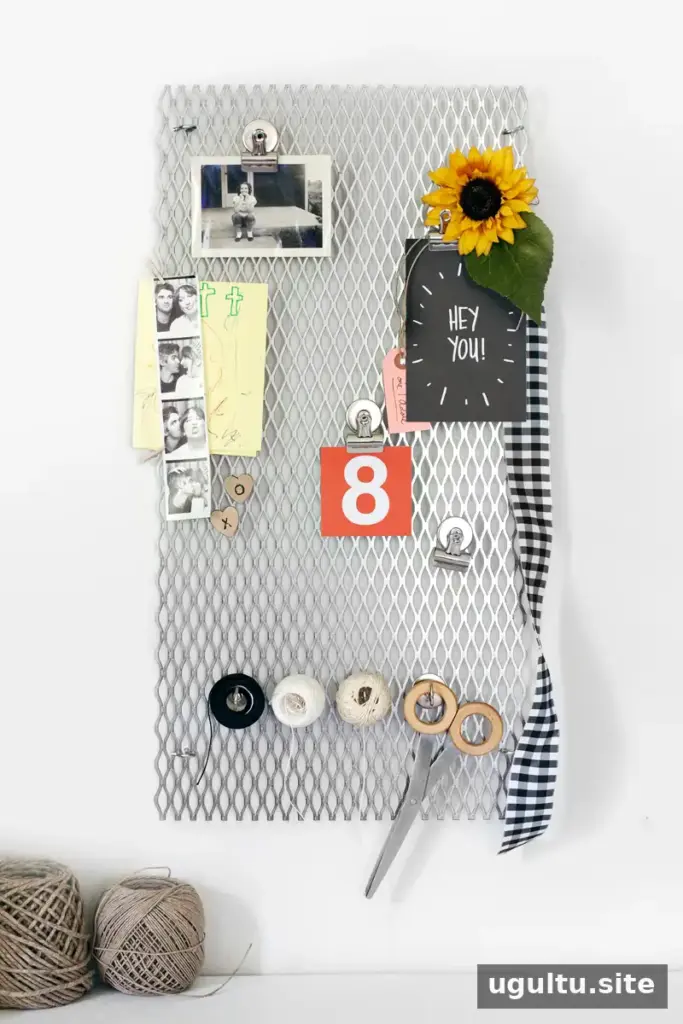
For a more distinctive finish, look for a reclaimed grate at an antique shop or salvage store. A new grate can also be painted to coordinate with your workspace; follow the paint instructions and let it dry fully before mounting. A few simple choices can make this organizer both useful and personal. —Mandi
Conclusion
A metal grate memo board is an adaptable workspace addition that can display notes, inspiration, and lightweight supplies. Measure carefully, use anchors appropriate for the wall, and check that the board is level and stable before putting it to use.


