
 admin
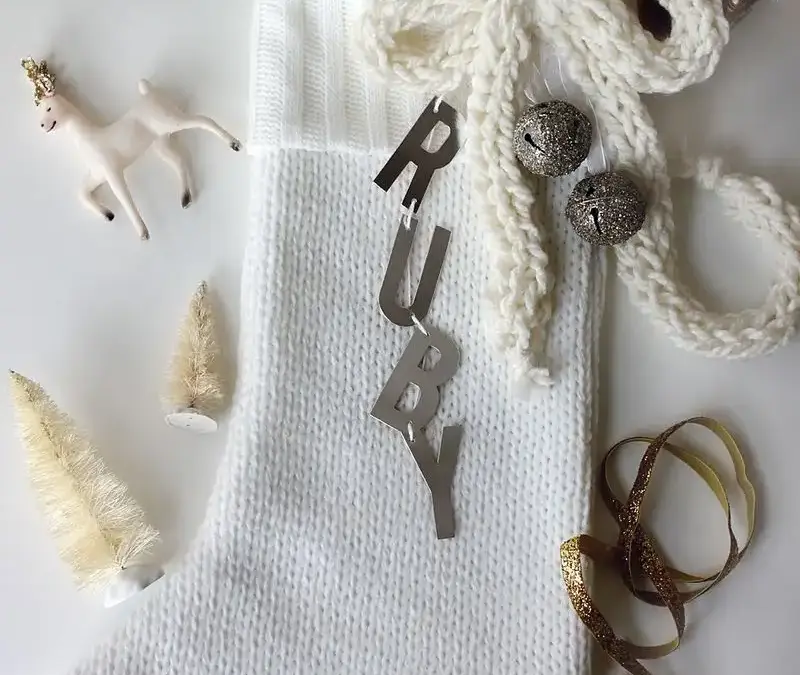
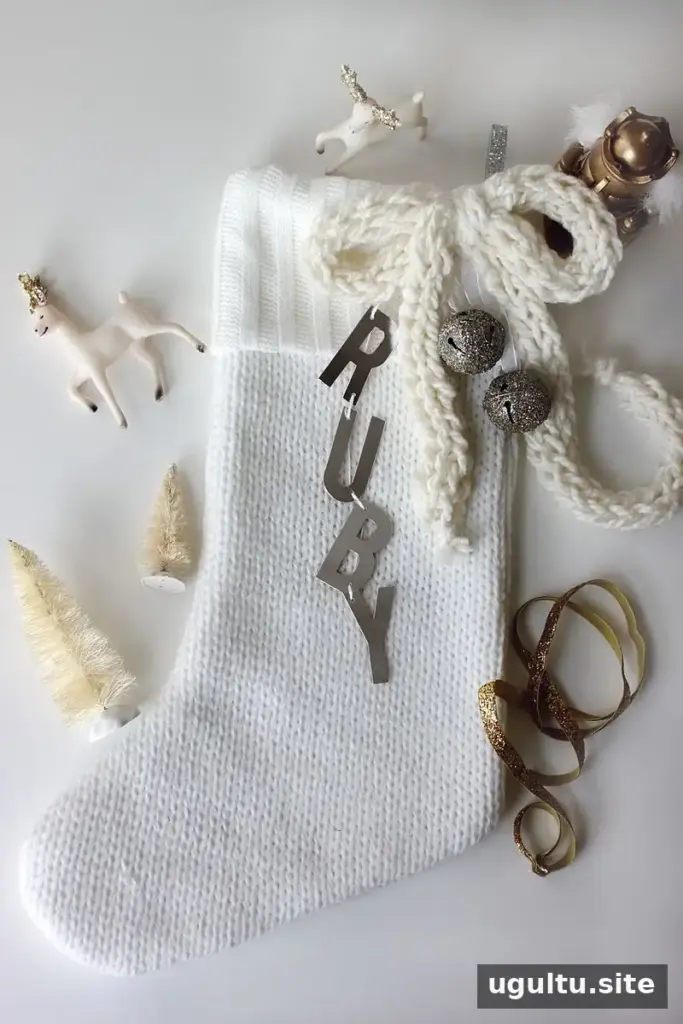
To personalize a stocking without sewing one from scratch, start with a ready-made style and add a few simple decorations. This project uses chipboard letters, fluffy yarn, ribbon, and small ornaments to create a cozy, festive look. It’s a practical option when you want a handmade touch while keeping holiday preparations manageable.
How to Personalize a Stocking
Choose a pre-made stocking that suits your holiday decor. If it has decorations you do not want, such as tassels, remove them carefully before beginning. Check both sides first: some ready-made stockings have an initial or pattern on the reverse that may affect where you place your additions.
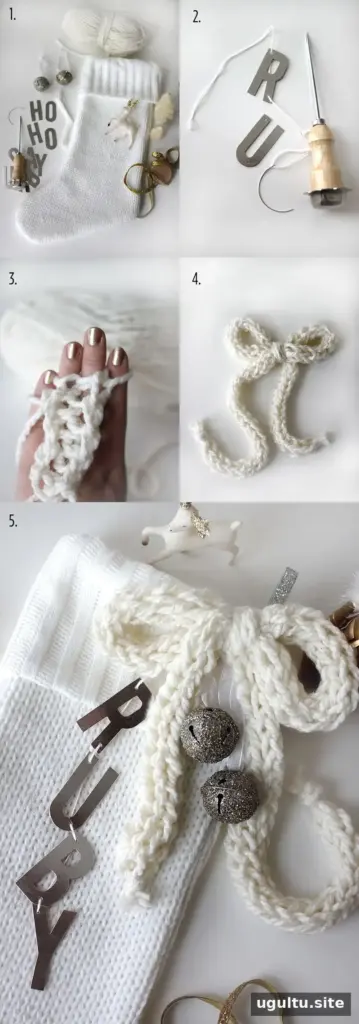
Gather the following supplies:
- A pre-made stocking
- Fluffy yarn
- Chipboard letters
- Embroidery thread and an embroidery needle; a curved needle is optional
- An awl or another small, sharp tool for making holes
- A small piece of sparkly ribbon for the hanging loop
- Sparkly jingle bell ornaments, or similar lightweight decorations
Prepare and attach the letters
Use the awl to make a small hole near the top-left and bottom-right corners of each chipboard letter. Work slowly, since chipboard can bend or tear if pressed too hard. Try the tool on a spare letter first so you can judge how much pressure is needed.
Thread the embroidery thread through the letters, beginning at the top. Tie a knot through the hole in the final letter to secure the strand, and leave some extra thread at the beginning so the letter decoration can be attached to the stocking.
Add the yarn bow and hanging loop
Finger-knit about 2′ of fluffy yarn to make a soft cord, then knot both ends. Tie the cord into a bow. For an even finish, adjust the loops and tails before attaching it.
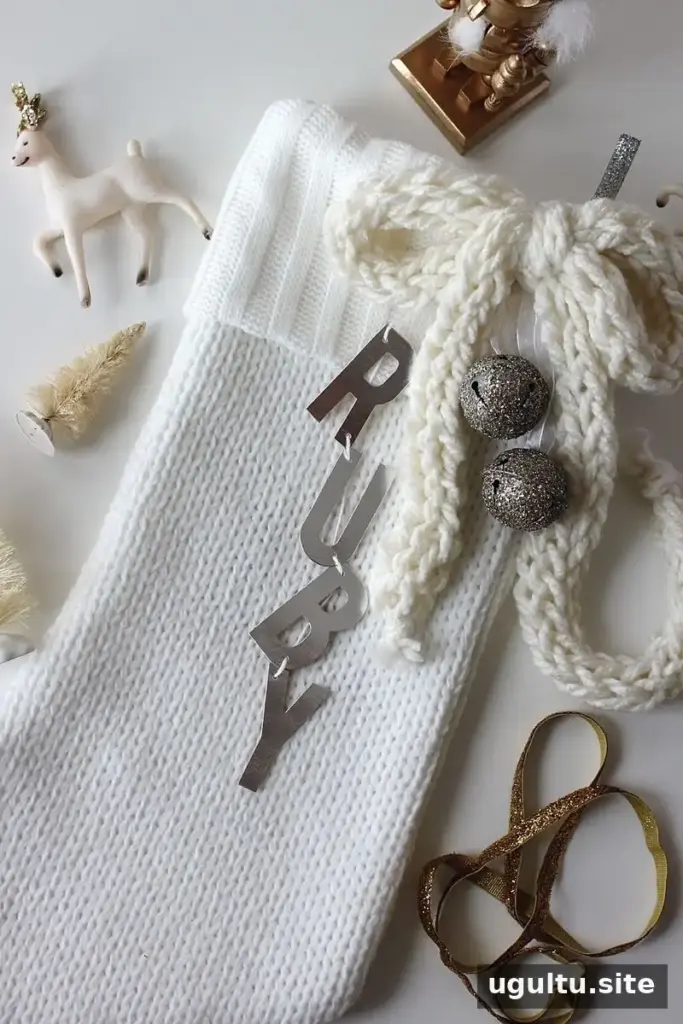
Cut about 4″ of sparkly ribbon and stitch it to the inside top of the stocking to create a hanging loop. Then stitch the letters, ornaments, and yarn bow securely to the top. Keep the decorations clear of the opening so the stocking remains easy to use, and check that each attachment is firm before hanging it.
Finishing Tips
Coordinate the yarn and ribbon with the colors already in your room, or choose metallic accents for a brighter holiday style. If the stocking will be handled often, use secure stitches and avoid placing delicate decorations where they may snag. Store it somewhere dry after the season to help protect the yarn and chipboard details.
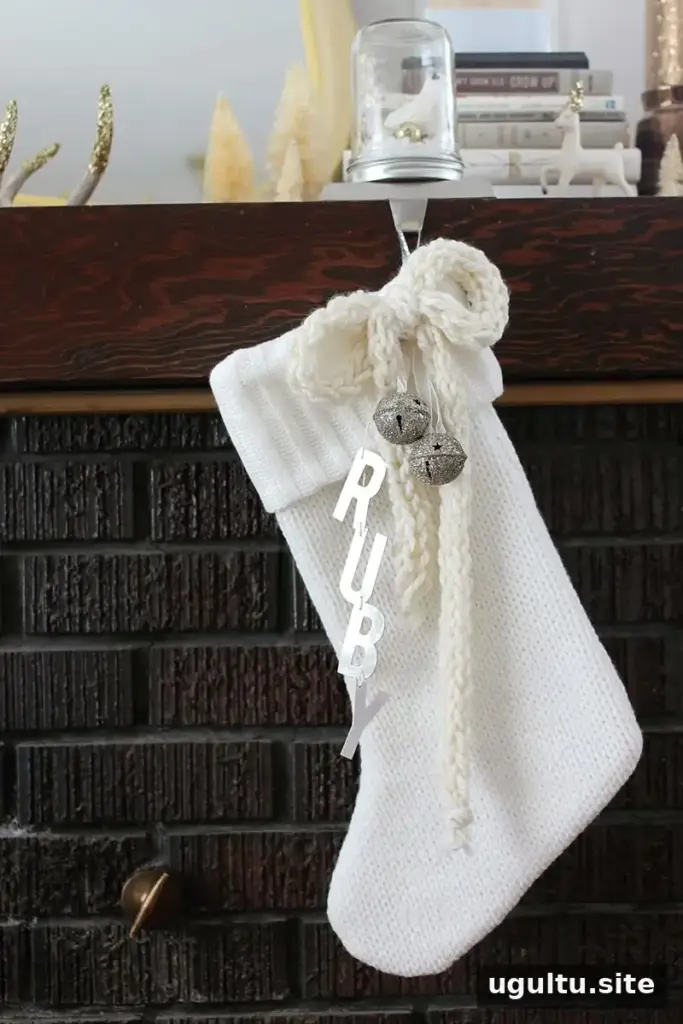
A few well-chosen additions can give a ready-made stocking a personal, coordinated appearance without requiring a complicated sewing project. This approach works especially well when you want to personalize a stocking to complement your Christmas decor. Project by Rachel.


