
 admin
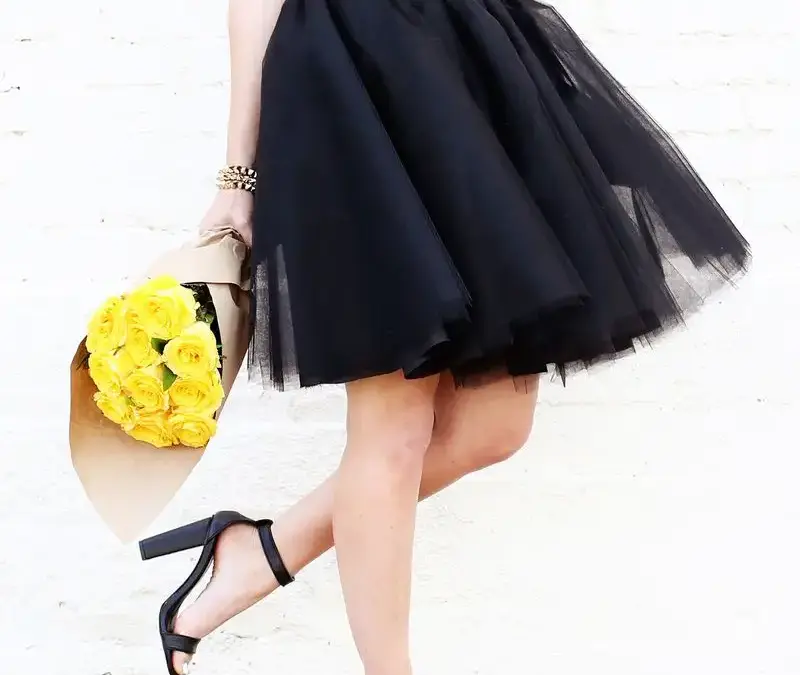
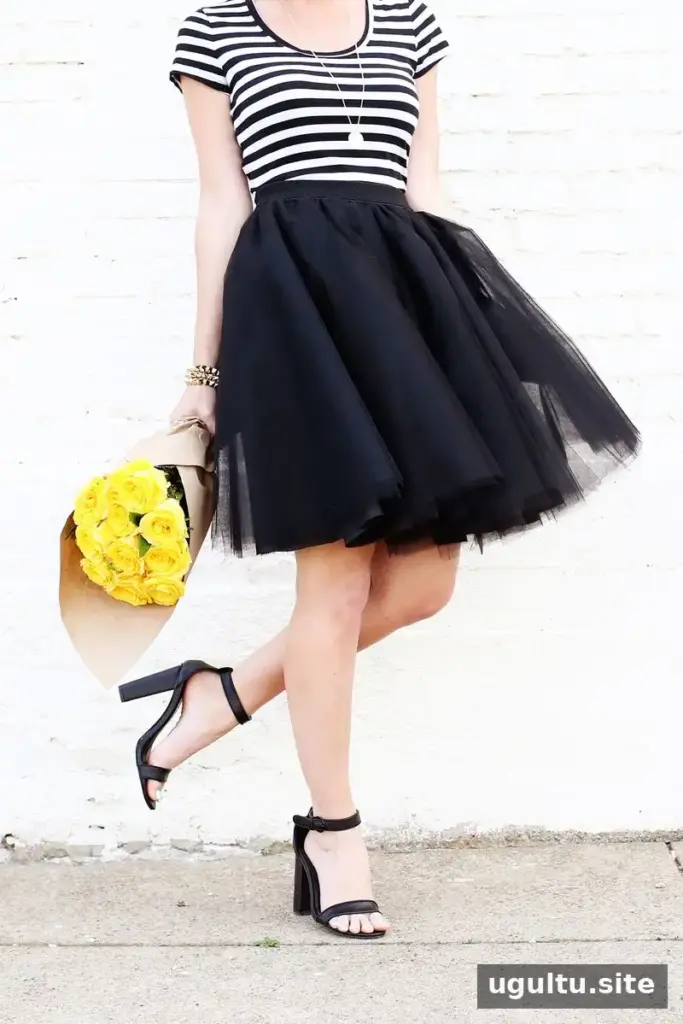
This Tulle Circle Skirt DIY guide explains how to make a layered skirt in a length and fullness that suit your preferences. The circular pattern creates a full silhouette, while a matching lining adds coverage. You can choose how many tulle layers to use and adjust the elastic waistband for a comfortable fit. Before cutting, take your measurements carefully and check that you have enough fabric for every layer.
Tulle Circle Skirt DIY: Supplies and measurements
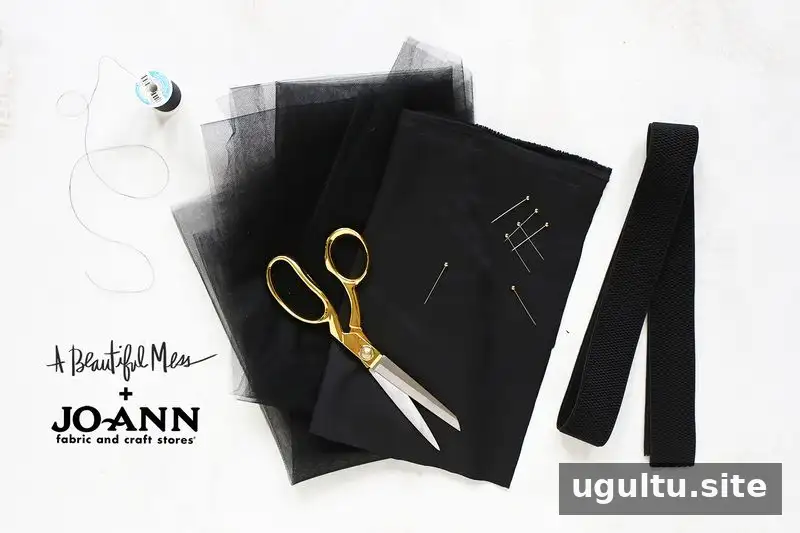
Gather the materials below before you begin. A clear work surface and a ruler or measuring tape will make drafting and cutting the circular pattern easier.
- Tulle
- Lining fabric in a color that matches the tulle
- Craft paper for the pattern
- Fabric scissors
- Elastic, 1–1.5 inches wide
- Straight pins and marking chalk
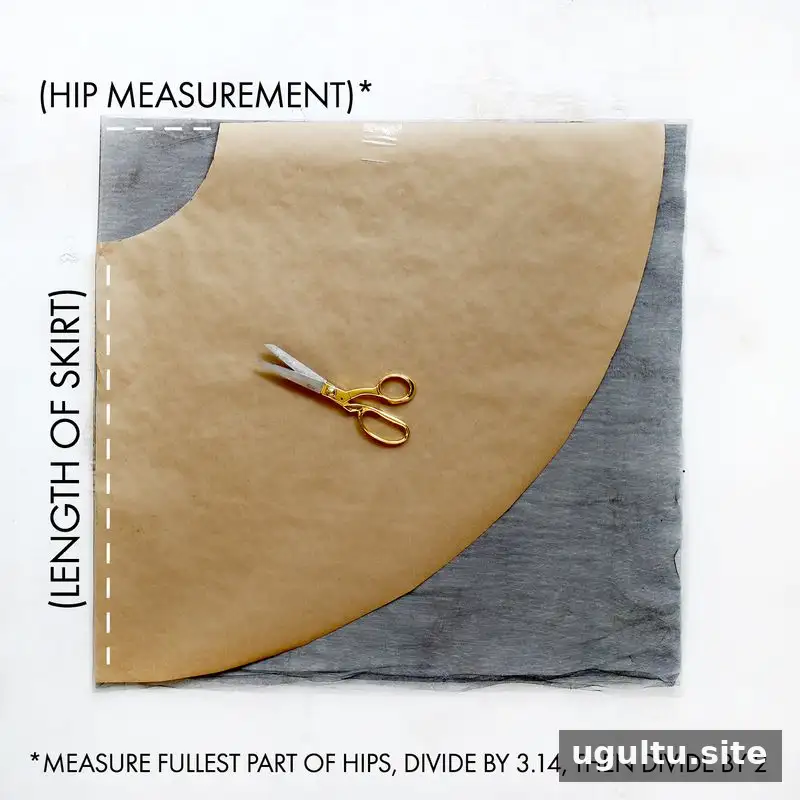
First, decide on your finished skirt length. Measure around the fullest part of your hips so the skirt opening can pass over them. Divide that hip measurement by 3.14, then divide the result by 2. This gives you the radius for the waist opening on the pattern. For example, a 40-inch hip measurement gives 40 ÷ 3.14 ÷ 2 = approximately 6.36 inches. Round up to the nearest quarter inch for easier measuring.
Draft the circle skirt pattern
Cut a large square of craft paper. From one corner, mark the waist-opening radius by pivoting a ruler and making a series of marks. Join the marks into a smooth curve. From that same corner, mark the outer edge at a distance equal to the waist radius plus your desired skirt length. For a 22-inch skirt with a 6.5-inch waist radius, the outer radius is 28.5 inches. Connect those marks to draw the hem curve, then cut out the pattern.
To determine the fabric square size, double the outer radius. With the example measurements, each unfolded square needs to be 57 inches wide. Cut one square for each tulle layer you want. If the fabric is not wide enough, join two pieces side by side before cutting the square.
Cut and stack the skirt layers
Fold a tulle square in half, then fold it in half again to create a quarter-sized square. Place the pattern so its center-corner point lines up with the folded corner. Cut around the inner waist curve and outer hem curve, then unfold the fabric to reveal a circle with a hole in the center. Repeat for each layer.
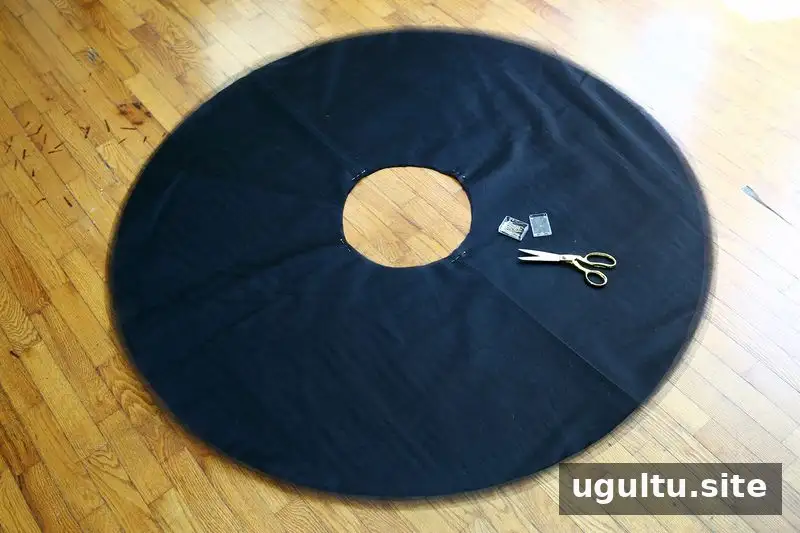
Cut one matching circle from the lining fabric. For a lining that will be hemmed, cut it the same size as the tulle so the finished lining sits slightly shorter. If you will finish the edge with a serger or use fabric that does not need hemming, cut the lining a little shorter from the start. Stack the pieces with the lining at the bottom and pin the layers together near the waist opening.
Make and attach the elastic waistband
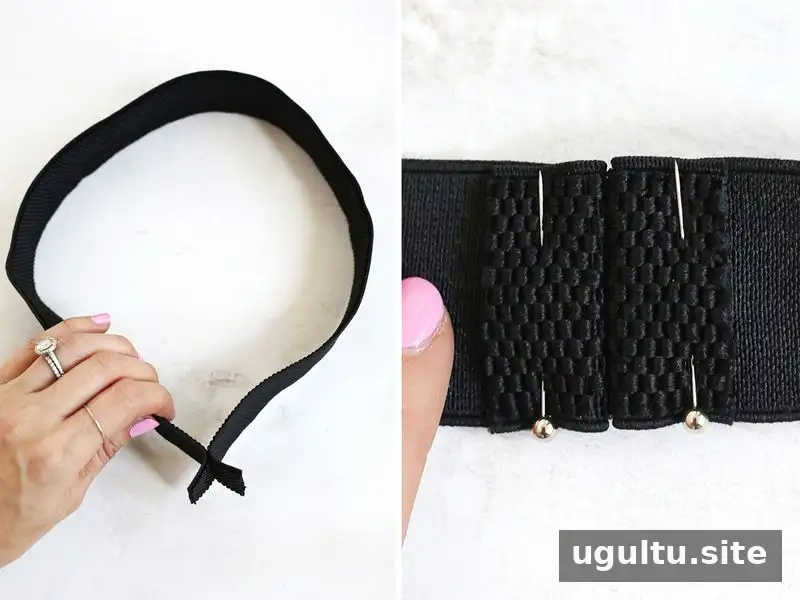
Wrap the elastic around your natural waist and pin it so it feels secure but not tight. Carefully remove it, sew the ends together, and trim the seam ends to about 1/2 inch. Fold the ends down, pin them flat, and stitch them in place.
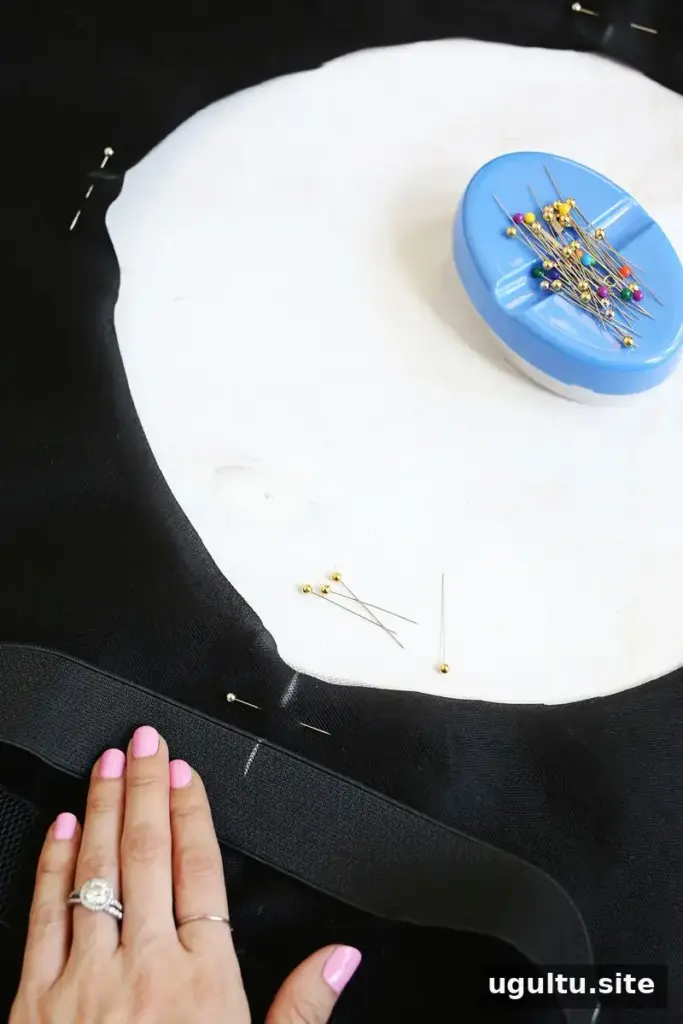
Use chalk to divide the skirt’s waist opening into four equal sections. Mark four matching sections on the inside edge of the waistband. Line up the marks and pin the waistband to the skirt layers at each point, placing the lower inside edge of the elastic over the top of the fabric.
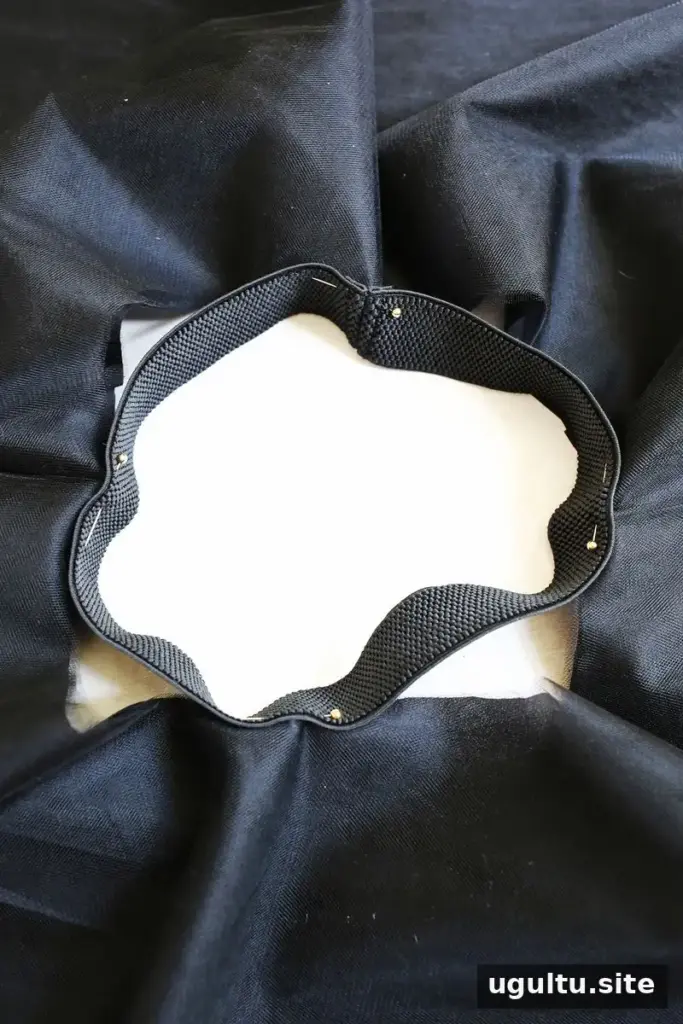
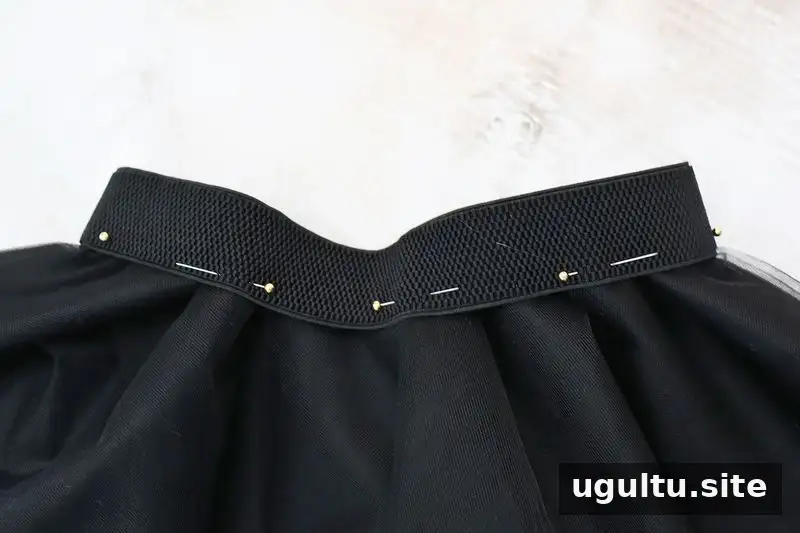
The fabric opening will usually be larger than the elastic because it was drafted to fit over the hips. Pin the midpoint of each loose section of fabric to the midpoint of the corresponding elastic section. You should now have eight evenly spaced pin points to guide the stitching.
Sew the waistband and finish the skirt
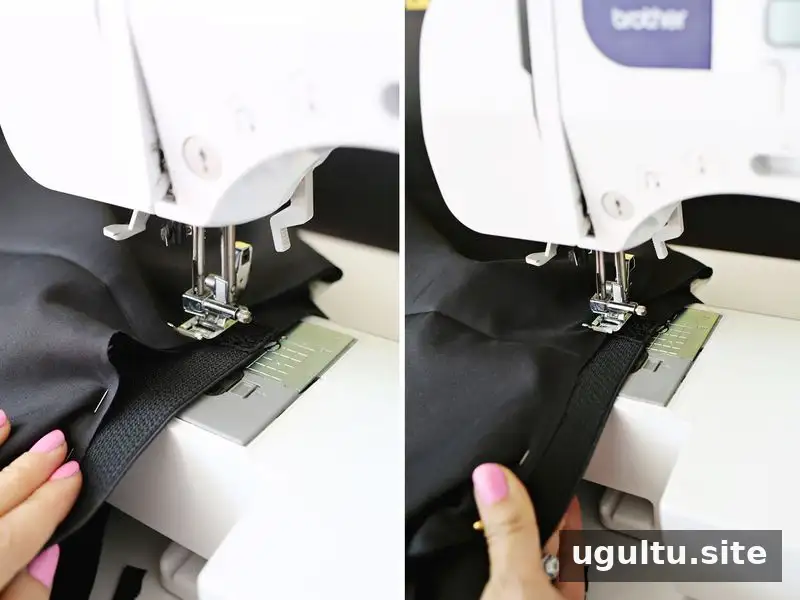
Turn the skirt inside out. Begin sewing near one of the pins, using a 1/2-inch seam allowance on the fabric layers. Keep the needle down as you stretch the elastic toward you until the fabric between the pins lies flat. Sew along the waistband while maintaining that alignment, then repeat around the full waist. Avoid pulling the tulle itself; guide the elastic evenly so the gathers are distributed around the skirt.
Before sewing, count the layers and make sure every piece is pinned into the waistband. If a layer is missed, its edge may hang below the others and need hand stitching or repair. Checking the pins first can save you from unpicking the waistband.
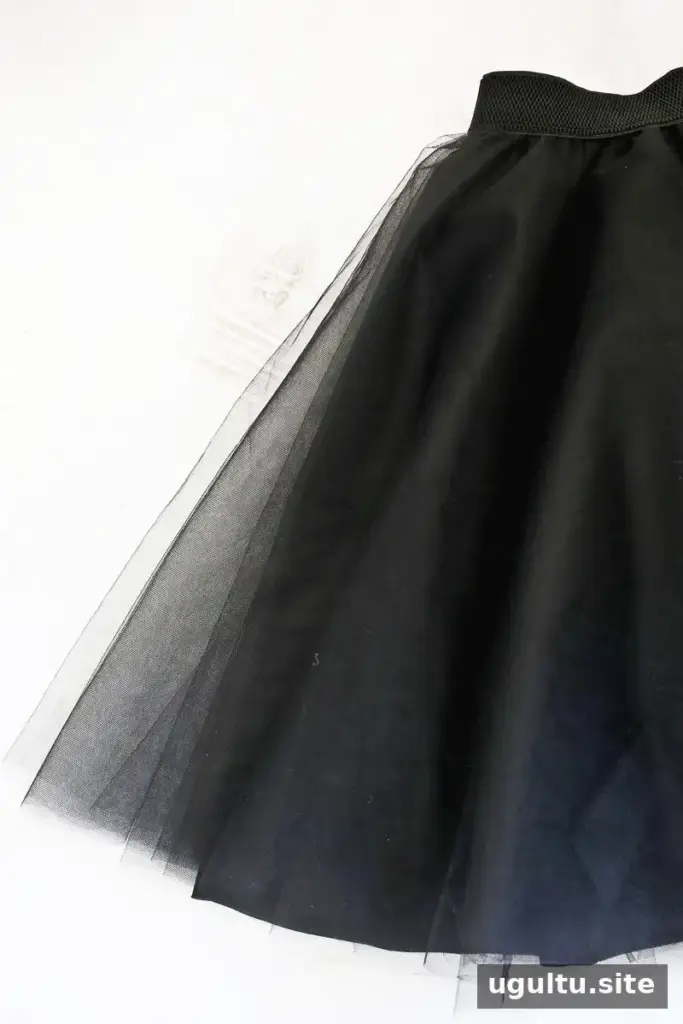
The number of tulle layers is adjustable. The original project used 14 yards of tulle for an eight-layer skirt, and the tulle cost $10.36 when purchased on sale. Fabric needs can vary with skirt size, fabric width, and the number of layers, so use your pattern measurements to estimate yardage before buying. Once the stitching is complete, try on the skirt and check that the waistband feels comfortable and the lining sits neatly beneath the tulle.
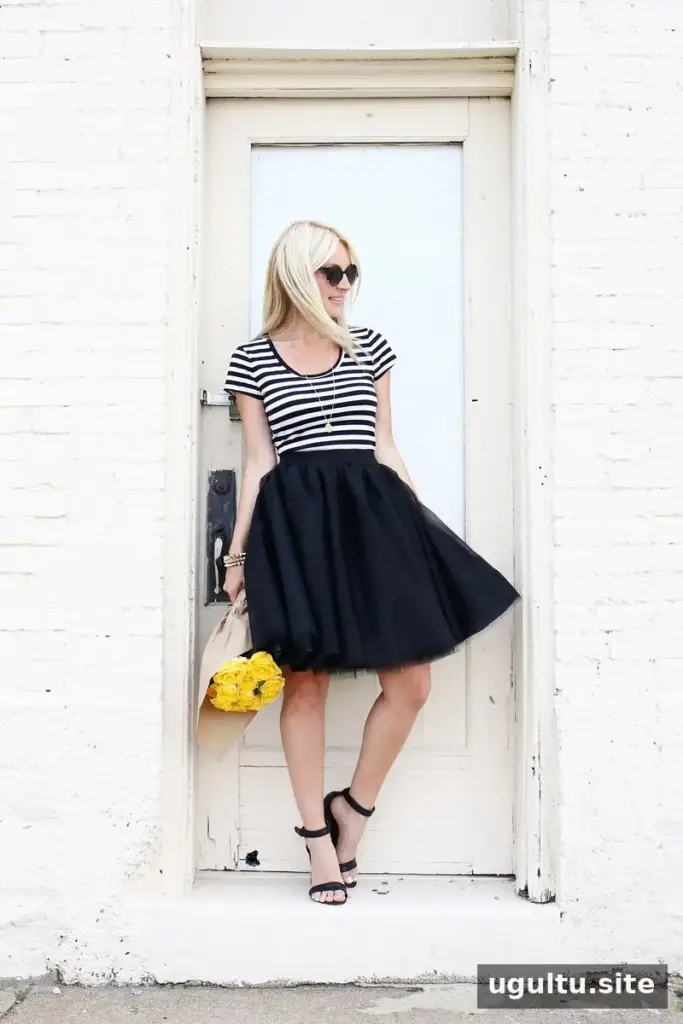
Pair the finished skirt with a simple top for a more casual look, or choose a dressier outfit for a fuller occasion-ready style. This project was created by Laura.
Conclusion
This Tulle Circle Skirt DIY uses a simple circle pattern, layered tulle, a matching lining, and an elastic waistband to create a customizable skirt. Measure the hips and desired length before drafting, then check that all layers are secured before sewing. Adjust the number of tulle layers to get the volume you want while keeping the lining slightly shorter for a tidy finish.


