admin
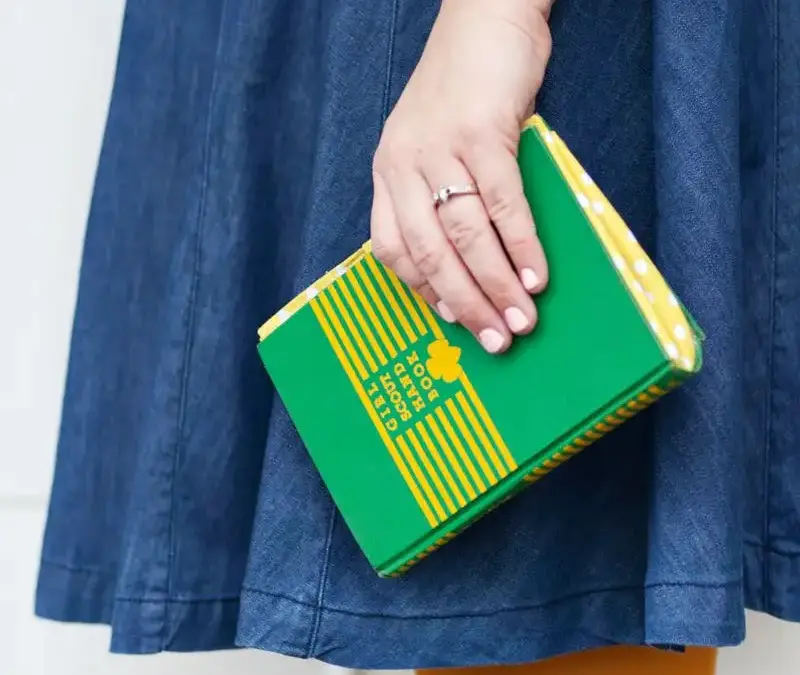
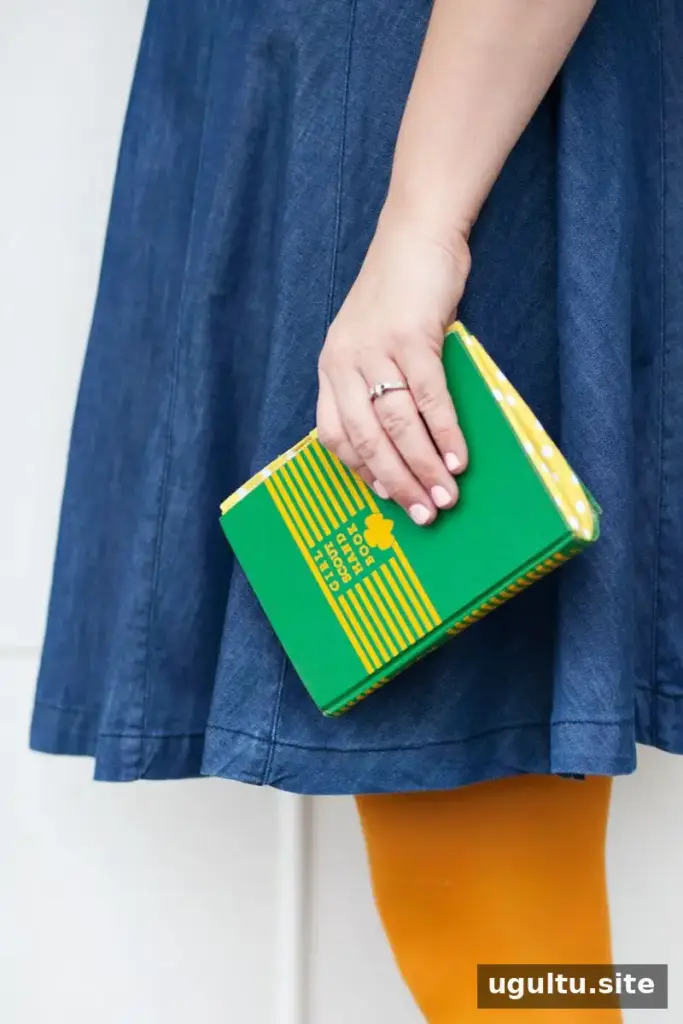
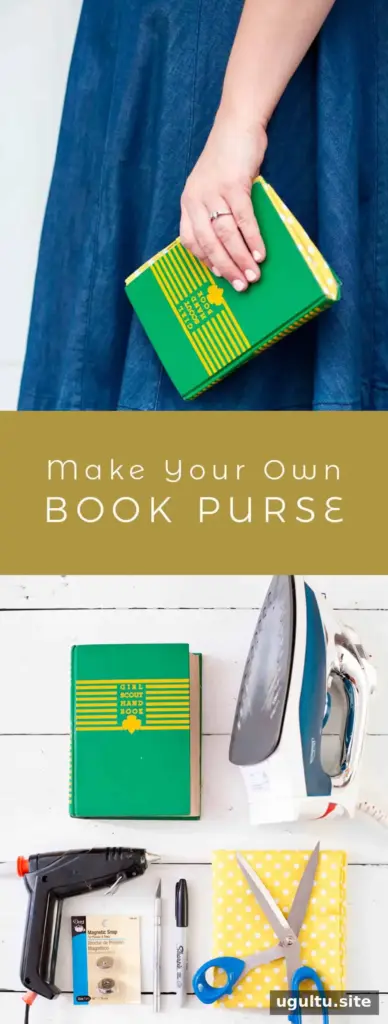
A book purse turns a hardcover book into a distinctive clutch for carrying small essentials. It can make a charming conversation piece for a party, and the finished size depends on the book you choose. The project involves basic sewing, cutting and gluing, so beginner to intermediate sewing skills are helpful.
Allow a couple of hours to make the clutch, and work carefully around the book cover to keep the finished edges neat. Choose a book with a cover at least 1 inch thick and lining fabric that complements its colors.
Materials and tools for a book purse
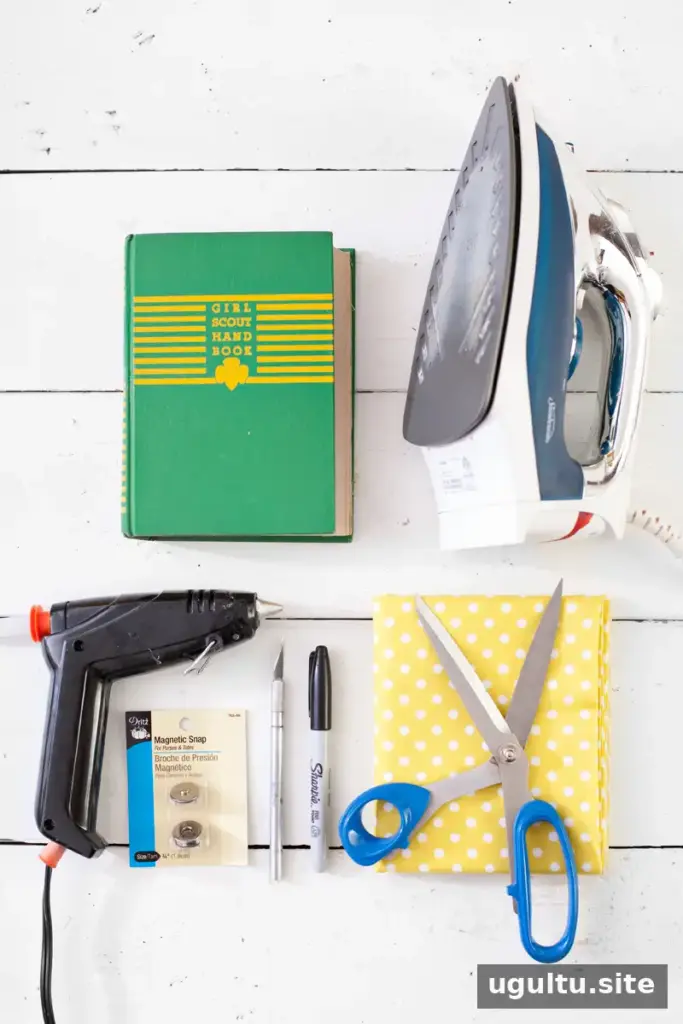
Materials
- A hardcover book at least 1 inch thick
- A magnetic snap kit
- Lining fabric that coordinates with the book’s colors
- Heavyweight interfacing
Tools
- X-Acto blade
- Fabric scissors
- Marker
- Hot glue gun
- Iron
- Sewing machine
Before starting, protect your work surface and handle the blade and hot glue with care. Test the iron on a fabric scrap if you are unsure how the material will respond to heat.
How to make a book purse
Prepare the cover and lining
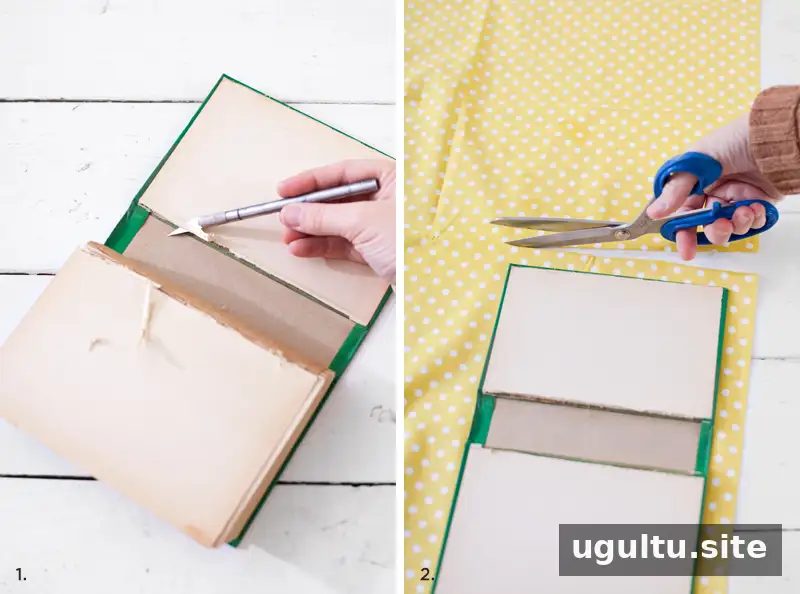
Step One: Use an X-Acto blade to separate the cover from the binding and pages. Trim away leftover paper or material so the inside of the cover is as clean as possible.
Step Two: Cut a piece of lining fabric to the size of the book cover, adding a 0.75-inch border on every side.
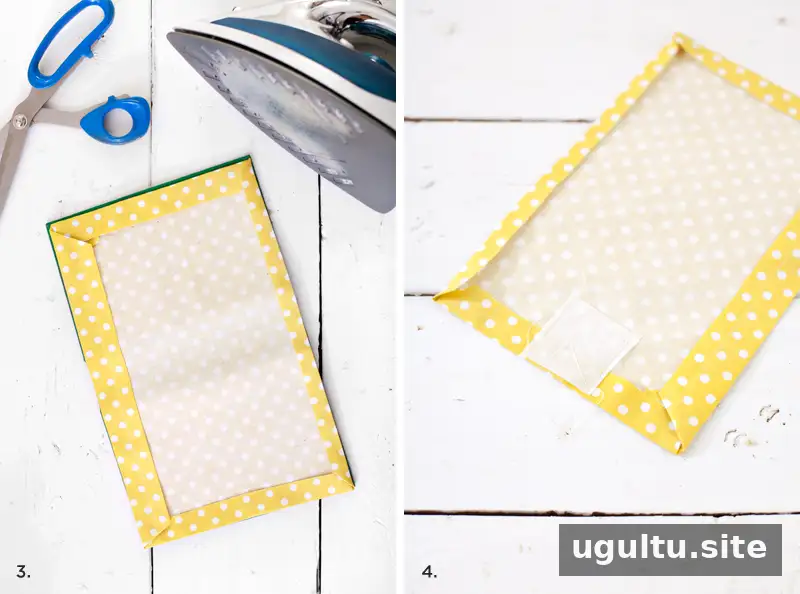
Step Three: Fold and press the fabric edges with an iron. Adjust the folds so the finished lining is slightly smaller than the book cover.
Step Four: Cut a small piece of interfacing and stitch it to the end of the lining where the snap will be placed. The interfacing helps reinforce the fabric around the fastener.
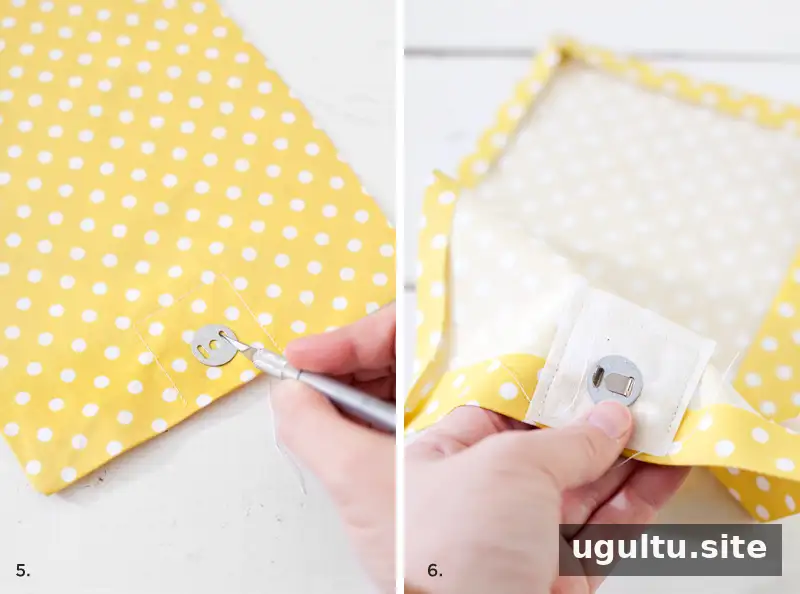
Step Five: Position the snap back on the reinforced area, a little more than 0.5 inch from the edge of the fabric rectangle. Use the blade to make small cuts through the snap’s slits.
Step Six: Push the arms of the snap front through the slits from the right side of the fabric, then bend the arms down to secure the snap.
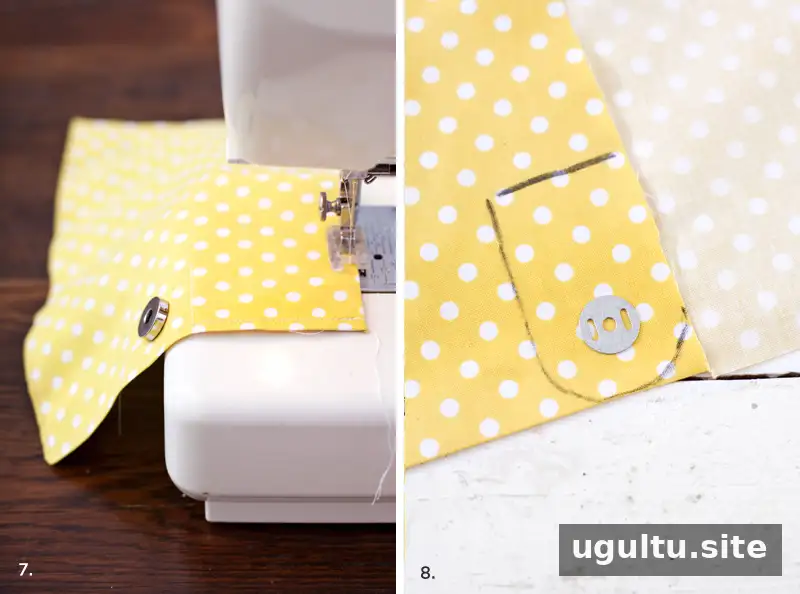
Step Seven: Stitch around the lining rectangle, about 0.25 inch from its edge.
Make and attach the snap flap
Step Eight: Use the snap back as a guide to draw a flap shape. Leave at least 0.75 inch of fabric around the snap back. Cut two pieces of patterned fabric and one piece of interfacing in this shape.
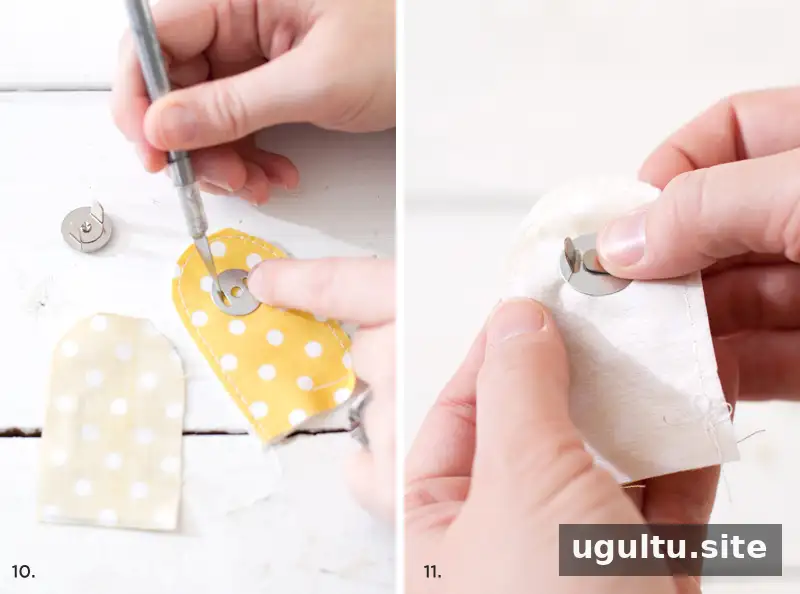
Step Ten: Stitch the interfacing to the wrong side of one patterned piece, using a wide stitch about 0.25 inch from the edge. Place the snap back on the interfacing side and cut through the slits with the blade.
Step Eleven: Insert the snap front through the slits. Keep the snap front on the right side of the fabric and the snap back against the interfacing.
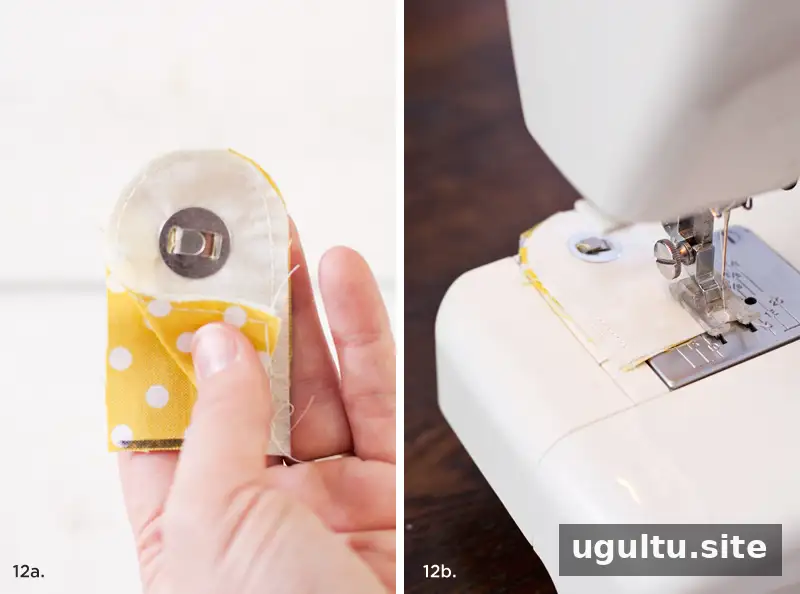
Step Twelve: Place the flap pieces with their right sides together. Sew around the snap as closely as practical, leaving the bottom edge open. Turn the flap right-side-out and press the edges with an iron.
Assemble the purse
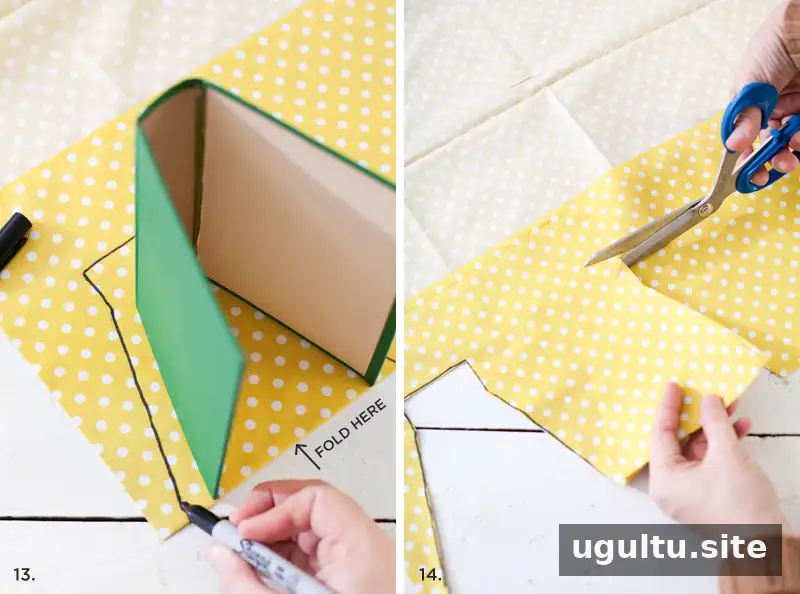
Step Thirteen: Trace the edge of the slightly opened book cover to create the purse’s side panels. Fold the fabric at the opening so each panel has two layers.
Step Fourteen: Cut out the folded fabric pieces and stitch around their edges, about 0.5 inch from the edge.
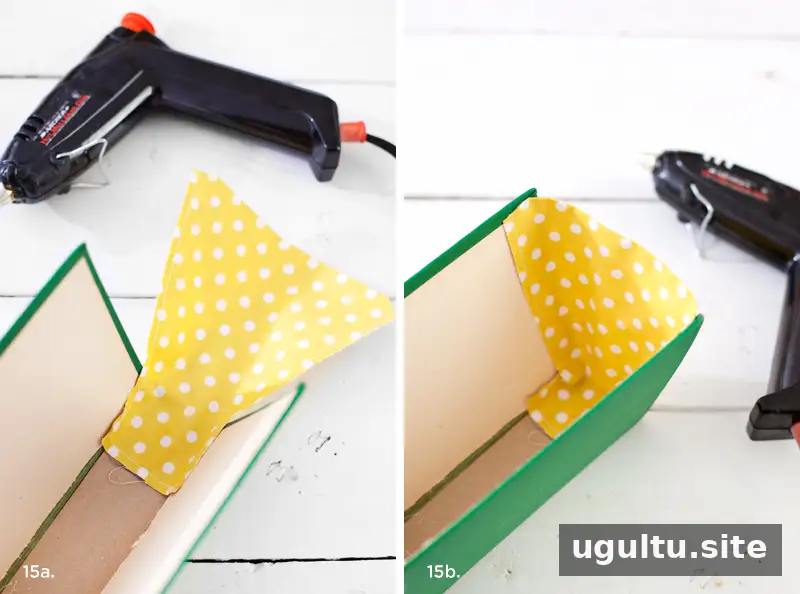
Step Fifteen: Attach the side panels with hot glue. Start along the binding edge, then attach the panels to the front and back of the book. Keep the glue line away from the outer edge to reduce the chance of visible glue. Add more glue later if needed.
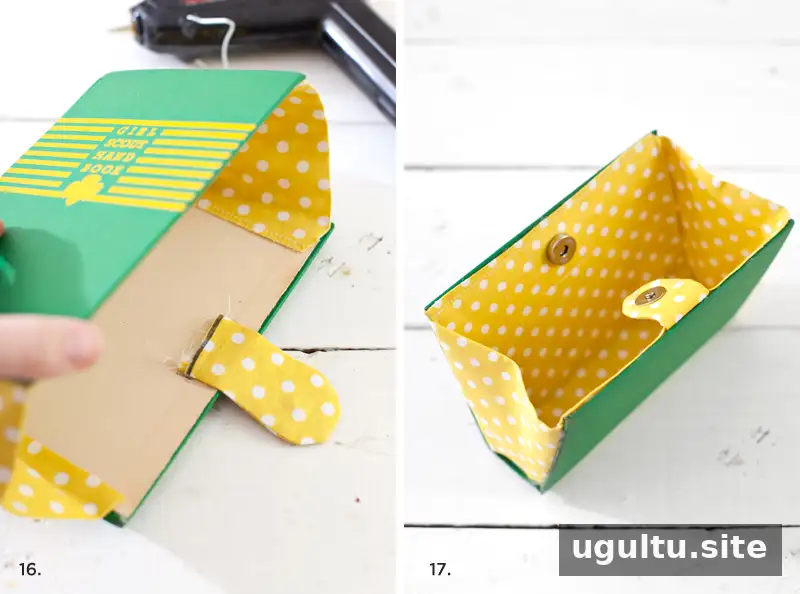
Step Sixteen: Use hot glue to attach the snap flap in position.
Step Seventeen: Glue the lining inside the purse a small section at a time. Press and align the fabric with the book cover before the glue sets.
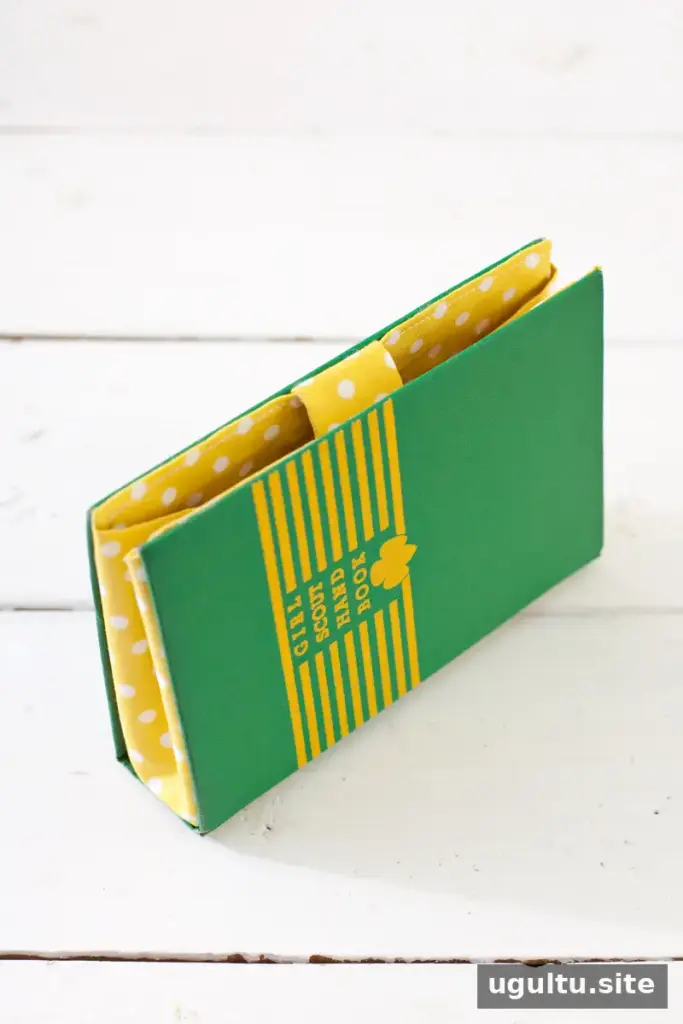
Finishing your book purse
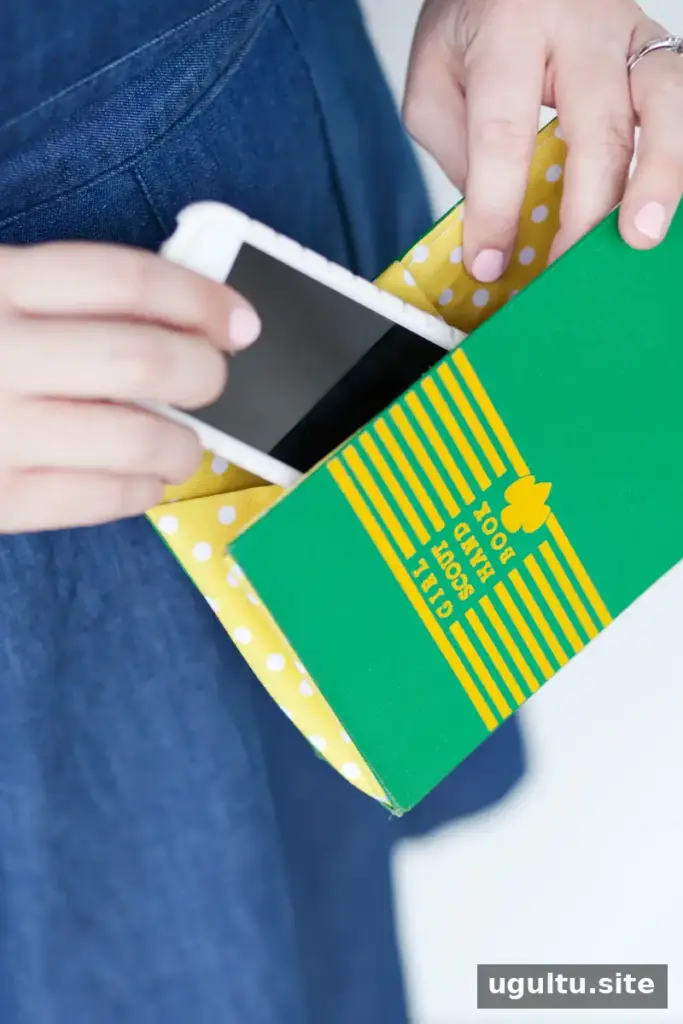
The completed clutch keeps the original book cover as its exterior and uses a magnetic snap to close. For a different carrying style, you can add straps or handles when attaching the snap. Check that the lining and side panels are secure before using the purse. –Mandi