
 admin
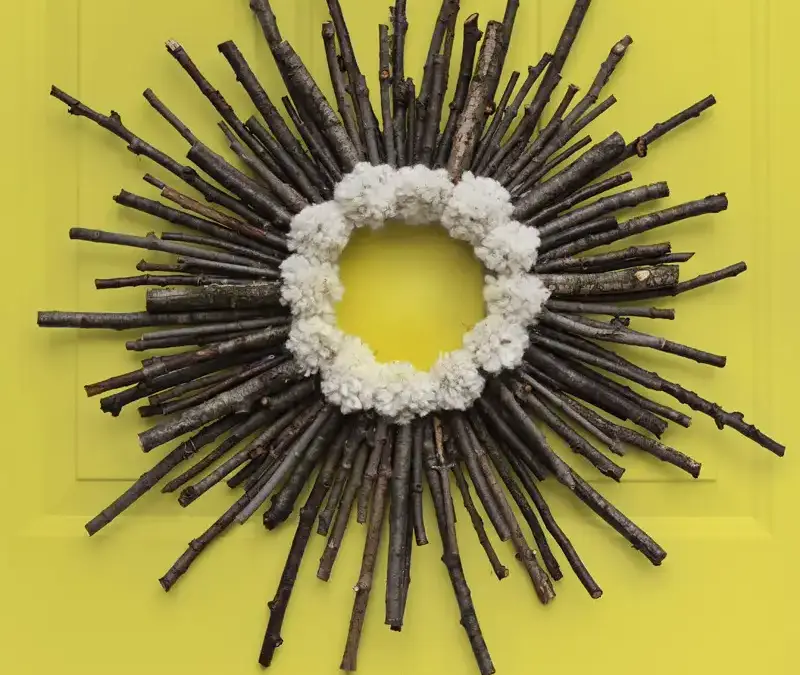
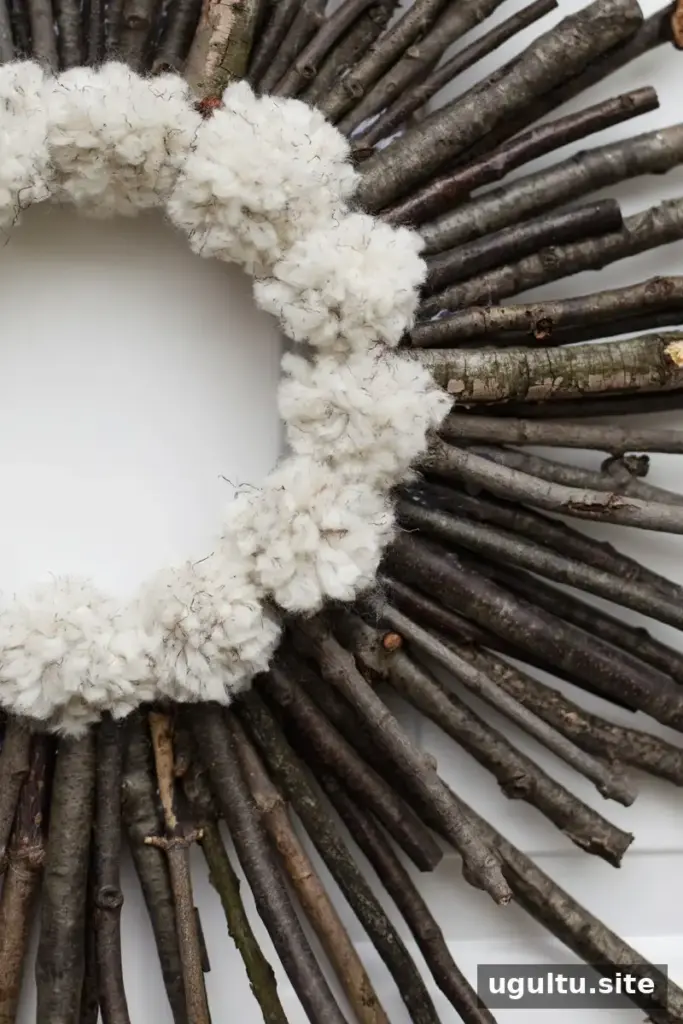
A twig and pom pom wreath brings natural texture and a soft, cozy touch to fall decor. Inspired by the clean lines of a mid-century starburst, this simple project combines branches with off-white yarn puffs. Choose a spot for the finished wreath before you begin, since the backing material and yarn are best suited to conditions that keep them dry.
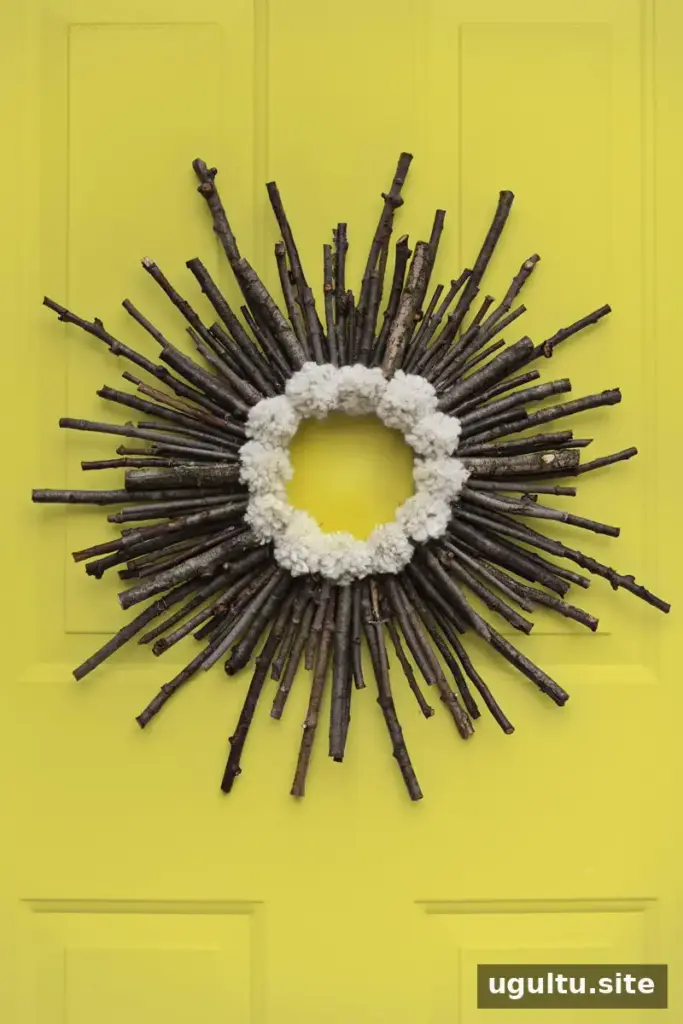
The design is easy to customize: vary the lengths of the twigs for a loose, organic outline, or arrange them more evenly for a balanced starburst. Gather the materials and tools below, and leave the branches untrimmed until you start arranging them.
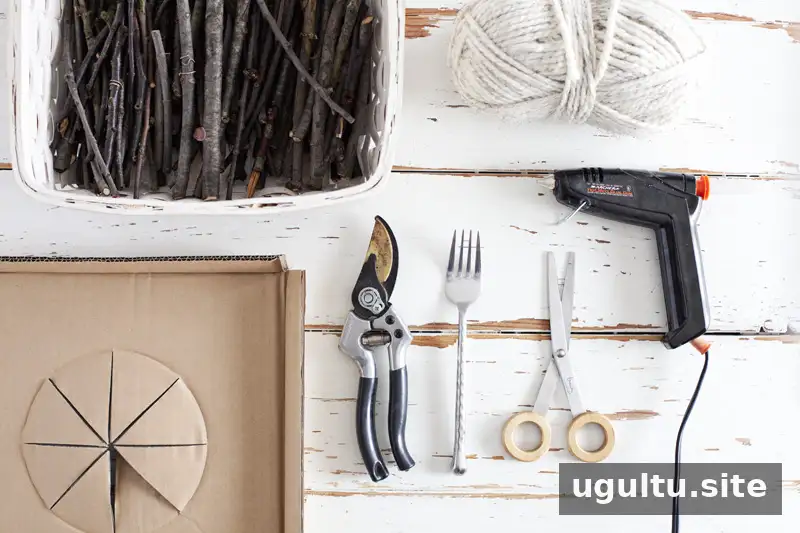
Materials and tools for a twig and pom pom wreath
Materials:
- Twigs or branches in various lengths
- Chunky, flecked, off-white yarn
- Hot glue sticks
- Cardboard, masonite, or .25-inch plywood
Tools:
- Pruning shears
- Scissors, or a jigsaw if cutting wood or hardboard
- A large fork
- Hot glue gun
Cardboard is suitable for a wreath displayed indoors. For a location where the base may encounter the elements, use hardboard or .25-inch plywood instead. Keep in mind that yarn and hot glue can also be affected by moisture, so a sheltered display area is a practical choice.
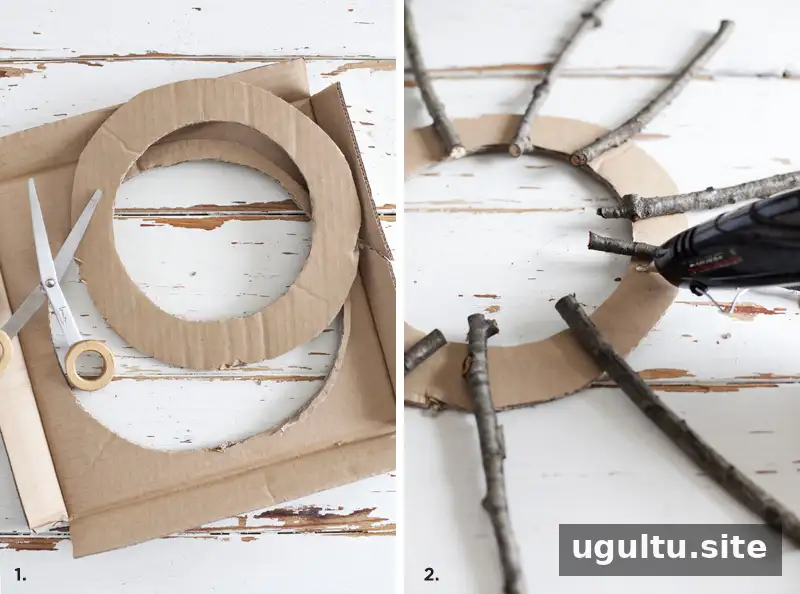
How to make the starburst wreath
1. Prepare the wreath base
Cut a ring from your chosen material, leaving an open circle in the middle. The ring will support the twigs, so make it wide enough to give the branches a secure surface for gluing. If using wood or hardboard, cut it with a jigsaw and handle the tool carefully.
2. Arrange and attach the twigs
Use hot glue to attach the branches to the base. Start with longer twigs, spacing them around the ring, then fill the gaps with shorter pieces. Vary the lengths for a natural starburst shape. Trim branches with pruning shears as you work rather than cutting them all in advance; this makes it easier to adjust each piece to fit.
3. Make yarn pom poms
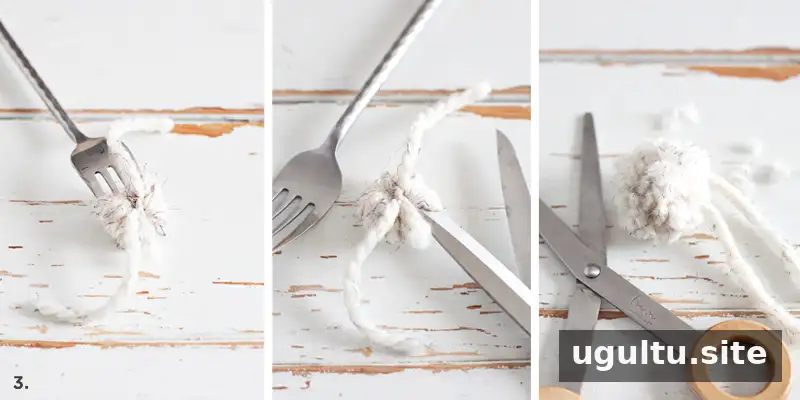
Wrap yarn around the prongs of a large fork to make a small pom pom. Tie a separate piece of yarn tightly around the center of the wrapped loops while they are still on the fork. Slide the bundle off, cut through the loops on both sides with sharp scissors, then trim and fluff the pom pom.
Make enough puffs to cover the inner circle of the wreath. Keeping them a similar size can create a neat, cohesive center; slight differences give the finished design a more handmade look.
4. Attach the pom poms and hang the wreath
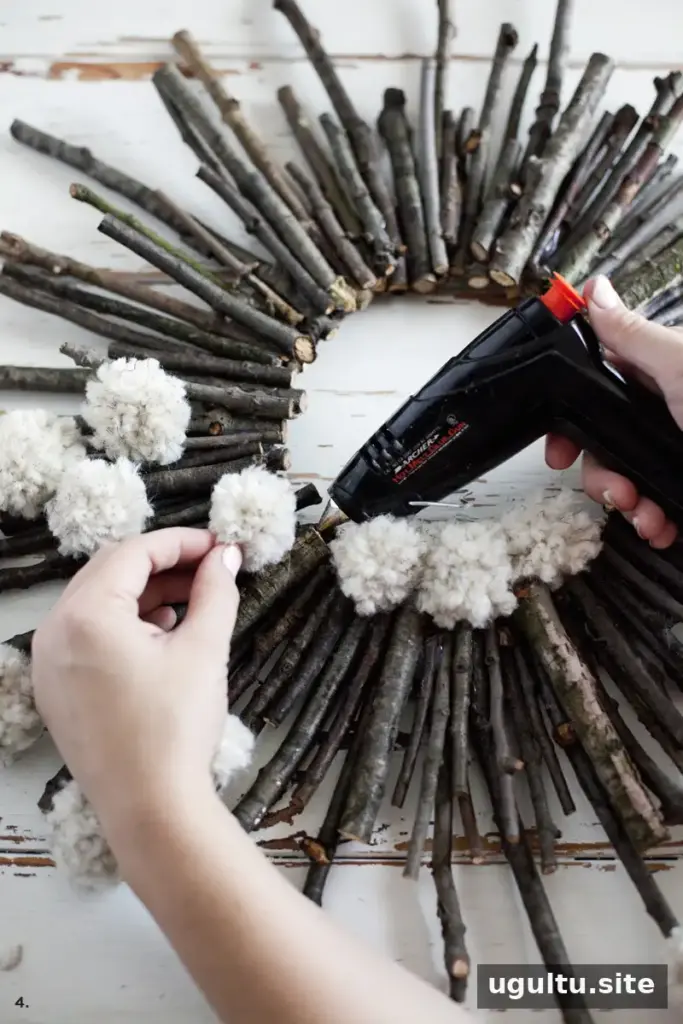
Position the pom poms around the inner circle and secure them with hot glue. Press each one gently into the twigs while the glue sets, taking care not to touch the hot adhesive. Check that the puffs feel firmly attached before lifting the wreath.
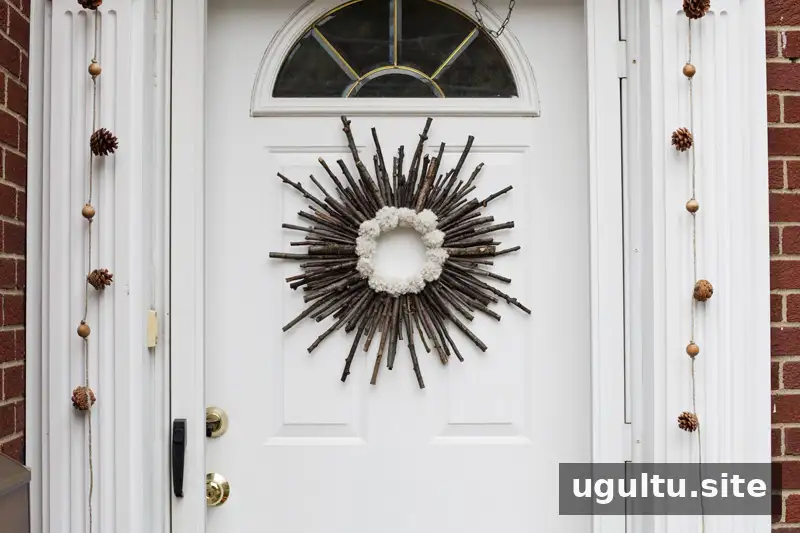
Hang the finished wreath with ribbon and a removable hook or adhesive strips. Follow the hanger’s instructions and check that it is suitable for the wreath’s weight and the surface where you plan to display it.
Display and customization tips
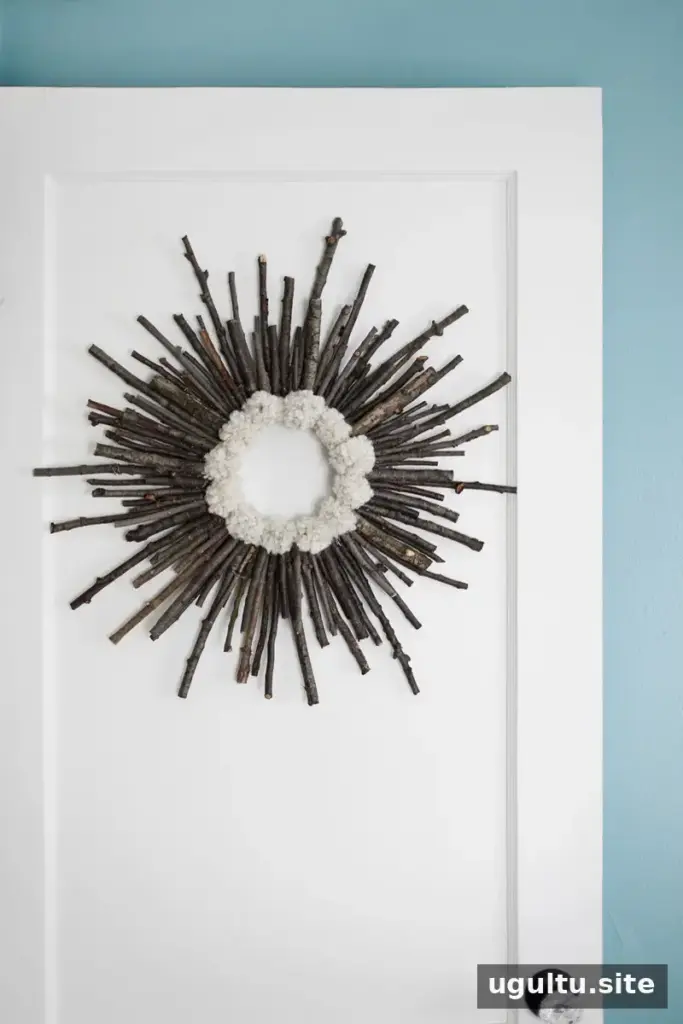
This project can be an inexpensive way to use fallen branches and leftover yarn. Choose clean, dry twigs, and avoid branches that are damp or brittle. For a different take on the look, use pom poms on a driftwood wreath instead of building a starburst from twigs.
Conclusion
A twig and pom pom wreath combines easy-to-find natural materials with a soft yarn detail for a distinctive seasonal decoration. With a sturdy base, varied branches, and securely glued pom poms, it makes a simple handmade accent for a sheltered indoor or outdoor display.


