
 admin
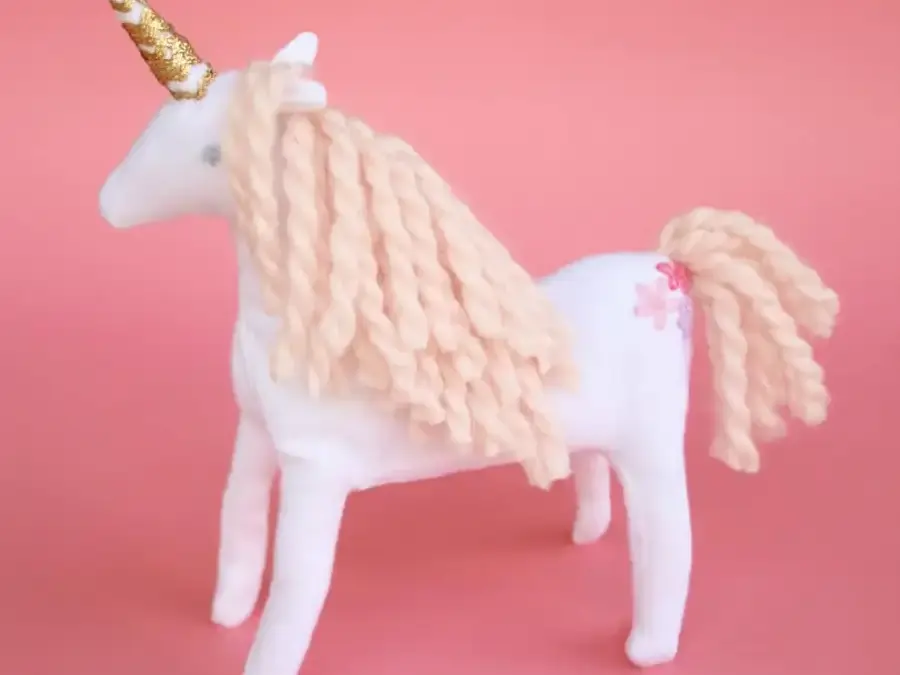
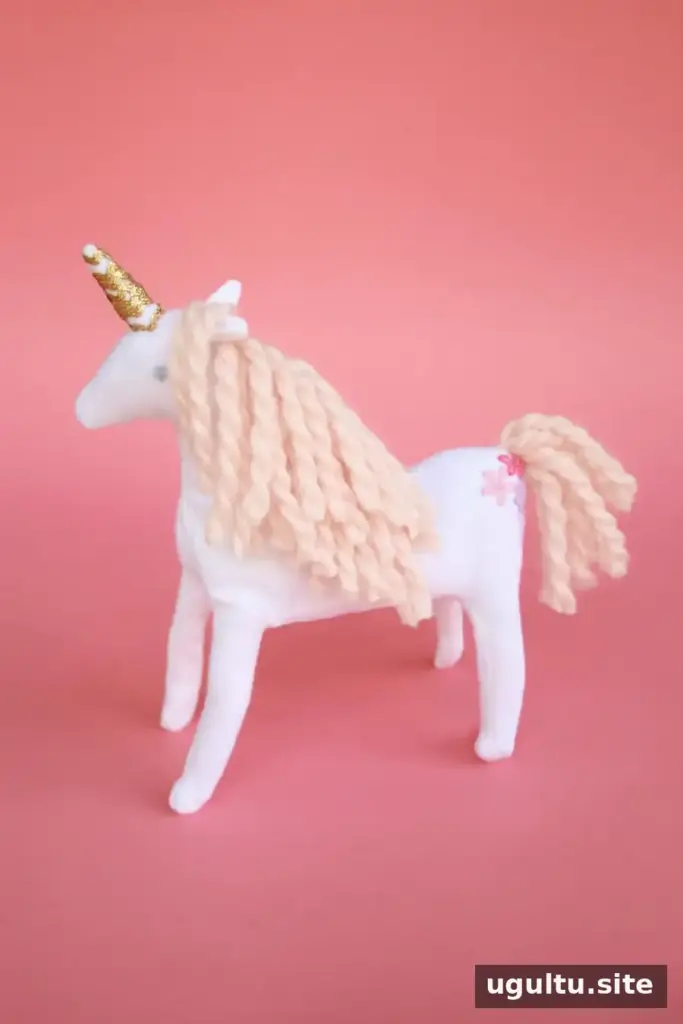
A Unicorn Plush DIY project can look ambitious at first, especially if you have not sewn a stuffed animal before. With a printed pattern, a few basic materials, and a little patience, you can make a soft unicorn with embroidered details, a yarn mane, and a decorative horn. The project takes time, but breaking it into smaller steps makes it easier to manage.
Materials for a Unicorn Plush DIY
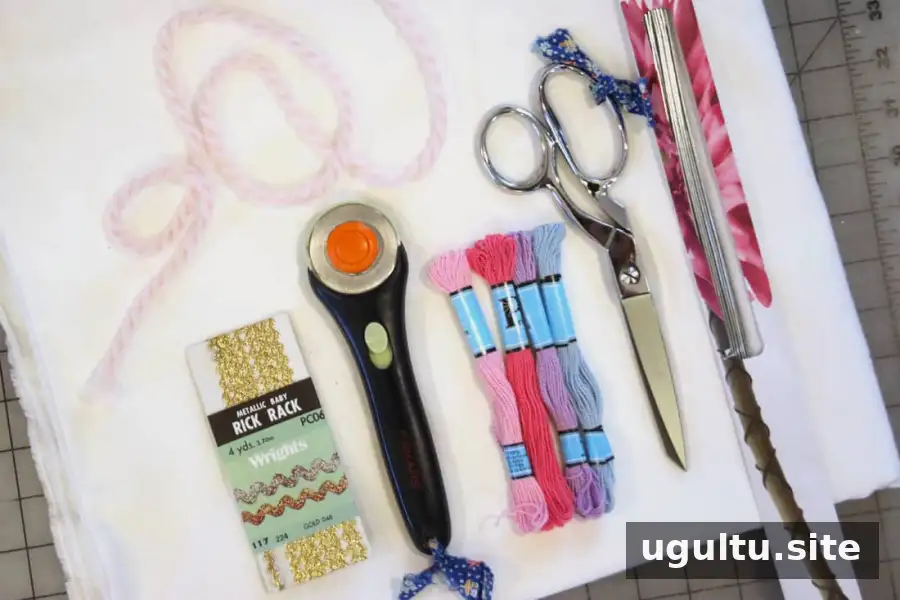
Gather your supplies before cutting the fabric. You will need:
- Downloadable pattern pieces, printed at full size and taped together: pattern 1 and pattern 2
- White fabric
- Pink yarn
- Metallic rick rack
- Embroidery floss
- Floral wire, if you want the unicorn to stand or be poseable
- Stuffing
- Hot glue gun and glue
- Fabric scissors or a rotary cutter
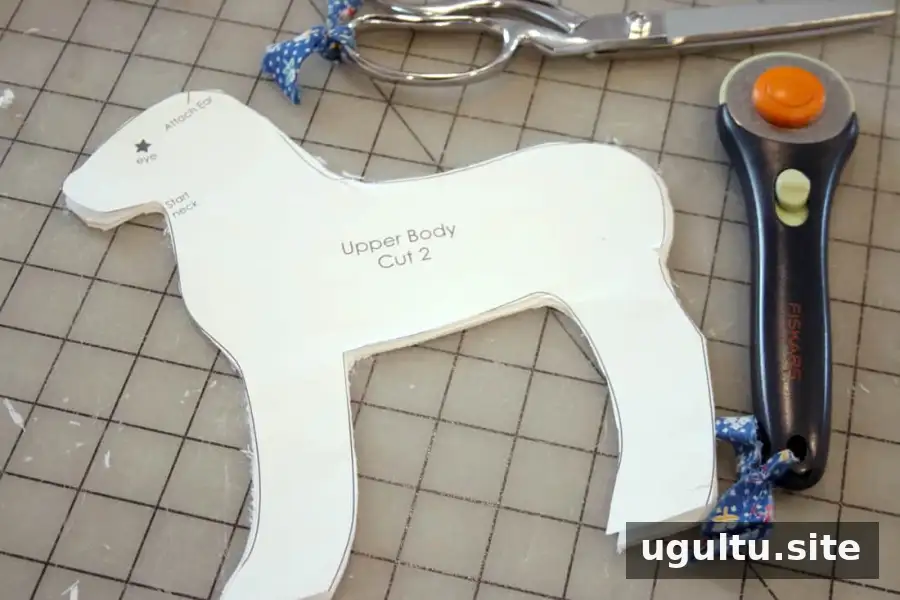
Print and assemble the pattern, then cut out the fabric pieces as directed. Embroider the eye and any optional design on the hindquarters before sewing the body together. A disappearing fabric marker can help you sketch a design in place before stitching.
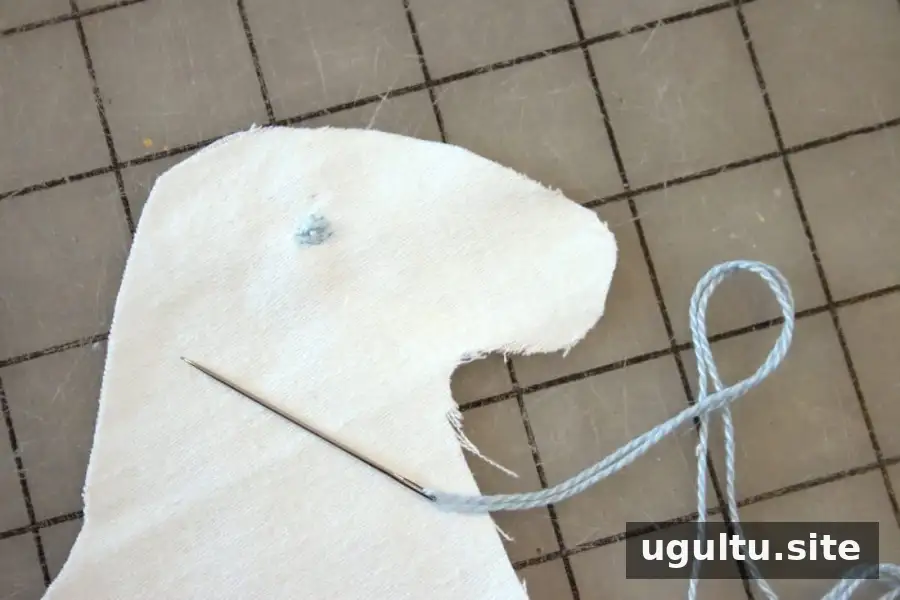
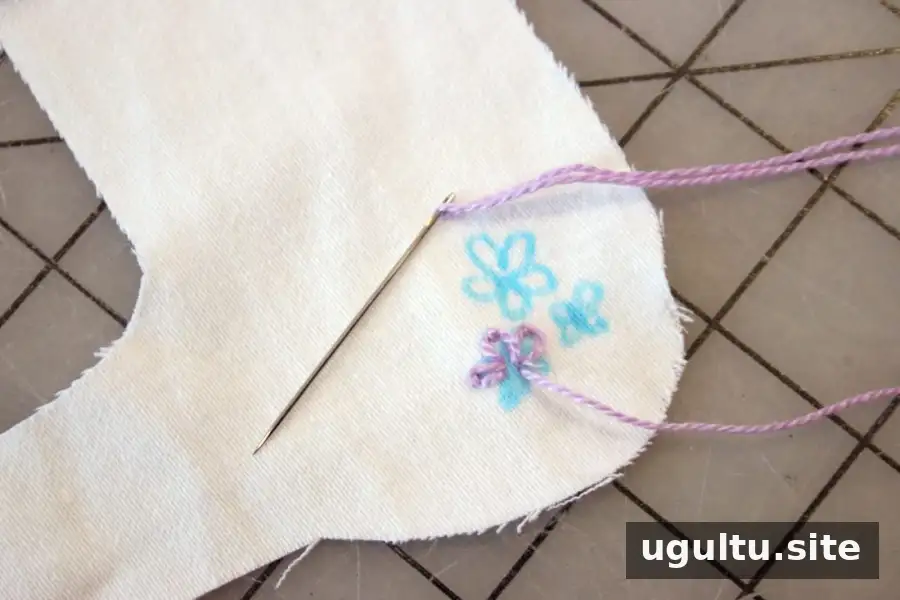
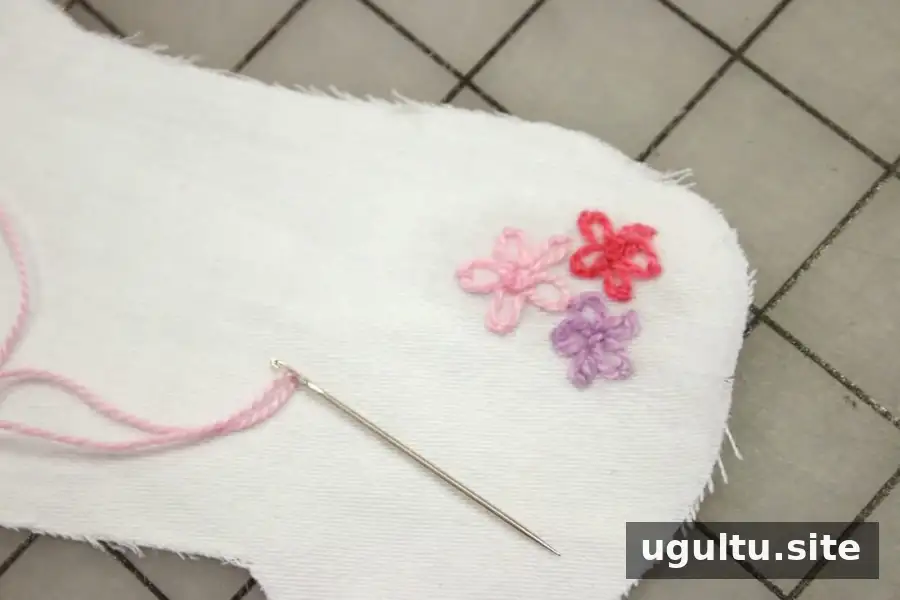
Embroidery is an easy way to give the plush its own style: choose simple details for a refined look or more playful features for a cartoon-inspired character. If the finished toy is intended for a young child, avoid small three-dimensional decorations, such as buttons, that could come loose and pose a choking hazard.
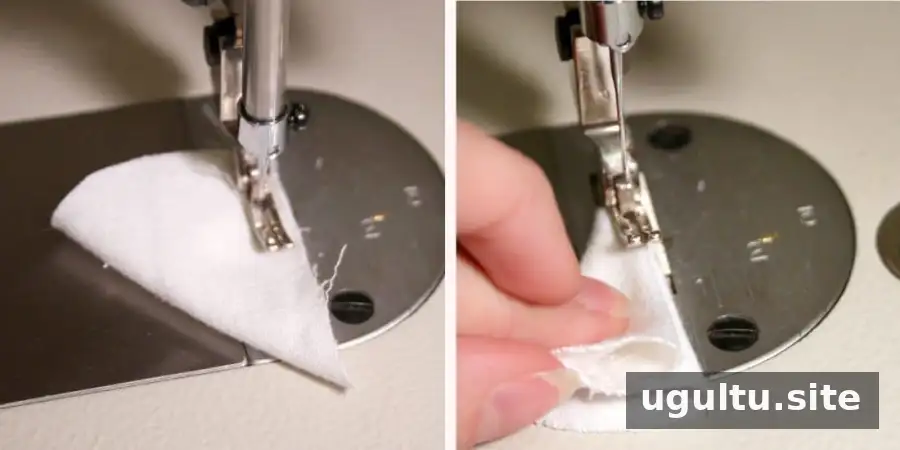
Sew the horn and ears
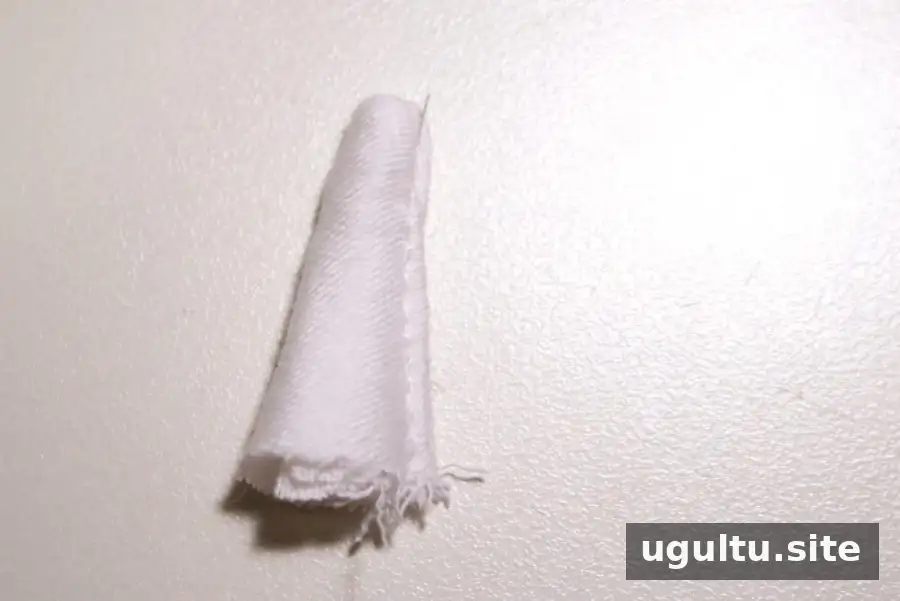
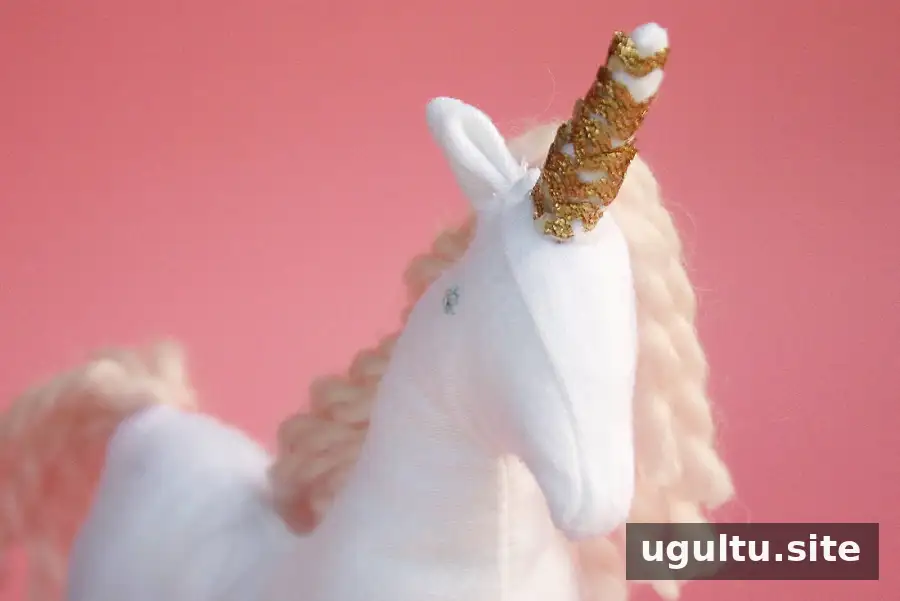
Fold the horn piece in half to form a cone, then sew along the side with a 1/4″ seam allowance. Turn it right-side out. For extra structure, fold part of the seamed edge inward and topstitch along the fold.
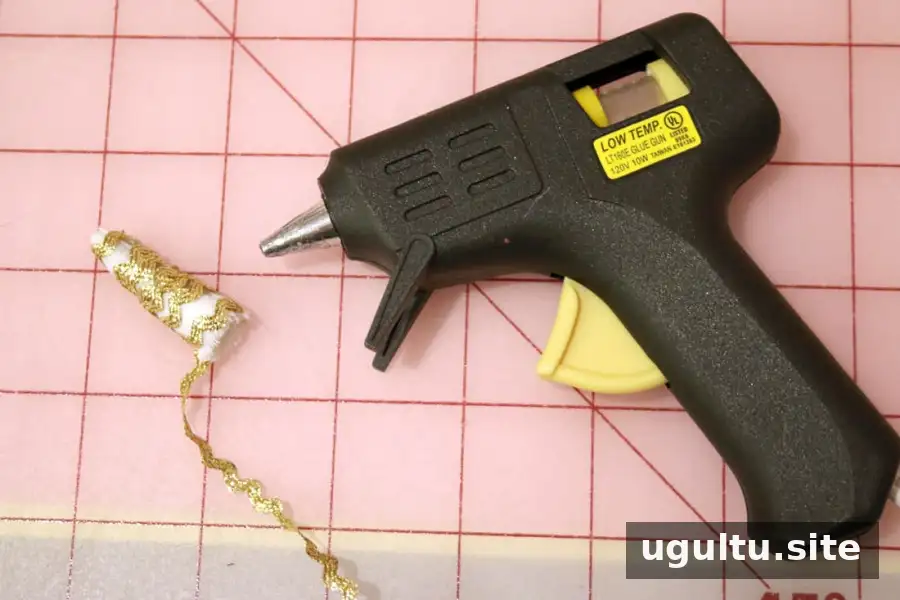
For additional support, put a small amount of hot glue inside the tip of the horn. Use the glue gun to attach metallic rick rack in a spiral around the outside. Let the glue cool fully before handling the piece.
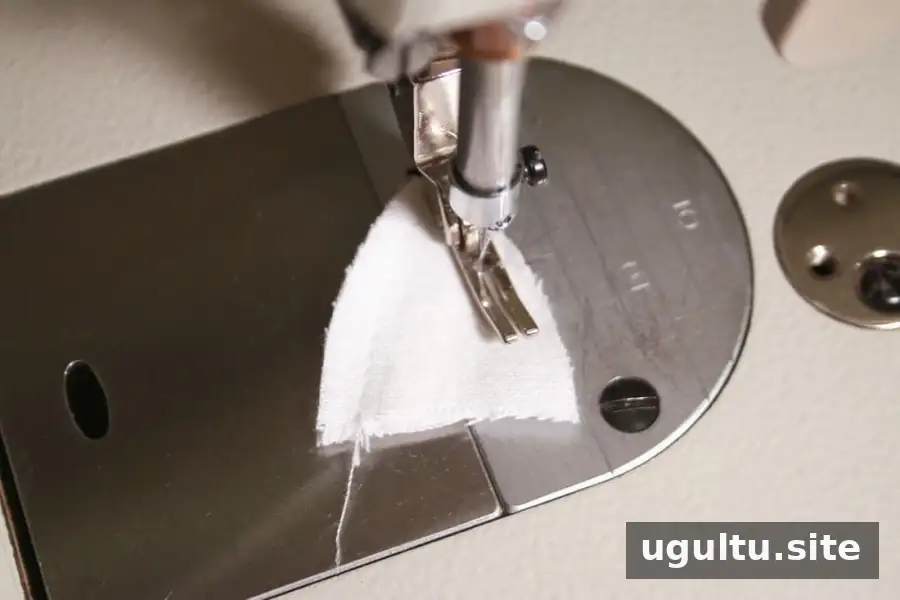
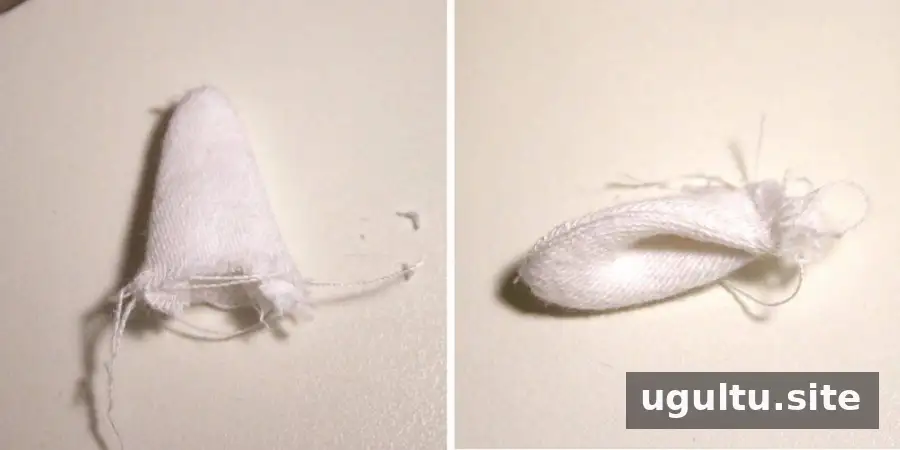
Make each ear by placing two pieces with their right sides facing inward and sewing them together. Trim excess fabric at the point without cutting the stitching, then turn the ear right-side out. Fold the bottom in half and stitch along the edge to create the inner-ear shape.
Make the yarn tail and mane
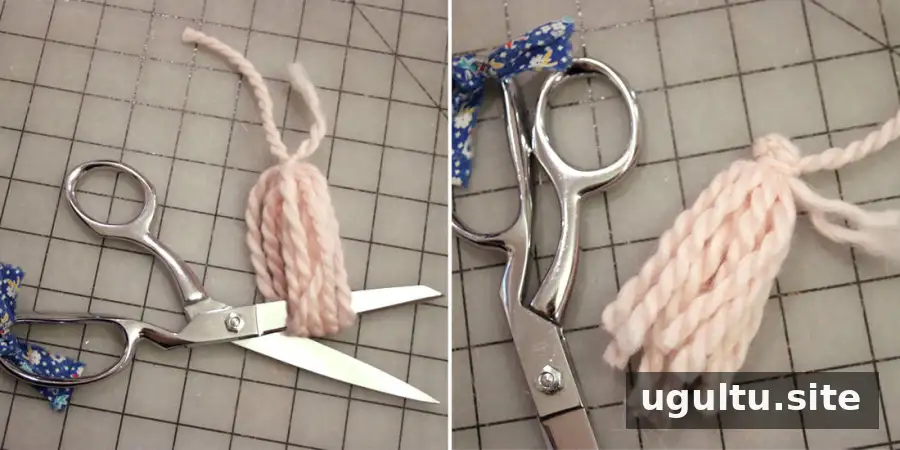
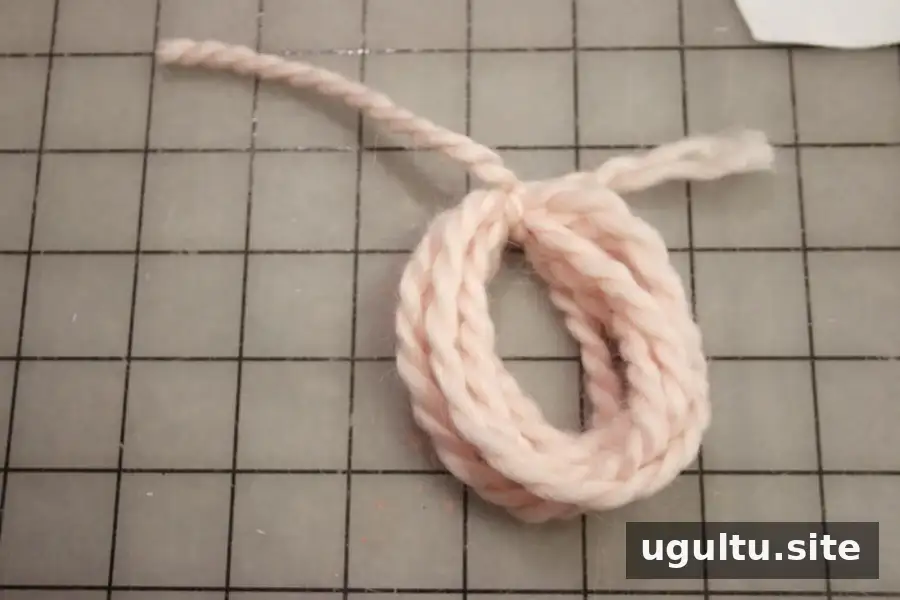
Wrap yarn around your hand several times for the tail. Tie the loops securely, cut through the loops at the bottom, and use the tied ends to bind the yarn at the top into a tassel.
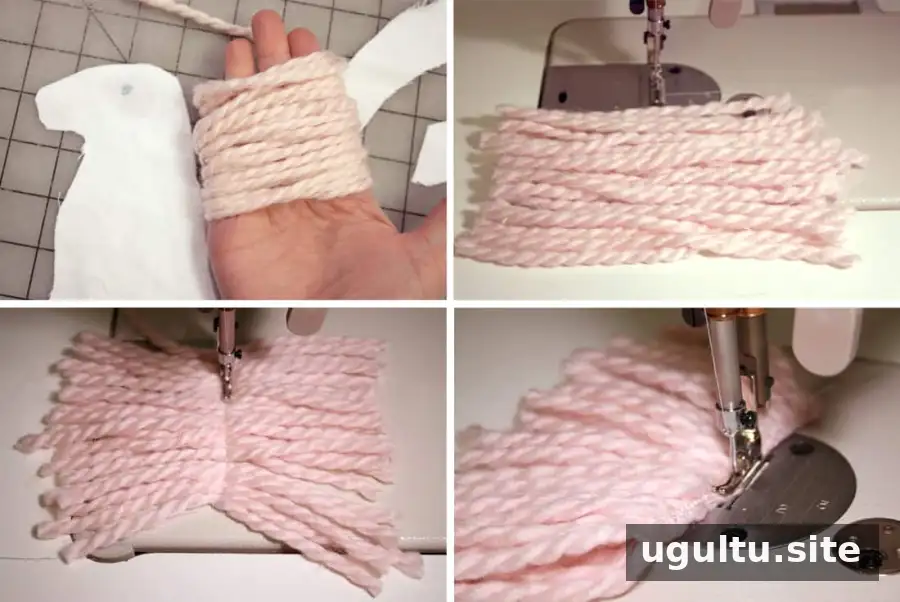
Create the mane in a similar way, wrapping yarn around your hand and cutting through the loops to make even lengths. Sew the pieces together down the center with a short stitch length; stitching twice can help secure them. Fold the mane in half and sew along the folded edge so the strands point in the same direction.
Assemble and stuff the unicorn
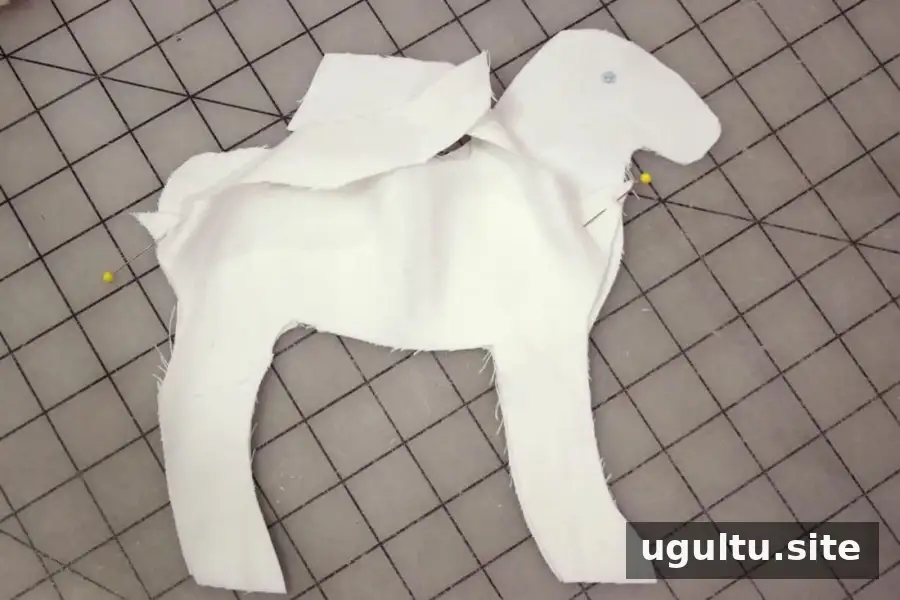
Match the body bottom to one body side and sew with a 1/4″ seam allowance, working from the center of the back toward the center of the front. Follow the marked pin points as a guide.
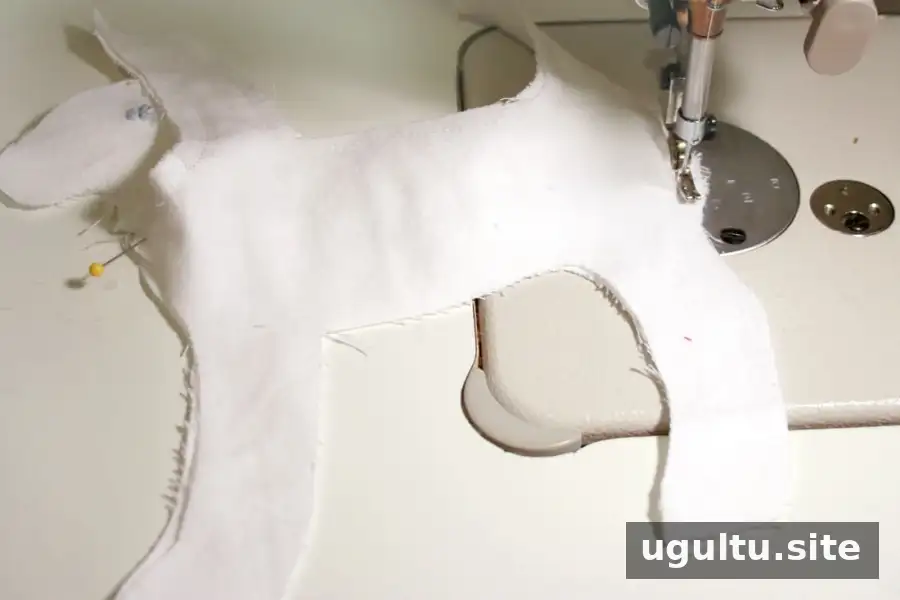
Attach the bottom to the other body side in the same way. This forms the four legs while leaving the top of the body open.
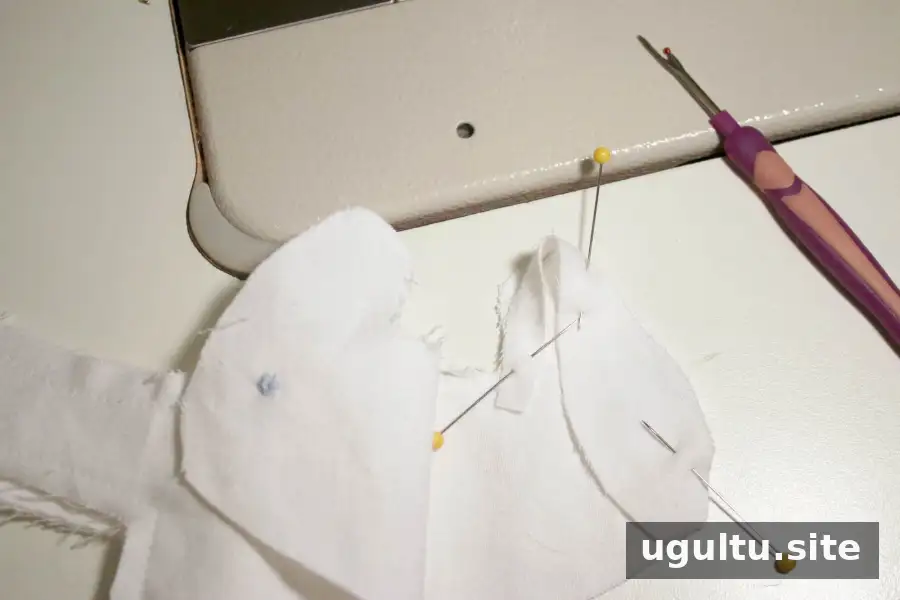
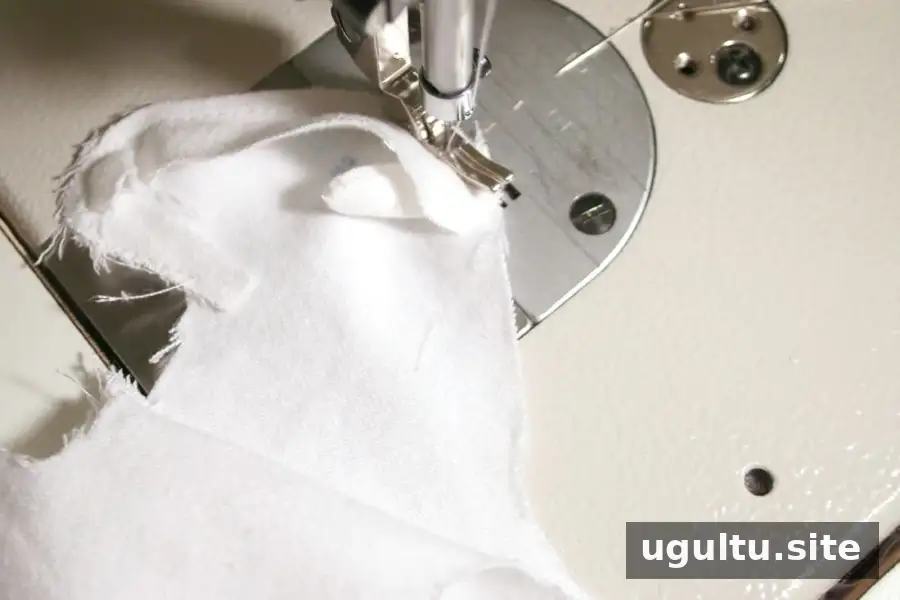
Sew the head piece to one side of the body, following the head curve from the bottom up to the center of the top. Include an ear in the seam, with its folded inner side facing forward.
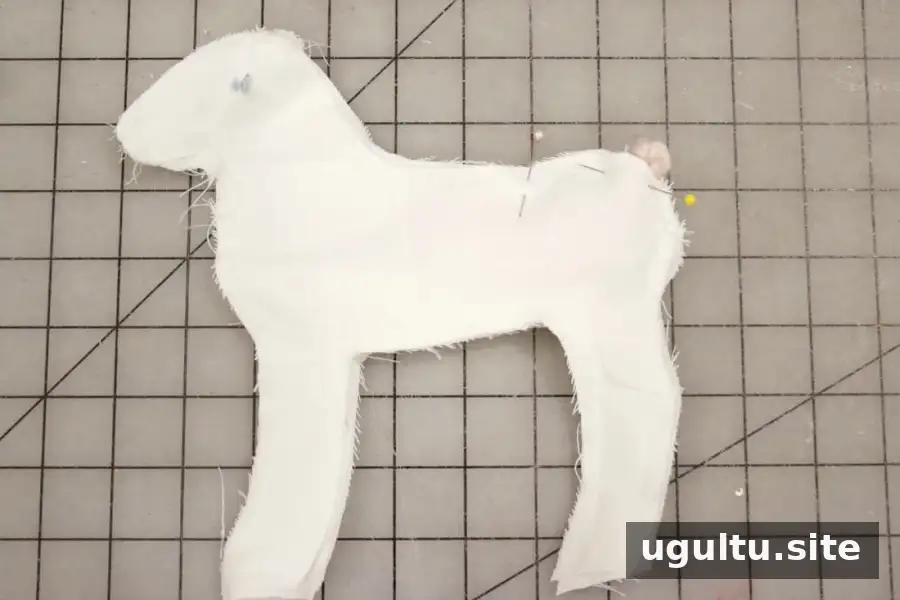
Position the tail with its knot on the outside and the tail tucked between the body layers. Sew from the top of the back legs to the indicated stopping point. Repeat at the front, joining the front leg area to the head piece and inserting the second ear. Stop at the top of the head piece.
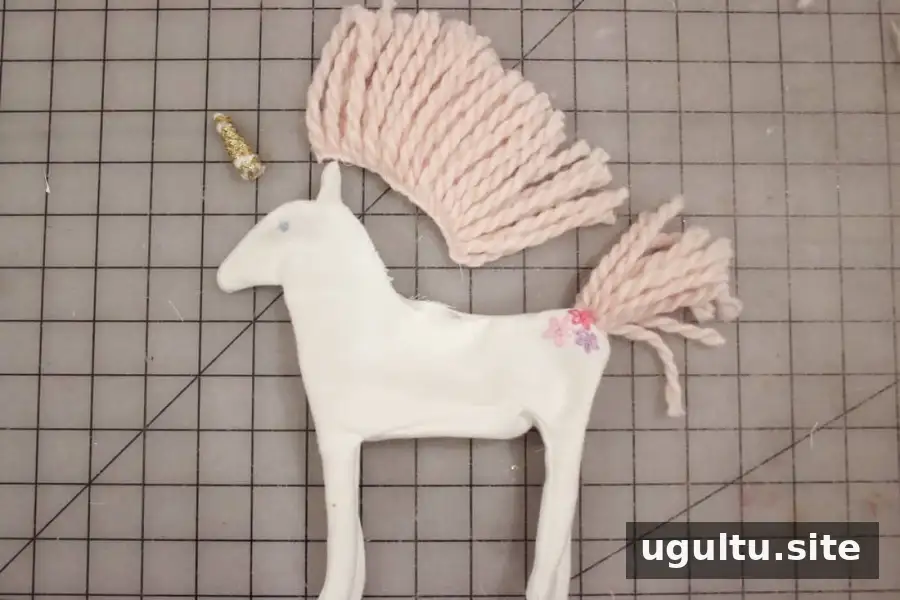
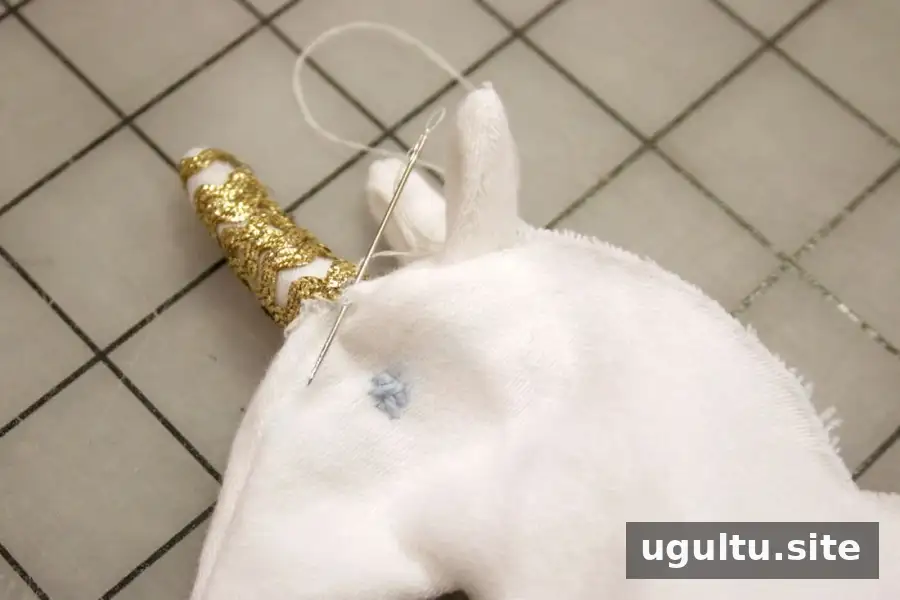
Turn the body right-side out, using a chopstick to gently push the legs into shape. Hand-sew the horn onto the top of the head piece, in front of the ears.
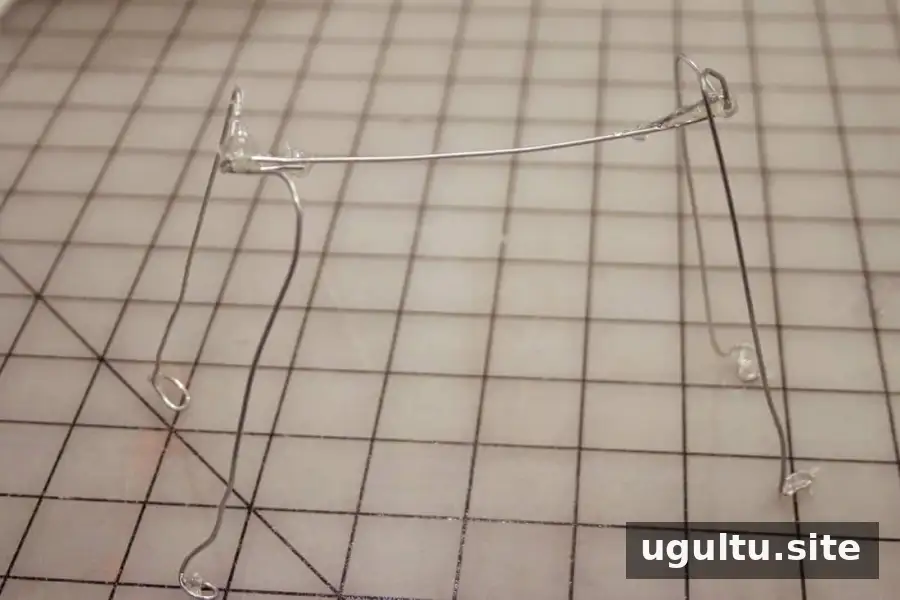
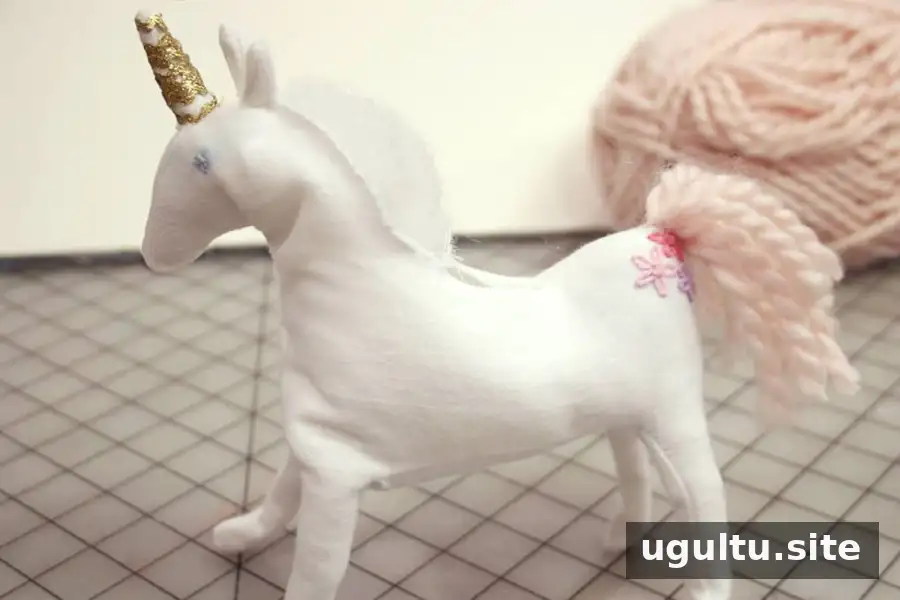
To make the unicorn stand and pose, form a wire frame for the body and legs. Secure its connections with hot glue and cover sharp ends before placing it inside the plush. Add stuffing, using a chopstick to reach the legs. If you are making the toy for a child, consider whether an internal wire frame is appropriate and ensure no wire ends can be exposed.
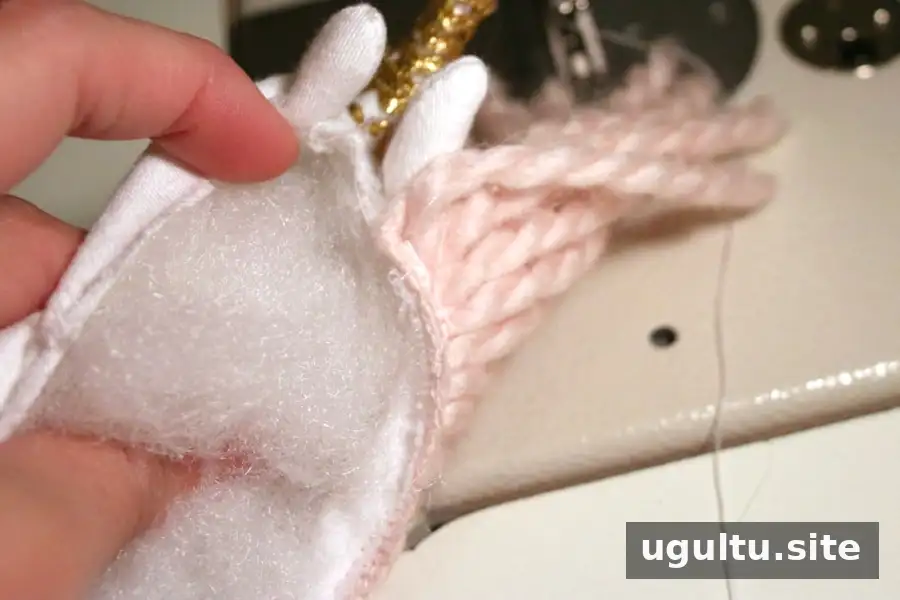
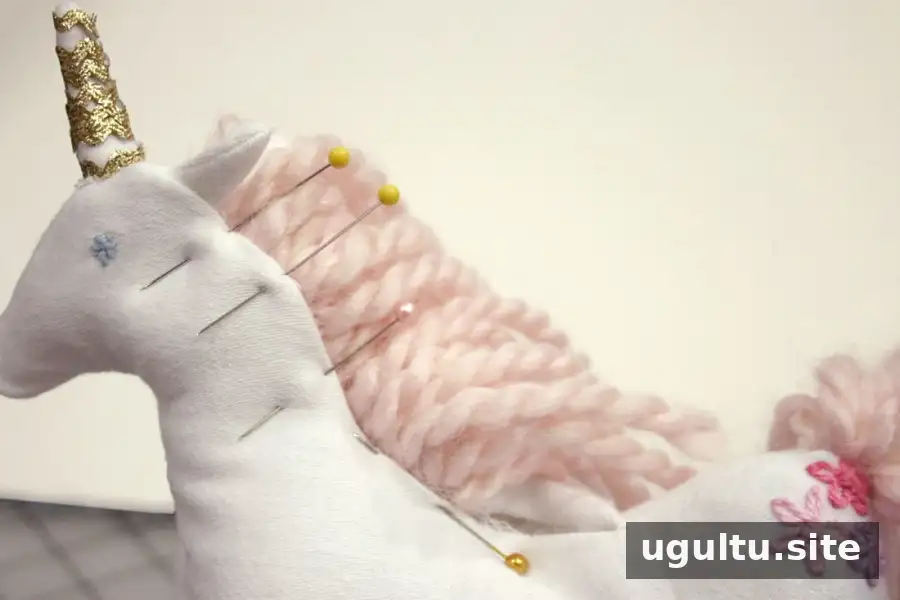
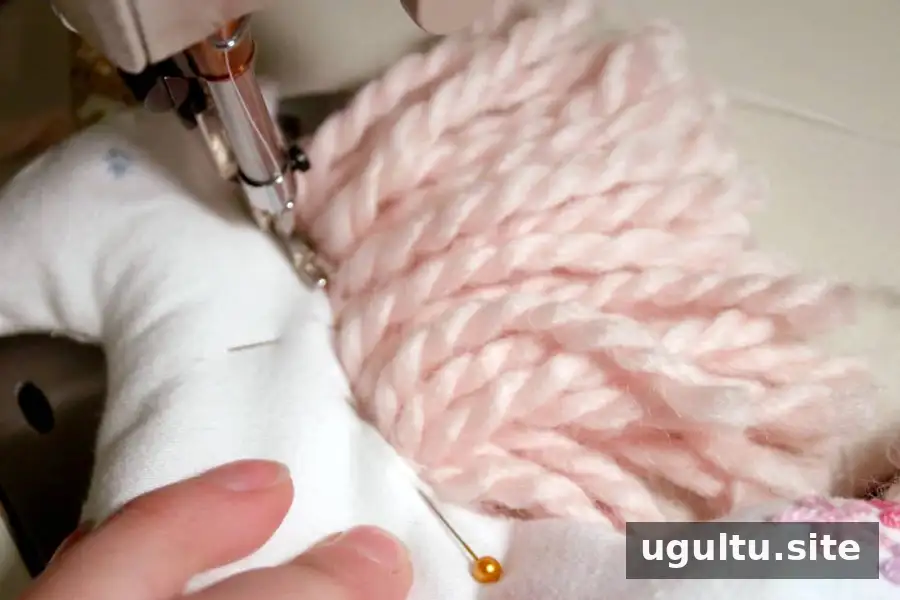
Sew the mane to one side of the body. Tuck the seam allowance inside, pin the two sides together, and carefully topstitch the remaining opening closed. Check that the stuffing and any internal frame are clear of the stitching path.
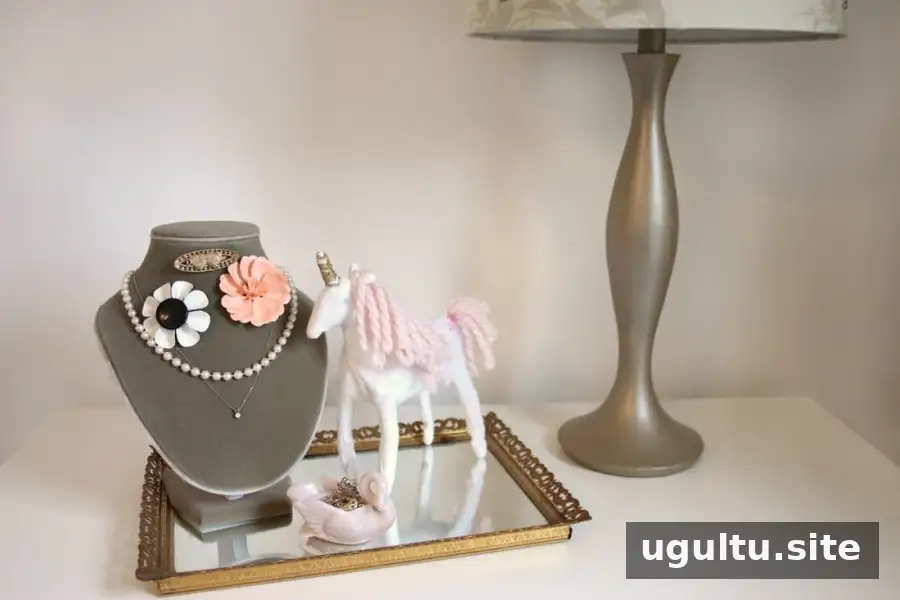
Finishing your Unicorn Plush DIY
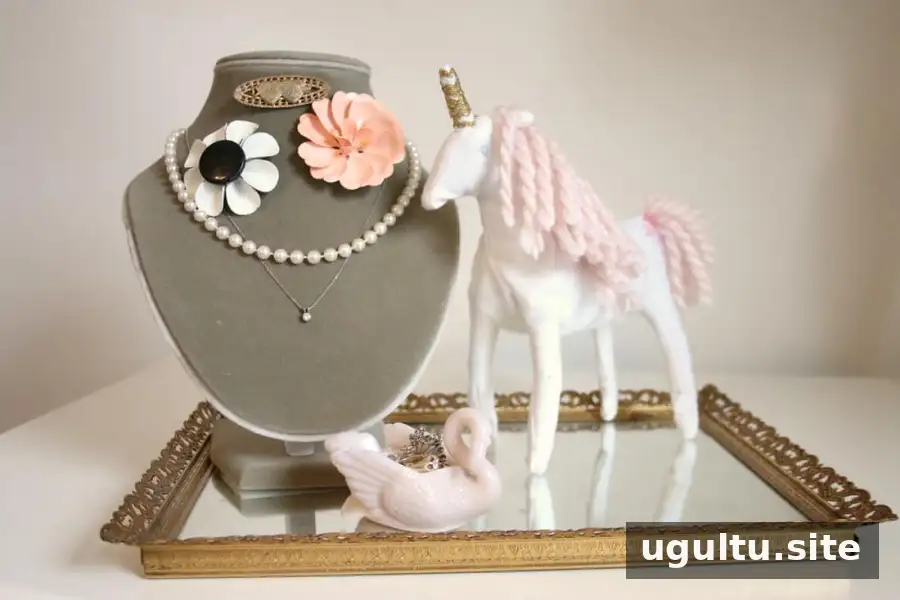
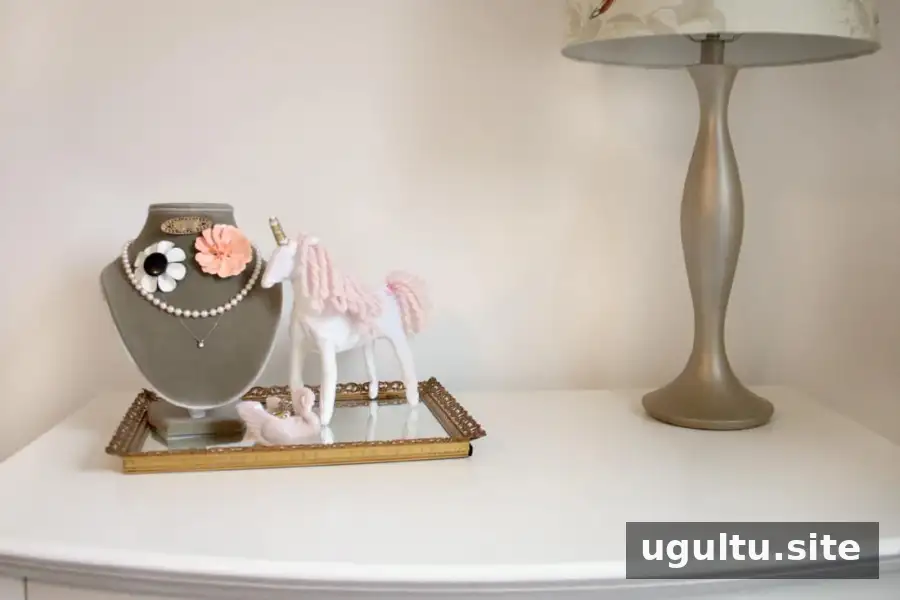
This handmade unicorn takes some time, but careful preparation and working through each stage helps make the process manageable. Once the final seam is closed, check the stitching, trim any loose threads, and make sure decorative parts are secure. Display the finished plush or give it as a handmade gift. Unicorn Plush DIY projects are a lovely way to practice sewing and embroidery while creating a one-of-a-kind soft toy.
— Mallory


