
 admin
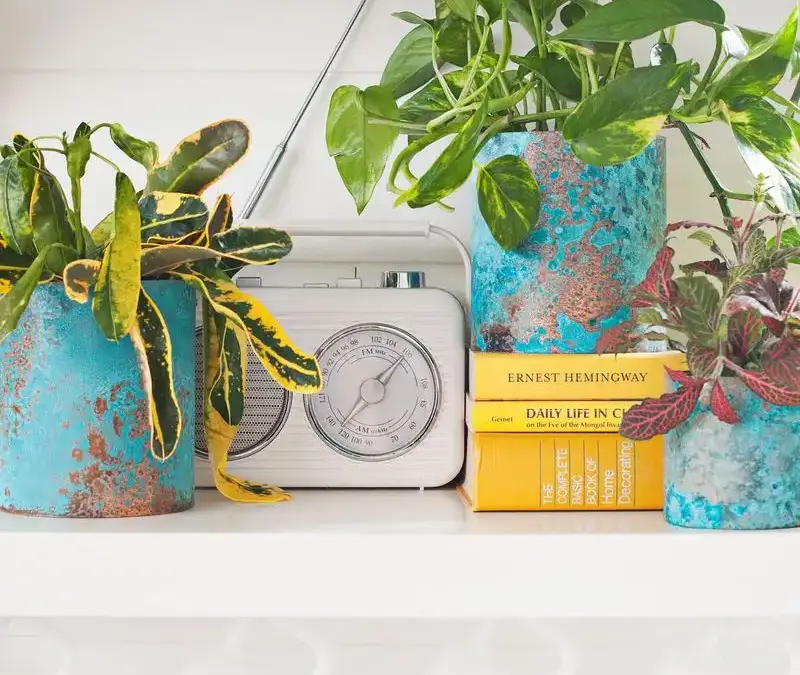
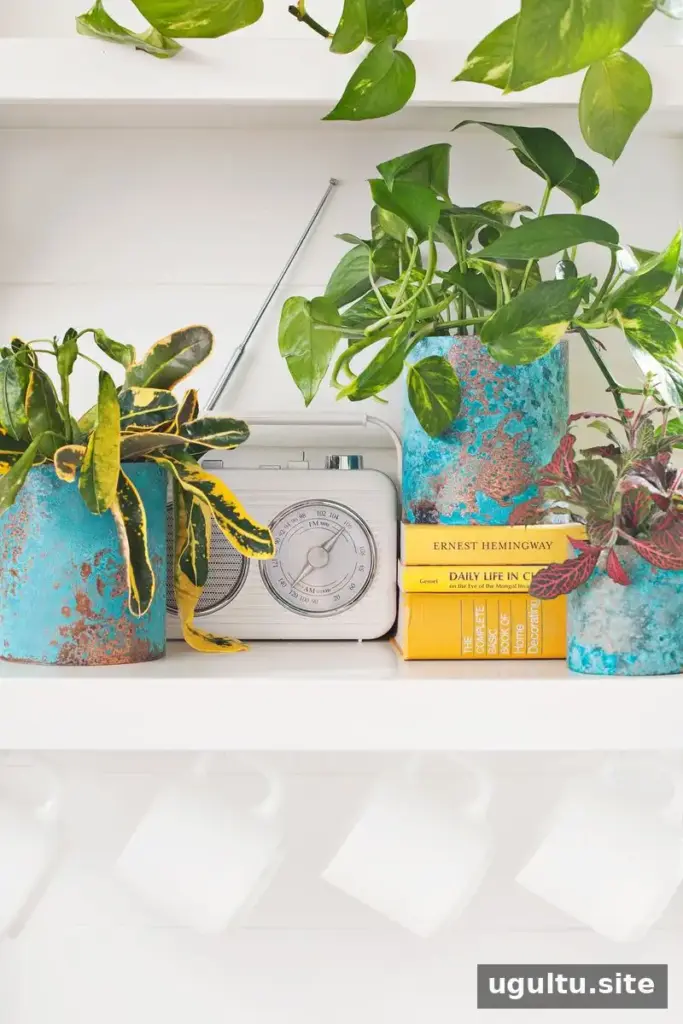
Oxidized copper planters add a blue-green finish and subtle pattern to everyday containers. This DIY project wraps a straight-sided can or jar in copper sheet, then uses vinegar and rhododendron plant food to create an oxidized surface. It’s a simple way to give an empty container a fresh look while adding color and texture to a room.
Materials and tools for oxidized copper planters
Before you begin, check that your container has straight sides so the copper can wrap around it evenly. Gather the following supplies:
- An empty can or jar with a straight cylindrical shape
- Copper flashing or copper sheet
- Vinegar and rhododendron plant food
- Construction adhesive, unless the copper flashing is adhesive-backed
- Heavy-duty cleaner, such as TSP, if using polished, coated copper
- Polyurethane, if you want to seal the finished surface
- A spray bottle, funnel, ruler, marker, abrasive cleaning pad, and tin snips or another suitable metal cutter
- Gloves, a mask, and safety goggles
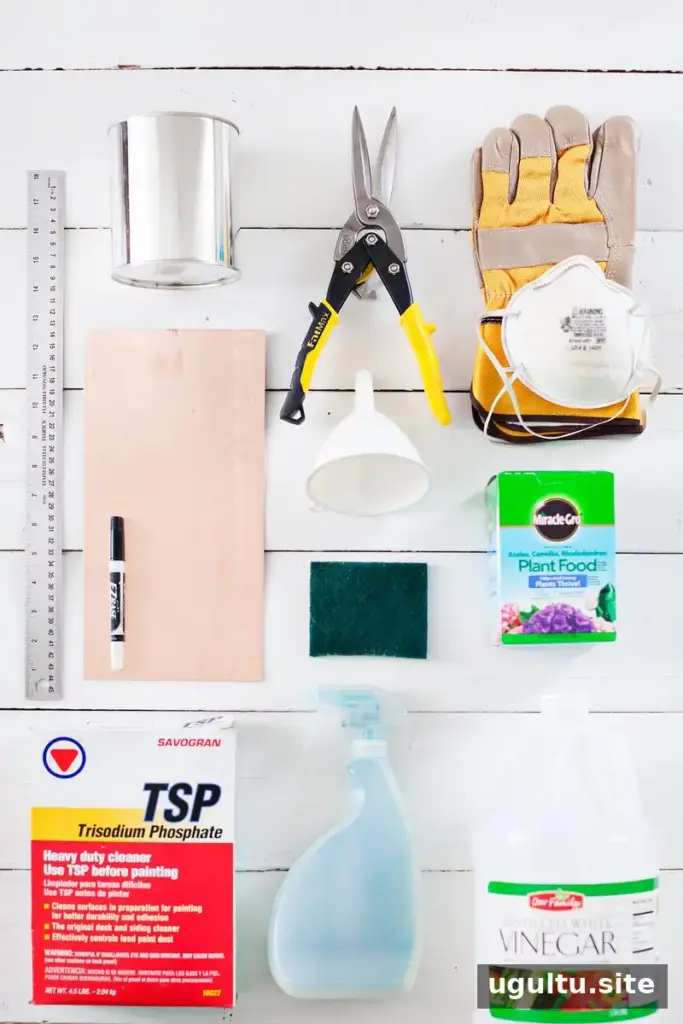
Copper edges can be sharp, so wear suitable protective gear when cutting and handling the sheet. Follow the cleaner’s label for use and ventilation, and do not combine it with other cleaning products.
How to make oxidized copper planters
1. Measure and cut the copper
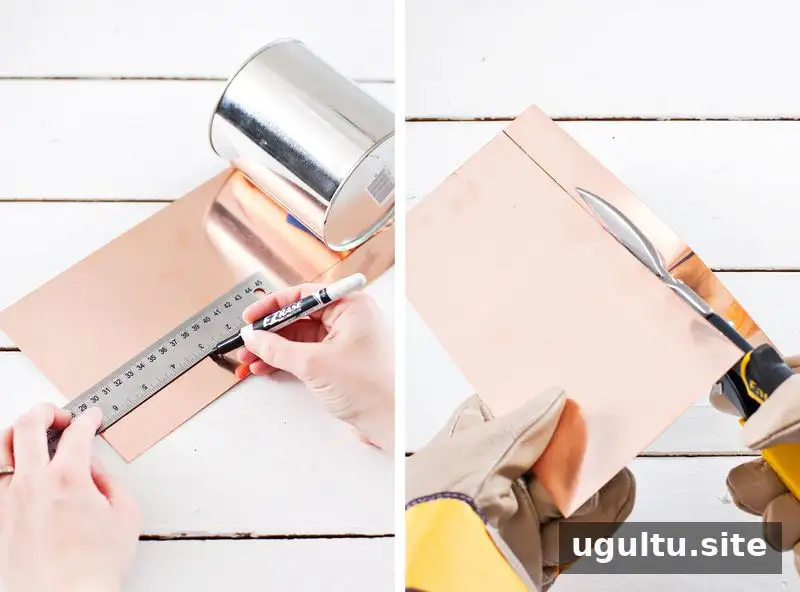
Measure the height of the can or jar and mark the same height on the copper sheet. Use a ruler to draw a straight cutting guide, then cut the sheet with tin snips or a heavy-duty cutter. Work carefully around the sharp edges.
2. Prepare the copper surface
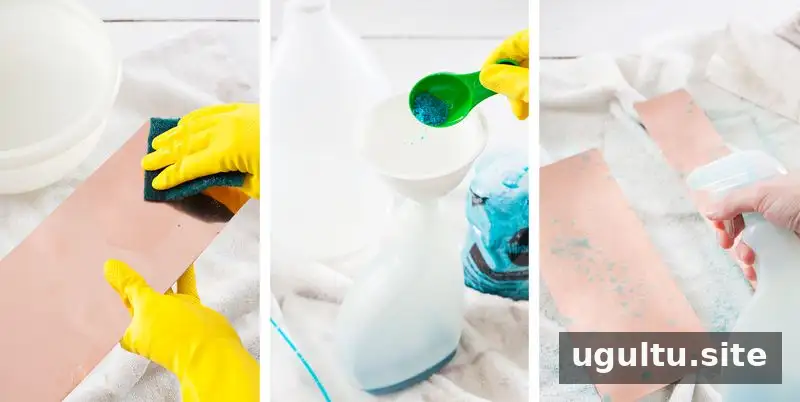
Polished copper may have a coating that prevents oxidation. If yours is coated, dissolve a heavy-duty cleaner such as TSP in water according to its label. Use an abrasive pad to remove the coating, then handle and dispose of the cleaner as directed by the manufacturer.
3. Mix and apply the oxidation solution
Pour 1/3 cup of vinegar and 2 tablespoons of rhododendron plant food into a spray bottle, using a funnel if needed. Shake until the plant food dissolves. Lightly mist the copper sheet and leave it for about two hours, allowing the wet areas to develop a blue oxidized pattern.
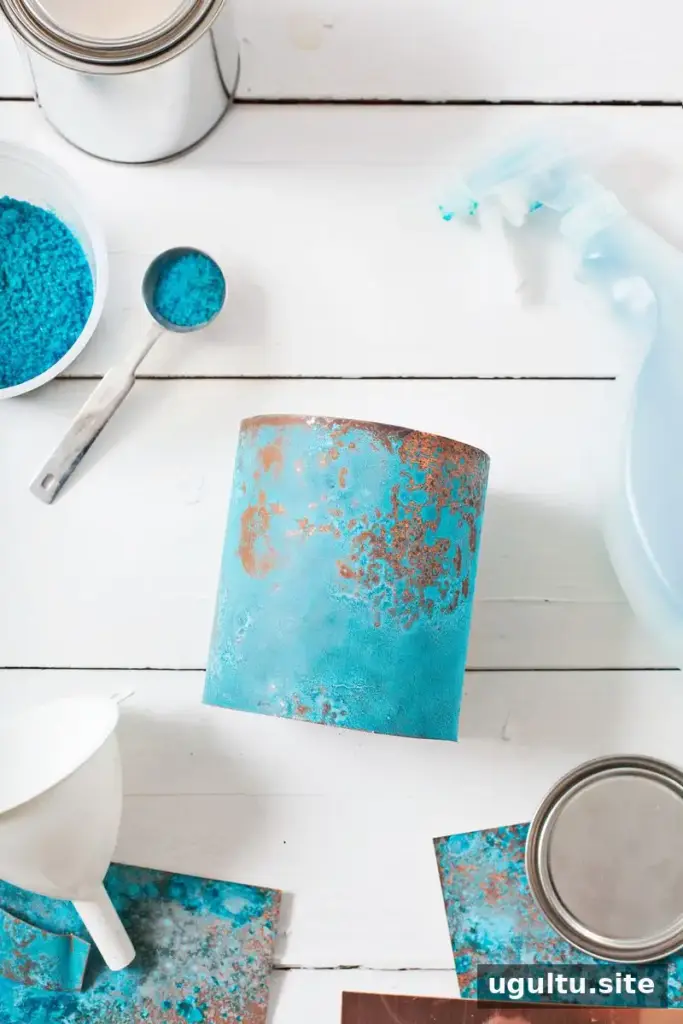
The way you spray affects the finish: several light mists can create more depth in the blue patches, while a heavier application that pools on the surface can produce broader, more solid areas of oxidation. If you’re not happy with the pattern, try the other side of the sheet or clean the surface again and repeat the process.
4. Wrap and secure the copper
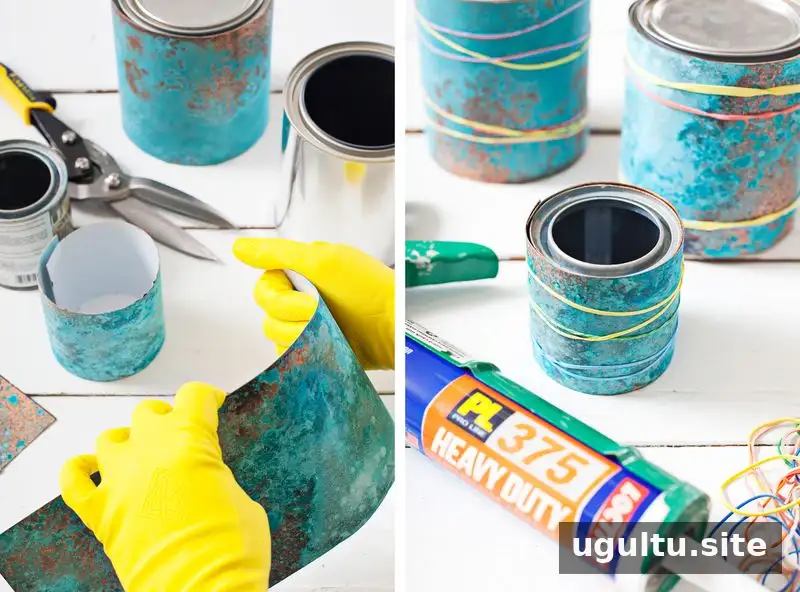
Bend the copper around the container. Apply construction adhesive to attach the sheet, then hold it in place with rubber bands or string while the adhesive cures. Avoid tape, which can lift some of the oxidized finish when removed.
5. Seal the finish if desired
Applying polyurethane is optional. It can help limit further corrosion; follow the product directions and let the coating cure fully. Keep the copper wrap on the outside of the container.
Display and care tips
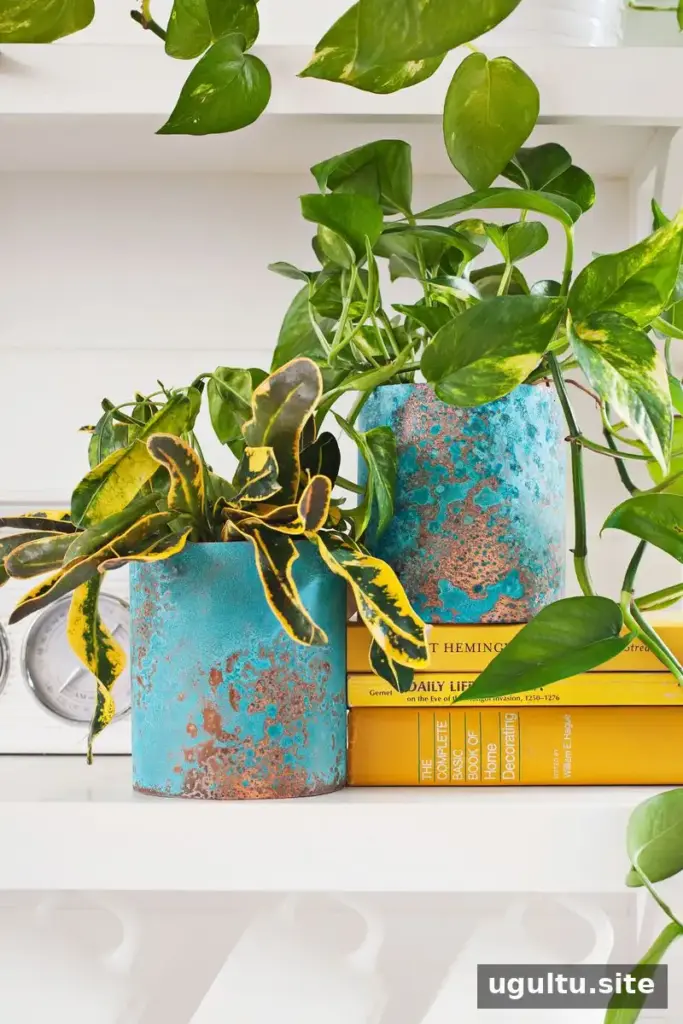
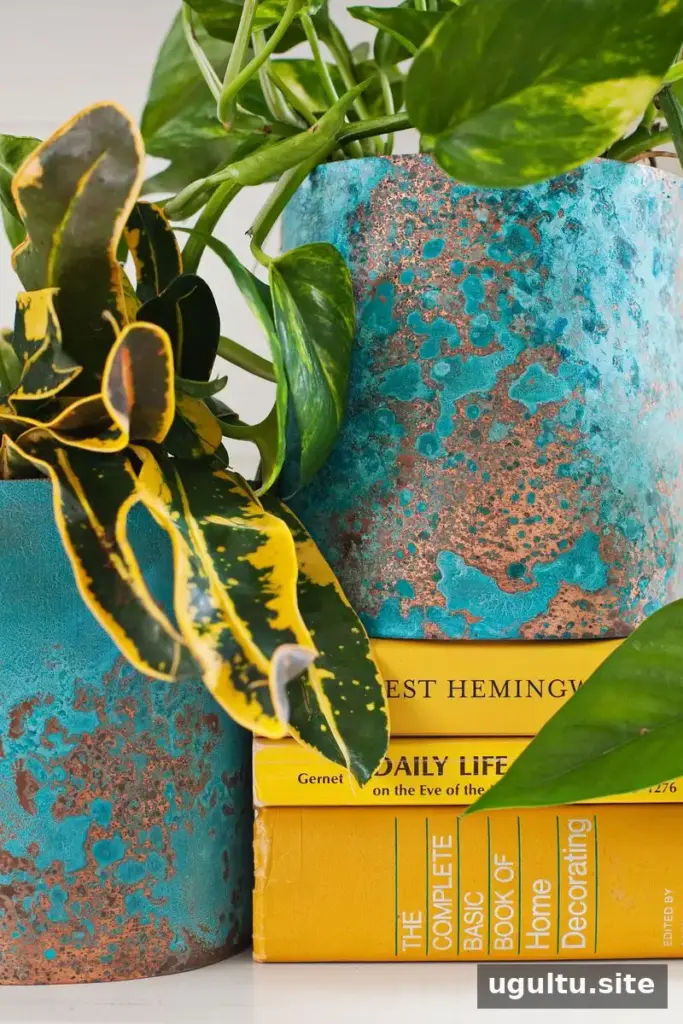
The turquoise-blue oxidation contrasts with the copper and creates a naturally varied pattern, making these planters a good fit for clean, modern decor. For a neat result, choose a container that sits securely on its base and make sure the adhesive has cured before moving it. If you use the container for a plant, consider how it will hold soil and water, and avoid letting excess water collect around the container.
Oxidized copper planters are also a useful technique for other copper craft projects where added color and texture are welcome. —Mandi


