
 admin
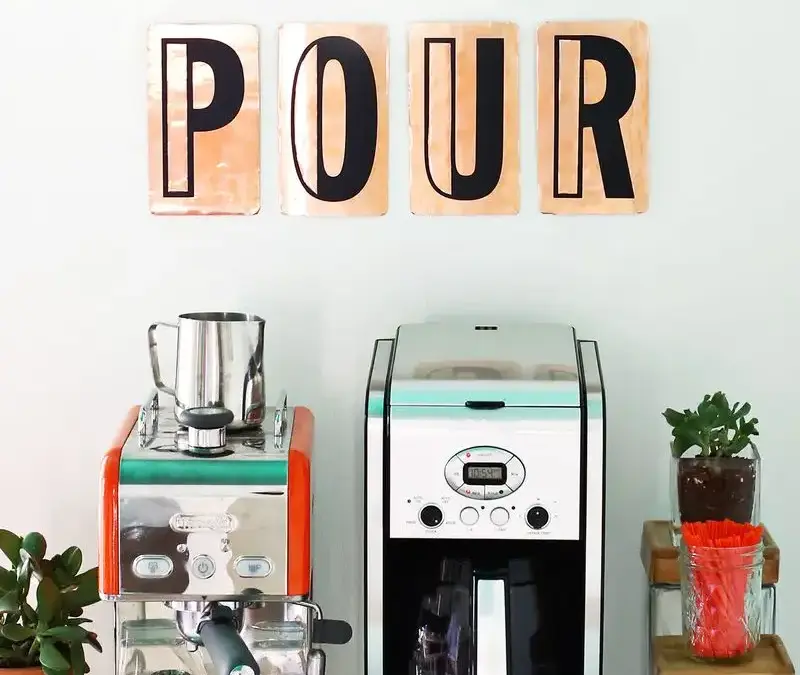
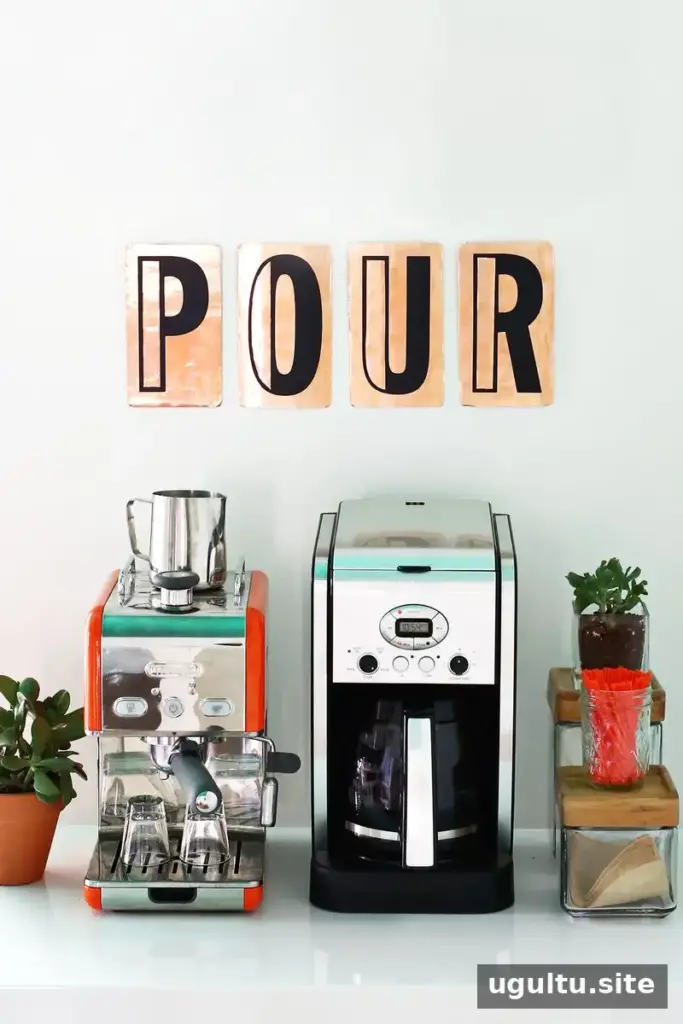
DIY copper letters offer a practical way to create vintage-inspired signs without searching for individual metal characters or buying a complete set. This project uses thin copper roll, balsa wood, and letter stickers to make lightweight decorative pieces in words or short phrases of your choice.
DIY Copper Letters: Materials and Preparation
Before starting, decide how large you want the finished letters to be and plan your layout. The example uses 6-inch letter stickers on balsa wood cut into 4-by-7-inch rectangles. Arrange the pieces on the copper roll before gluing to make efficient use of the material.
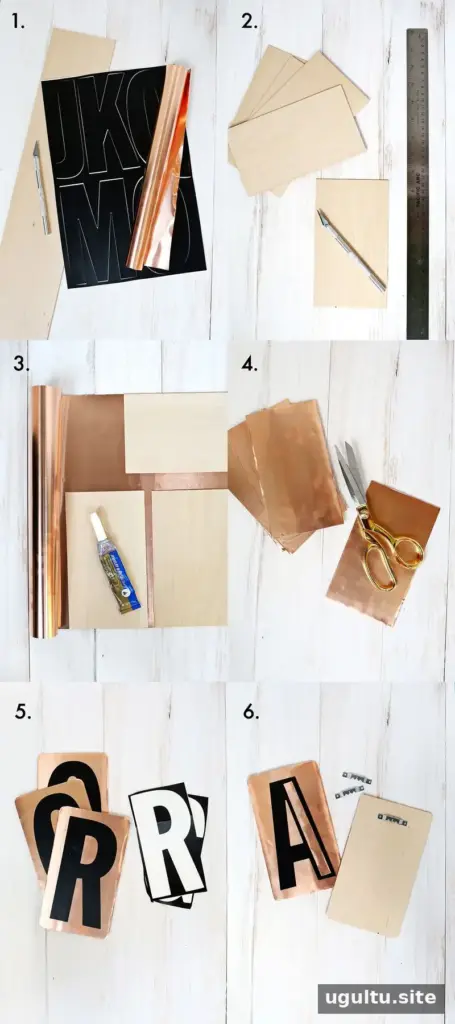
Supplies:
- Thin copper roll
- Balsa wood, 1/16 inch thick and 4 inches wide
- 6-inch letter stickers
- Metal jewelry glue
- Craft knife, metal ruler, and cutting mat
- Scissors
- Sawtooth picture hangers
How to Make Vintage-Inspired Copper Letters
1. Cut and attach the wood backing
Use a craft knife, metal ruler, and cutting mat to cut the balsa wood into rectangles sized for your chosen letters. For the 6-inch stickers used here, the pieces are 4 by 7 inches. Work on a stable surface and make controlled cuts, keeping your hands clear of the blade.
Unroll the copper and apply metal jewelry glue around the back edges of each wood rectangle, adding a zigzag line across the center. Set each piece glue-side down on the copper, leaving at least 1/2 inch between pieces. Placing the wood near the edge of the roll can reduce the amount of trimming needed. Set a flat, heavy object on top while the glue dries, following the adhesive’s instructions.
2. Trim the copper edges
When the glue has set, carefully cut around the wood-backed pieces with scissors. Keep the wood on top while cutting. First separate the pieces with a rough cut, then trim each one more neatly. Copper edges can be sharp, so handle the cutouts carefully and avoid leaving pointed corners. Turn each piece copper-side up and round all four corners with scissors for a softer, aged appearance.
3. Add the letters
Leave each sticker on its backing and trim around it roughly. Peel away the bottom third of the backing, position the letter on the copper rectangle, and press that exposed section into place. Once the alignment looks right, remove the remaining backing and smooth the sticker down to help it lie flat.
4. Customize and hang your sign
You can keep the sticker’s original font or customize its shape. To cut away sections of a letter, use a craft knife and ruler, pressing carefully through the sticker. Lift the trimmed section with the knife tip. Take care not to damage the copper surface beneath it.
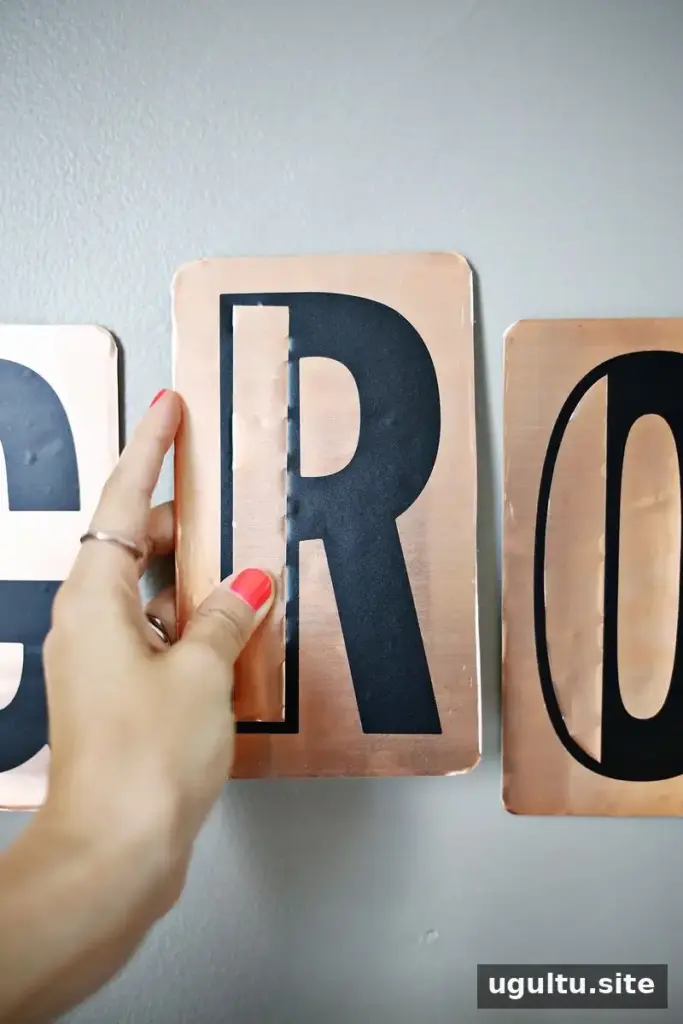
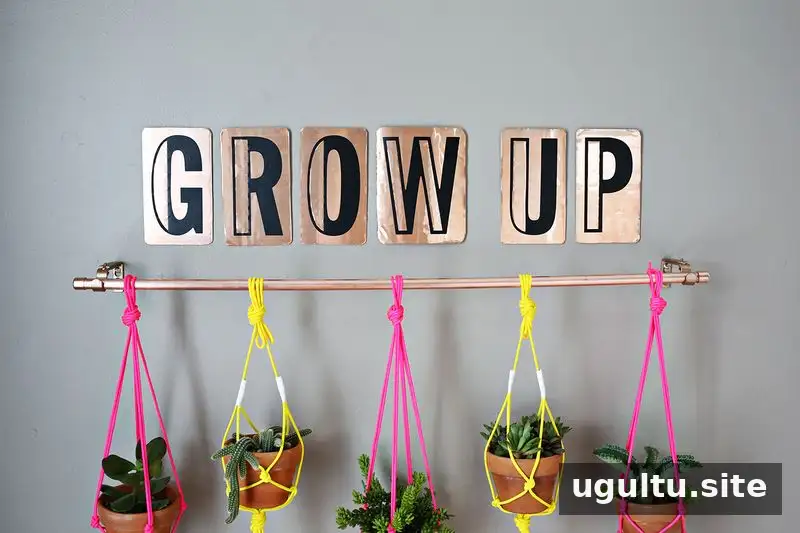
Attach a sawtooth picture hanger with glue, placing it 1 inch from the top of the letter. Let the glue dry fully before hanging the finished piece, and make sure the wall and hanging hardware are suitable for the item.
Ideas for Using DIY Copper Letters
These custom letters can spell a single word above a coffee station or form a short phrase for a shelf or plant display. Planning the word before cutting helps you check that you have enough copper, wood, and stickers. For a cohesive sign, use consistent spacing and line up the rectangles before attaching the hangers.
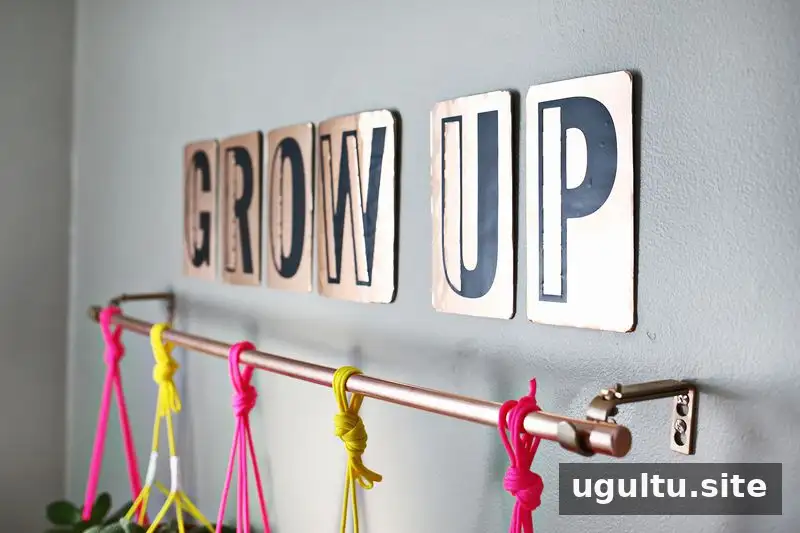
Making DIY copper letters lets you choose the exact wording and create a coordinated set in the size you need. With careful trimming, rounded corners, and securely attached hangers, the finished pieces can add a warm vintage-inspired accent to your living space.
— Laura


