
 admin
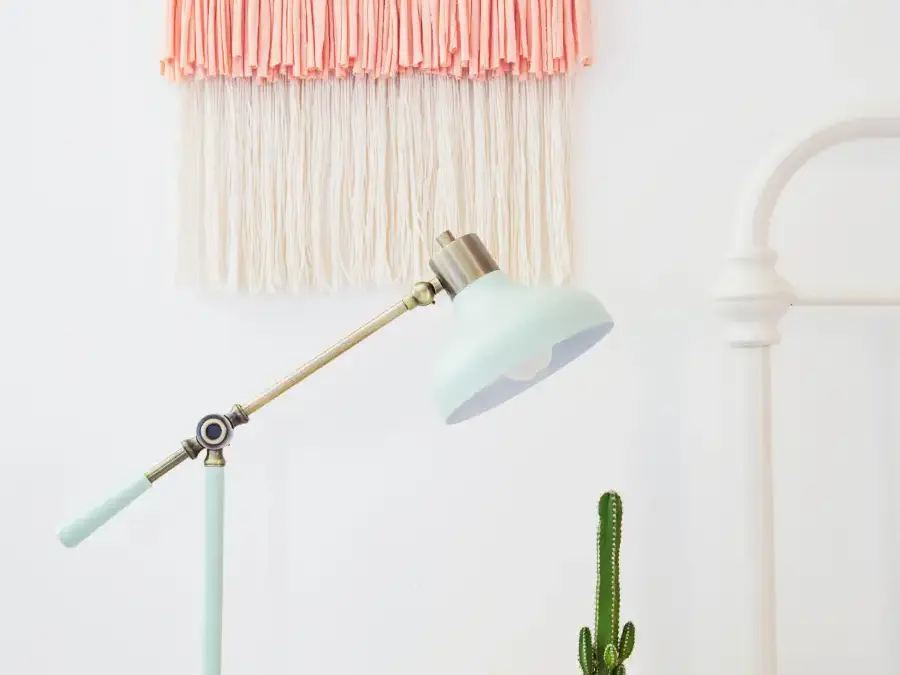
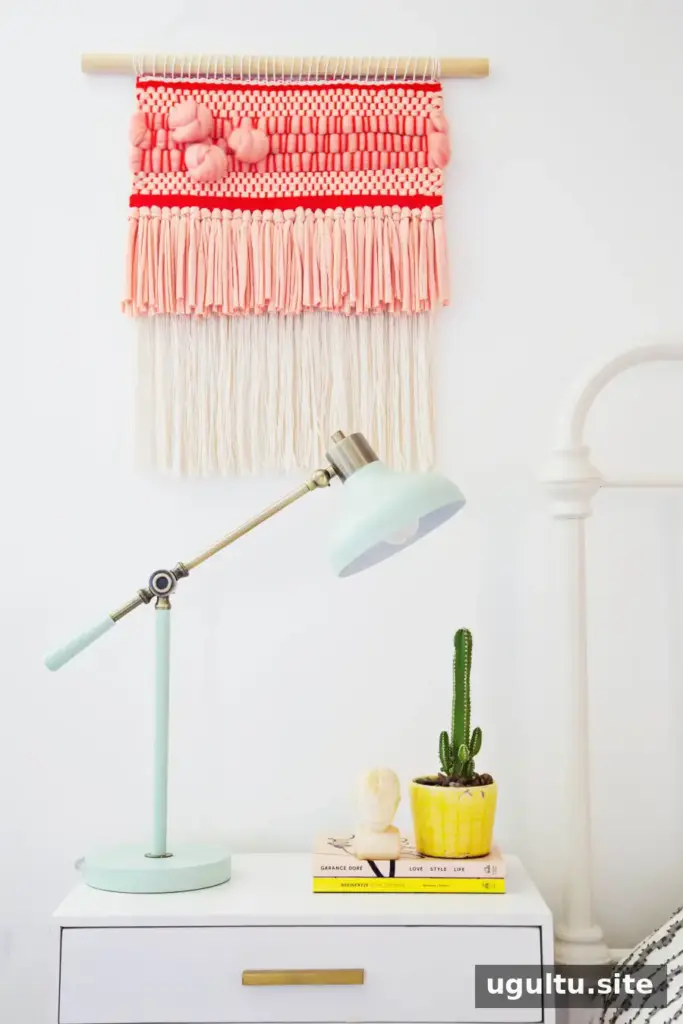
Roving knot weaving adds sculptural texture and color to a handmade wall hanging. This beginner-friendly project combines plain weave, rya knots, and soft merino wool roving to create a dimensional piece of fiber art. The techniques can also be adapted to suit different color combinations and designs.
Materials for roving knot weaving
Choose a palette before you begin, since the contrast between yarn types and colors helps define the finished design. Keep the roving and fabric yarn within reach as you work, and cut additional bundles when needed.
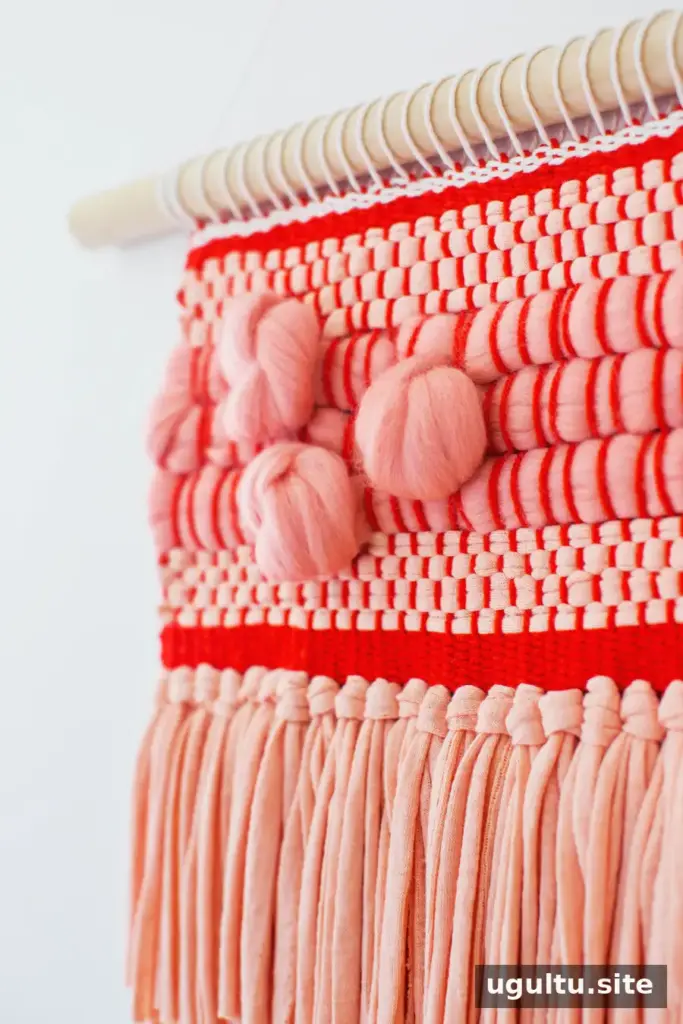
The project uses cotton and wool yarn, peach fabric yarn, and salmon-colored merino top roving. The roving is tied once in each selected weft row to create raised knots, rather than being looped between several warp rows.
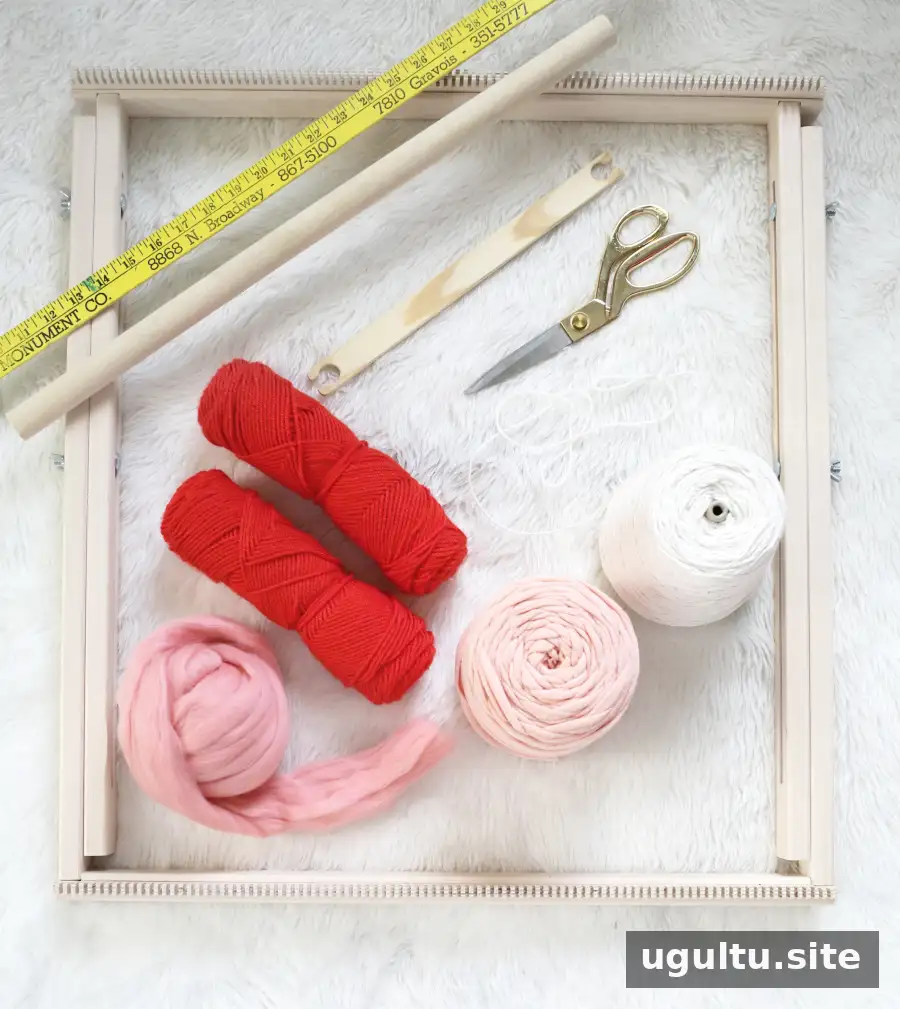
- 18″–24″ wooden frame loom
- Colored cotton yarn for the warp (not shown)
- 2 oz. of salmon merino top roving
- Natural cotton yarn for fringe and weft
- Peach fabric yarn for fringe
- Coral worsted-weight yarn for weft
- 1″ wooden dowel, cut about 4″ wider than the wall hanging
- 12″ stick shuttle
- 10″ × 15″ piece of cardboard
- 3″ tapestry needle
- Yardstick, scissors, and a weaving comb or fork
Prepare the loom and weave the base
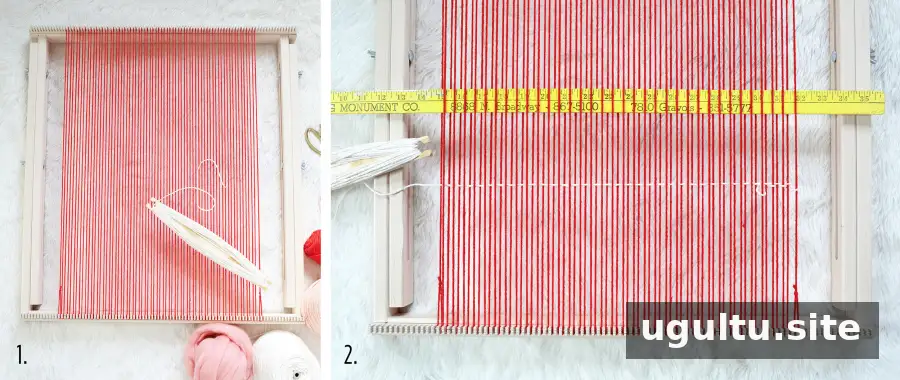
Step 1: Warp the loom to your preferred width. Wrap the stick shuttle with about 8′ of natural cotton yarn.
Step 2: Slide the yardstick through the warp to use it as a shed stick. Turning it perpendicular to the weft opens a space for the shuttle, making it quicker to pass through in one direction. Return the yardstick to a flat position to close the shed.
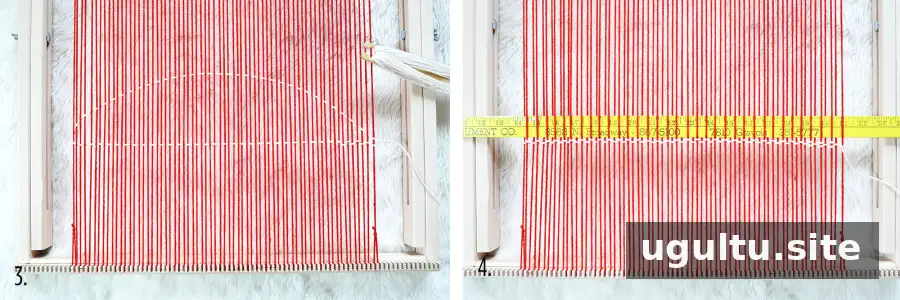
Steps 3–4: Move the yardstick to the top of the warp. Weave back in the opposite direction by passing the shuttle over and under the warp threads. Pull the yarn to the top corner, then down to form an arch. Press the arch at the center and on either side to create a wave, and gently beat the row into place with a comb, fork, fingers, or shed stick.
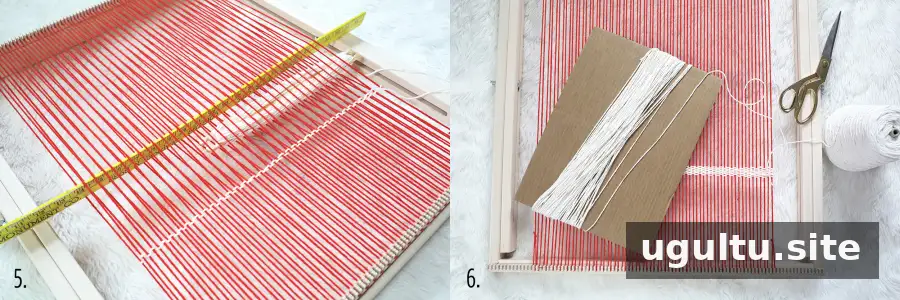
Steps 5–6: Open the shed again and repeat the arched, wavy row. Continue until you have 8–10 weft rows. This plain-weave section supports the rya knots and helps keep the warp evenly spaced. To make the hanging taller, begin this section lower on the loom. Next, wrap yarn around the longer side of the cardboard about 40 times and cut through the wraps to make a manageable bundle of 40 strands.
Add rya knots and fabric texture
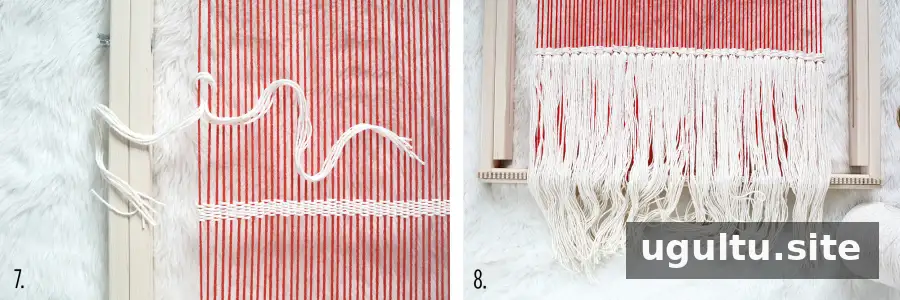
Steps 7–8: Take 6–7 strands and wrap them around the first two warp rows on the left. Pull the bundle down gently and center it on top of the woven rows. Continue adding rya knots across the warp, cutting more strands as needed. Their ends can be trimmed later, so they do not need to be perfectly even at this stage.
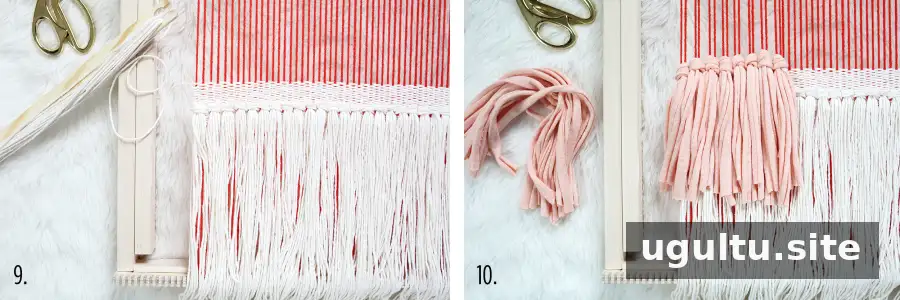
Steps 9–10: Weave another 1.5″ of plain weave to add height between the rya knots and help prevent the warp threads from spreading. Wrap peach fabric yarn around the shorter side of the cardboard about 20 times. Use 2–3 strands for each fabric-yarn rya knot.
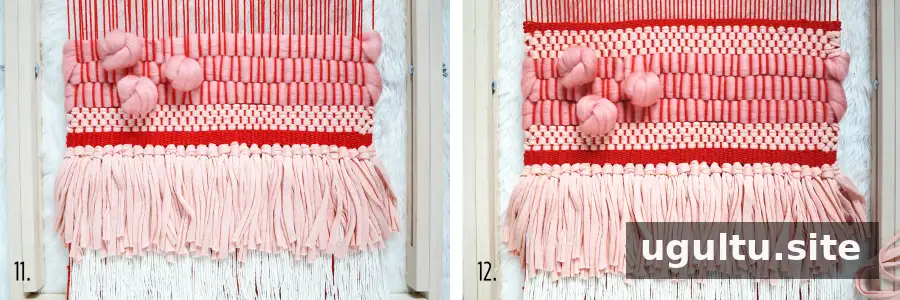
Step 11: Weave 1″ of coral yarn above the fabric rya knots, followed by 2″ or more of peach fabric yarn. Plan the position of the roving knots before weaving the next rows. For a clustered design, weave from the left and bring the roving forward after the twelfth warp row. Tie a gentle knot, skip about six warp rows—roughly the width of the knot—and continue weaving the row.
For the second roving row, bring the roving forward about 3″ before the knot below, tie it, then skip a few warp rows before continuing. In the third row, weave about eight warp rows before making the knot, then skip a few more rows. Wrap the roving around the outer warp row and tuck its tail behind the warp for a neater edge.
Finish and hang the woven wall art
Step 12: After completing the roving rows, add a few more inches of plain weave with fabric yarn and some coral yarn. If you add further roving layers, include thinner plain-weave sections for support. Three rows should not distort the hanging, but substantially more roving in one area can cause the sides to spread.
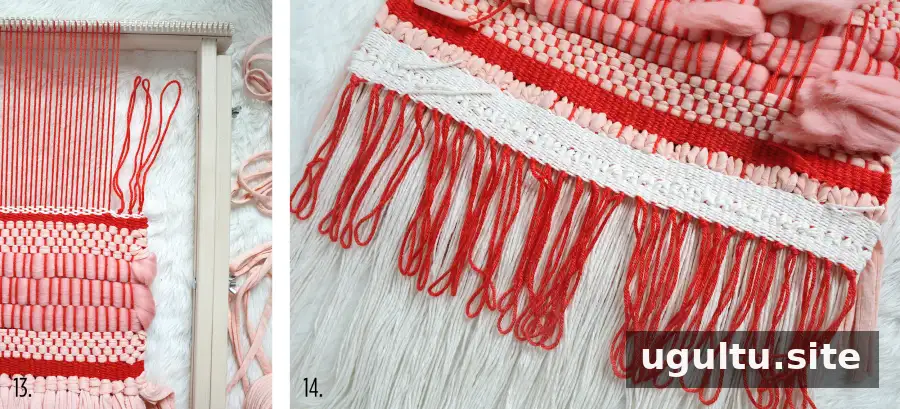
Steps 13–14: Remove the warp threads from the top of the loom one at a time and tie each knot close to the final weft row. Work from both sides toward the center to help keep the edge even. Remove the bottom of the hanging and tie two warp rows together at a time. Tie the final three together, then trim the ends close to the knot so they are less visible through the fringe.
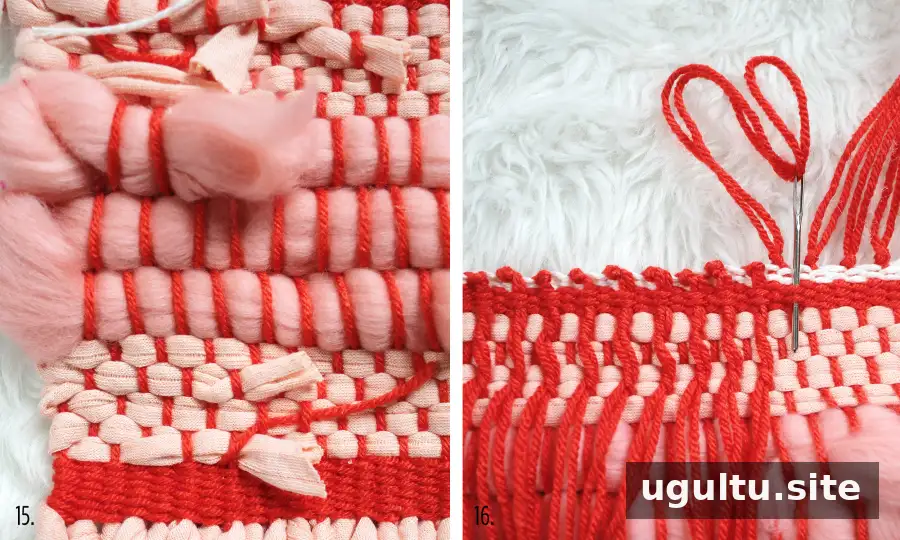
Steps 15–16: Wrap loose roving and fabric-yarn ends around the back and tuck them beneath the warp rows. Thread the tapestry needle with the loose top ends and stitch them down through the weft. Trim the tails carefully, leaving enough length to prevent them from pulling free.
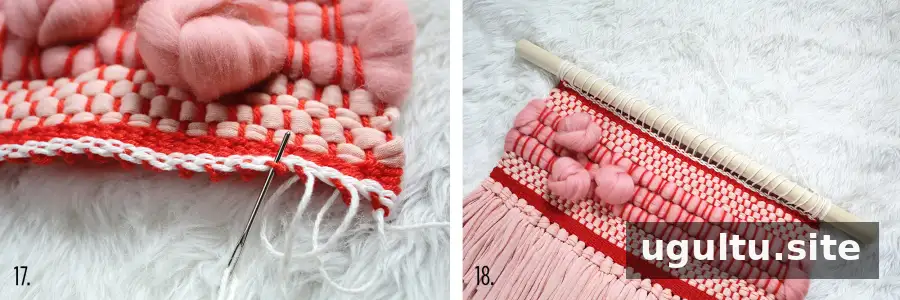
Steps 17–18: Cut a 9′ length of cotton yarn and tie one end between the warp rows on one side, below the knot. Stitch it through the back of the warp and beneath each knot, leaving enough slack between stitches for the dowel. Insert the dowel, even out the yarn, and tie it at the final warp-row knot. Cut another 3′ length of yarn, knot both ends, and loop it around the dowel to create a hanger.
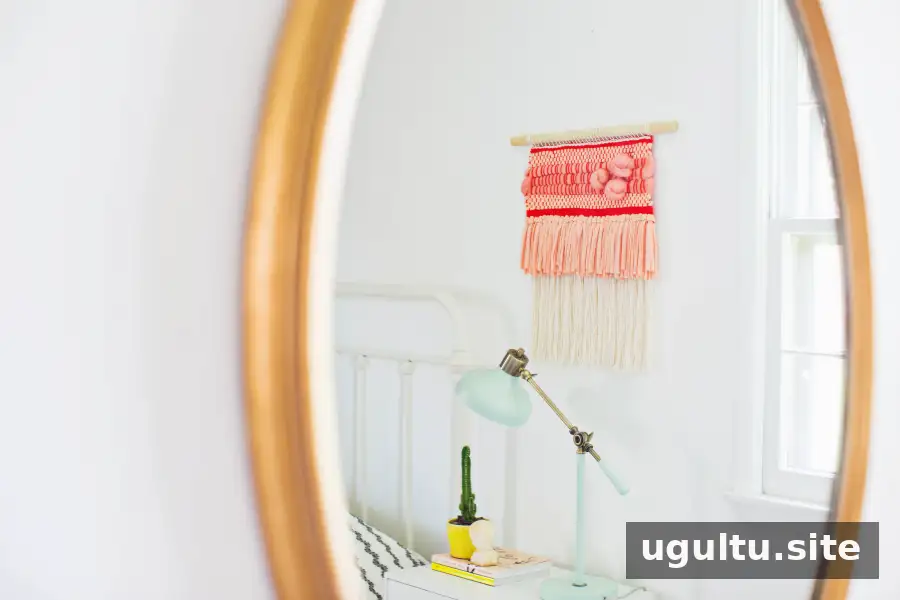
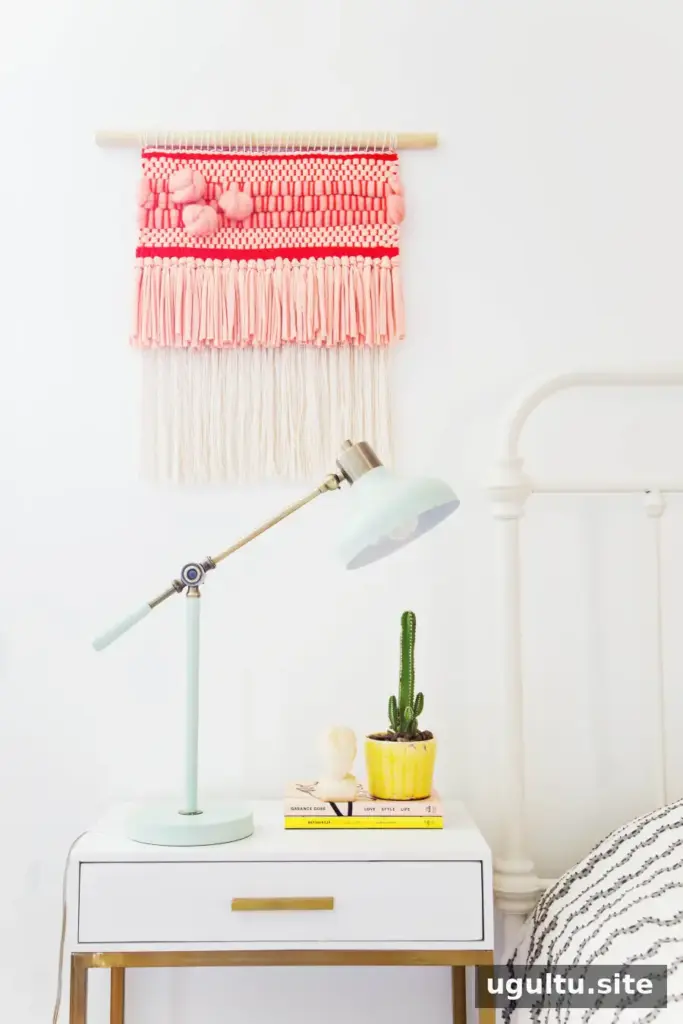
The finished wall hanging is 22″ wide and can bring color and varied texture to a wall. Pastel shades or neutrals can work well in a nursery. For a balanced result, check that the warp remains evenly spaced as you add bulky fibers, and secure loose ends before hanging the piece.
Roving knot weaving is a flexible way to explore texture while practicing basic loom techniques. Adjust the placement of the knots and the yarn colors to create a design that suits your space. — Rachel


