admin
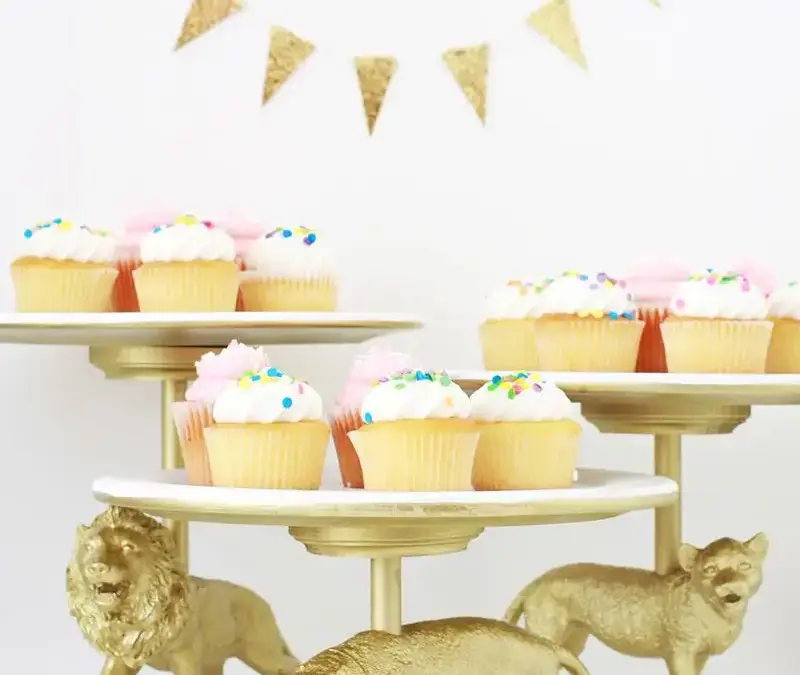
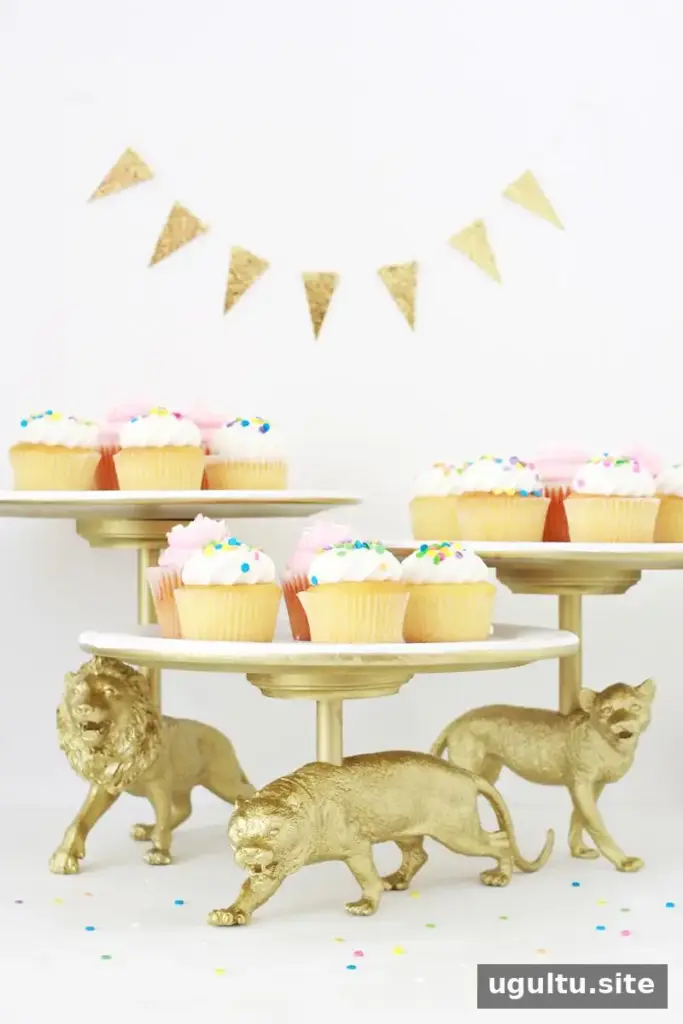
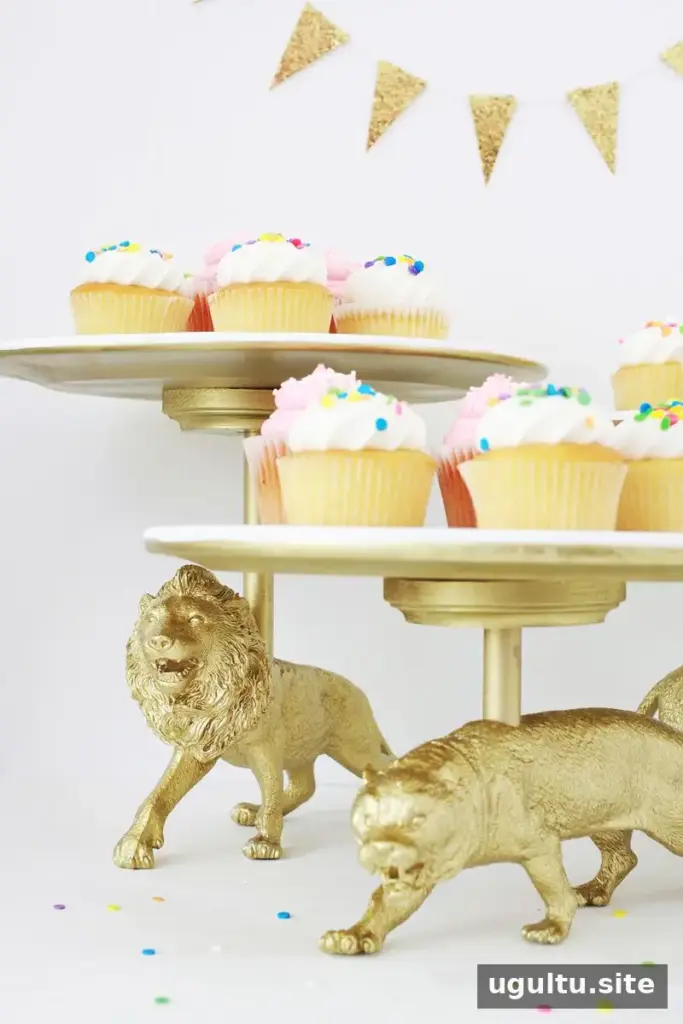
A wild cat cake stand DIY can turn sturdy plastic animal toys and simple wooden pieces into a playful display for a birthday party or other celebration. This project uses a plastic lion, cheetah, or leopard as the base, with a wooden plate supported above it. Before you begin, check that your animal toy is made from hard plastic and that you have a drill bit suitable for the dowel rod.
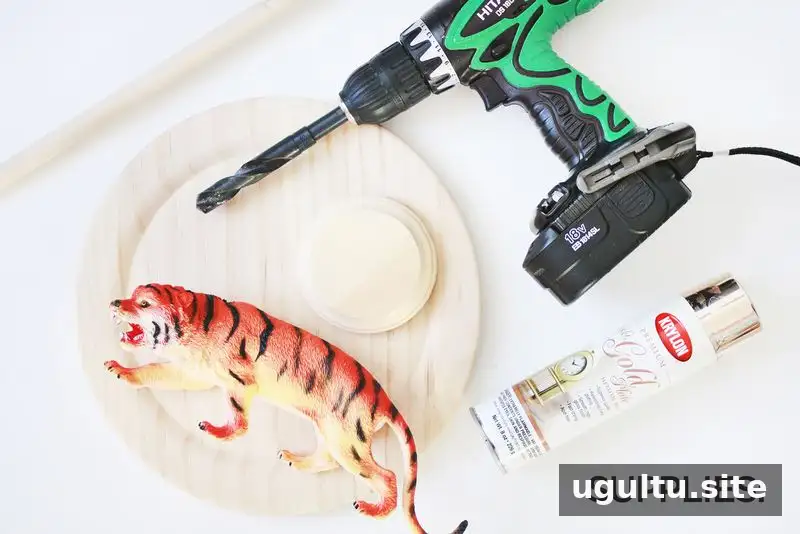
Supplies for a Wild Cat Cake Stand DIY
Gather the materials and tools before assembling the stand. The dowel rod should be at least 1/2 inch thick. The example project used a 5/8-inch rod and a 4-inch trophy mount as the smaller wooden circle.
- Hard plastic animal toy
- Wooden dowel rod, at least 1/2 inch thick
- Wooden plate
- Small wooden circle, such as a 4-inch trophy mount
- Drill and suitable drill bits
- Hand saw
- Gold spray paint and white spray paint
- Wood glue
- Quick-dry cement
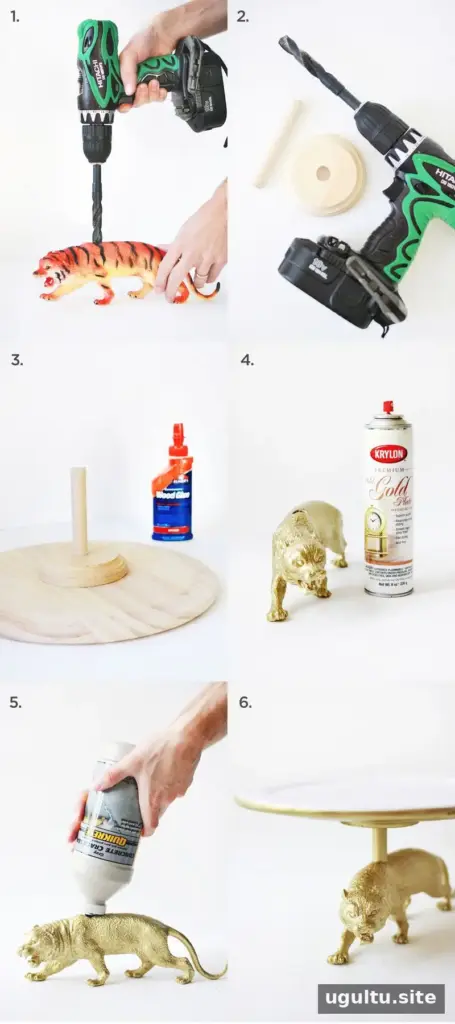
How to Make the Stand
- Prepare the animal base. Drill a hole into the top of the plastic animal, sizing it to fit the dowel rod. If your drill cannot take a bit large enough for a 5/8-inch rod, try a 1/2-inch rod or use suitable spade bits. Starting with a smaller bit and gradually enlarging the hole can make drilling easier. Work carefully and keep the toy steady.
- Measure and cut the dowel. Drill a matching hole in the center of the smaller wooden circle. Insert the dowel into the back of the animal and mark the height where you want the wooden plate to sit. Remove the dowel and cut it to length with a hand saw.
- Attach the wooden pieces. Apply wood glue inside the hole in the smaller circle and insert the dowel. Glue the circle to the center of the underside of the wooden plate. Let the glue dry fully before continuing so the pieces stay in place during assembly.
- Paint the components. Spray-paint the animal and the wooden top in your chosen colors. The example uses gold for the animal and white for the plate, but you can choose another combination. Follow the paint label for application and drying guidance.
- Add the cement. Prepare the quick-dry cement according to its instructions and fill the animal almost to the top. A ready-mixed cement crack filler may be a convenient alternative if it is suitable for this use.
- Set the top in place. Insert the wooden top assembly into the opening in the animal. Check that the plate is centered and straight, then leave the cement undisturbed until it has dried as directed.
Food Safety and Display Tips
The wooden plate’s surface is not food-safe, so do not place food directly on it. Cupcakes in paper liners can be displayed, or place parchment paper beneath other treats. Keep the stand level, and avoid loading it beyond what the finished structure can safely support. Make sure the paint, glue, and cement have fully dried according to their product instructions before using the stand.

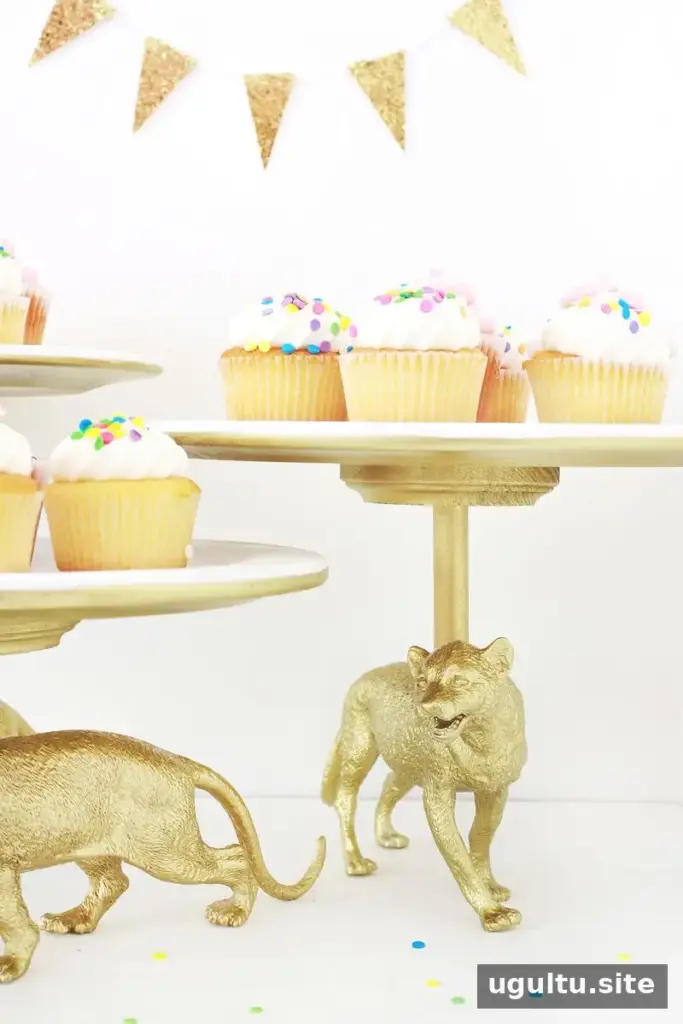
Once assembled, the feline-shaped base supports a small display of party treats and can be adapted with different animal toys or paint colors. For the safest presentation, use a food barrier and keep the stand on a stable surface. This wild cat cake stand DIY offers a decorative way to bring an animal theme to a celebration. — Laura