
 admin
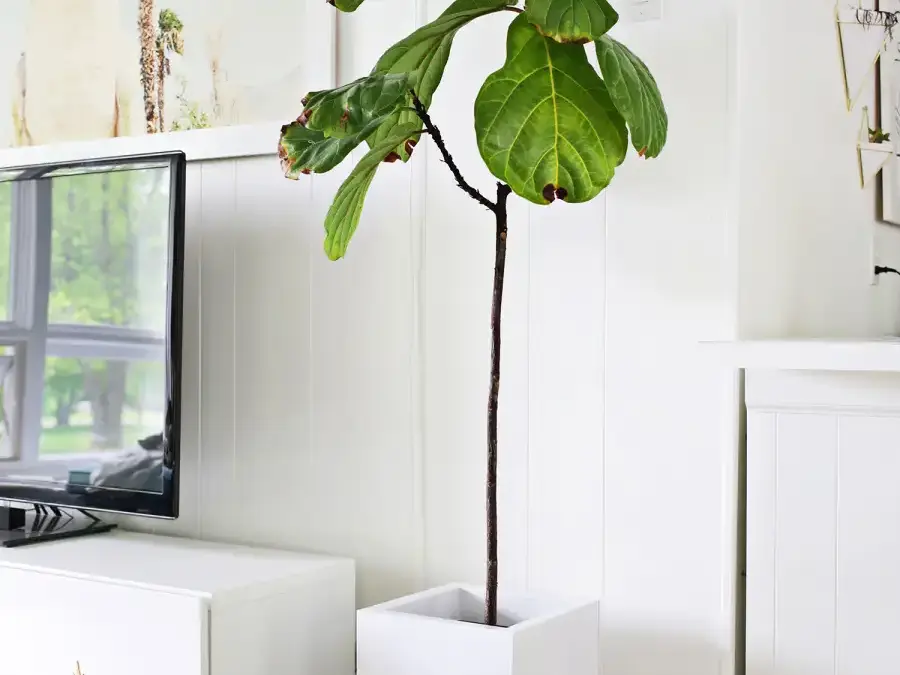
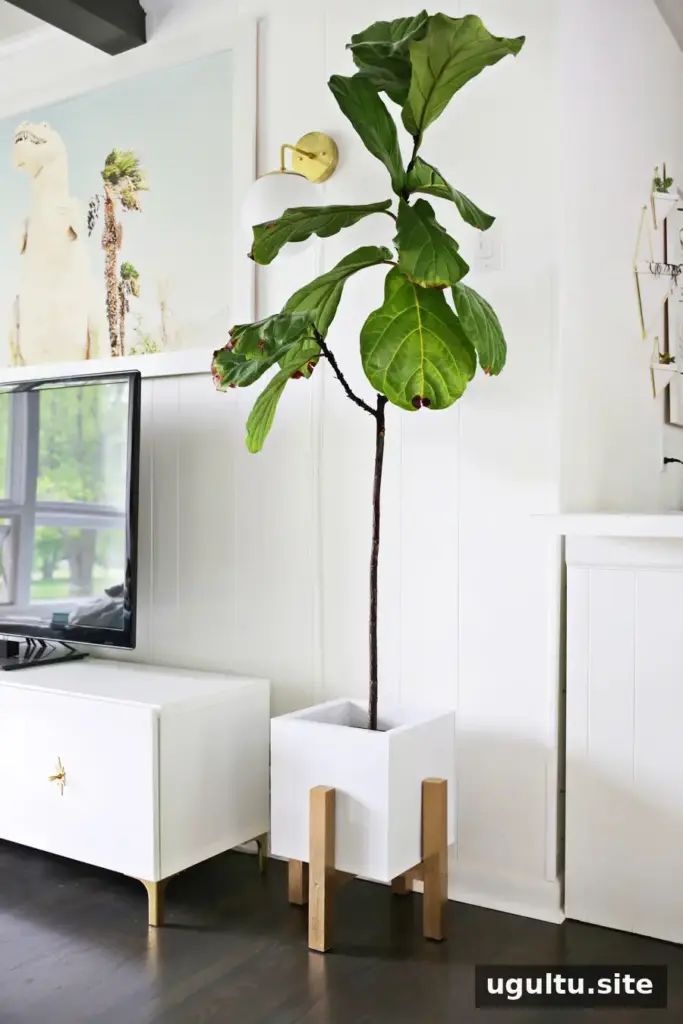
A DIY wooden plant stand is a simple way to lift a small or medium planter off the floor and give it a mid-century-inspired look. This design uses a cross-shaped wooden base and four legs, making an everyday square planter feel more like a feature in the room. Choose a lightweight pot where possible, and measure it before cutting so the finished stand fits securely.
Materials and tools for a DIY wooden plant stand
Gather the following supplies before you begin. Check that the boards are straight and that your tools are suitable for the cuts you need to make.
- 1.5-inch x 1.5-inch boards
- Jigsaw
- Wood glue
- Wood screws
- Paint
- Ruler and pen
- Drill
Measure the planter and plan the stand
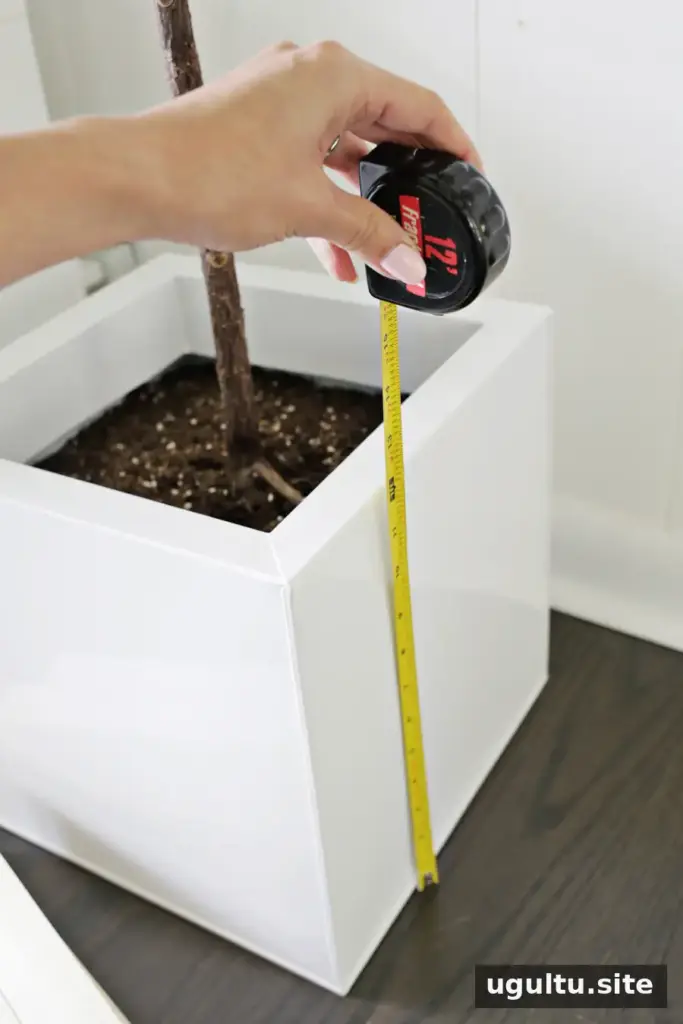
Start by choosing the planter that will sit in the stand. A large, thick porcelain pot can be heavy, especially once filled with soil and a plant, so a lighter planter helps keep the overall load manageable. Measure its width and height to determine the opening size and how far the stand’s legs should extend up the sides.
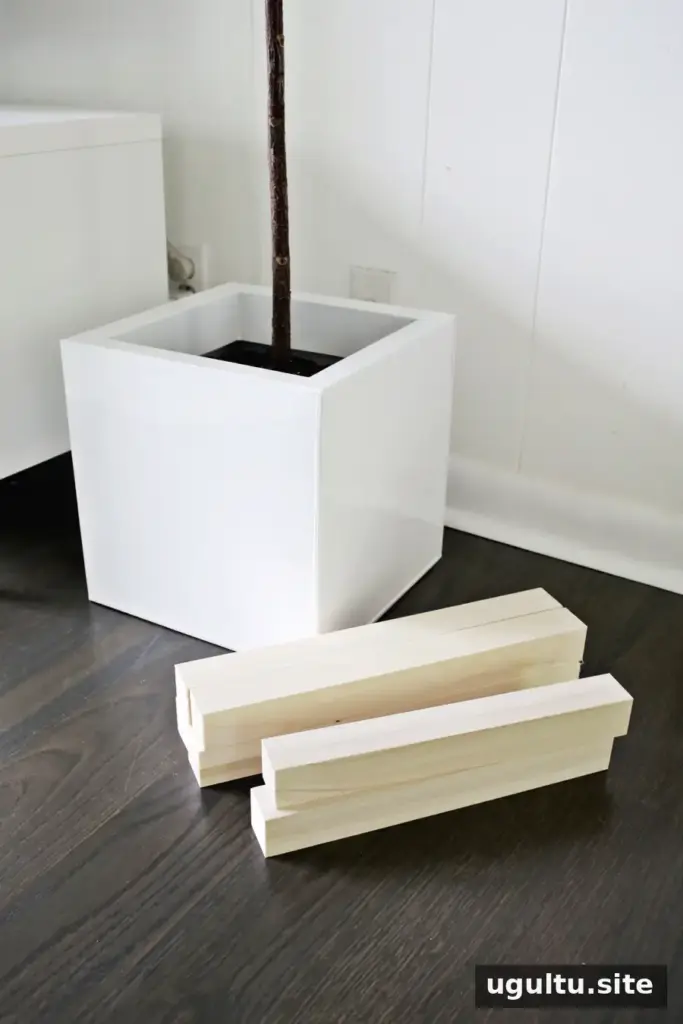
Use a jigsaw to cut two boards for the cross-shaped base. Each should be long enough to support the planter; the example pieces are 12.5 inches long. Cut four matching pieces for the side legs. Their length should account for both the distance you want the planter lifted off the floor and the height you want the legs to reach along its sides. The example legs are 13 inches long in total.
Cut and assemble the cross-shaped base
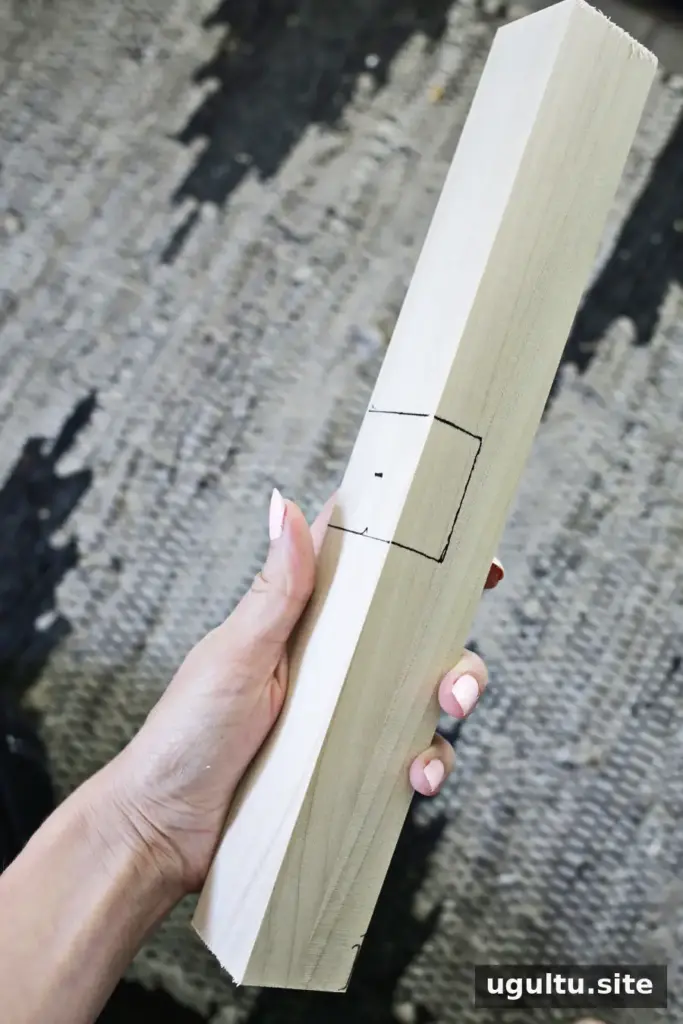
Mark the center of each base board. To create a half-lap joint, mark a notch as wide as the board and halfway deep. For a 1.5-inch-wide board, mark 0.75 inch on each side of the center and extend the lines 0.75 inch down the sides. Matching notches allow the boards to fit together flush.
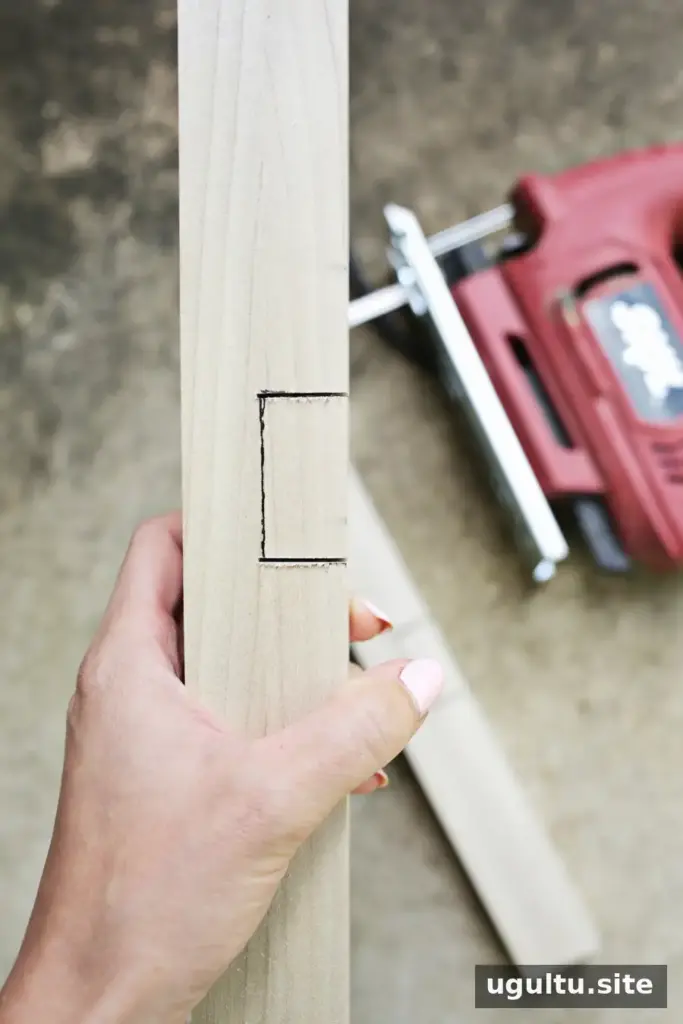
Use the jigsaw to cut along the two side lines of each notch.
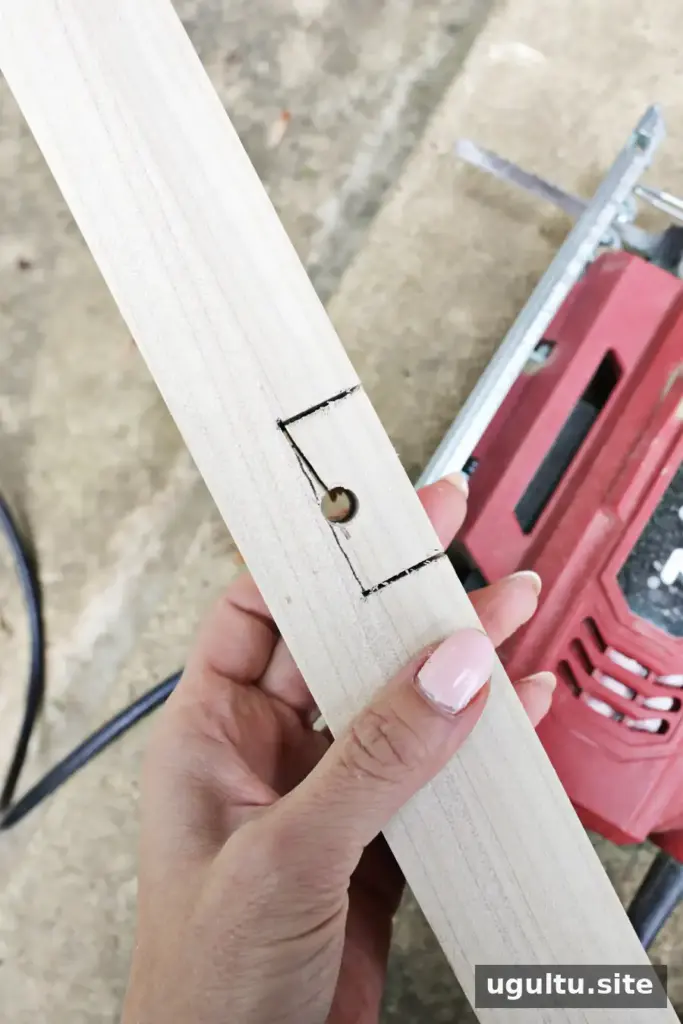
To reach the bottom of the notch, drill a hole beside the line that is wide enough for the jigsaw blade. Insert the blade into the hole and cut toward the corner, then turn and cut across the bottom line. Work carefully and keep the board secure while cutting.
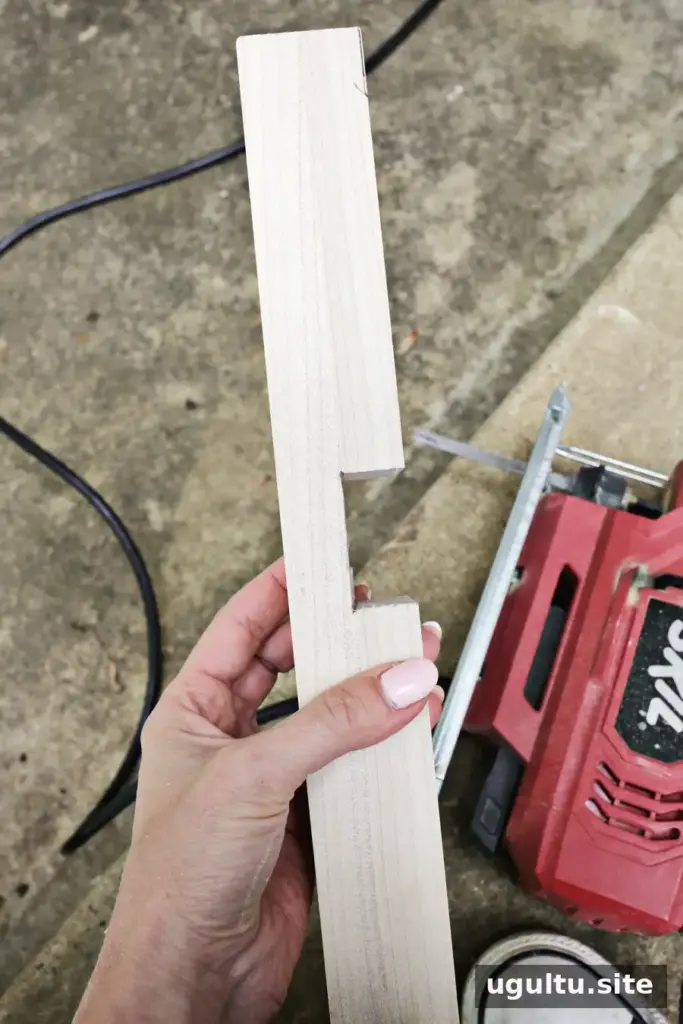
Repeat the cuts on the second board, then test-fit the two notches. Make small adjustments if needed so the pieces meet evenly.
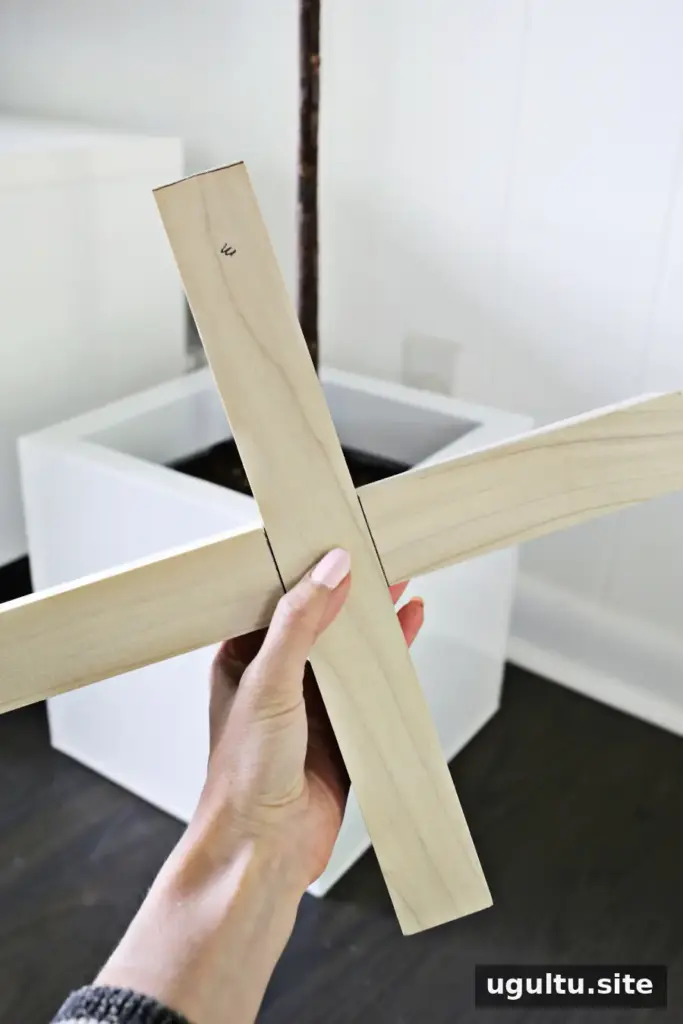
Apply wood glue between the notches and fit the boards together to form an X. Add a wood screw through the center to secure the joint.
Attach the legs and finish the stand
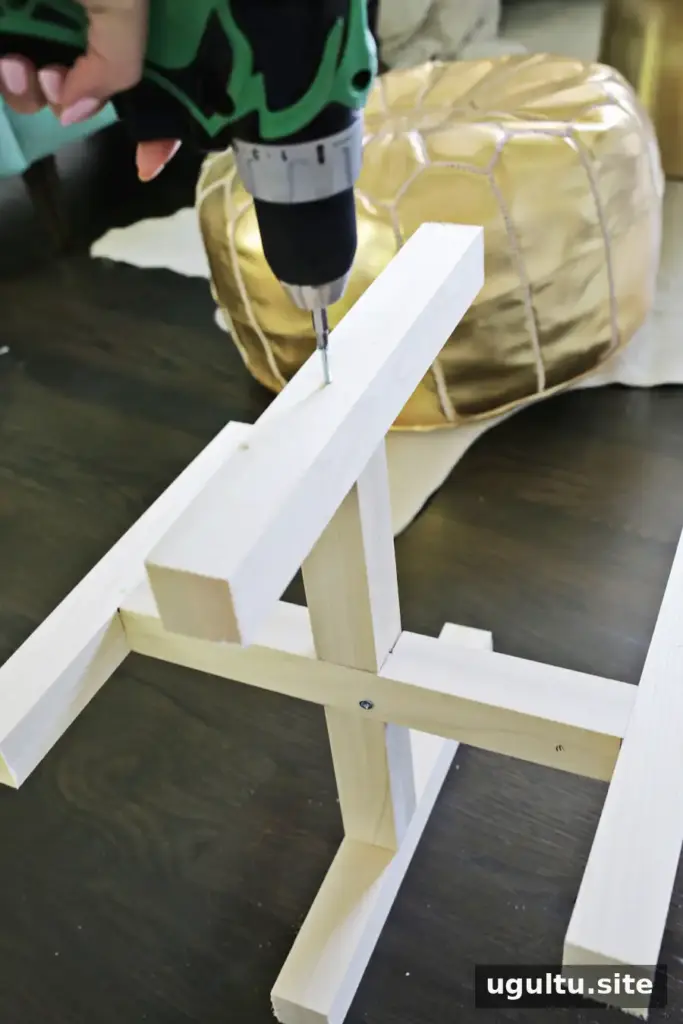
Choose how far up the legs the cross-shaped base should sit. In this example, the base is attached about 5 inches from the bottom of the legs. Apply wood glue where the pieces meet, then secure the base to the outer legs with wood screws driven from the outside.

Lightly sand rough edges before painting. For a metallic finish such as gold, a white primer coat can help create a more even-looking result. Let the paint dry fully before placing the planter on the stand.
Before use, check that all joints feel secure and that the stand rests evenly on the floor. Keep the planter’s weight within what the materials and construction can safely support.
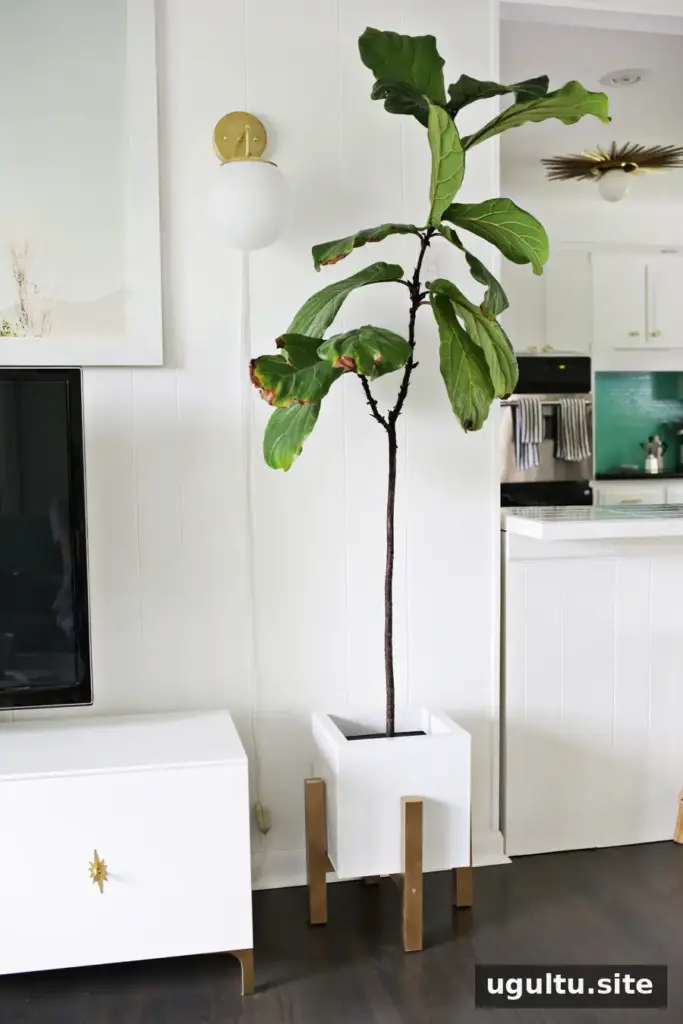
Style and use your finished plant stand
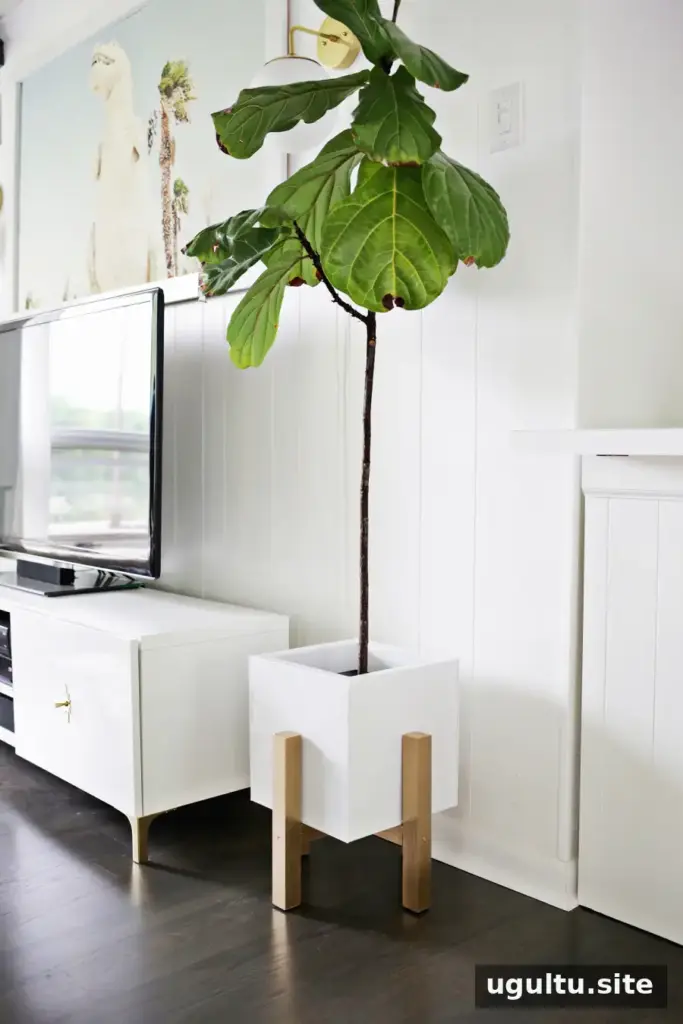
Raising a planter a few inches can make it more noticeable and add visual height to a plant. A painted finish can also coordinate with nearby metallic or brass accents. The same general idea can be adapted for outdoor planters by using outdoor-treated wood and exterior paint or stain; protect the finished stand from conditions the materials are not designed to withstand.
This DIY wooden plant stand is easy to tailor by adjusting the board lengths to suit the planter. Use the example measurements as a starting point, measure your own pot carefully, and confirm the stand is stable before adding the plant.
— Laura


