
 admin
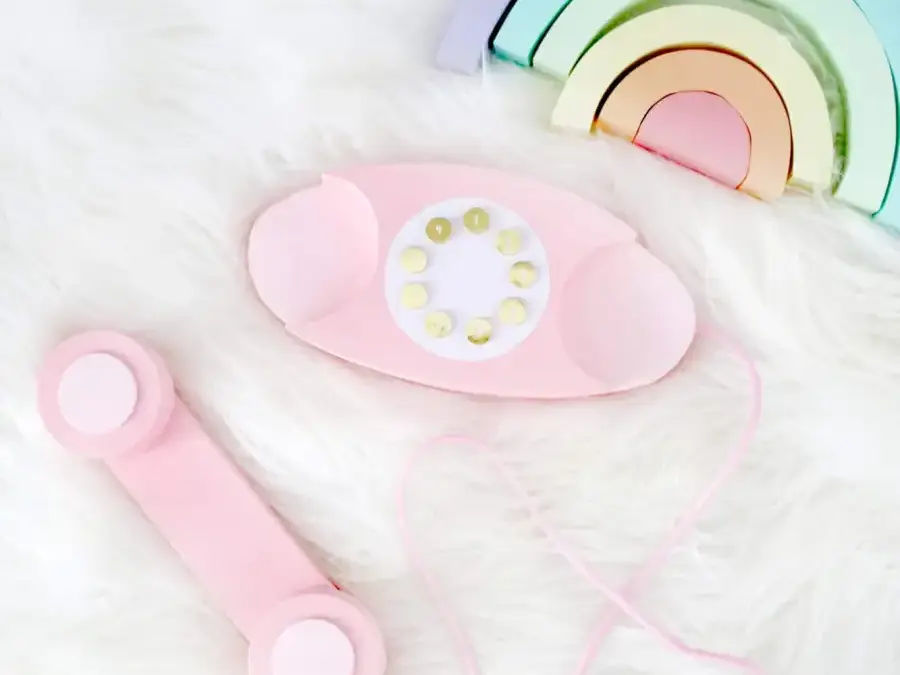
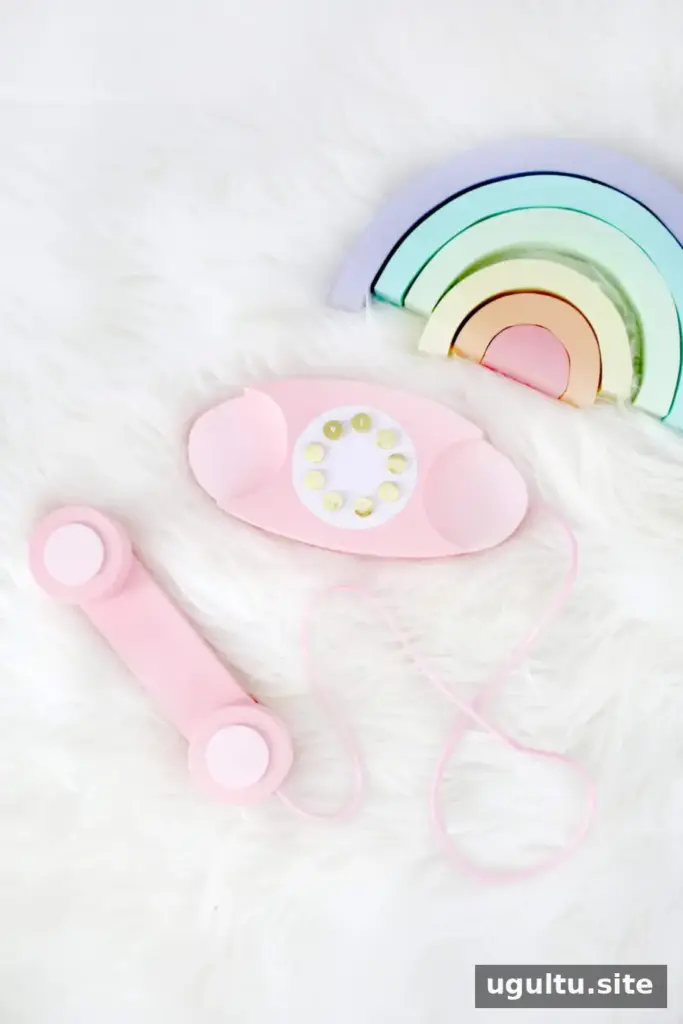
Toddlers often enjoy pretending to talk on the phone, whether they pick up a toy or reach for a real device. A wooden play phone DIY project offers a sturdy, screen-free prop for imaginative play. This design takes inspiration from a vintage princess phone and is intended for an older toddler who no longer puts objects in their mouth. Adult supervision is important, particularly if you choose to attach a cord.
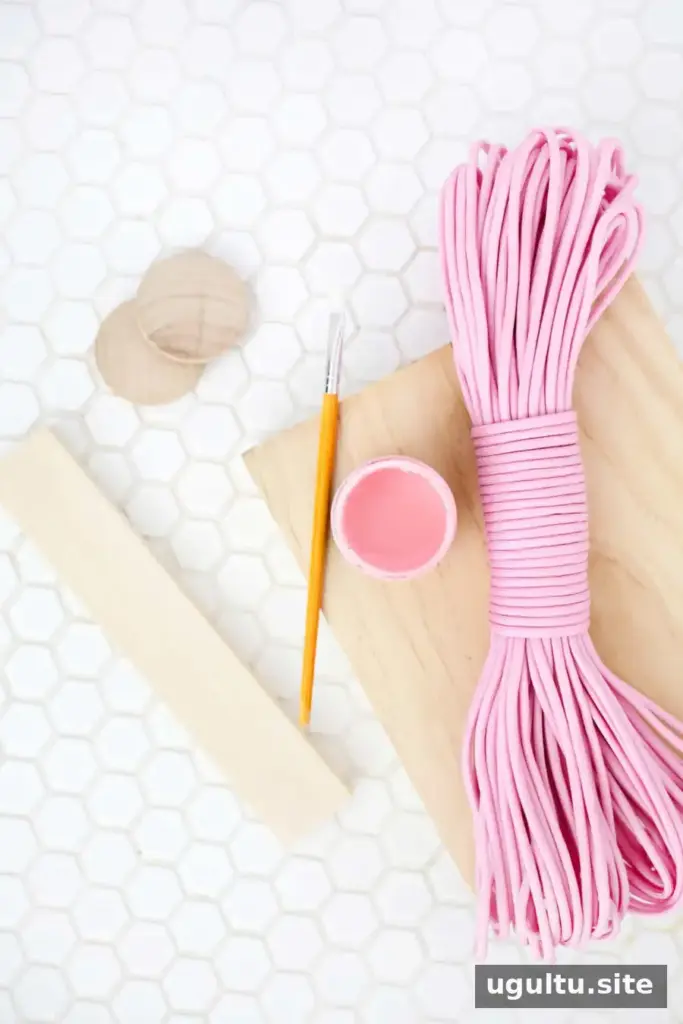
Materials for a wooden play phone DIY
Gather the materials and tools before cutting. Choose non-toxic paint intended for children’s toys, and check that all wooden pieces are smooth and securely attached before the phone is used.
- 4 mm nylon cord (see the safety guidance below)
- 3/4-inch-thick wood board large enough for the phone templates
- 1/2-inch x 1 1/2-inch board, at least 8 inches long, for the handset
- Non-toxic paint, sandpaper, and wood glue
- Jigsaw and suitable jigsaw blade
- Drill with a bit matching the nylon cord’s diameter
- Three 2-inch wooden circles for each earpiece
- White vinyl for the dial area, or paint as an alternative
- Assorted small wooden circles for the buttons and earpieces
- Gold date stickers, wood filler, and the phone template
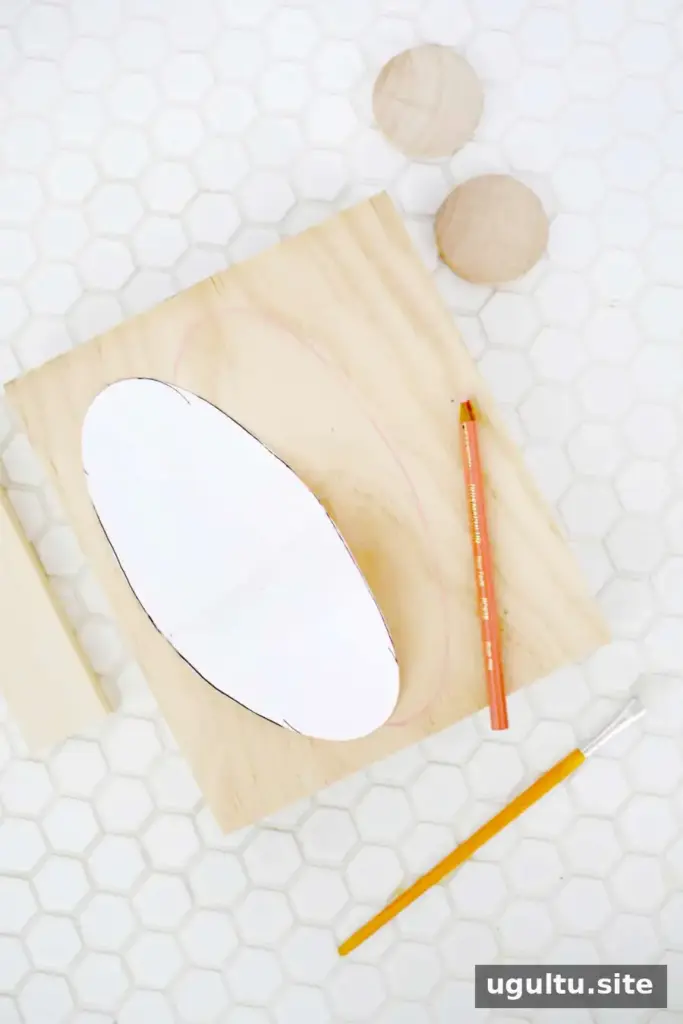
Cut and assemble the wooden phone
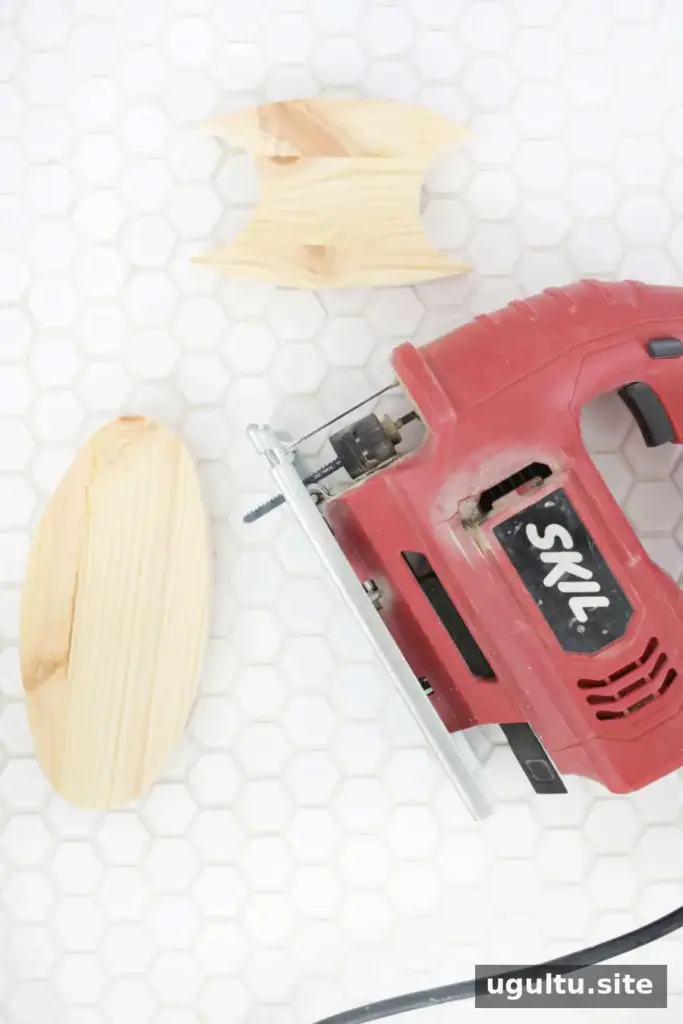
Trace both templates onto the 3/4-inch wood. Cut out the phone base pieces with a jigsaw, using a fine-cut or scroll-saw blade for cleaner edges. Wear appropriate eye protection and follow the tool manufacturer’s instructions. If you are new to using a jigsaw, ask an experienced adult for help.
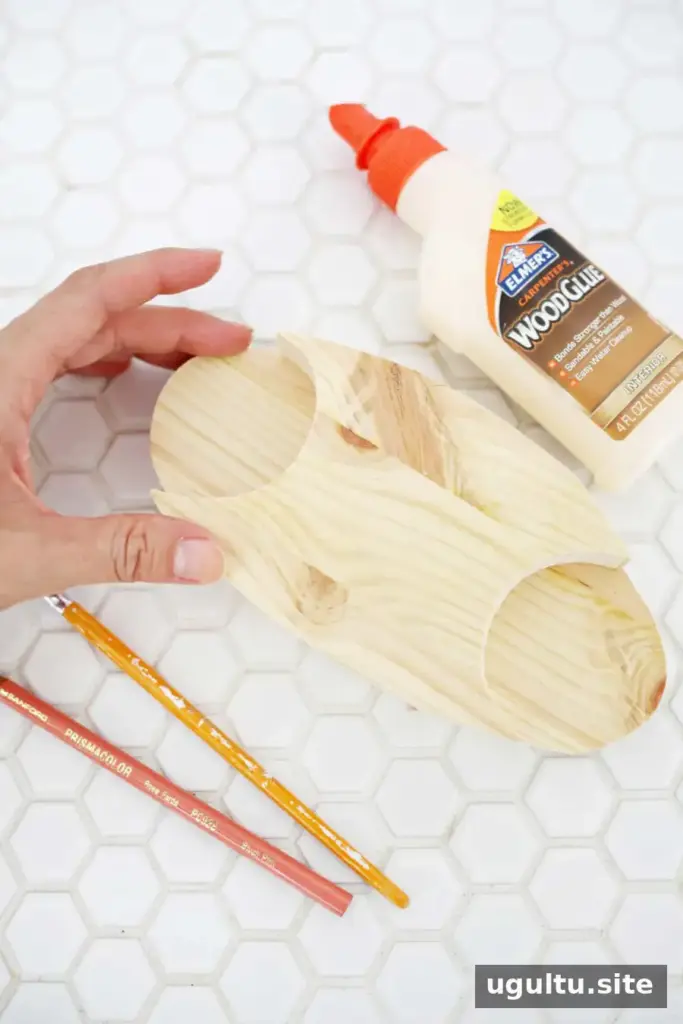
Join the two base pieces with wood glue and allow the glue to set. Use medium-grit sandpaper to soften sharp edges and smooth the seam so the base feels more unified. Sand carefully; a smooth finish helps make the toy more comfortable to handle.
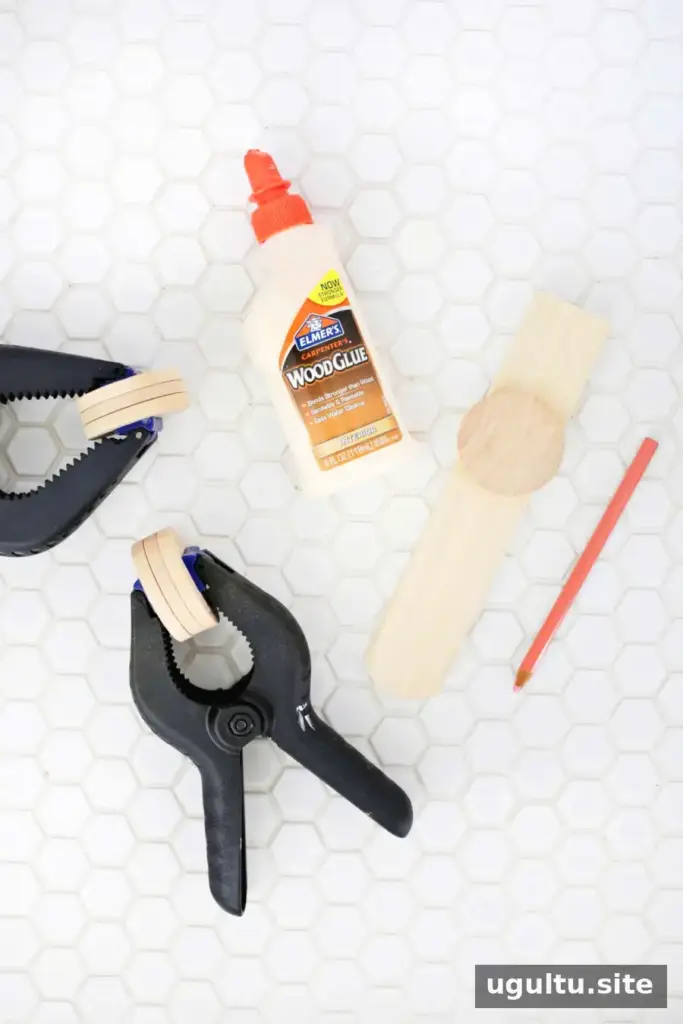
Make each earpiece by gluing three wooden circles together, for six circles in total. Set them in the receiver openings to work out the handset length. Measure from the outside edge of one earpiece to the other, mark the 1/2-inch x 1 1/2-inch handle board, and trace a curved edge at each end using an extra circle as a guide. Cut the curves with the jigsaw.
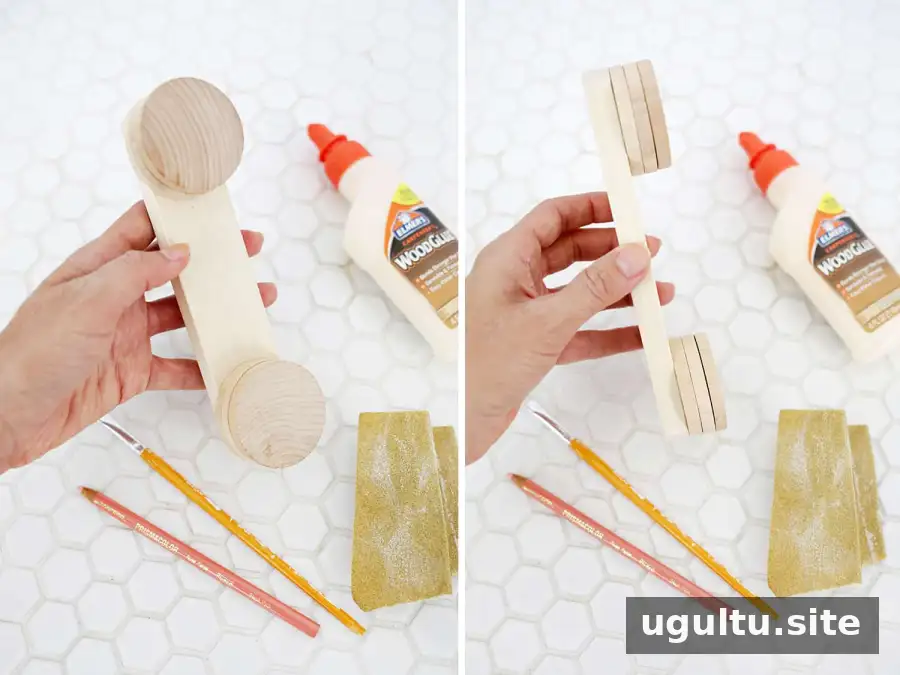
Glue the earpieces to the handle and let the adhesive dry. Sand the handset, base, and any rough spots. If there are small gaps, apply wood filler, wait until it is fully dry, then sand away excess.
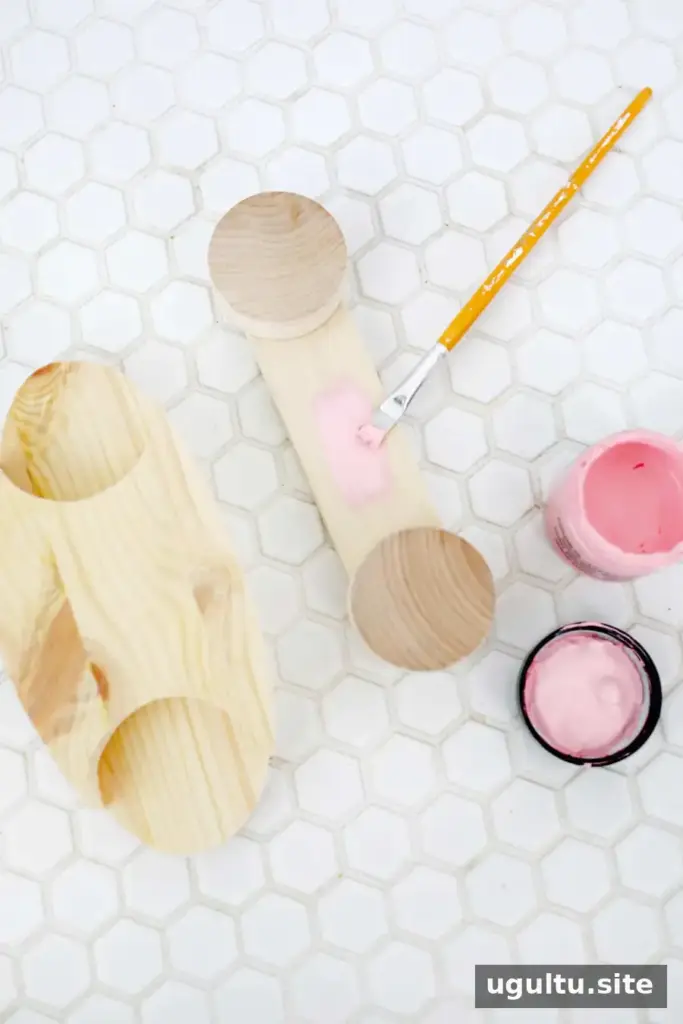
Paint and add the dial buttons
Apply a few coats of paint and let the phone dry completely between handling and play. For extra contrast, smaller circles on the earpieces and the recessed receiver openings can be painted a lighter shade.
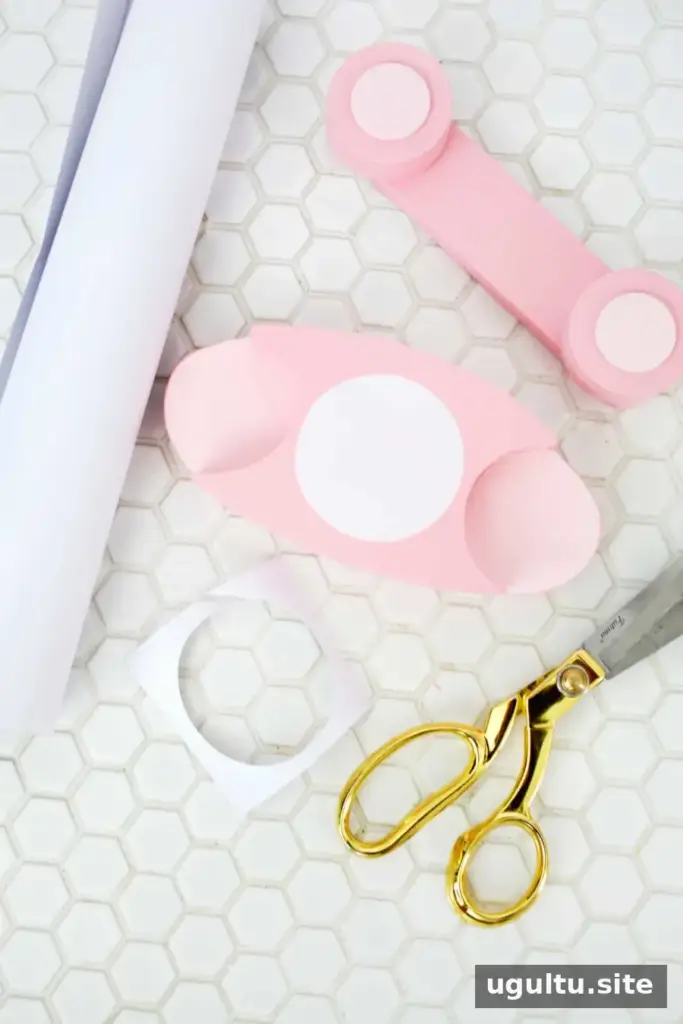
Cut a white vinyl circle slightly smaller than 2 1/2 inches wide and place it in the center of the phone base. Painting a circle directly onto the wood is another option if you prefer not to use vinyl.
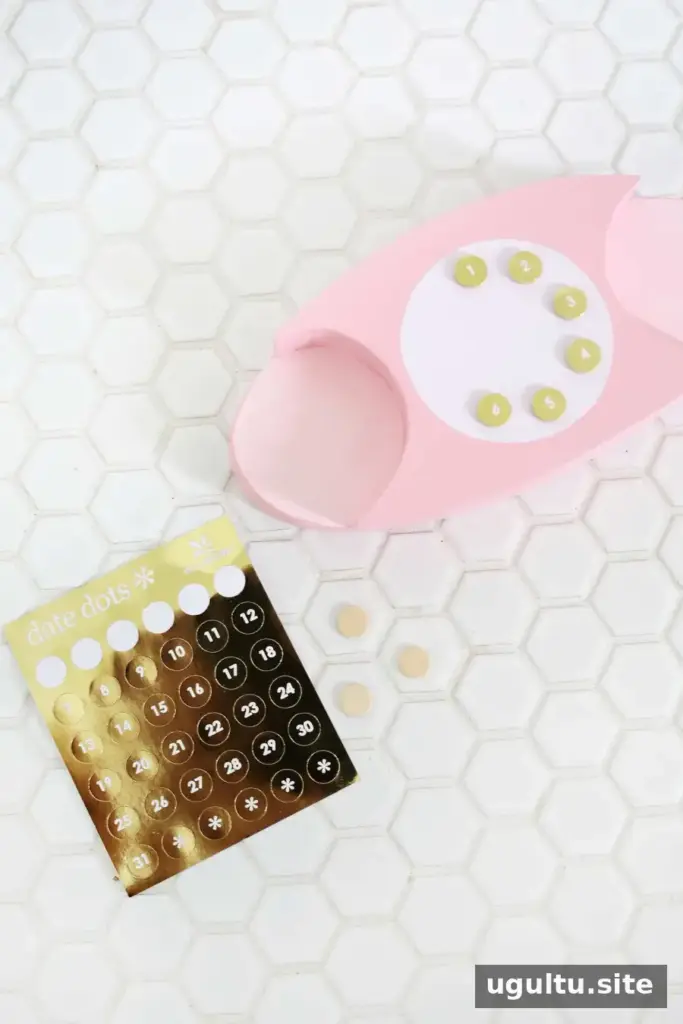
Use small wooden circles—about 7/16 inch wide—to make the buttons. Add gold date stickers, then attach the buttons securely around the dial area with adhesive. A layout using numbers 1–9 fits the design; adding a 0 or * is optional if space allows.
Attach the cord safely
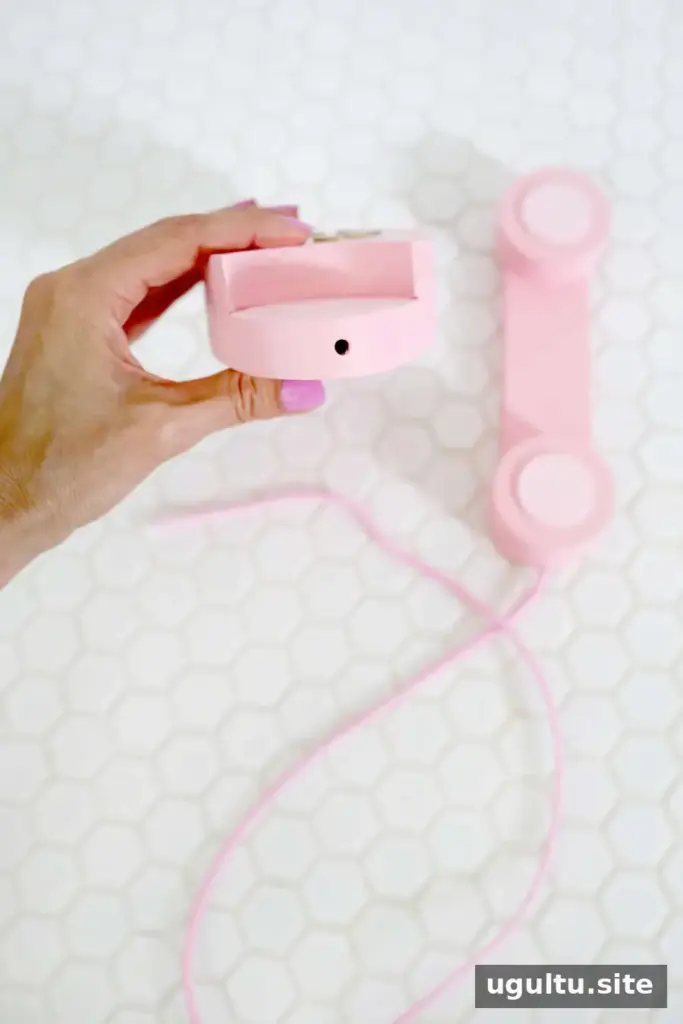
Drill a 1/2-inch-deep hole in one side of the base and one end of the handset, using a bit that matches the 4 mm nylon cord. The original design uses a cord about 27 inches long, secured in both holes with super glue. Make sure the glue is fully cured and the cord ends are firmly fixed before the toy is offered to a child.
Safety note: A long cord can pose a strangulation hazard. The 27-inch cord should only be used with close adult supervision. If the child may play alone, shorten the cord substantially or make the phone cordless. Do not give a corded version to a child who may put parts in their mouth. Inspect the cord, glued joints, and wooden pieces regularly; stop using the toy if anything loosens or becomes damaged.
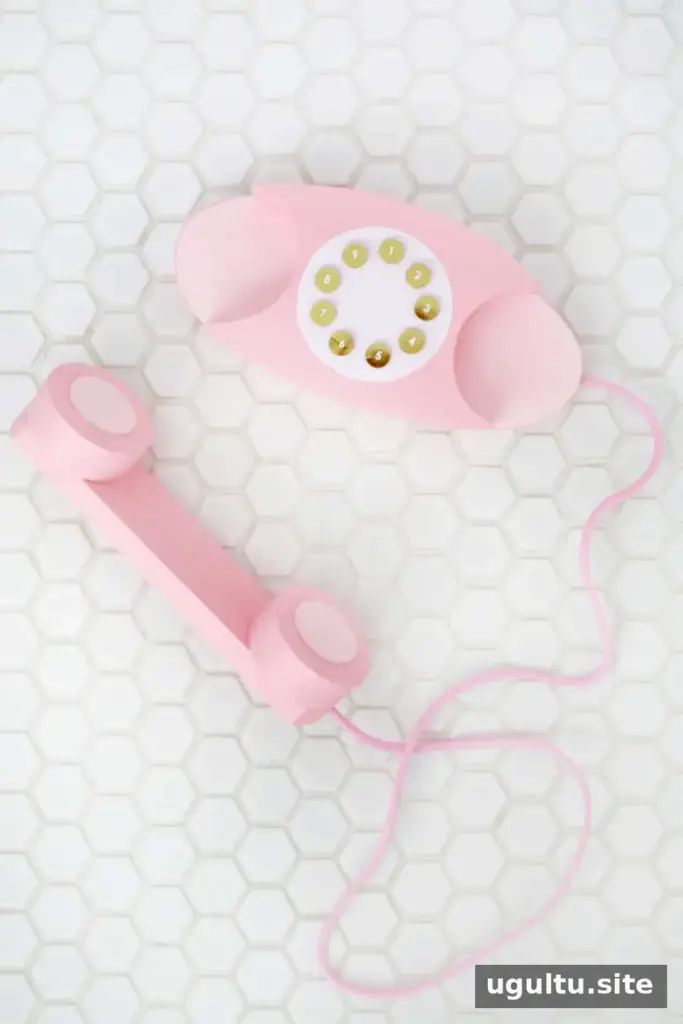
Once the cord is secure—or the cordless version is complete—the phone is ready for pretend calls. Rubber feet on the underside can help keep the base from sliding on a table while a child lifts the handset or presses the buttons.
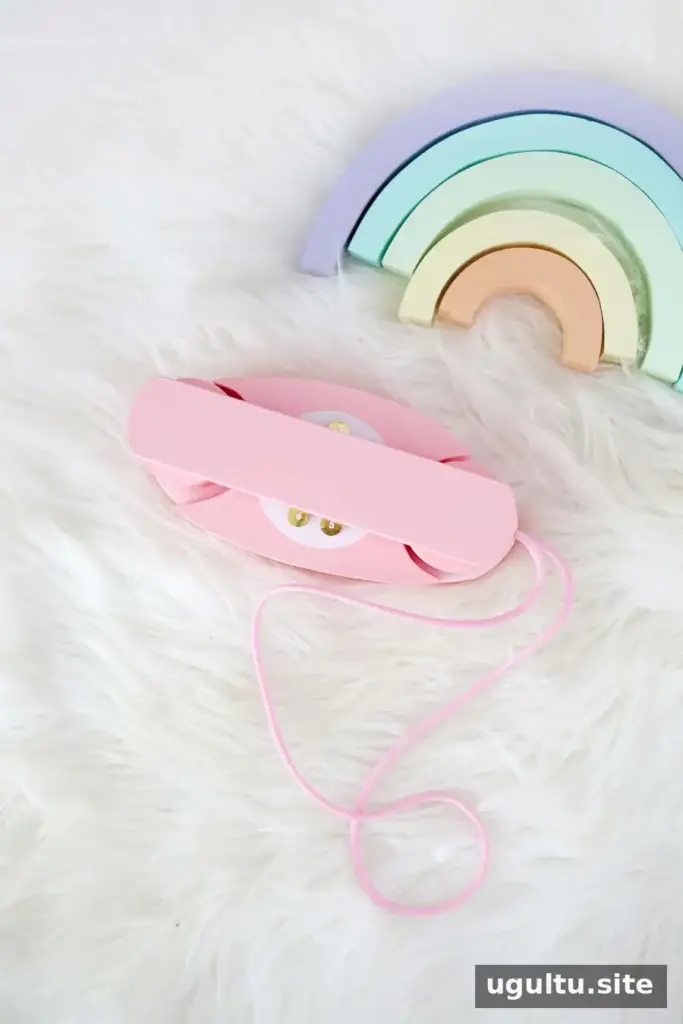
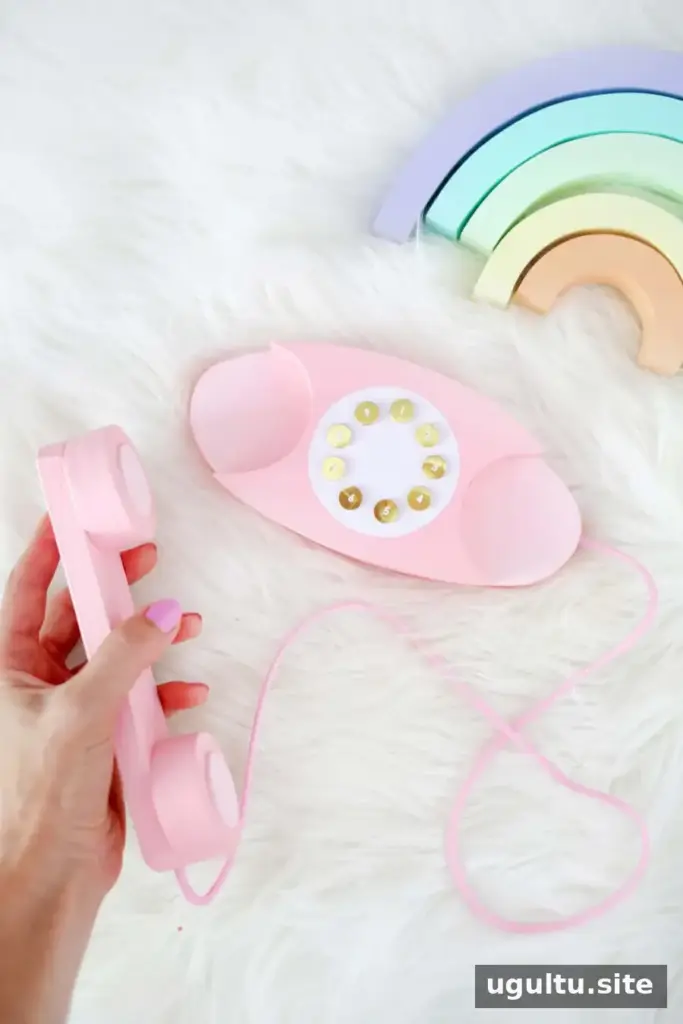
Finishing ideas
Choose any paint color you like, or use a suitable wood stain for a natural finish. Whichever finish you choose, follow its label directions and allow it to dry fully before play. This wooden play phone DIY can be customized with different colors while keeping the vintage-inspired shape and simple pretend-play features. — Laura


