
 admin


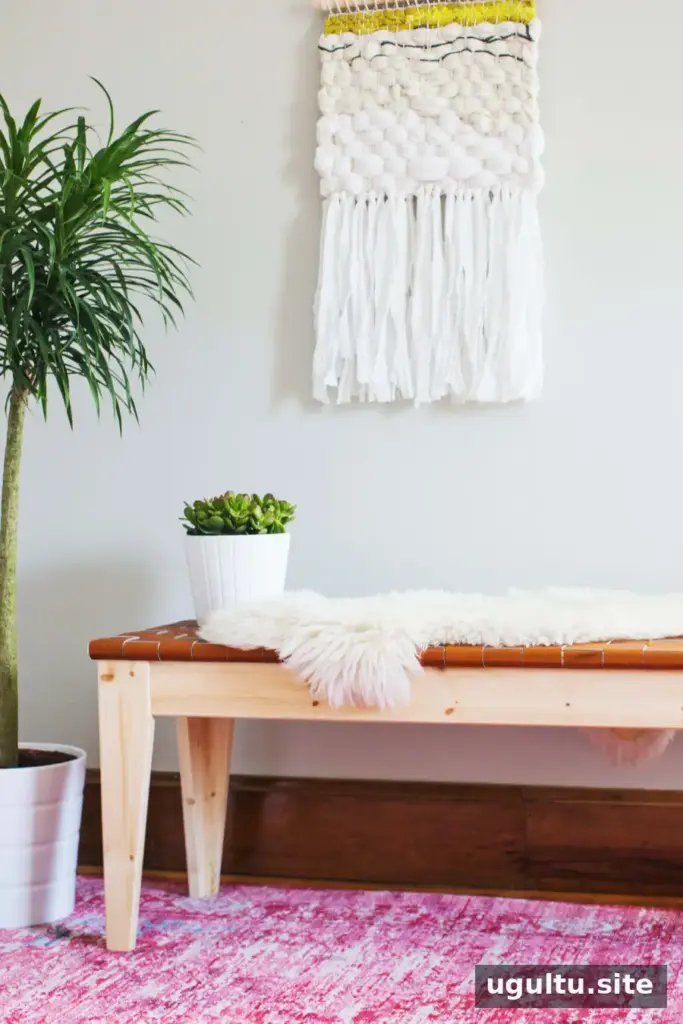
A woven leather bench can add warmth and texture to an entryway, bedroom, or studio. This woven leather bench DIY guide explains how to choose materials, plan the strap measurements, and weave and attach the leather securely. The project can be completed in an afternoon, although careful measuring and cutting are essential for a neat result.
If you are new to weaving, learning the basic over-under pattern before starting can make the assembly stage easier. A simple checkerboard weave is all this project requires.
Supplies
- A solid-wood bench. A smaller bench requires less leather.
- A leather side long enough to provide straps that extend at least 4 inches beyond the bench edges. Allow enough material to cover the seat in both directions. For the bench used as a reference, plan on approximately 22–23 sq. ft. of leather.
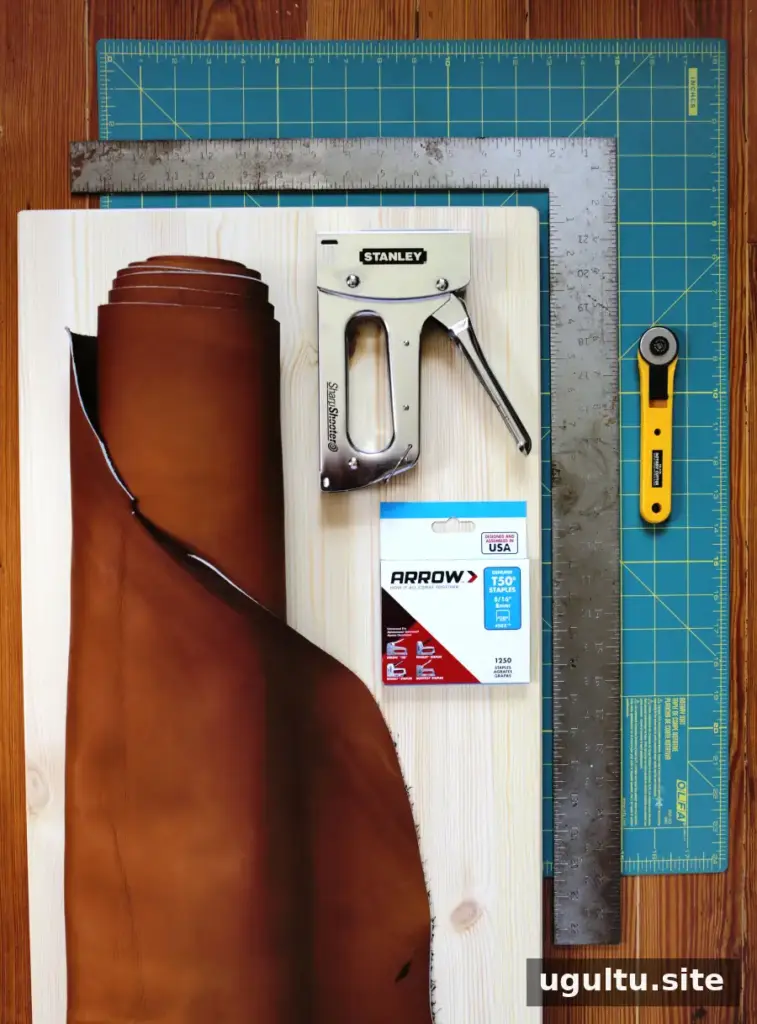
- A staple gun and 5/16-inch (8 mm) staples.
- A rotary cutter, self-healing cutting mat, 24-inch metal ruler, and chalk.
Choosing leather for a woven leather bench DIY
Leather varies in color, thickness, quality, and price. If possible, inspect it in person: subtle differences in tone and finish can be difficult to judge from a screen. Natural shades, dyed colors, prints, metallic finishes, and patent leather are all available. Avoid oiled leather, which may transfer onto clothing.
Thickness, condition, and cost
Choose cowhide between 4 and 6 oz. It should be thin enough to weave without excessive bulk, but sturdy enough to resist stretching or tearing around the staples. Unroll the entire hide before purchasing and check for holes, creases, or uneven dye. Since much of the material will be used, a defect in the wrong place can affect the finished seat.
A leather side for a project of this size may cost $100–$200, depending on the seller and selection. If cost is a concern, consider a smaller bench, compatible scrap pieces from the same color lot, or vegan leather. Measure your bench and calculate the strap sizes before buying so you can confirm that the material will be sufficient.
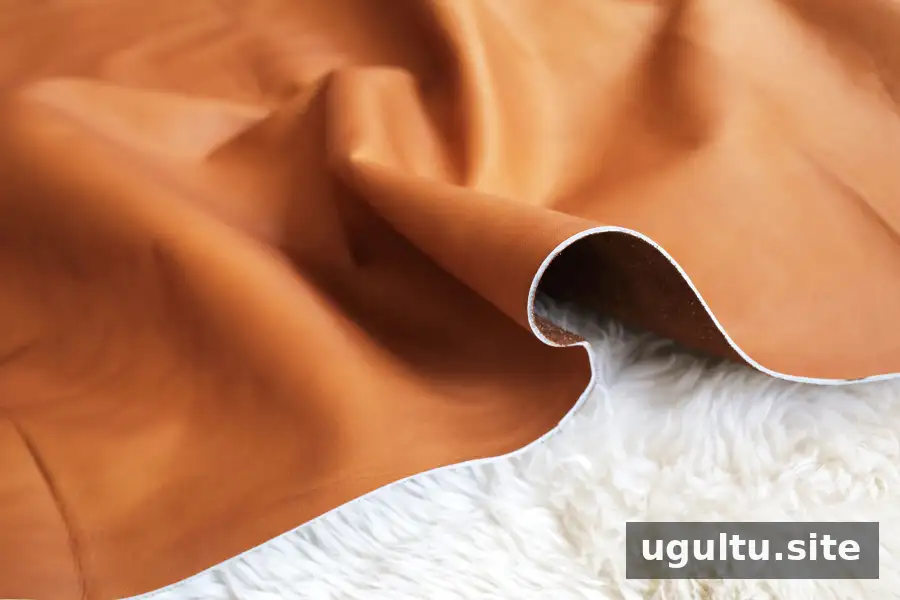
The amount of leather depends on the dimensions of the seat and the width of the straps. Leave roughly 4 inches beyond the seat edges so the ends can wrap underneath for fastening. Planning the layout first also helps reduce waste.
How to make a woven leather bench
Step 1: Measure and plan the straps
Measure the bench top and decide on a consistent strap width. Plan for approximately 1/4 inch between neighboring straps, and leave about 1/4 inch at the seat edges so the straps do not slip off. Mark the layout with a ruler and pencil, then check all measurements again before cutting.
Each strap needs to extend far enough to wrap around the seat and reach its underside for stapling. Add 4 inches to the relevant seat measurement. On the reference bench, the seven lengthwise straps measured 2 inches wide by 58 inches long. The 26 crosswise straps measured 2 inches by 19 inches. Recalculate these sizes for your own bench rather than assuming they will fit every seat.
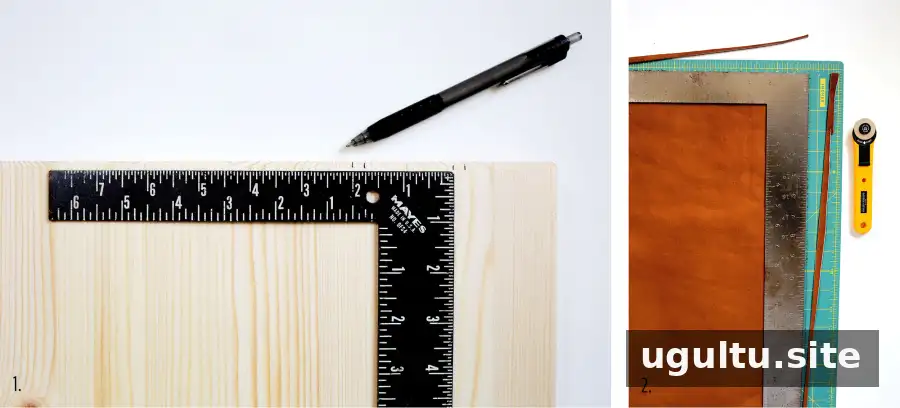
Step 2: Cut the leather
Lay the hide flat and use chalk to mark a rectangle for the seven longer straps. On the reference bench, this section measured about 14 by 58 inches. Positioning the rectangle close to one long edge can help conserve material. Place the self-healing mat beneath the hide and cut with a rotary cutter, then divide the rectangle into seven strips, each about 2 by 58 inches.
Cut the shorter straps from the remaining hide, either by marking another rectangle or cutting strips individually. Aim for even widths and clean edges. Keep any usable offcuts for future projects, and make sure every strap is long enough to wrap under the seat.
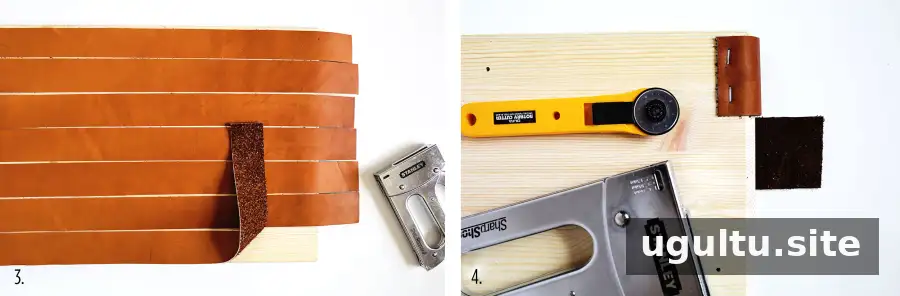
Step 3: Check the layout and secure one end
Arrange the long straps across the bench with the smooth side facing up. Adjust the spacing until the layout looks even. You can mark the positions along the short edge before fastening, or use the initial arrangement as a guide.
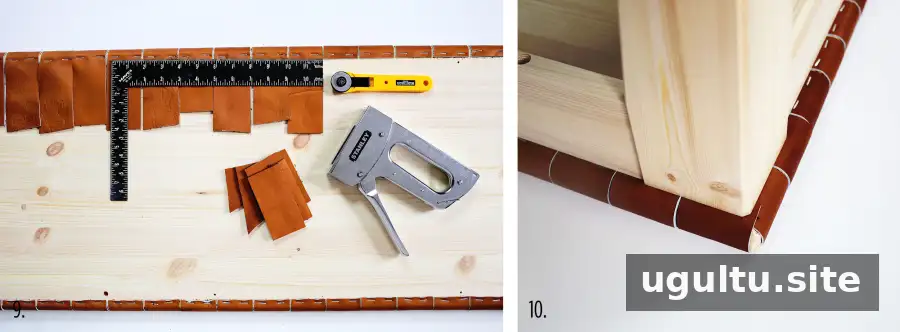
Turn the seat over. Place the strap ends beneath it and wrap them around to the underside, one at a time. Use the staple gun to fasten the ends, keeping the suede side against the wood. Staple one short end of each long strap, leaving the opposite ends loose for now.
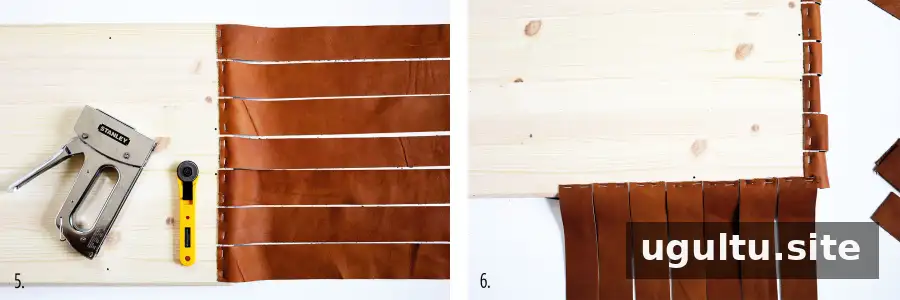
Step 4: Attach the crosswise straps and weave
Repeat the positioning and fastening process for the short straps along one long edge of the seat. Keep their spacing consistent and leave the other ends unattached. At the corners, the strap ends may overlap slightly.
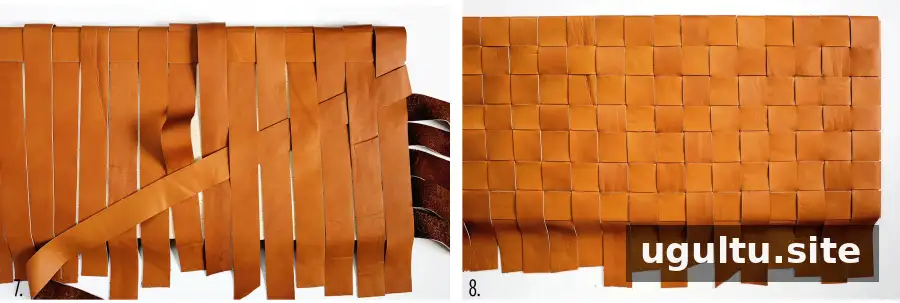
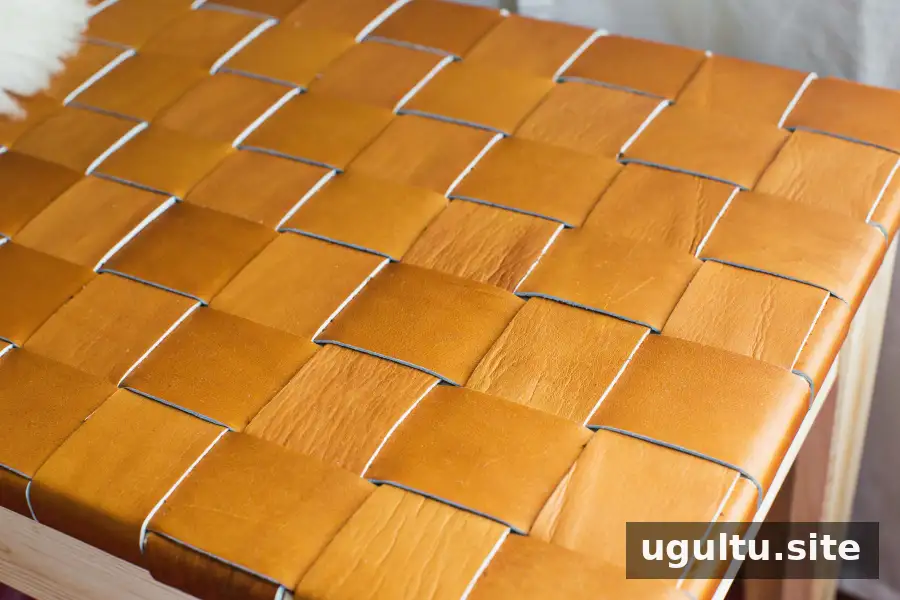
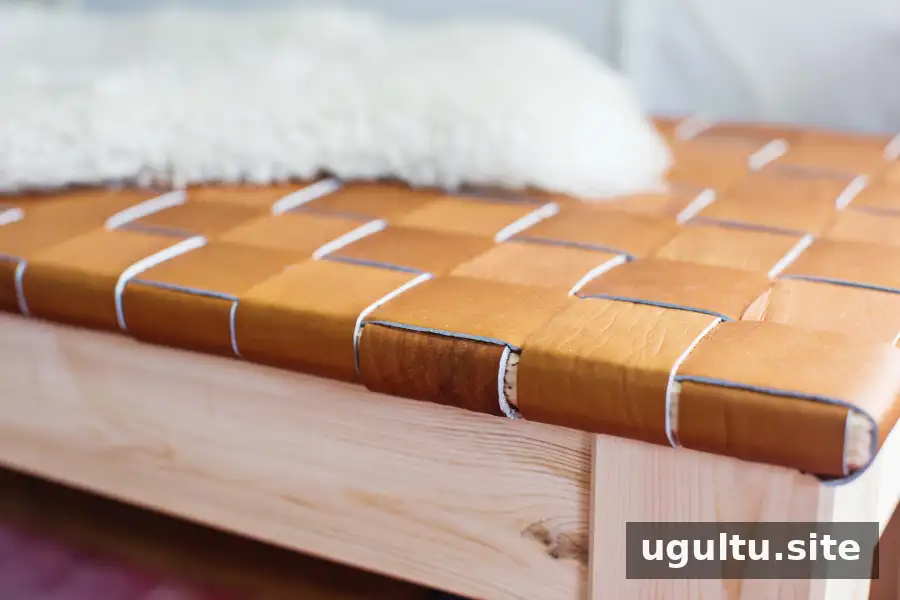
Turn the seat right side up and fold the loose short straps over the top. Starting at the top edge, weave a long strap over and under the short straps. For the next row, reverse the pattern to create a checkerboard effect. The straps can be shifted during weaving, so focus on establishing the alternating pattern first.
Step 5: Adjust tension and fasten the remaining ends
Once all the straps are woven, straighten the rows and distribute the gaps as evenly as possible. Turn the seat over. Pull each long strap gently and staple its loose end to the underside, aiming for consistent tension. Avoid making one strap much tighter than the others.
Fasten the short straps in the same way. Work from the center outward or from one side to the other, aligning each strap with its attached end on the opposite side. Trim excess leather with the ruler and rotary cutter after all ends are secured.
Step 6: Attach the bench base
Attach the bench base to the seat according to its construction. The base should rest over the strap ends where the leather is not too thick. Turn the bench upright and make any final adjustments to the rows before using it.
Alternative bench base
For a similar mid-century look, use 1-inch precut hardwood in the width you prefer and have it cut to approximately 4 feet. A set of sturdy hairpin legs can be attached underneath to create a simple entryway bench. Check that the top and leg hardware are suitable for the intended use before assembly.
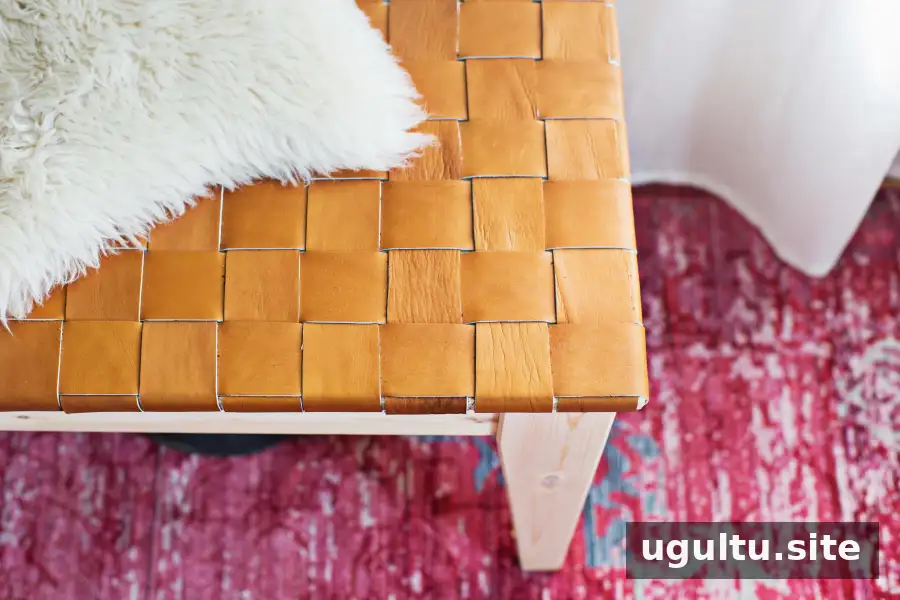
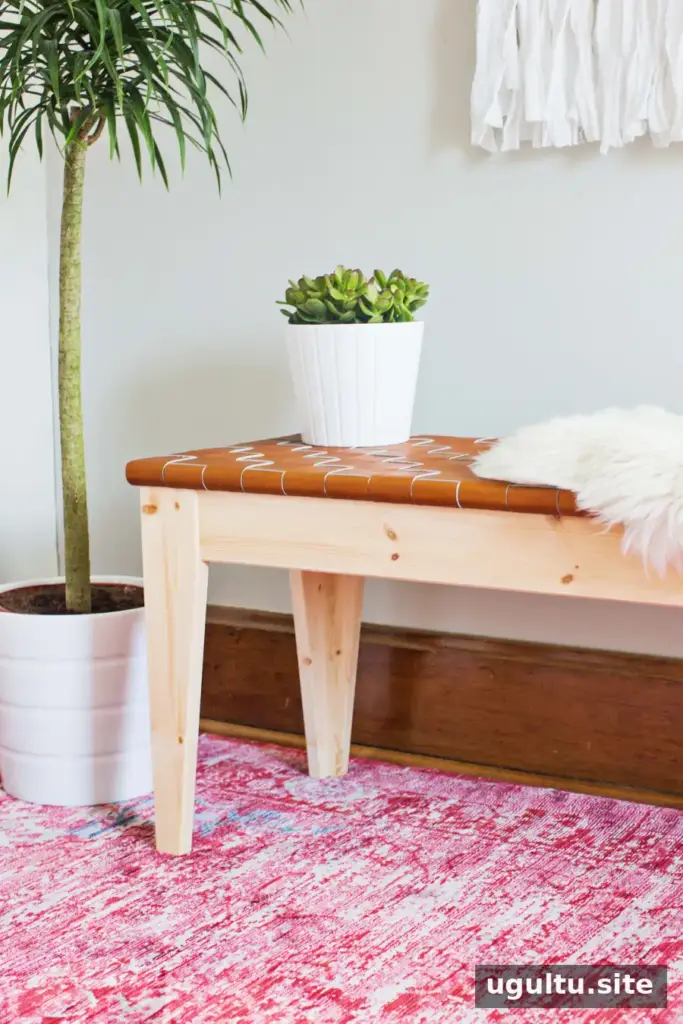
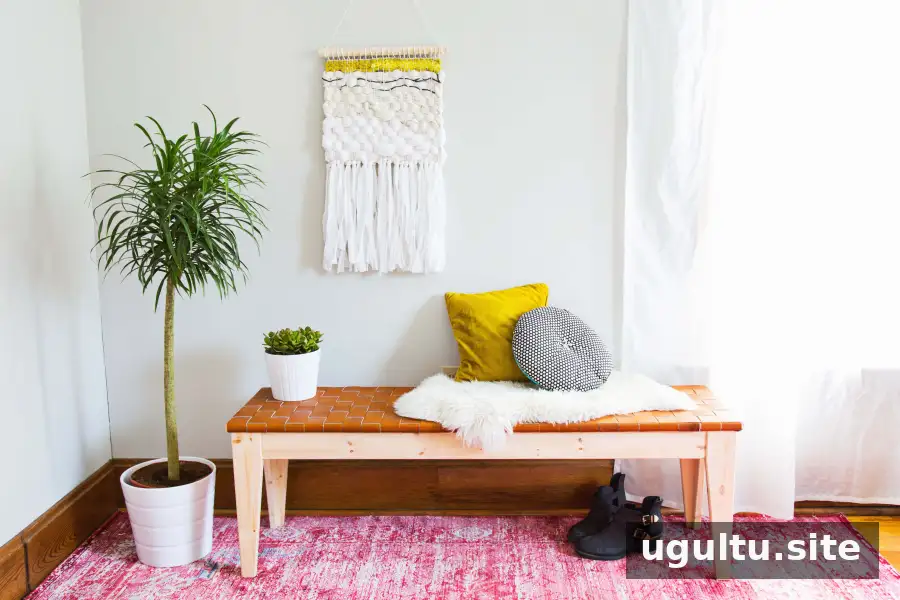
The finished bench combines a woven texture with a clean, versatile shape. Rachel


