
 admin
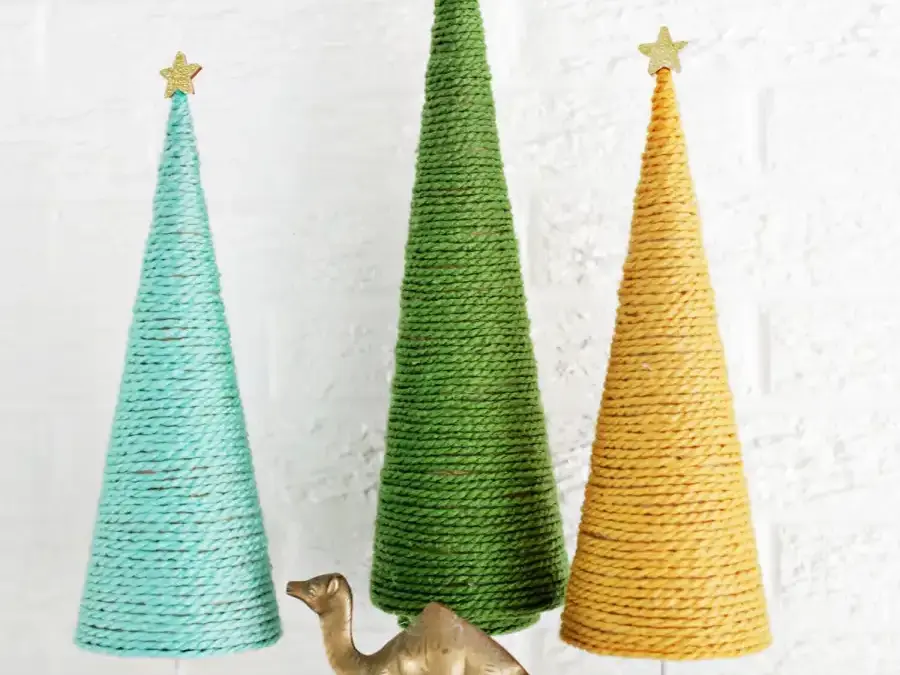
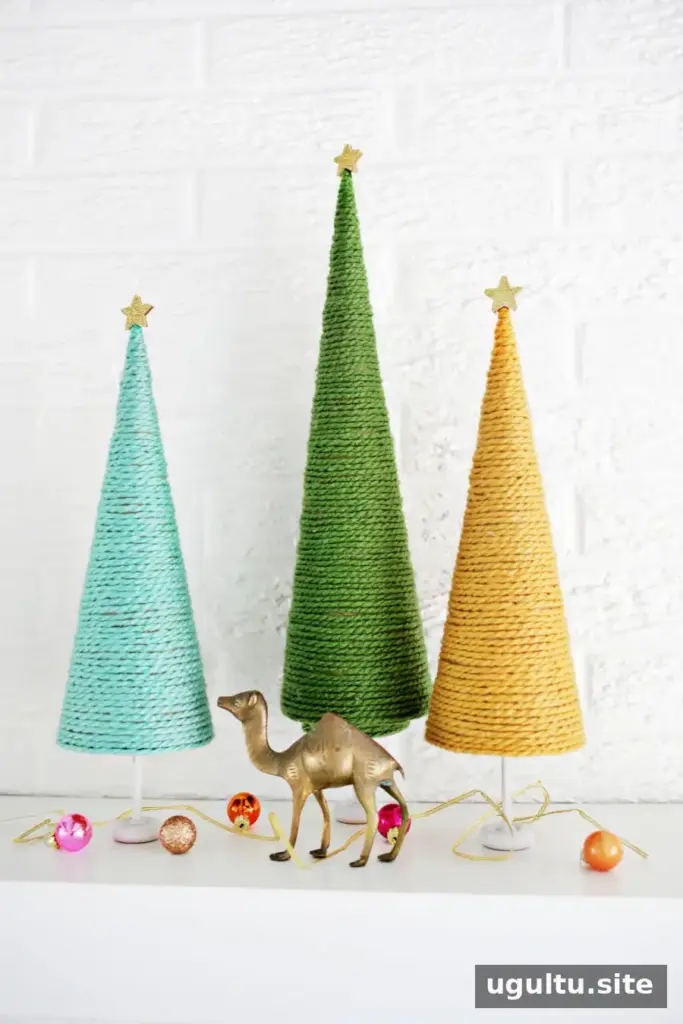
A yarn Christmas tree DIY project is a simple way to add handmade texture and color to your holiday decorations. Choose yarn shades that suit your seasonal palette, then turn cones, wooden wheels, and small stars into decorative tabletop trees. Making several in different colors or sizes can help create a coordinated display.
Materials for a Yarn Christmas Tree DIY
Gather the following supplies before you begin. Having the yarn and base pieces ready makes it easier to keep the wrapping process moving while the glue is warm.
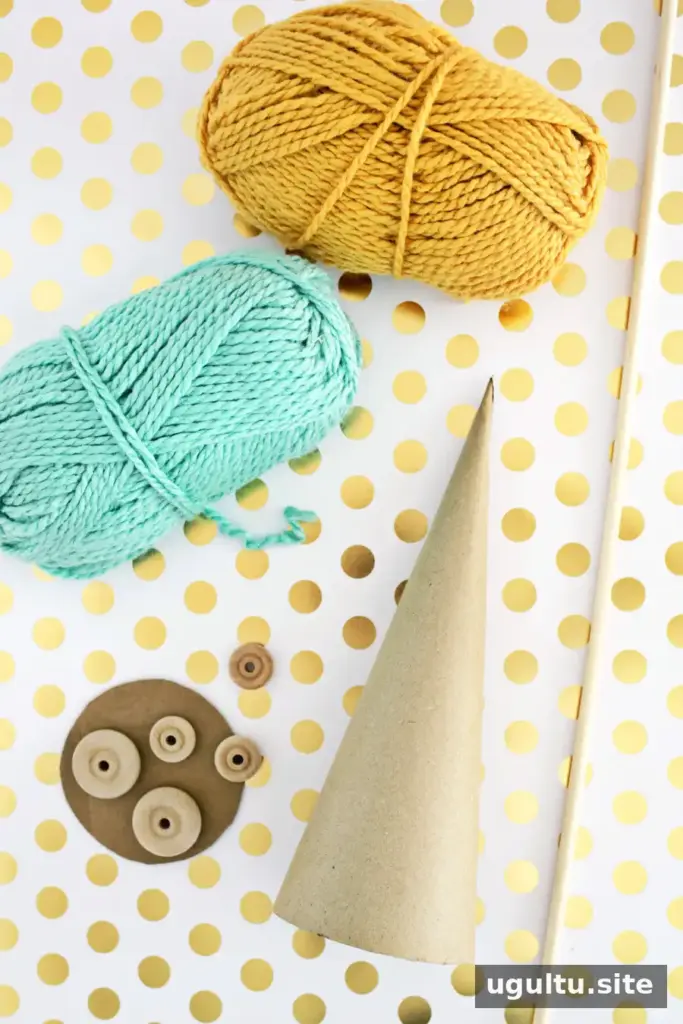
- Yarn in as many colors as you like
- Cardboard or Styrofoam cones
- Wooden toy wheels in one large and one small size per tree
- A dowel rod that fits the holes in the wooden wheels
- Small wooden stars
- White and gold paint
- Gold glitter paper
- A scrap piece of cardboard
- A hot glue gun
Wrap the Cone with Yarn

Use the hot glue gun to secure the yarn’s starting end around the bottom edge of the cone. Continue wrapping the yarn around the cone, placing each new row close to the previous one. Keep going until the cone is covered up to its tip.
A high-temperature glue gun can give you more time before the glue cools and stops adhering, though a low-temperature glue gun can also work. Take care when using hot glue, and avoid touching it while it is warm.
On the wider lower part of the cone, apply one line of glue at a time and press the yarn onto it. As the cone narrows, a vertical zigzag of glue can make it easier to wrap several times around before the adhesive cools. Work in manageable sections so the yarn stays secure and evenly spaced.
Make and Attach the Tree Base
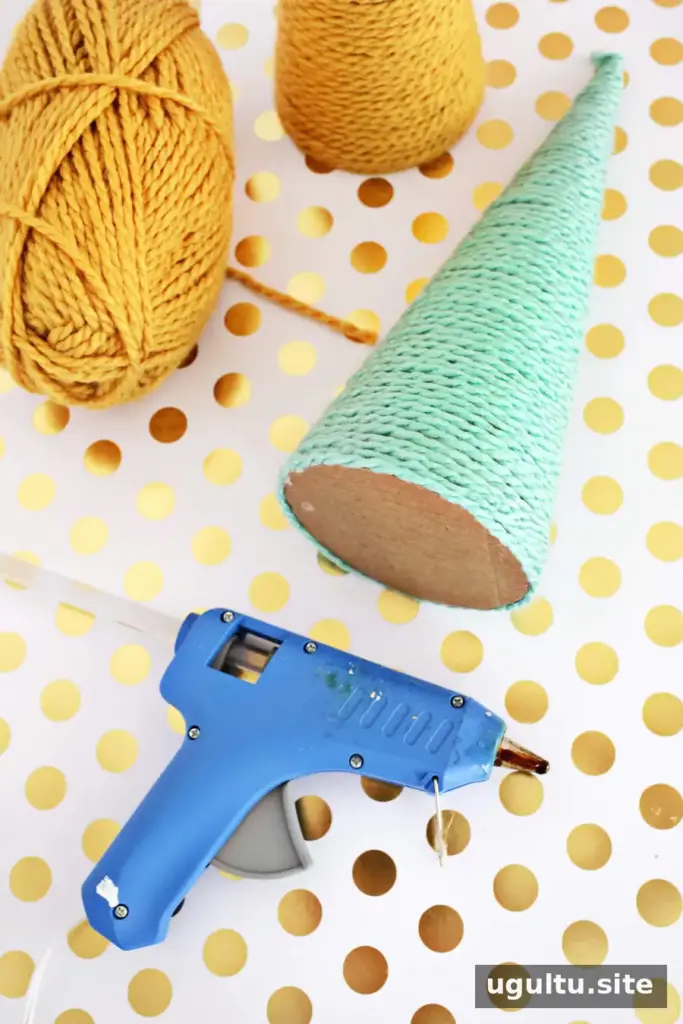
If you are using a hollow cone without a bottom, trace its base onto scrap cardboard and cut out the circle. Glue the circle to the cone to create a flat platform for attaching the stand. Check that the cardboard sits securely before moving on.
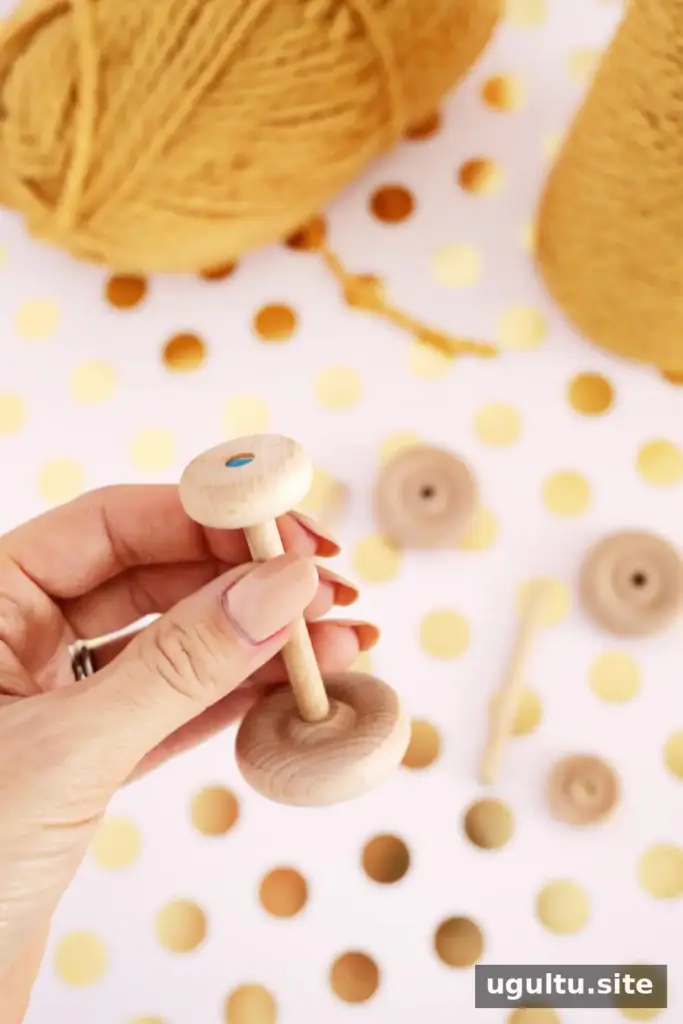
Cut the dowel rod into 2–3-inch sections; a small saw or hacksaw may be needed. Slide a small wooden wheel onto one end and a larger wheel onto the other. The pieces may fit snugly without glue, but you can glue them together if needed. Check that the stand is stable before attaching it to the cone.
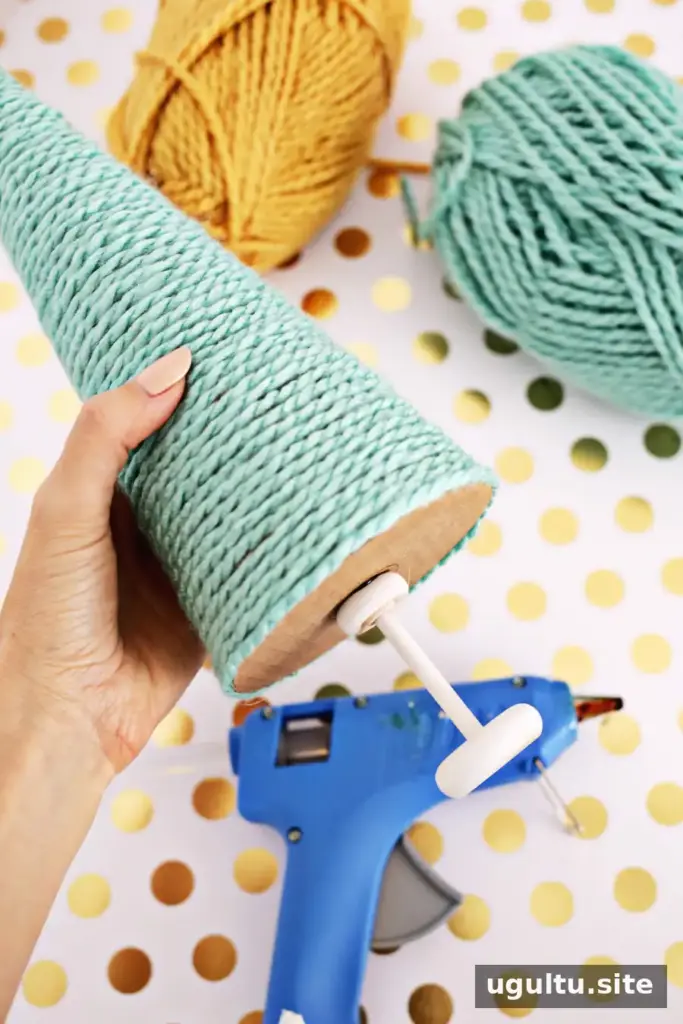
Paint the tree bases white and let them dry. Then glue each base to the center of the cone’s bottom. Keeping the base centered helps the finished tree stand upright.
Add a Star and Finish the Decoration

Paint the small wooden stars gold and allow them to dry. Trace a star onto the back of the gold glitter paper, cut it out, and glue it to the front of the wooden star. Attach the finished star to the top of the yarn-covered tree.

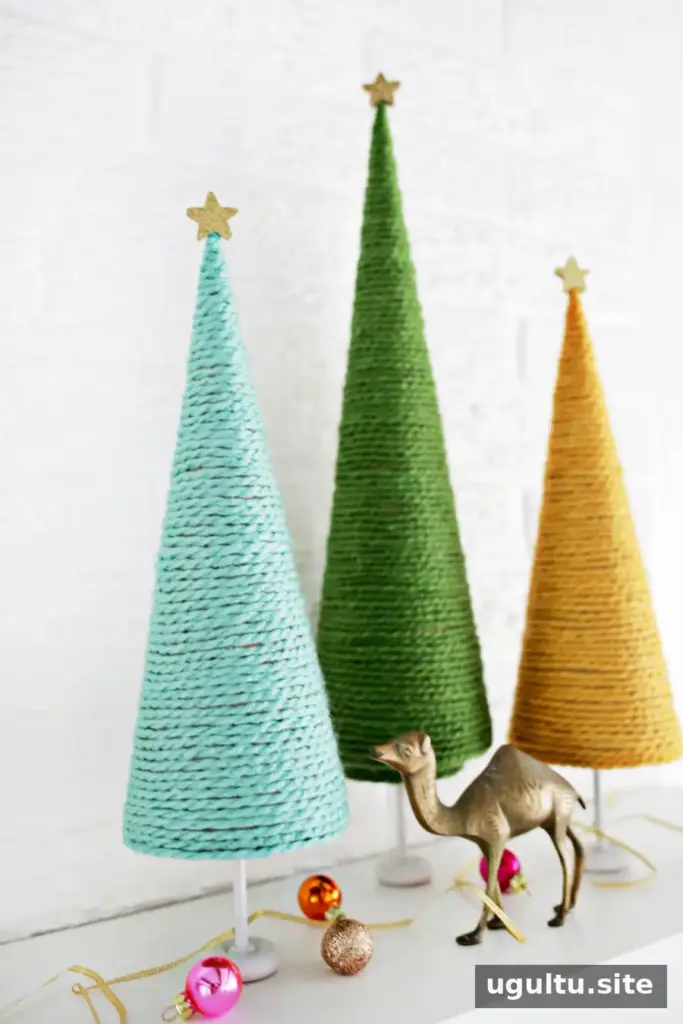
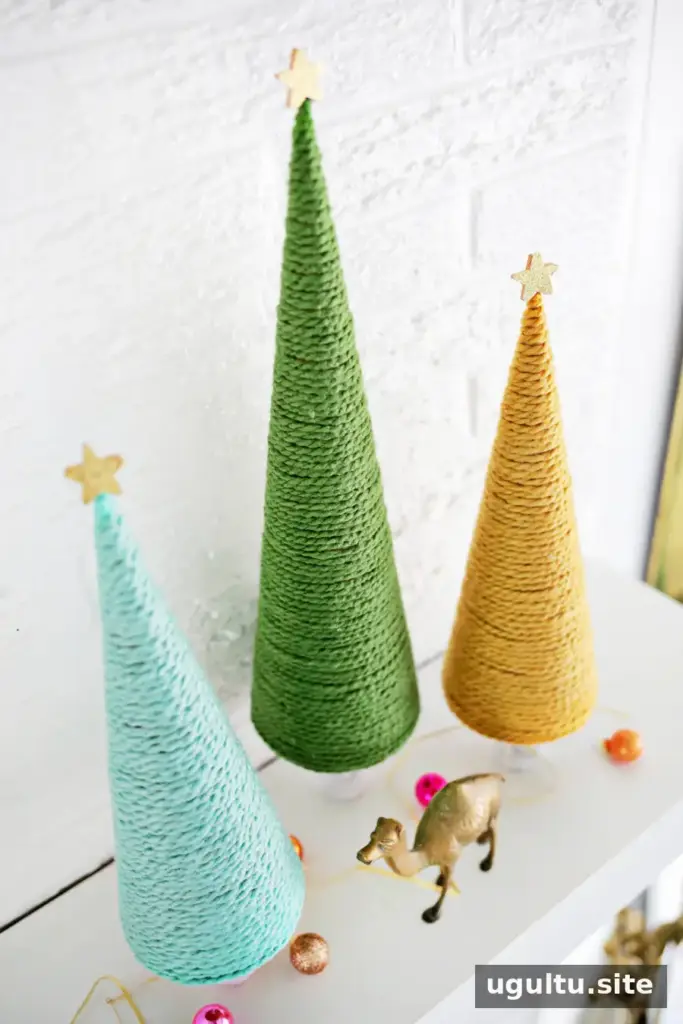
The finished trees combine the soft texture of yarn with a simple wooden base and a sparkling topper. Use colors that coordinate with your existing decorations, or try a few different shades for a more varied display. They can be arranged together on a shelf or placed beneath a Christmas wreath.
Color Ideas and Practical Tips
For a color-blocked look, change yarn colors about one-third of the way up the tree. You can also add stripes by alternating colors as you wrap. Before gluing, decide where each color section should begin so the pattern looks intentional.
Choose yarn colors and wrapping patterns to suit your own holiday scheme, and make sure the stand is secure before displaying the trees. Happy decorating! Laura


