
 admin
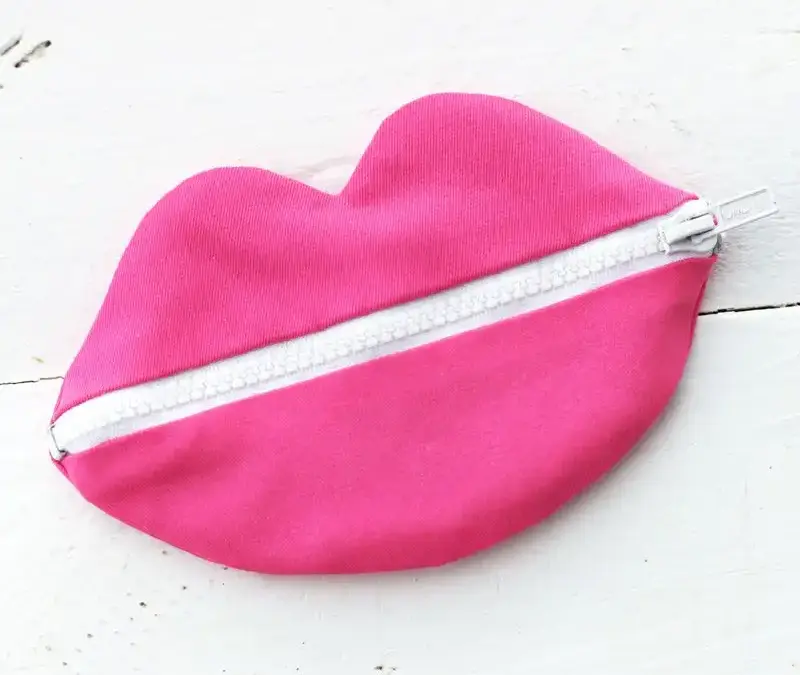
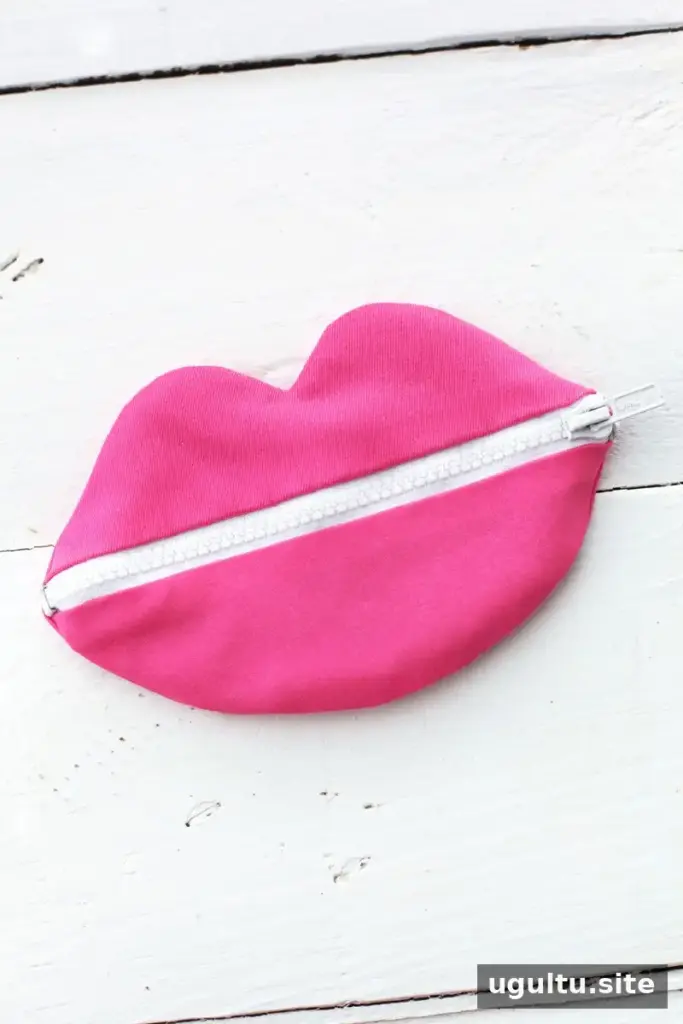
This lip pouch tutorial explains how to sew a small, lip-shaped pouch with a zipper. It’s a fun way to organize lipstick, tissues, or other small items inside a larger purse or tote. The white zipper gives the pouch a playful “zipped lips” look, while a fabric lining gives the inside a neat finish. The project is suitable for beginner sewists who are comfortable using a sewing machine and working with a zipper.
Tutorial by Mandi
Materials for the lip pouch tutorial
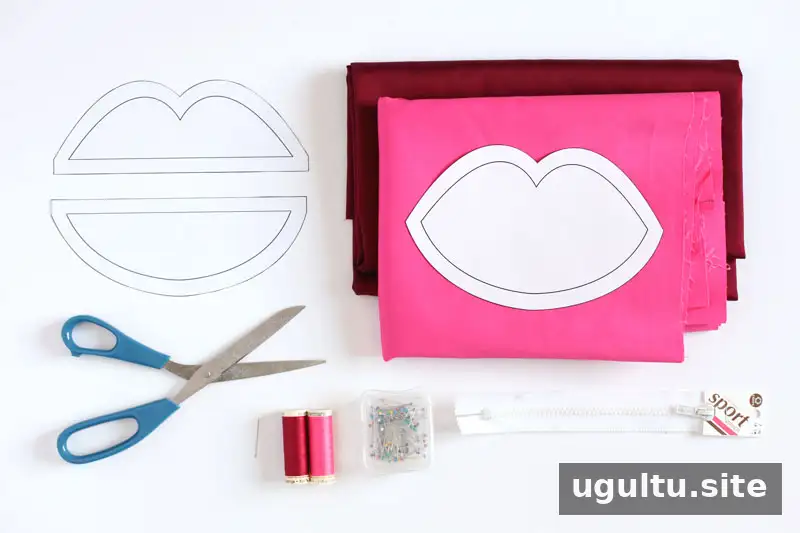
Gather these supplies before you begin:
- Front and back pattern pieces
- Medium-weight twill in two colors
- Thread to match the outer fabric, plus white thread
- One 7-inch white sport zipper; this style is chunky and not hidden
- Straight pins, a needle, and fabric scissors
- Sewing machine and hot iron
Print both pattern pieces at their original size. Check your printer settings before cutting; scaling the pattern can affect how the pieces fit together.
How to sew a lip-shaped zipper pouch
1. Cut the fabric pieces
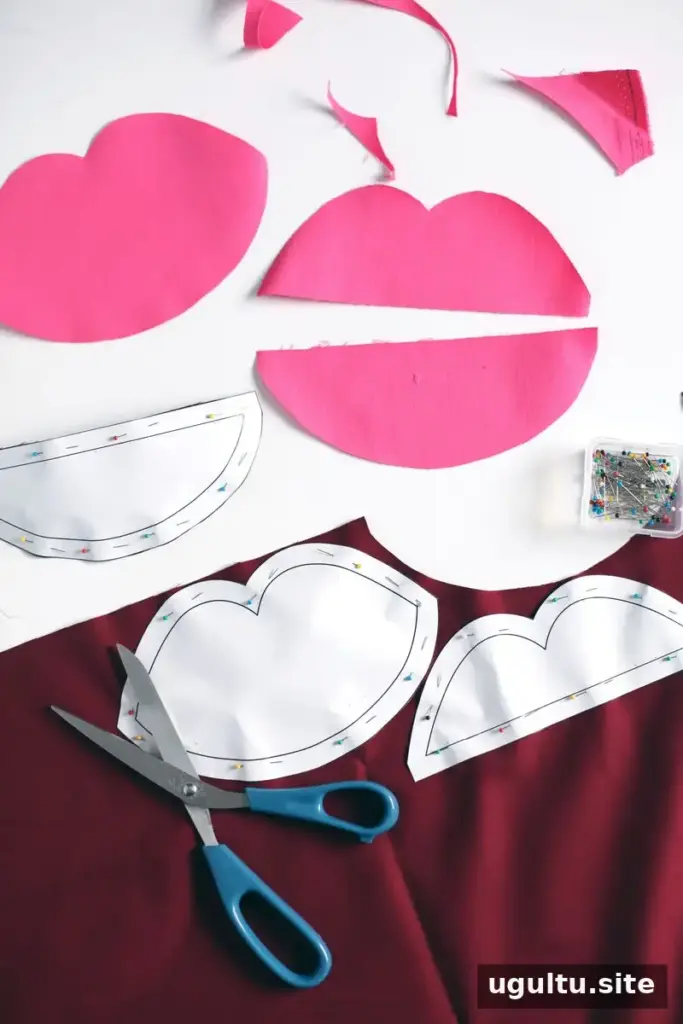
Pin the pattern pieces to the fabric, keeping them aligned with the grain, then cut carefully around the edges. Cut the pieces accurately rather than adding extra width, since the pouch sections need to line up for sewing.
2. Attach the zipper
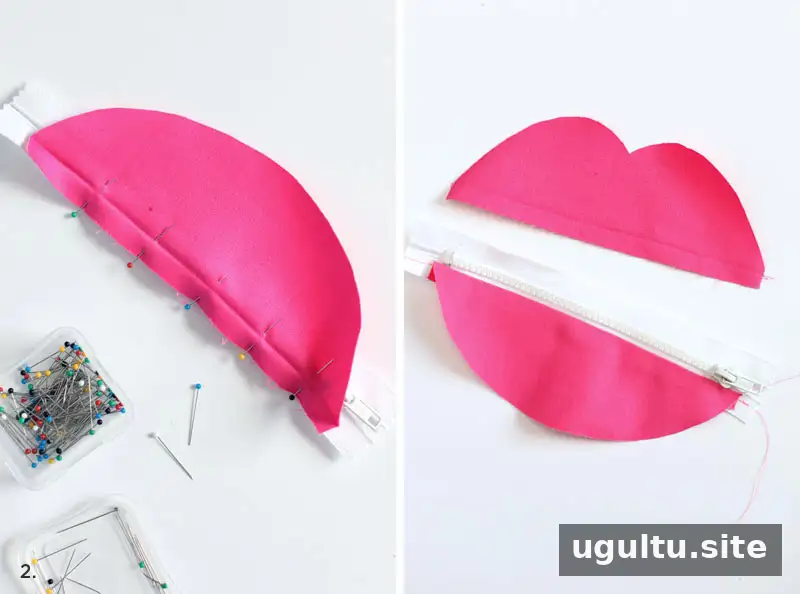
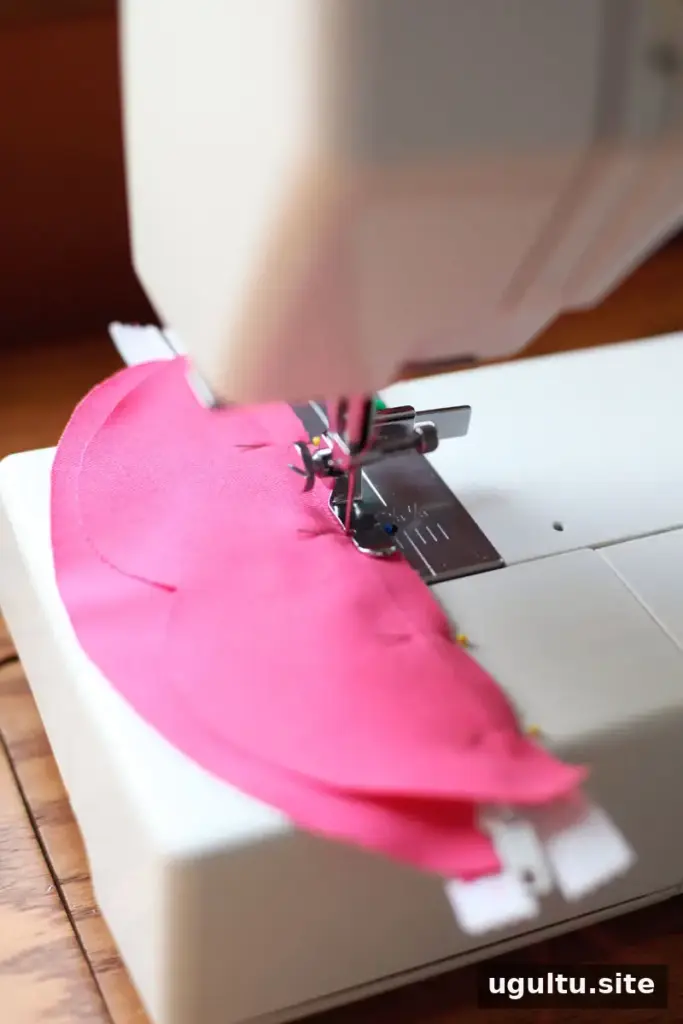
Pin the lower lip piece to the front of the zipper, with the right side of the fabric facing the front of the zipper. Align the fabric edge with the zipper edge. Stitch about 1/8 inch from the zipper teeth, or position the machine foot about a half inch from the fabric edge. Fold the fabric away from the zipper after stitching and press it flat. Repeat with the upper lip piece.
A zipper foot—or a machine foot without a left edge—makes it easier to sew close to the teeth without the foot riding on top of the zipper.
3. Shape and sew the outer pouch
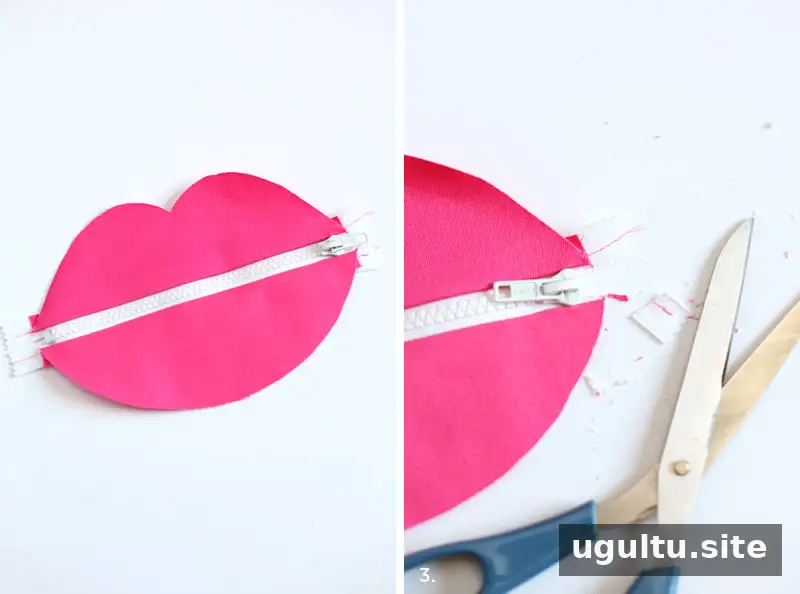
Once both lip sections are attached and pressed, trim the zipper ends to follow the outline of the lips. Place the sewn front and the outer back piece with their right sides facing each other. Pin the zipper-handle side first, then open the zipper partway before pinning the remaining edges. Leaving it partly open creates an opening for turning the pouch right side out.
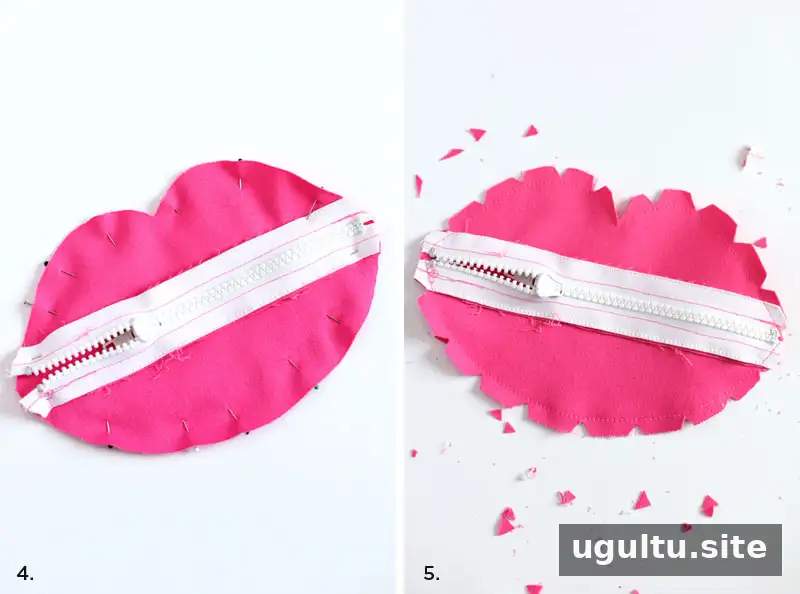
Sew around the pinned edges. Clip small V-shaped notches around the curved seam allowance without cutting through the stitching. These clips help the curve lie smoothly and reduce puckering. Turn the pouch right side out and press it gently.
4. Make and attach the lining
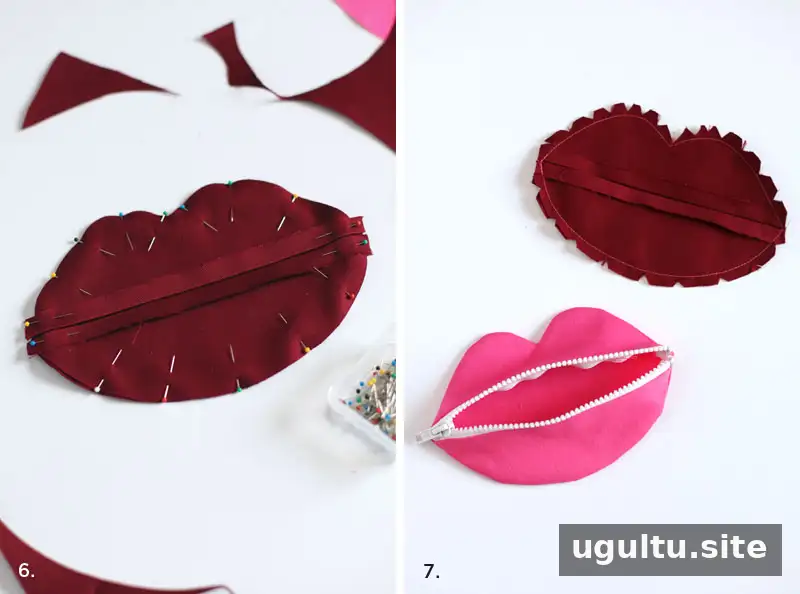
For the lining, use the inside fabric pieces. Press a half-inch fold along the lip-shaped opening, then place the lining pieces right sides together and sew around the edges. Clip the curved seam allowance as you did on the outer pouch, but leave the lining turned inside out.
Fit the lining inside the outer pouch and hand-sew its folded edge around the zipper using white thread.
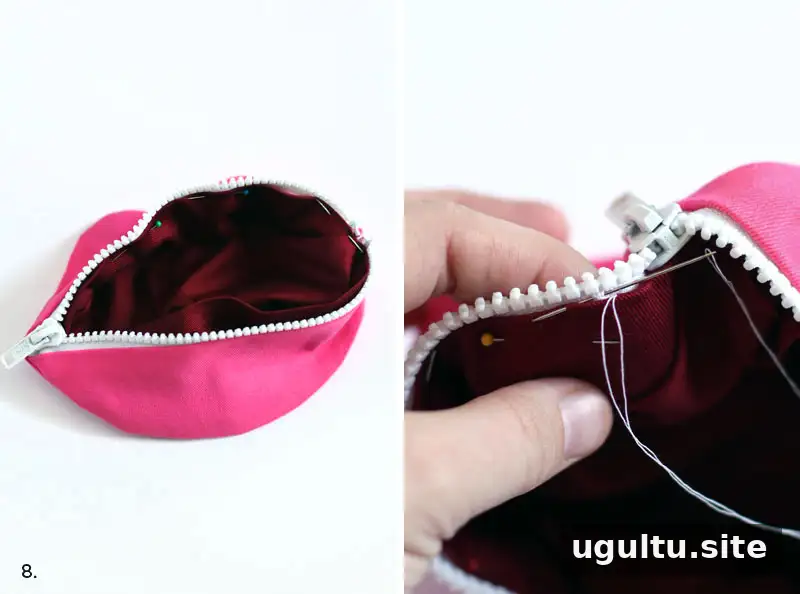
Keep the lining stitching far enough from the zipper teeth so the slider can move freely. After attaching the lining, open and close the zipper to check that no fabric catches. If it snags, adjust the lining seam so it sits farther from the teeth.
Finish and use your lip pouch

When the zipper moves smoothly, the pouch is ready to use. Fill it with lipstick or other small purse essentials. This design also works well as a lighthearted handmade gift; making several in different fabric colors is an easy way to personalize them.
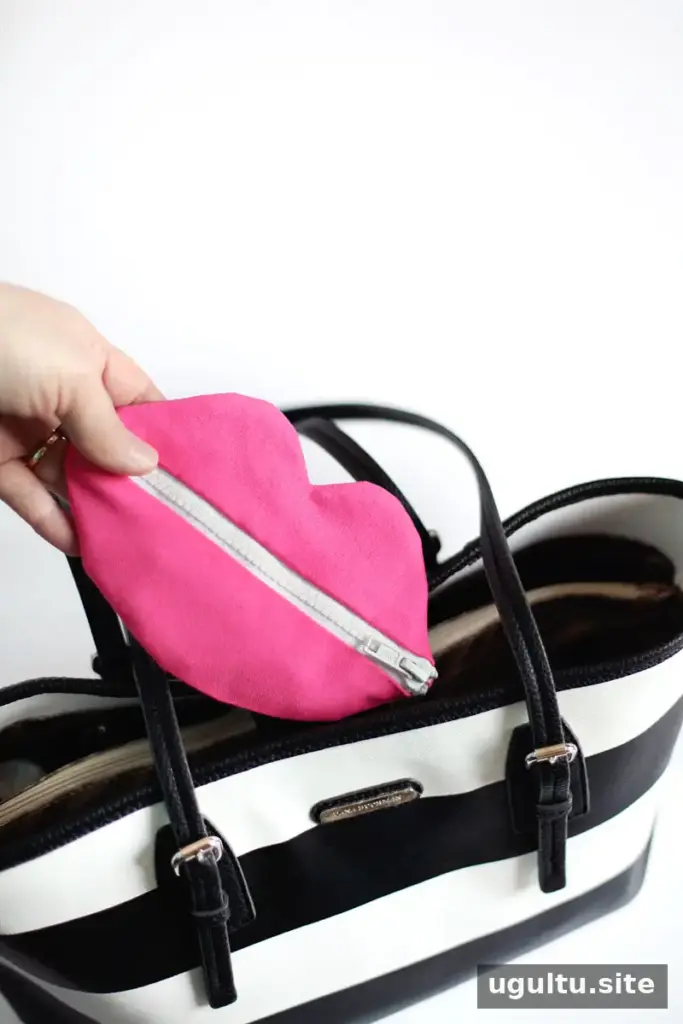
With careful cutting, a well-aligned zipper, and enough clearance for the lining, this lip pouch tutorial can help you make a practical and amusing addition to a purse or tote. — Mandi


