admin

Learning how to use a miter saw can help you make accurate cuts for trim, molding, shelving, and other home projects. With a little preparation and attention to safety, beginners can start with simple crosscuts and build confidence before trying angled cuts.
A miter saw may seem intimidating at first because its blade moves down through the workpiece. Understanding the saw’s parts, choosing the right cut, and following a careful routine can make the process easier to manage. Always read the manual for your specific model before operating it.
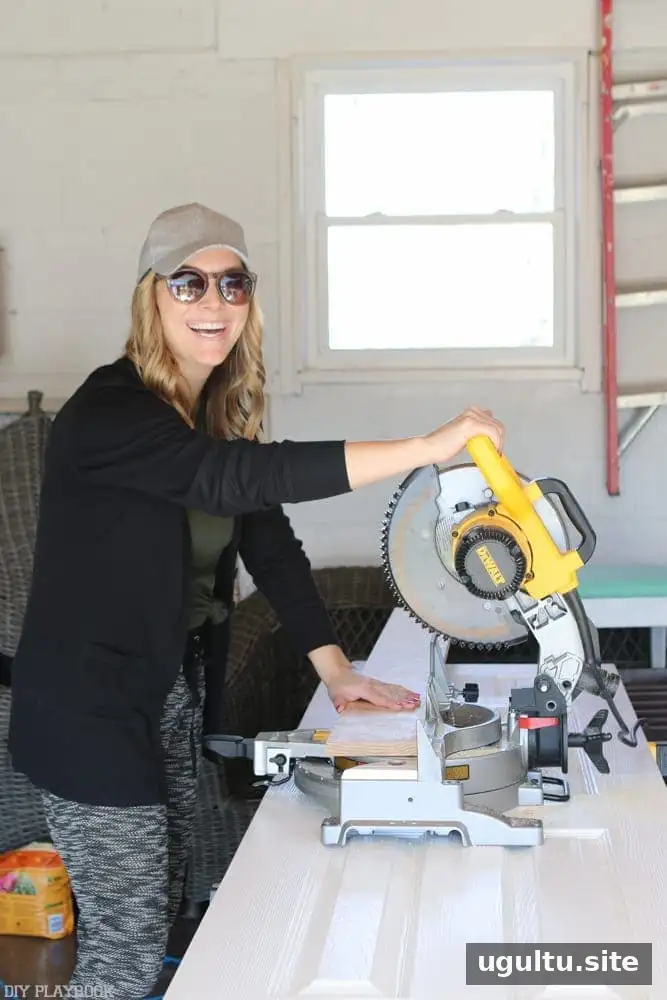
An early miter saw project photographed in 2016.

Miter saw use after completing woodworking projects.
What Is a Miter Saw?

A miter saw is a power tool designed to cut wood by lowering a circular blade through a workpiece supported on the saw’s base. Unlike a table saw, where the user feeds material toward a fixed blade, a miter saw brings the blade down onto the wood.
Depending on the model, it can make straight crosscuts, angled miter cuts, bevel cuts, and compound cuts. This makes it useful for projects that need neatly joined corners, such as baseboards, wall molding, and picture-frame molding. For accurate results, keep the board flat on the base and against the fence while cutting.
What Can You Use a Miter Saw For?

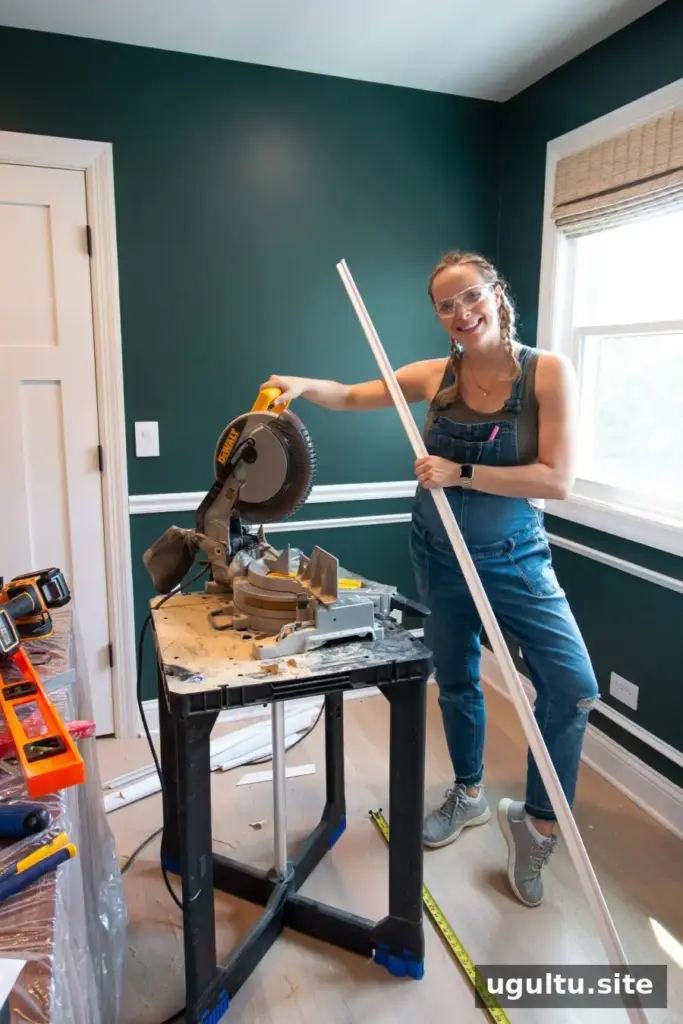

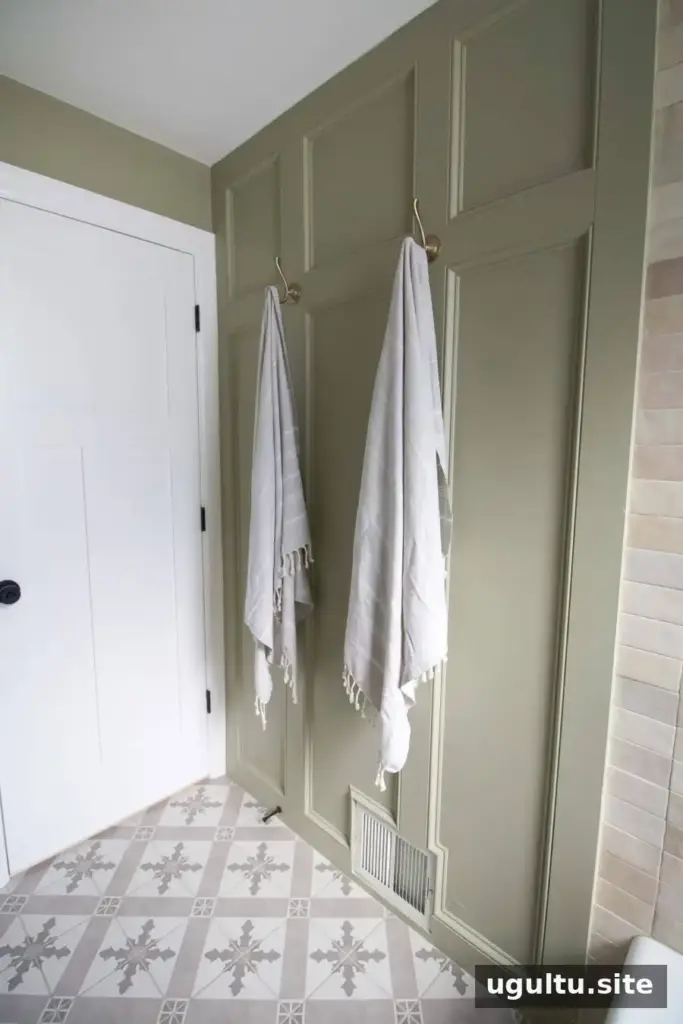

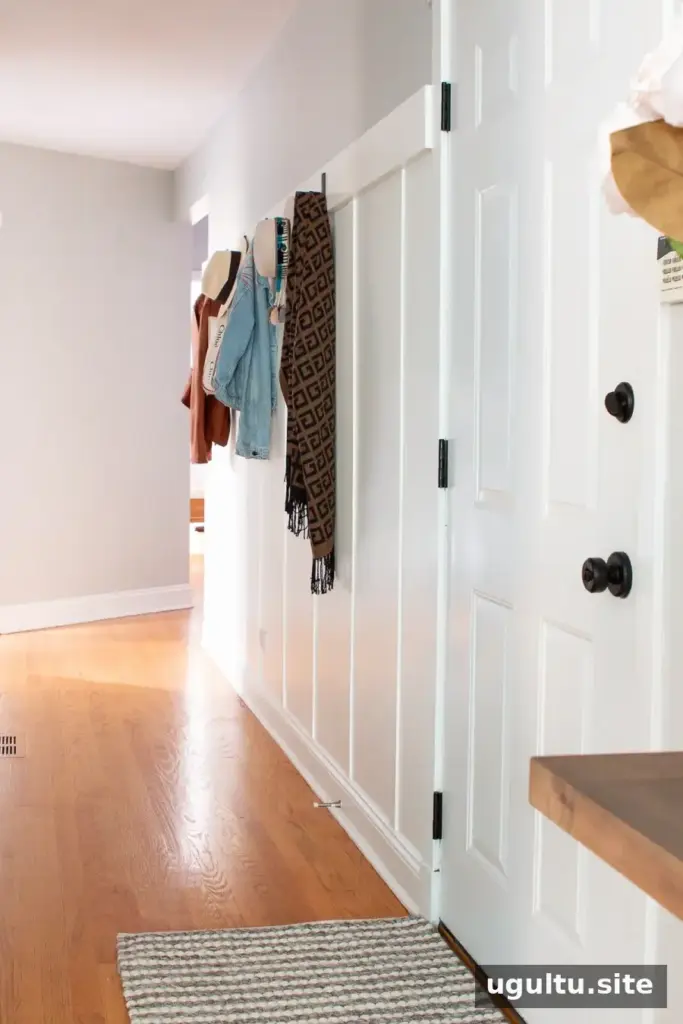
A miter saw is especially useful when a project calls for clean, consistent angles. Common uses include:
- Cutting trim and baseboards
- Making wall molding and picture-frame molding
- Preparing pieces for board-and-batten projects
- Cutting parts for built-ins and shelving
- Adding decorative chair rail
- Creating an accent wall with decorative molding
It can also make straight crosscuts in framing lumber. Before cutting, check the saw’s capacity and make sure the board is supported on both sides where needed. This helps keep the material steady and the cut controlled.
Types of Miter Saws
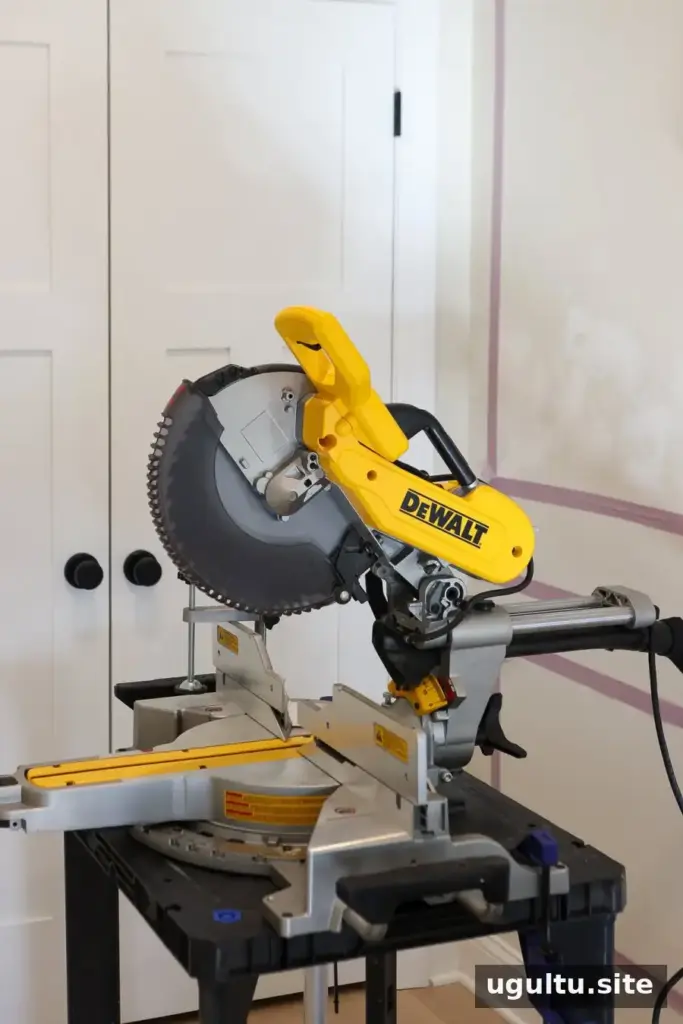
Different saws offer different cutting options. Knowing the basic types can help you choose a model that suits your projects.
Standard miter saw
A standard miter saw makes straight cuts and miter cuts but does not tilt for bevel cuts. It can suit basic cutting tasks, though it offers fewer options for detailed trim work.
Compound miter saw
A compound miter saw can make straight, miter, and bevel cuts because its blade tilts. It is a versatile choice for many trim, molding, and DIY projects.
Sliding compound miter saw
A sliding compound miter saw includes the features of a compound saw and has rails that let the blade move forward and back. This allows it to cut wider boards, subject to the saw’s stated capacity.
For a range of home projects, a compound or sliding compound model offers flexibility. Check the manufacturer’s cutting-capacity specifications before buying, especially if you expect to work with wider or thicker material.
Types of Cuts You Can Make

Understanding the main cut types makes it easier to set up the saw correctly. Practice on scrap wood before cutting pieces for a finished project.
Crosscuts

A crosscut goes straight across a board, usually with the saw set at 0 degrees. It is commonly used to shorten a piece of wood to the required length.
Miter cuts

A miter cut angles across the face of the board. A 45-degree cut is often used to join two pieces of trim at a corner. Measure and test the angle on scrap material before cutting finished pieces.
Bevel cuts
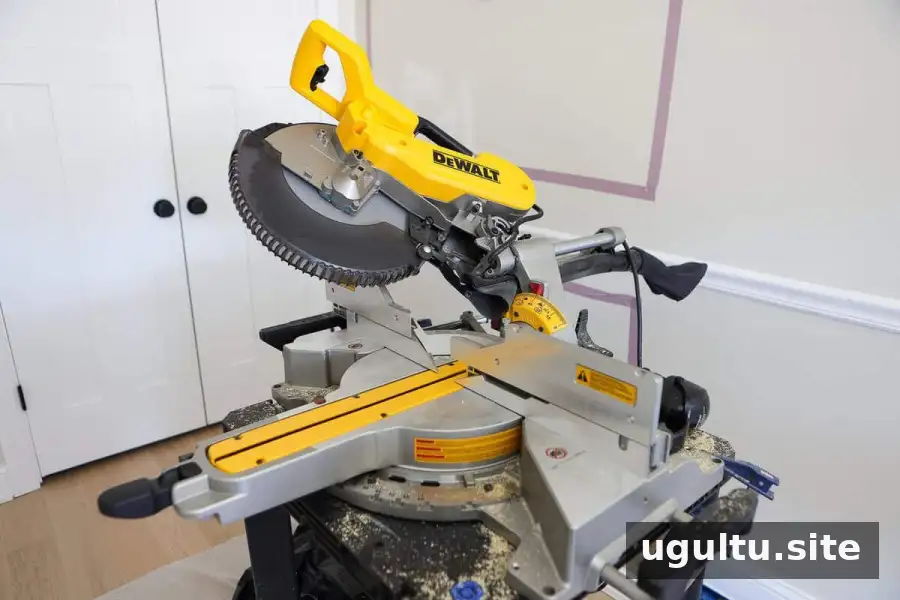
A bevel cut is made by tilting the blade, creating an angle through the thickness of the wood. This is useful for some trim details and angled edges.
Compound cuts
A compound cut combines a miter angle with a bevel angle. It is often used for crown molding, where the trim meets two surfaces at an angle. Because the setup can be more complex, consult the saw manual and test the settings on scrap first.
For trim that sits flat against a wall, such as baseboards or chair rail, miter cuts are commonly used at corners. Trim installed between two angled surfaces, such as crown molding, may require bevel or compound cuts.
Miter Saw Parts and How They Work
Knowing the main parts helps you adjust the tool and position the wood correctly.
- Blade: The circular blade cuts through the workpiece when lowered.
- Handle and trigger: The handle guides the saw head, and the trigger starts the blade.
- Fence: The vertical support at the back of the base. The workpiece rests against it.
- Base or table: The flat surface that supports the wood.
- Miter adjustment: Changes the angle of the cut from side to side.
- Bevel adjustment: Tilts the blade to make a bevel cut.
- Sliding rails: On sliding models, these let the blade travel forward and back to cut wider boards.
Set the saw on a sturdy, level work surface. Support long or wide boards so they do not tip or shift during a cut. Use supports that keep the material level with the saw table.
How to Use a Miter Saw: Step-by-Step
Before starting, read the operating instructions for your model and inspect the saw. Wear safety glasses; hearing protection is also sensible when making repeated cuts. Tie back long hair and keep loose clothing away from moving parts. Keep hands clear of the blade’s cutting path and use guards as designed.
- Measure and mark the board. Use a tape measure and make a clear cut mark. Confirm which portion of the board you need to keep.
- Position the workpiece. Place it flat on the saw base and snug against the fence. Support longer material so it stays level and stable.
- Align the blade with the mark. With the saw off, lower the blade to check its position. Align the blade beside the line on the waste side so the finished piece retains the required length.
- Set the angle if needed. Keep the saw at 0 degrees for a straight crosscut. Adjust the miter setting for an angled cut or the bevel setting for a tilted blade. Check the settings before switching the saw on.
- Make the cut. Hold the workpiece securely in the correct position, keeping your hands away from the blade path. Start the saw with the blade clear of the wood, allow it to reach full speed, then lower it steadily. Do not force the blade through the material.
- Wait for the blade to stop. Release the trigger and let the blade come to a complete stop before raising it. Keep the workpiece in place until the blade has stopped moving.
Disconnect the saw from power before changing the blade or performing maintenance, and follow the manufacturer’s instructions. If the material moves, the saw behaves unexpectedly, or you are unsure of a setting, stop and review the manual before continuing.
Practical Miter Saw Tips for Beginners
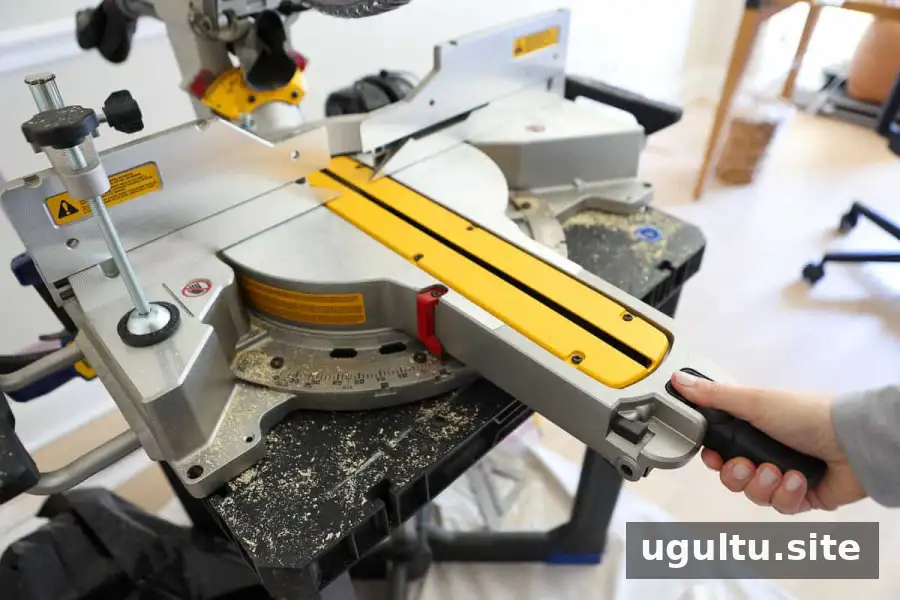
- Work at a controlled pace: Take time to measure, align, and check each setup rather than rushing.
- Cut on the waste side: Cutting on the wrong side of the mark can leave the finished piece too short. Double-check the intended piece before turning on the saw.
- Begin with simple cuts: Practice straight crosscuts and basic miter cuts before attempting bevel or compound cuts.
- Test on scrap wood: A practice cut can reveal whether the angle and alignment are correct before you use project material.
- Support the board: Unsupported material can shift or tip. Use a stable stand or suitable supports, and use clamps where appropriate without placing them in the blade’s path.
- Let the saw do the work: Use a steady motion and avoid forcing the blade, which can affect the cut and control.
- Start the blade before it contacts the wood: Allow it to reach full speed before lowering it into the workpiece.
- Plan for small fit adjustments: Measure carefully and make test cuts. For painted trim, caulk may help conceal small gaps, but it cannot correct a piece that is substantially the wrong size.
Which Miter Saw Should You Choose?

A compound or sliding compound miter saw can handle a broad range of cuts. A sliding model is useful when your projects require cutting wider boards, but the best choice depends on the materials you plan to use, the available workspace, and your budget.
- 10-inch miter saw: Suitable for many beginner projects and smaller trim work.
- 12-inch miter saw: Offers more capacity for larger boards and additional flexibility, depending on the model.
Check the manufacturer’s specifications rather than choosing by blade size alone. Cutting capacity varies by saw design, and a larger saw also needs appropriate space and support.
Conclusion: How to Use a Miter Saw with Confidence
Learning how to use a miter saw starts with understanding the cut, securing the workpiece, and following safe operating steps. Begin with straight cuts, practice on scrap wood, and check every angle before cutting project materials. With careful setup and the right saw for your work, you can make accurate cuts for trim, molding, and a wide variety of DIY projects.