
 admin
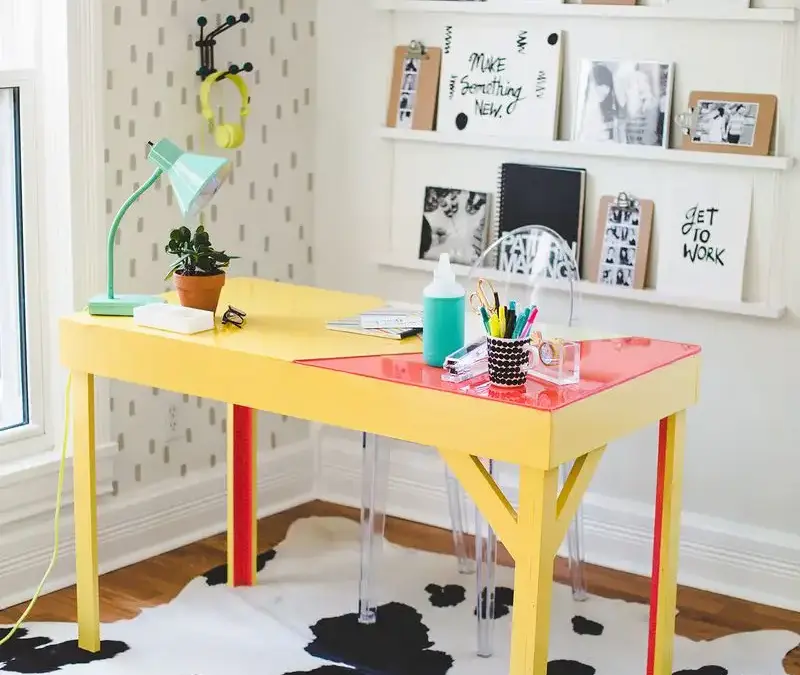
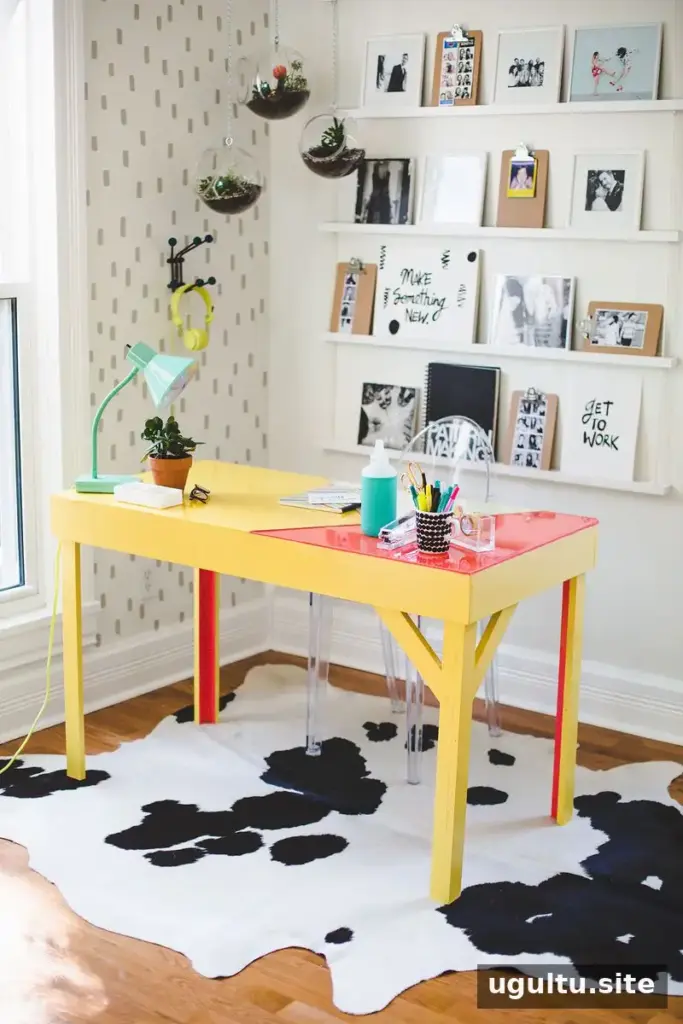
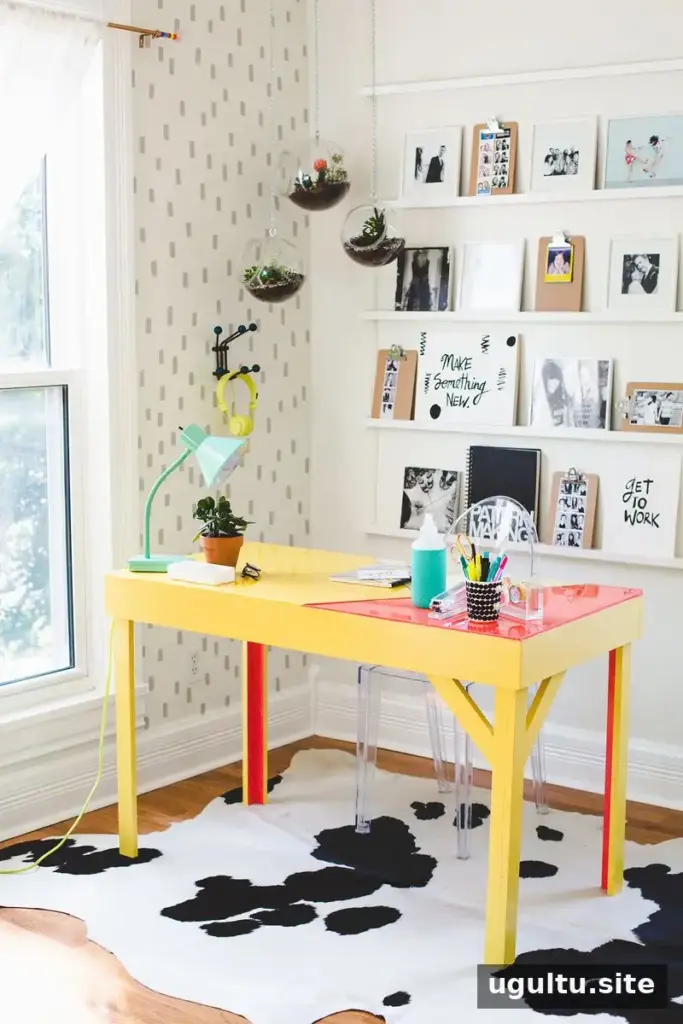
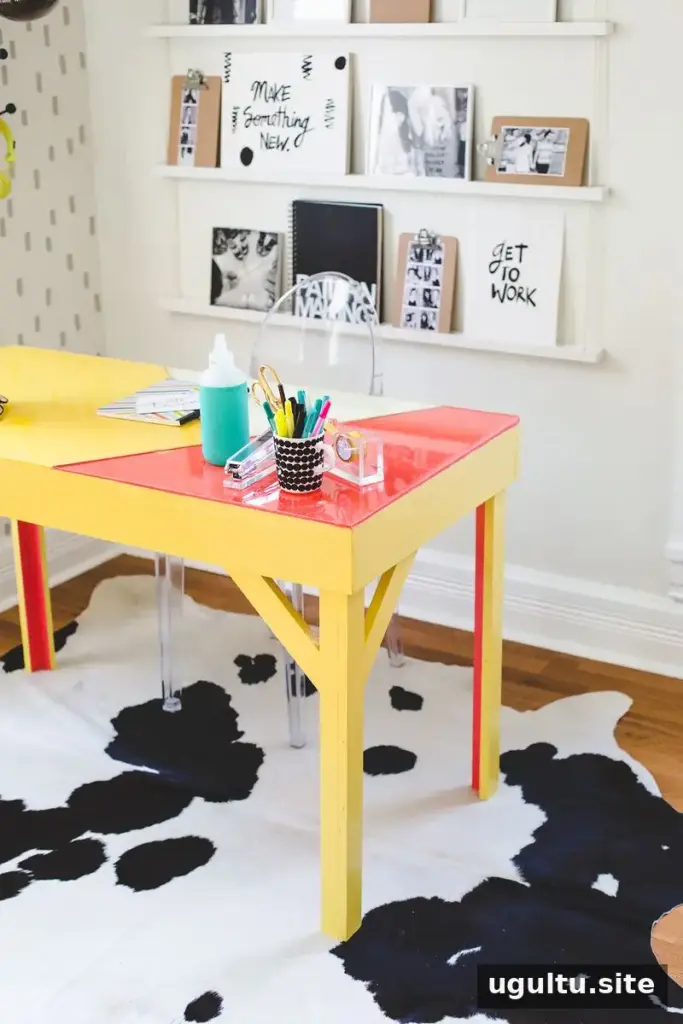
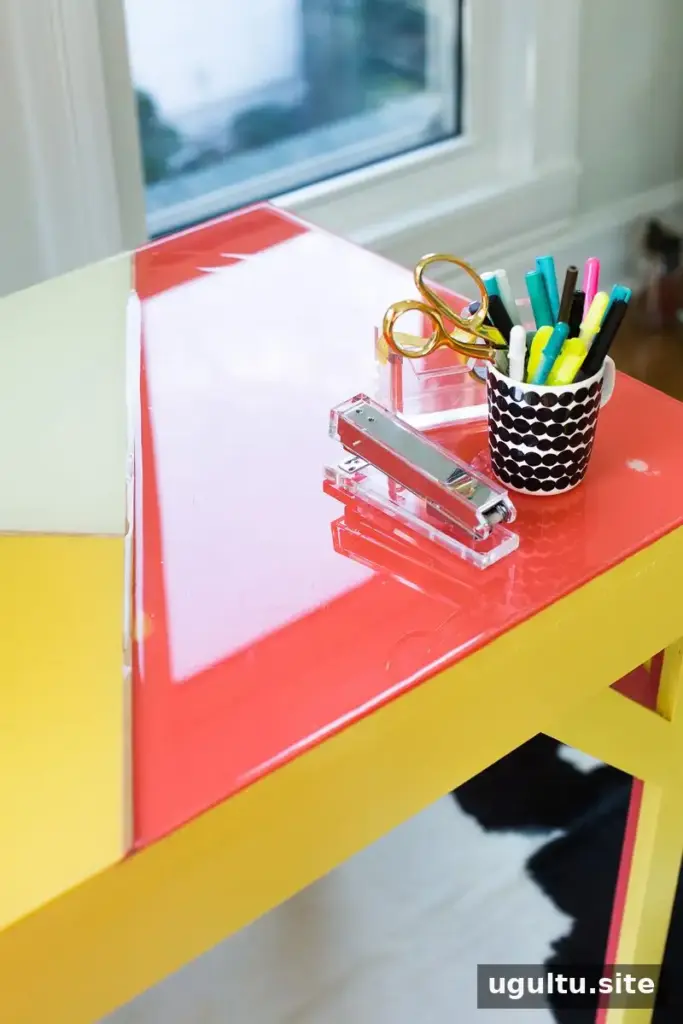
A colorful epoxy desk can transform a plain work surface into a bright, personalized feature. This project uses glossy paint, thin wood strips, and tinted epoxy to create separate geometric sections across a desk top. The same approach can also refresh an existing table or desk; the original project cost about $80.
This guide focuses on the painted and resin-coated surface rather than the construction of the desk itself. Choose a stable piece with a flat top, and plan the colors and divider pattern before you begin. Allow time for paint and epoxy to cure according to their product instructions.
Materials and tools for a colorful epoxy desk
Gather the following supplies before starting. Having everything ready helps you work efficiently once the epoxy is mixed.
- Epoxy coating
- Interior gloss paint
- Painter’s tape
- Wood shims, or another way to level the desk
- Thin wood strips, no larger than about 1/4 inch by 1/8 inch; thin plywood or balsa wood can work
- Wood glue
- At least three mixing containers
- A spreader, such as a folded piece of paper
- A level and sandpaper
Check the epoxy manufacturer’s instructions before adding paint. Test the combination on a small sample first, since not every coating is compatible with every colorant.
Step 1: Paint the desk
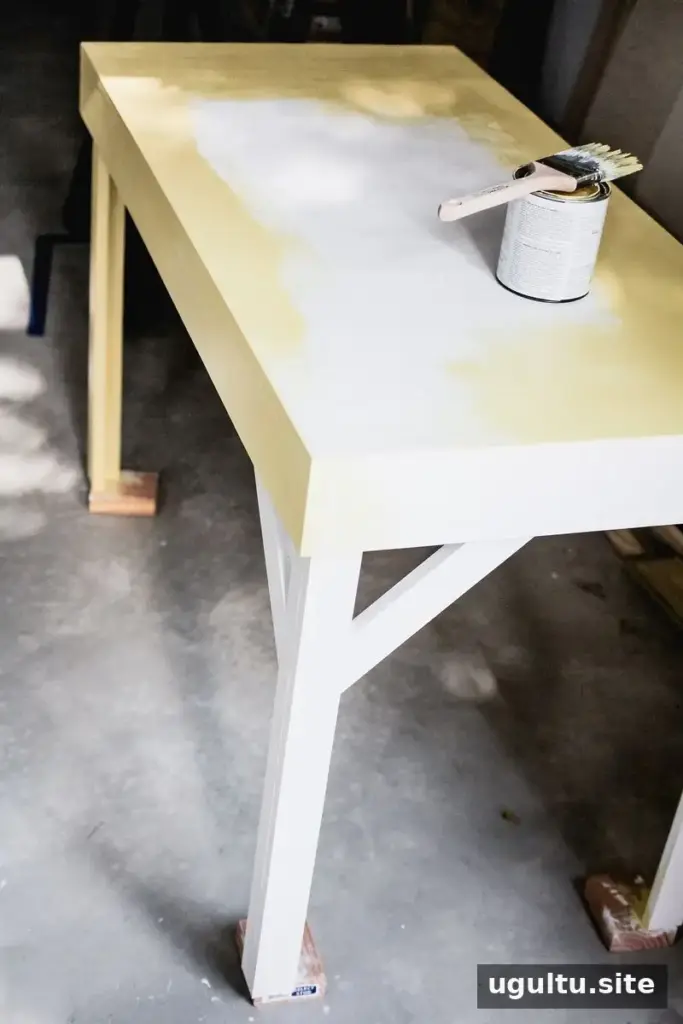
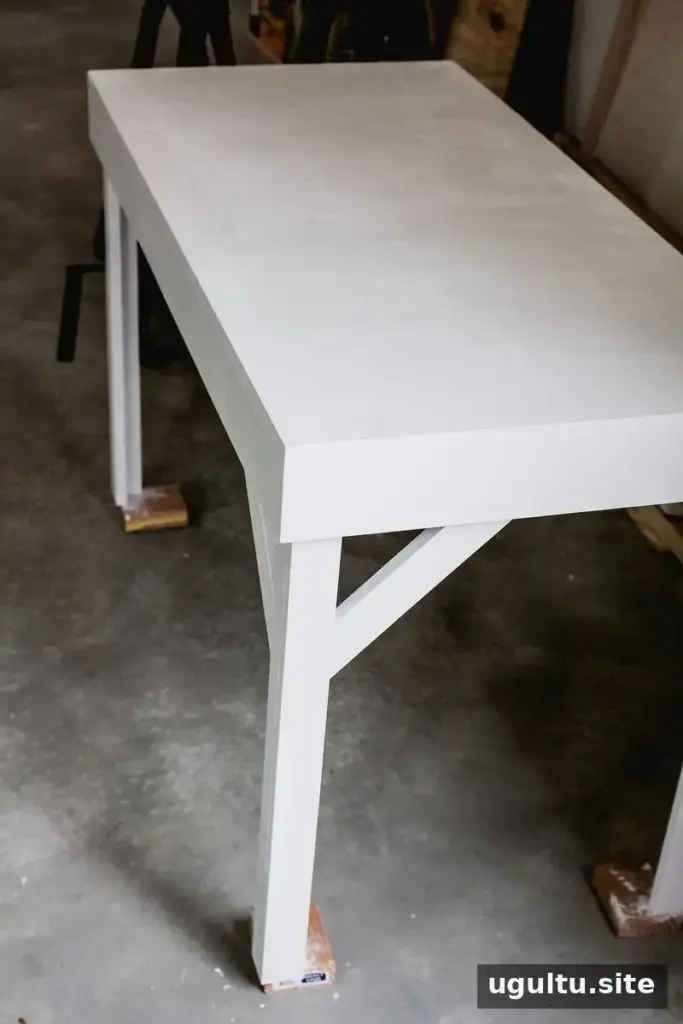
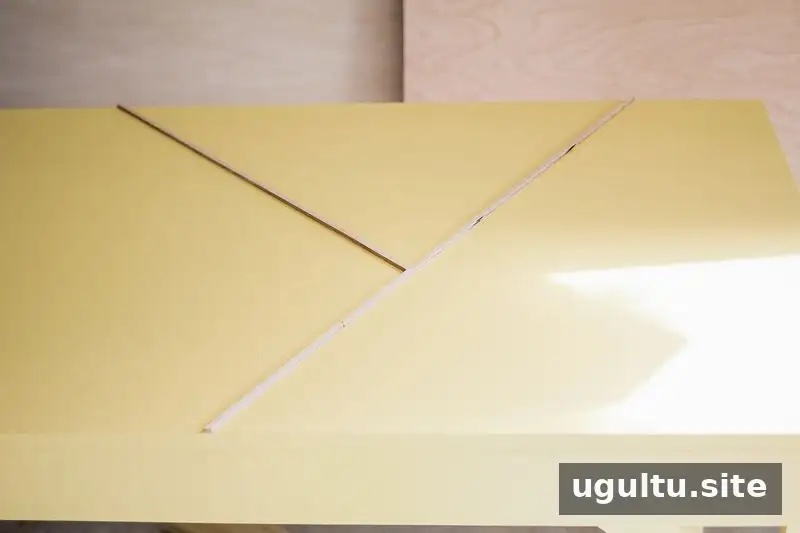
If you are building a desk, make sure it fits the intended space. For a makeover, prepare the existing piece so its surface is suitable for painting. Apply primer, followed by gloss paint. The original desk received three coats of yellow paint, with sanding between coats for a smoother, glossier finish.
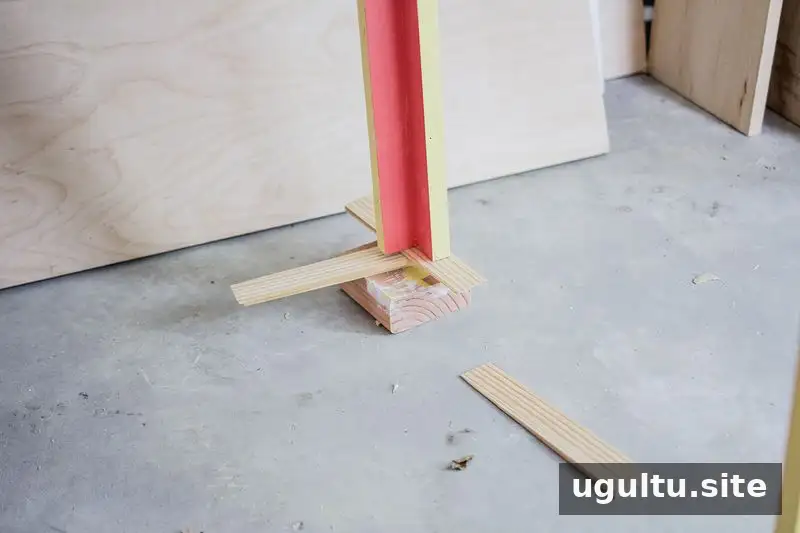
Raise the legs on spare blocks while painting so you can reach the bottom edges without creating paint buildup. Follow the paint label for drying times, and avoid sanding until the coat is ready.
Step 2: Plan and attach the dividers
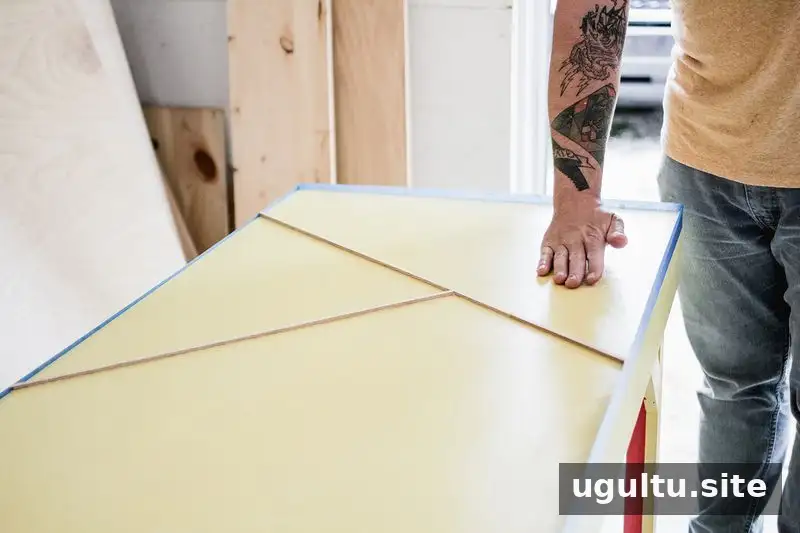
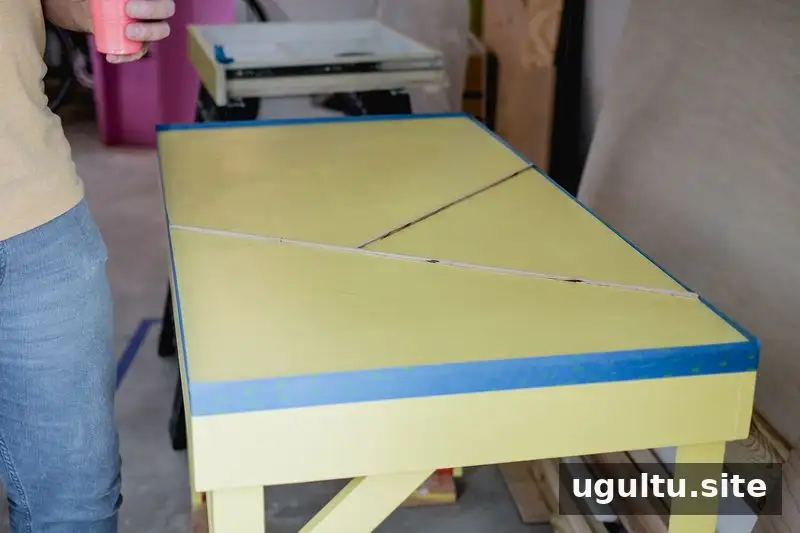
Arrange the thin wood strips on the top to create the geometric sections you want. A simple layout is easy to manage, but the pattern and colors are customizable. Glue the strips in place with wood glue, then allow the adhesive to dry before trimming any overhanging ends. Sand the strips and edges so the dividers are even and smooth.
Step 3: Build a taped edge
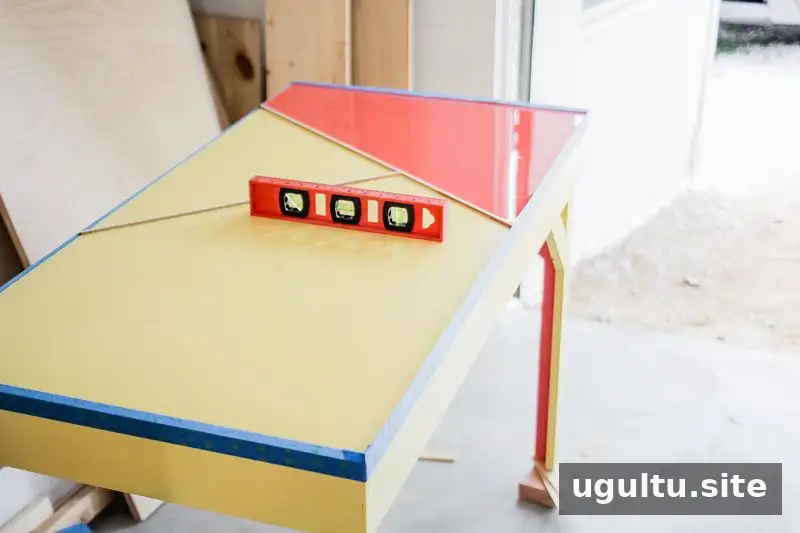
Carefully apply painter’s tape around the outside edge of the desk top. This temporary wall forms a reservoir that holds the poured epoxy. Keep the tape higher than the wood dividers and press it down securely to reduce the chance of leaks. Creasing the tape at each corner can help create a cleaner edge when it is removed.
Step 4: Level the surface and mix the epoxy
Use a level to check the desk from several directions, adjusting its position with shims until the top is even. Keep the surrounding area clean and avoid dusty work nearby while the coating cures, since debris can settle on the wet surface.
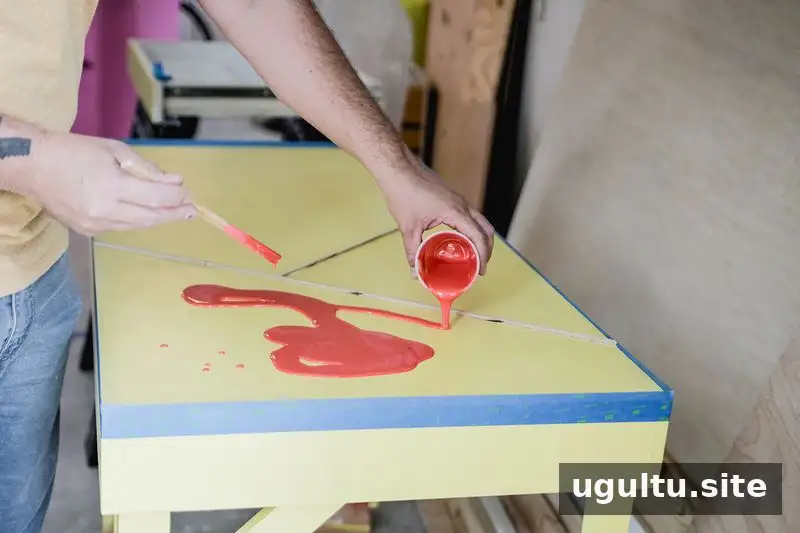
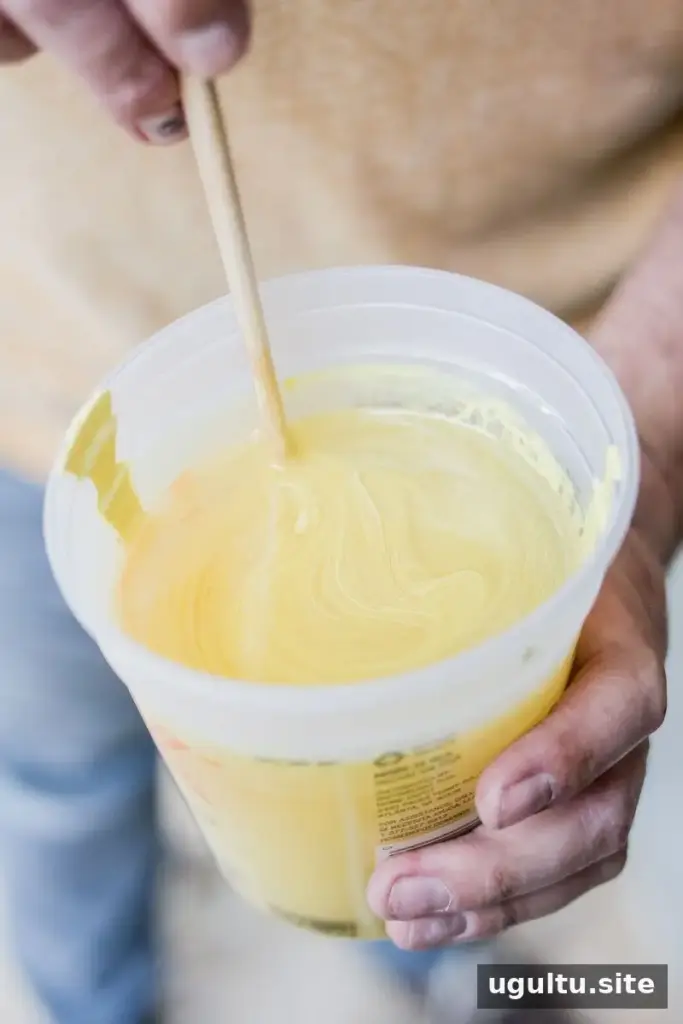
Read and follow the epoxy instructions, including the specified mixing ratio and mixing time. Do not shorten the stirring process. The project used roughly one quart of epoxy at a time, with several batches prepared for each color. After mixing the epoxy as directed, about one tablespoon of glossy interior paint was stirred into each batch as a colorant.
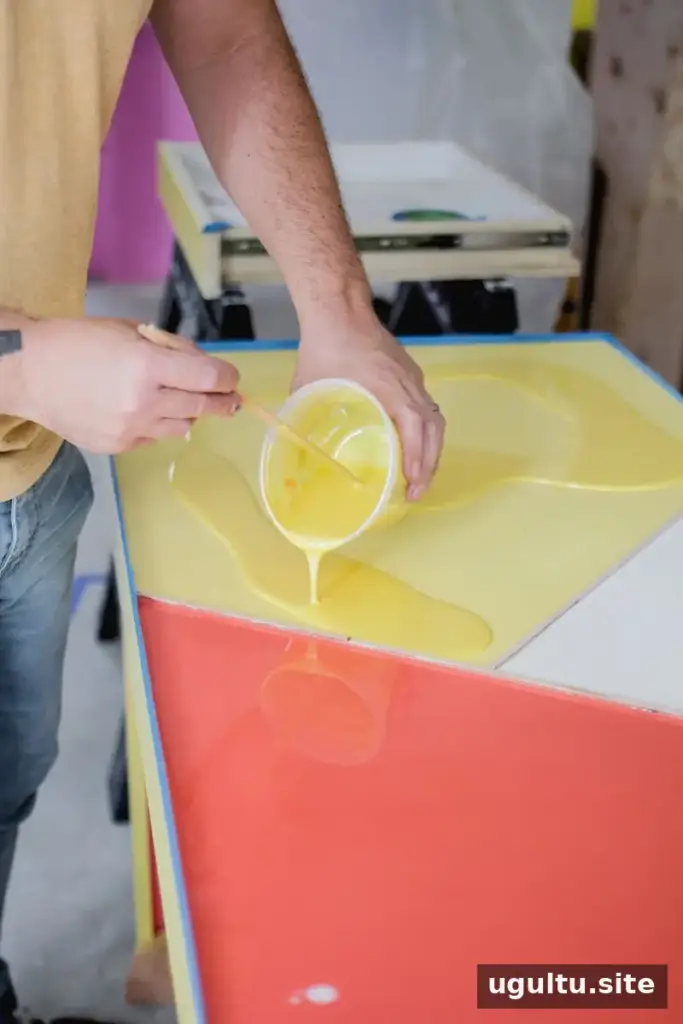
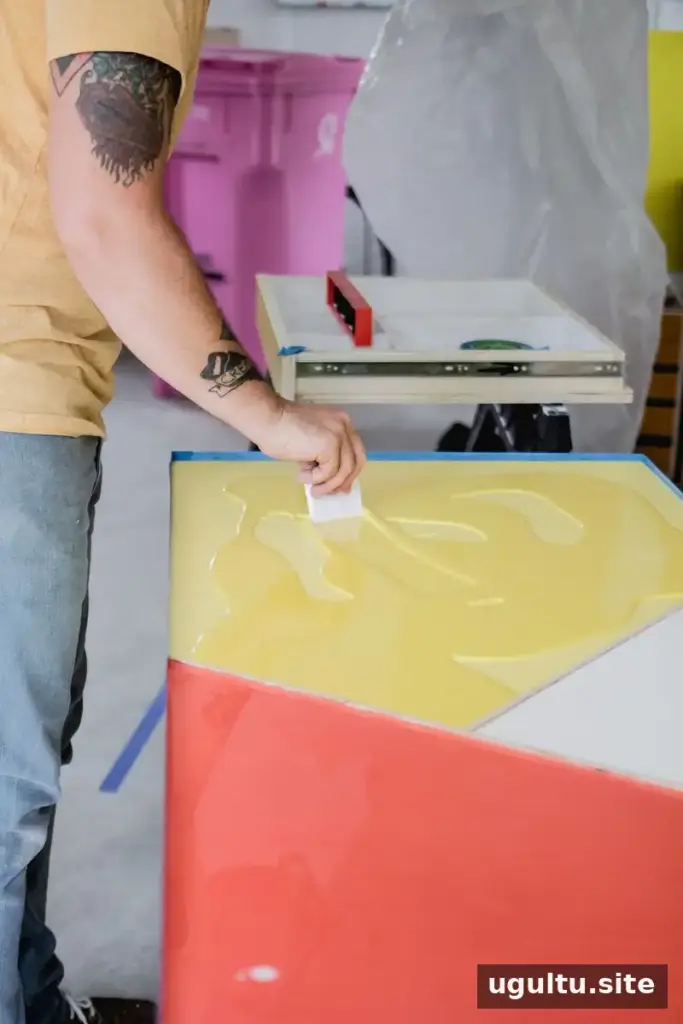
Pour each color into its designated section. Epoxy is self-leveling, but a folded piece of paper can help guide it into corners and across the surface. Add enough to bring each section level with the top of its wood dividers. If a color requires multiple batches, pour them into the same section and let the material settle together.
A clear final coat across the whole desk top can create a more uniform surface, if the coating instructions allow it and you have enough material. It is an optional step; the separate colored sections can also be left as the finished design.
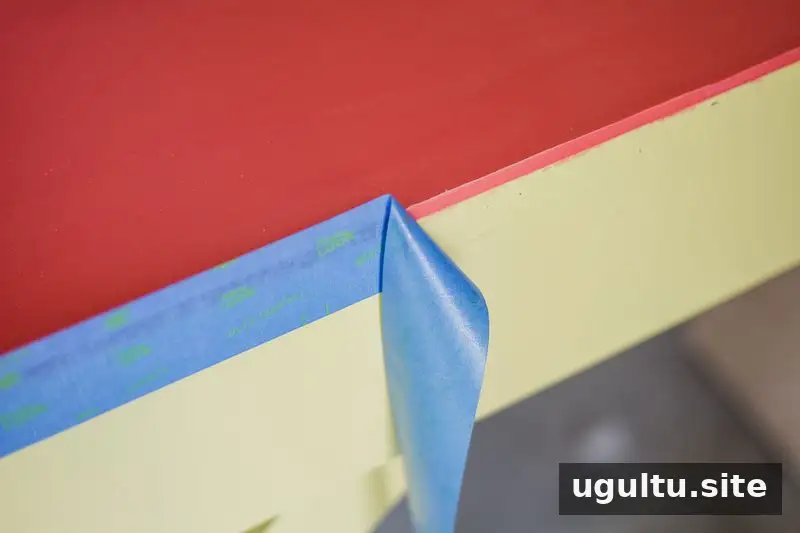
After the epoxy has cured, remove the tape carefully. If a small raised edge remains where the resin met the tape, smooth it with 320-grit sandpaper. Take care not to sand through the coating or damage the painted sections.
Finishing a colorful epoxy desk
Let the surface cure fully before placing objects on it or using it for work. A level setup, careful mixing, and a clean curing area are key to a more even finish. For future projects, test alternative colorants on a sample before applying them to furniture.
—Josh


