admin
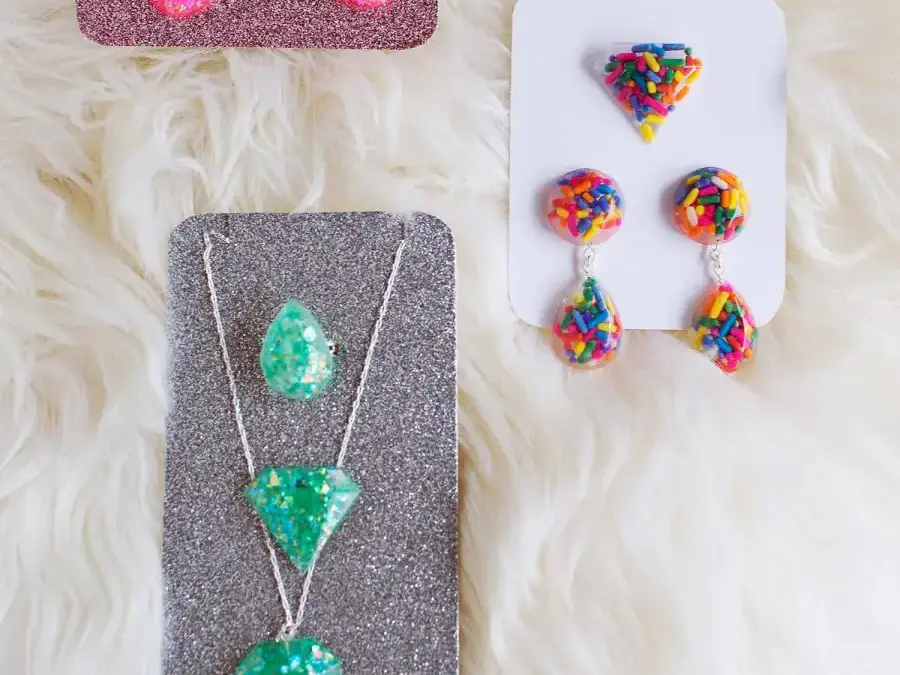
DIY epoxy resin jewelry is a fun way to turn small decorative details into earrings, necklaces, rings, and pins. With a silicone mold and a few basic supplies, you can create coordinated pieces or experiment with different colors and inclusions. Careful measuring, patient bubble removal, and following the resin manufacturer’s instructions will help your finished jewelry look its best.
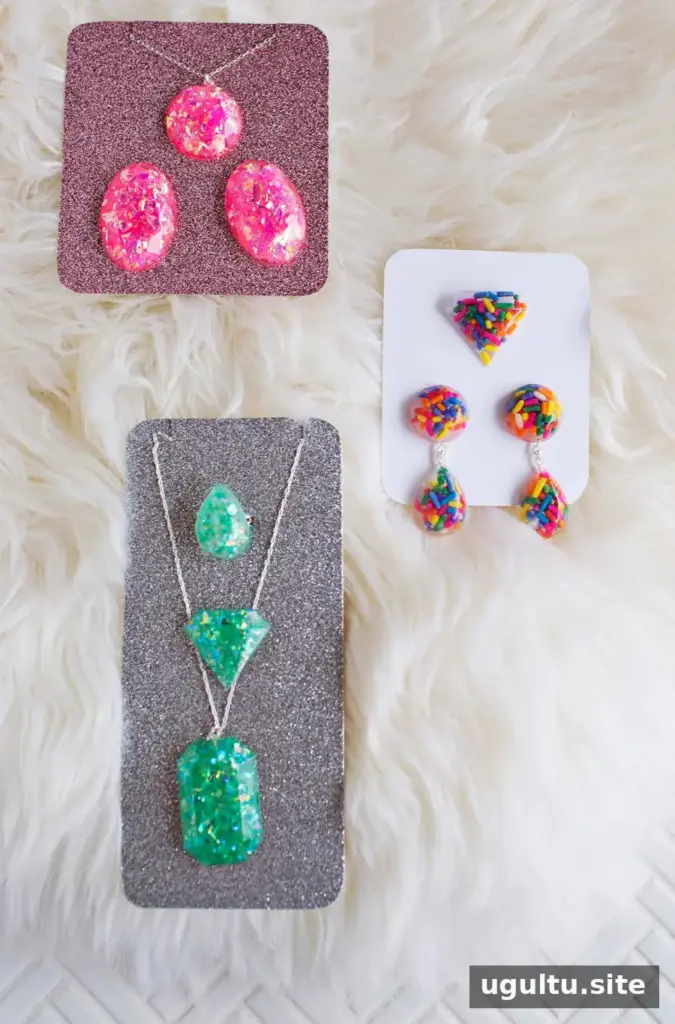

Resin projects offer plenty of room to try different designs. For small jewelry pieces, sprinkles, glitter, and confetti can add color and texture while remaining easy to arrange inside a mold.
Several kinds of accessories can be made using the same process, including earrings, necklaces, rings, and pins.
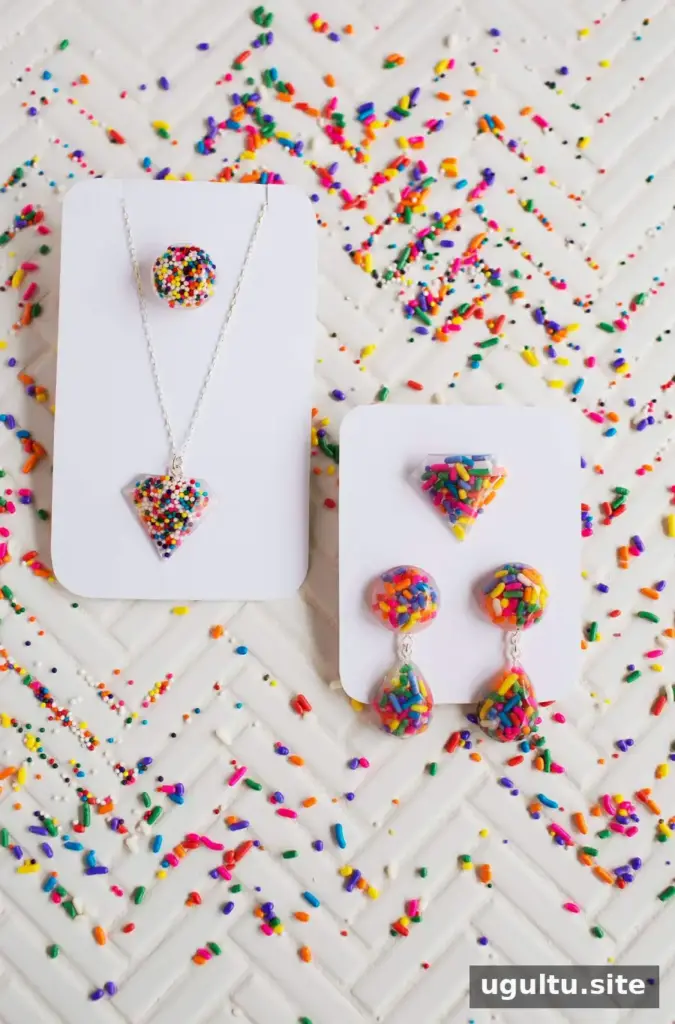

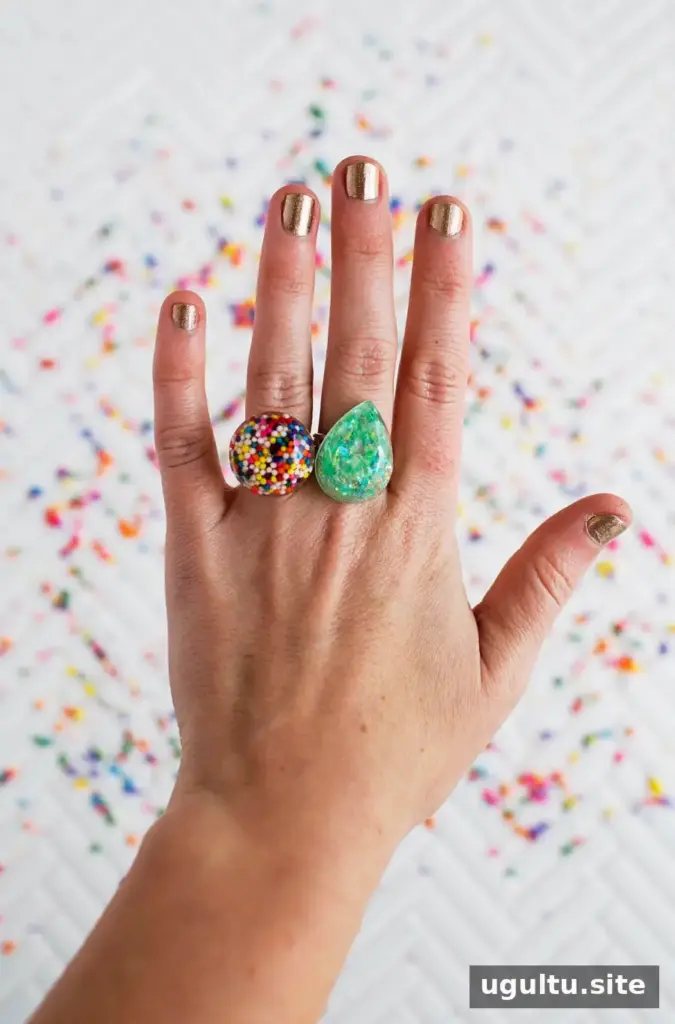
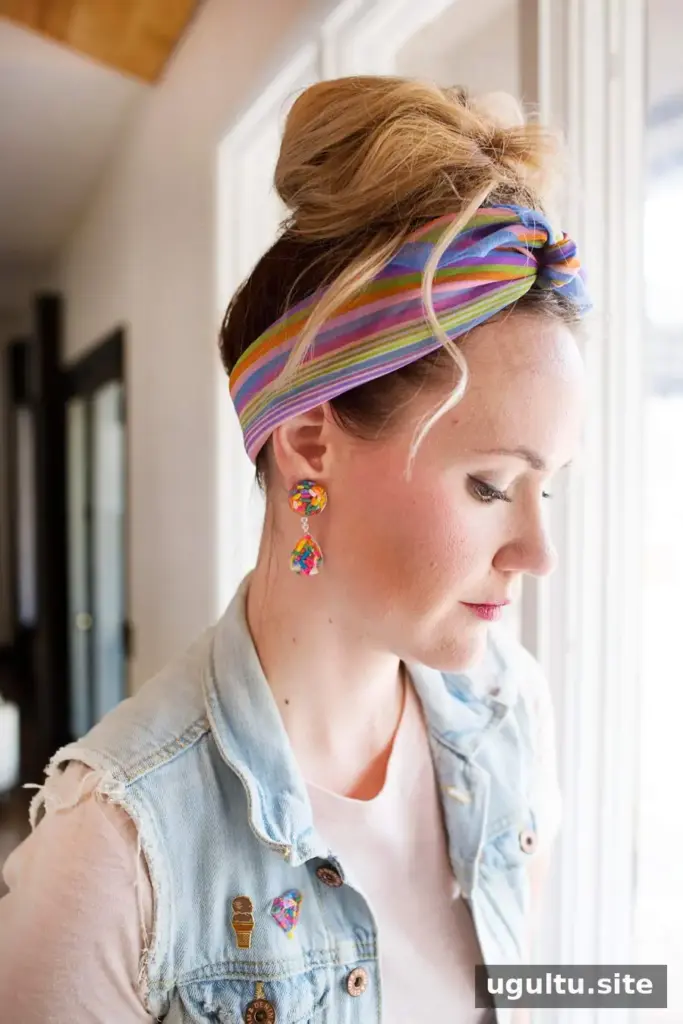
Sprinkle-style decorations make especially playful pieces. Before mixing resin, decide which accessories you want to make and check that your mold and jewelry findings are suitable for the design.
Supplies for DIY Epoxy Resin Jewelry
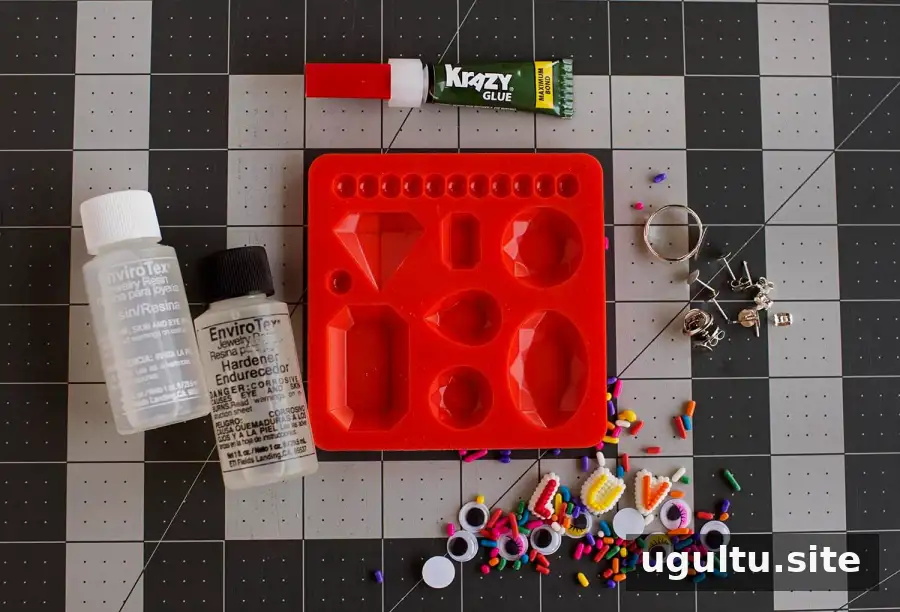
Gather everything before mixing, since epoxy resin has a limited working time. You will need:
- A silicone mold
- An epoxy resin kit
- Jewelry findings and hardware
- Sprinkles, glitter, or confetti
- Jewelry adhesive
- Needle-nose pliers
- Disposable cups and spoons
- Toothpicks
Work in a well-ventilated area and use the protective equipment specified on your resin packaging. Keep the work surface protected, and follow the product’s mixing ratio and safety directions rather than estimating quantities.
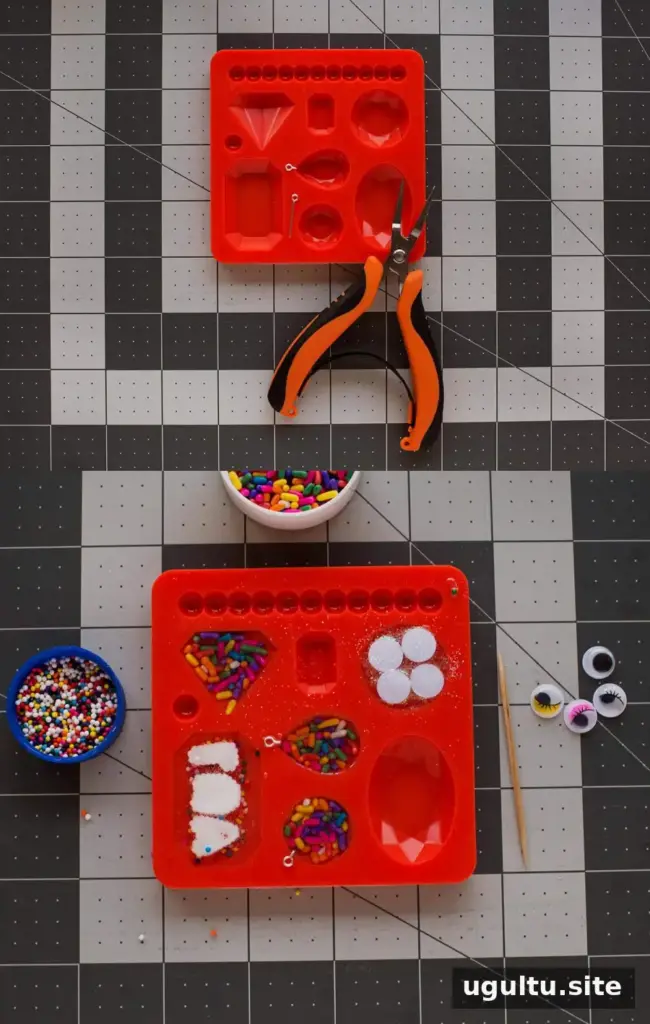
Plastic decorations with movable or delicate parts may not tolerate heat well. In one design, googly eyes were difficult to use because applying heat to release bubbles risked damaging the plastic. Sprinkles, glitter, and confetti are alternatives that are easier to work with in this project.
How to Make Resin Jewelry
1. Prepare the mold and findings
Decide whether you are making earrings, necklace charms, or another piece. If you plan to connect components, bend and place an eye pin in the mold before adding resin. Position it carefully so it will be secure once the resin cures.
2. Mix the epoxy resin
Follow the instructions included with your resin kit. Use clean disposable cups and spoons if the supplied ones are too small for the amount you need. For just a few pieces, mix only the amount required, plus a small allowance for waste.
The resin used for this project had a working time of about 20 minutes after mixing. Working times vary by product, so check the package and prepare to pour promptly. Fill each mold about halfway to start.
3. Add and position the decorations
Place the decorative items into the resin. Use a toothpick to spread them evenly and gently push them beneath the surface. Check again after a few minutes; lightweight pieces such as sprinkles can drift or gather in one area.
4. Release surface bubbles carefully
Use a heat gun or kitchen torch to warm the surface briefly, moving it across each piece rather than holding it in one spot. Apply heat cautiously and keep flammable materials away. Avoid heating decorations that could melt or burn.
Pause for a few minutes and inspect the molds again, repeating the process carefully if new bubbles rise. Removing surface bubbles in stages can help prevent a cloudy appearance. Always follow the resin maker’s directions for heat and curing.
5. Cure and assemble the jewelry
Leave the resin to set for the time stated on its packaging. The product used for this project required approximately 12–24 hours, but curing times differ between formulas and conditions. Do not remove pieces until they are fully cured.
Once cured, take the pieces out of the mold and attach pin or ring backs, or flat earring posts, using an appropriate jewelry adhesive. Allow the adhesive to dry completely before wearing the jewelry.
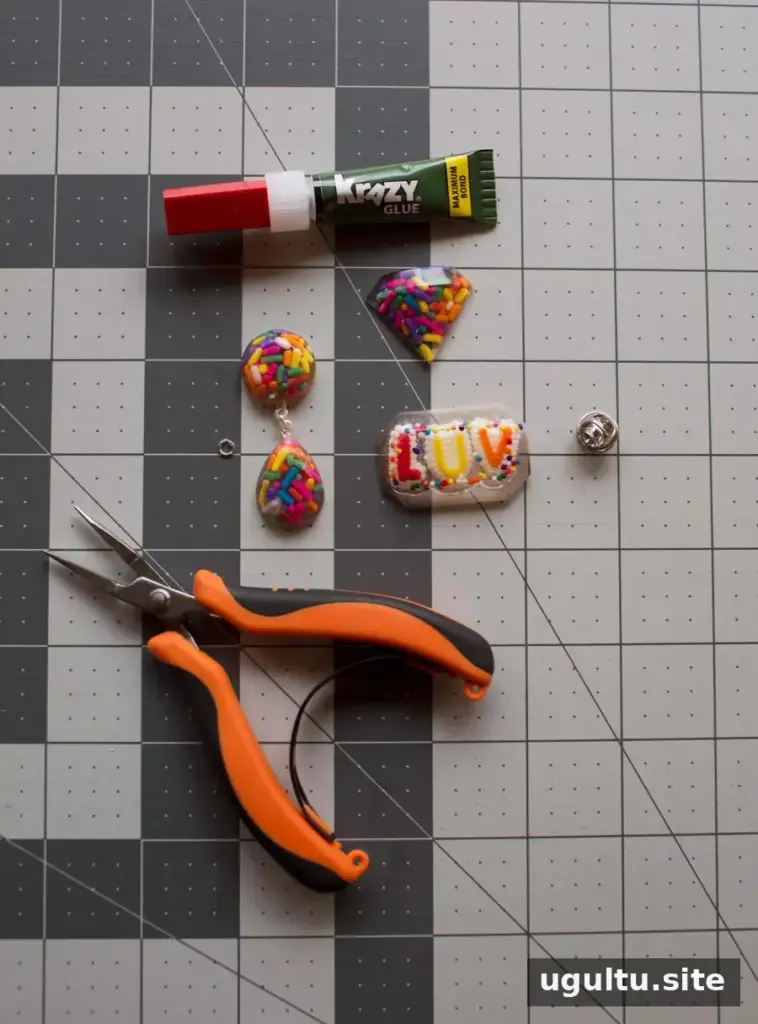
Making matching pieces can create a coordinated set, though each item can also be worn separately. For a gift, arrange the finished jewelry on a simple cardstock display card; glitter cardstock can complement the colorful designs.
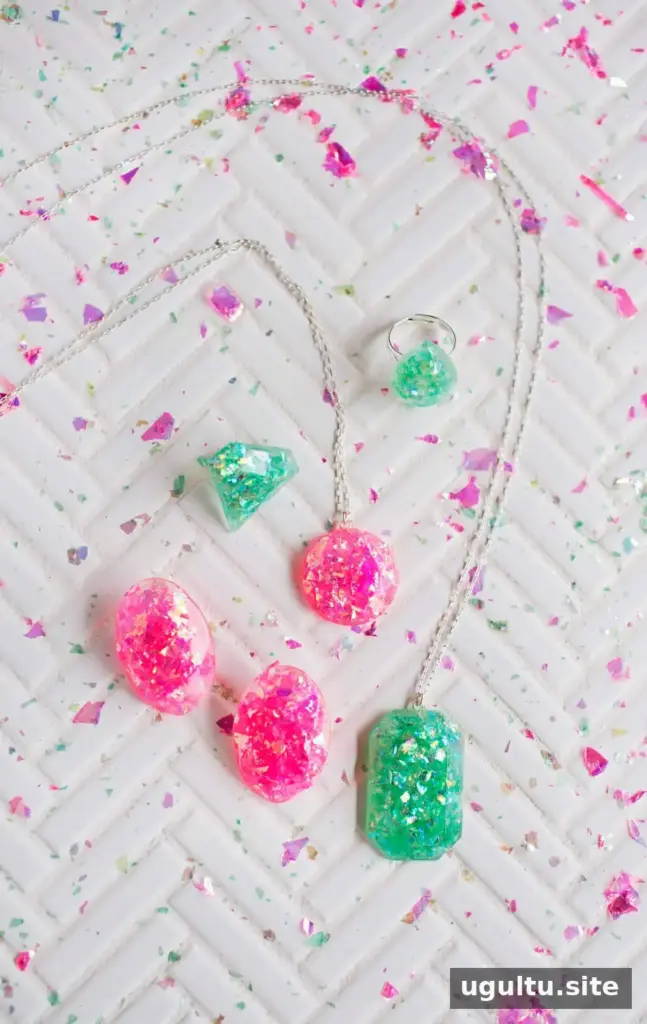
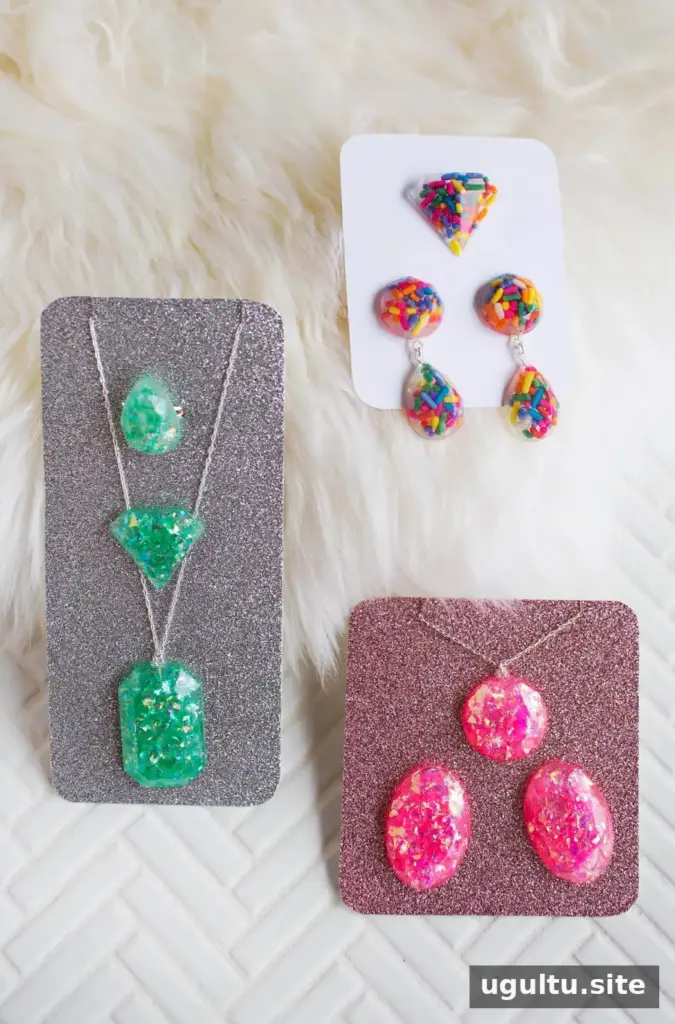

With a little planning and careful attention to mixing, heating, and curing, DIY epoxy resin jewelry can be customized in many ways. Start with a small batch, follow the product instructions, and choose decorations that can safely withstand the process.
— Emma