
 admin
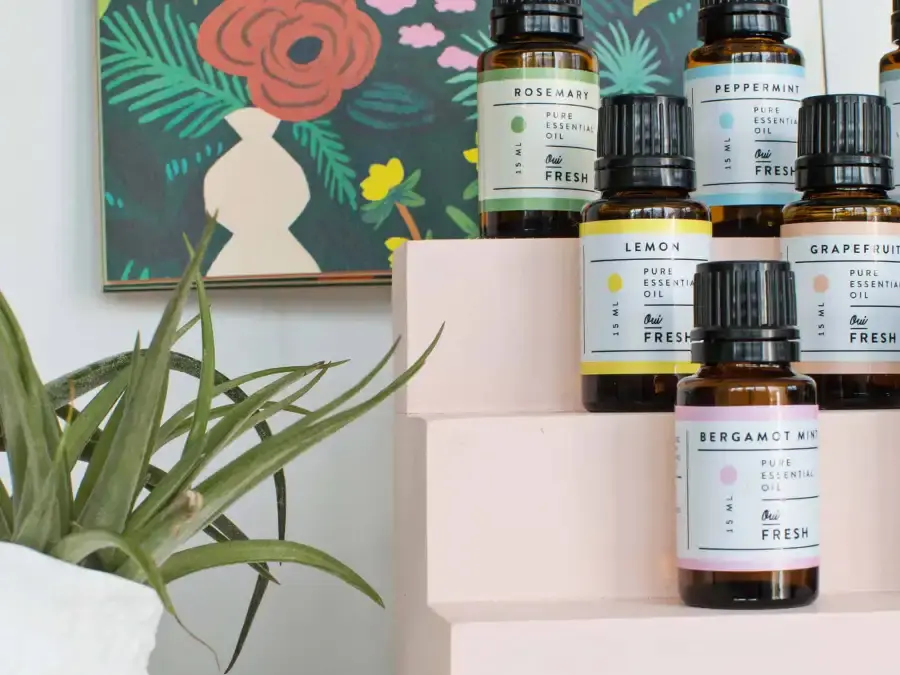
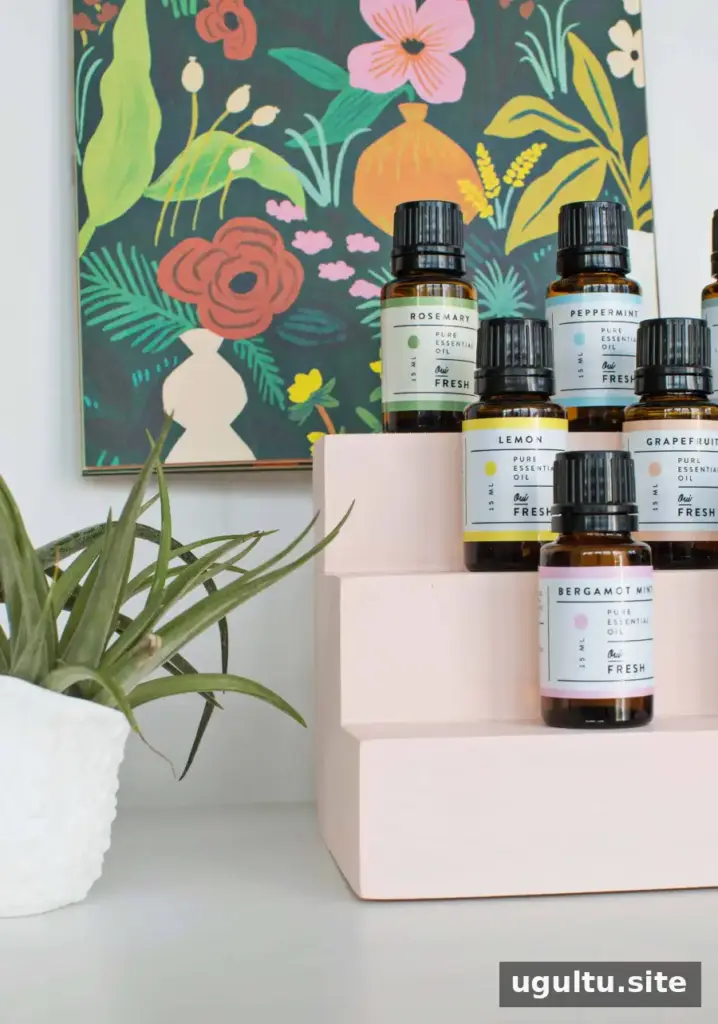
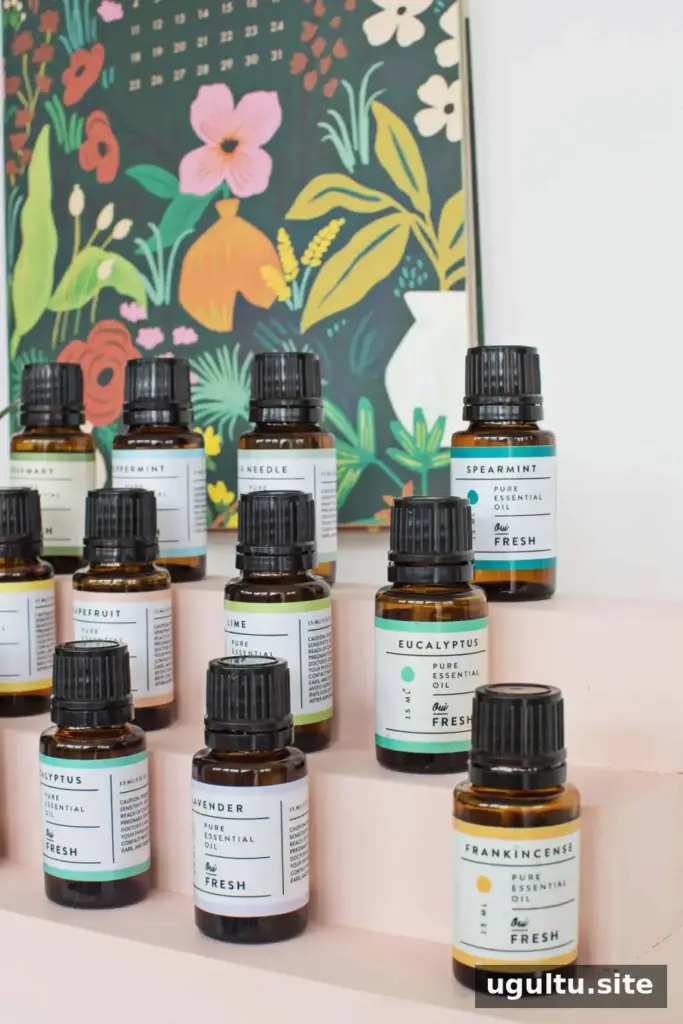
Small essential oil bottles can be difficult to organize: drawers hide their labels, while bottles lined up on a counter can make the space feel cluttered. This DIY essential oil organizer creates a compact, stair-step display so bottles are easier to see and reach. You can adjust the width to suit your collection and choose a finish that works with your home.
Why make a DIY essential oil organizer?
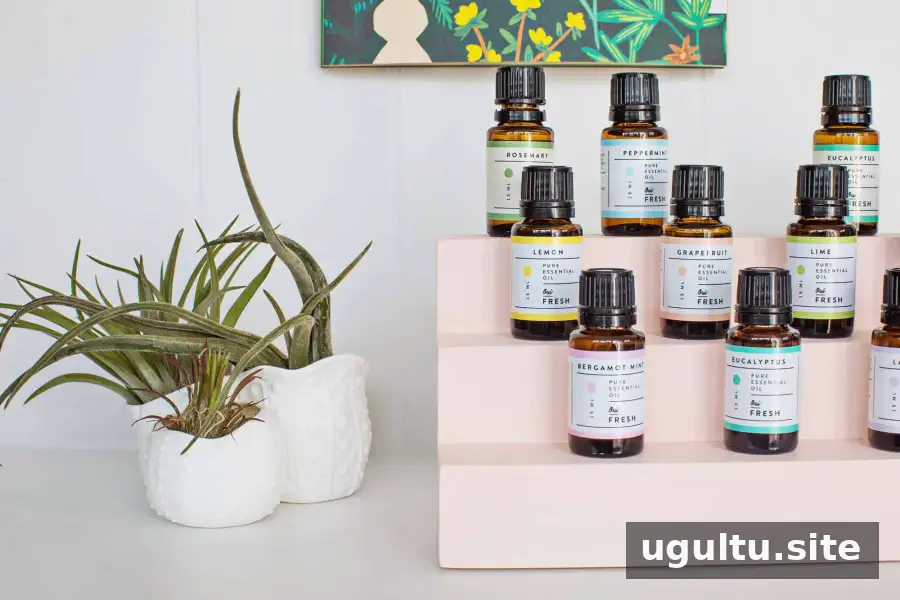
The stepped design gives bottles on the back rows more visibility than a flat storage surface. Make the organizer shorter by cutting the wood pieces to a smaller length, or keep the full dimensions for a larger collection. For a natural look, leave the wood unpainted and seal it with beeswax; alternatively, paint it to complement your decor.
A hardware store that offers wood-cutting services can prepare the pieces for you. Before buying, check that the boards are straight. Warped wood can make it harder to align the edges and create a neat set of steps.
Materials and tools
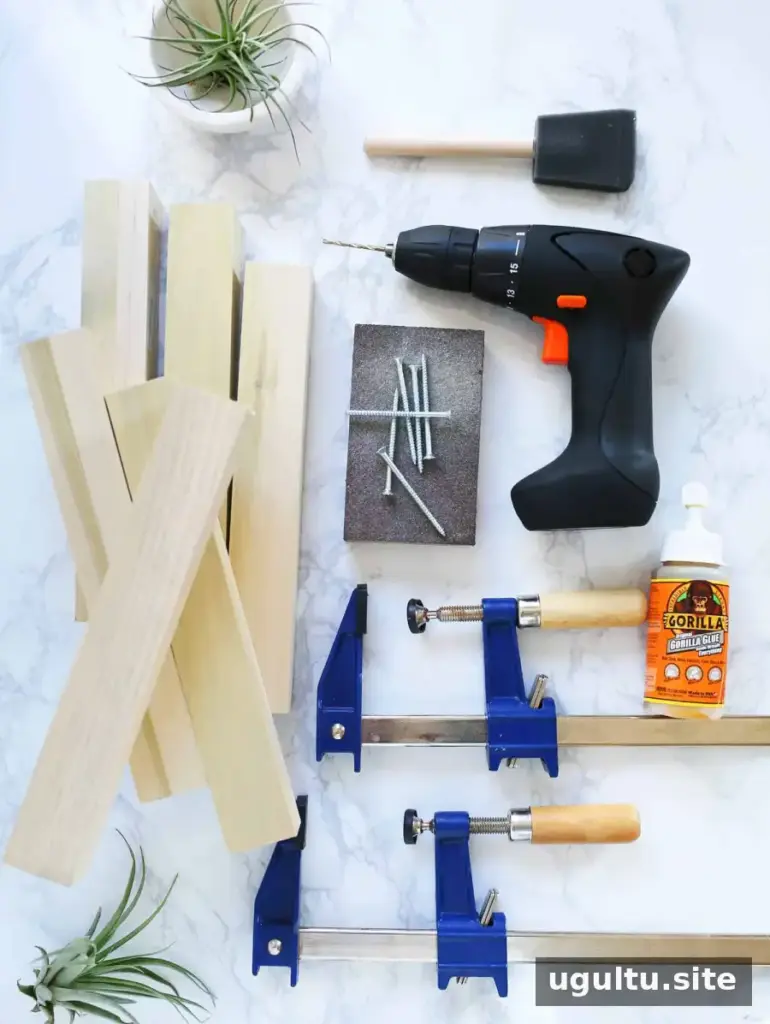
- Two 1.5-inch x 1.5-inch x 36-inch poplar pieces
- Two bar clamps
- Gorilla Glue
- Sanding sponge or sandpaper block
- 2-inch wood screws (optional)
- Power drill and drill bit (optional)
- Cardboard to protect the work surface
- Paper towel
The boards should be cut into six equal 10-inch pieces. If you want a narrower organizer, ask for shorter pieces instead. Cover the work surface before gluing, and keep a paper towel nearby for removing fresh excess glue.
How to build the organizer
1. Prepare and glue the first section
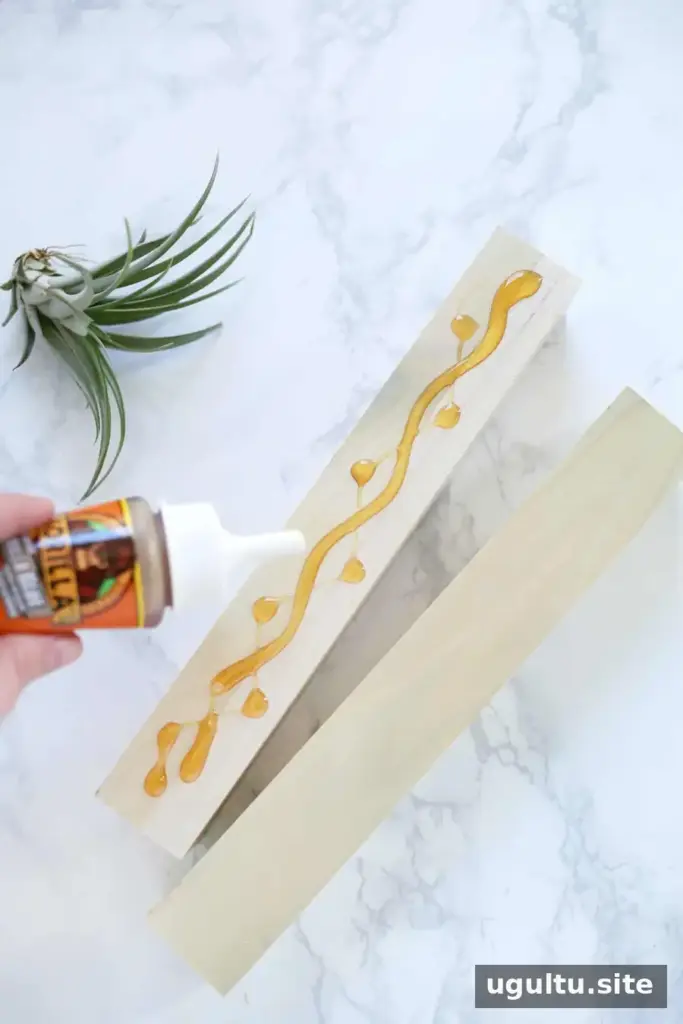
Have each board cut into three 10-inch lengths, giving you six pieces in total. Apply a thin, wavy line of Gorilla Glue down the center of one piece. Use a modest amount: this glue expands as it dries and can squeeze out around the edges.
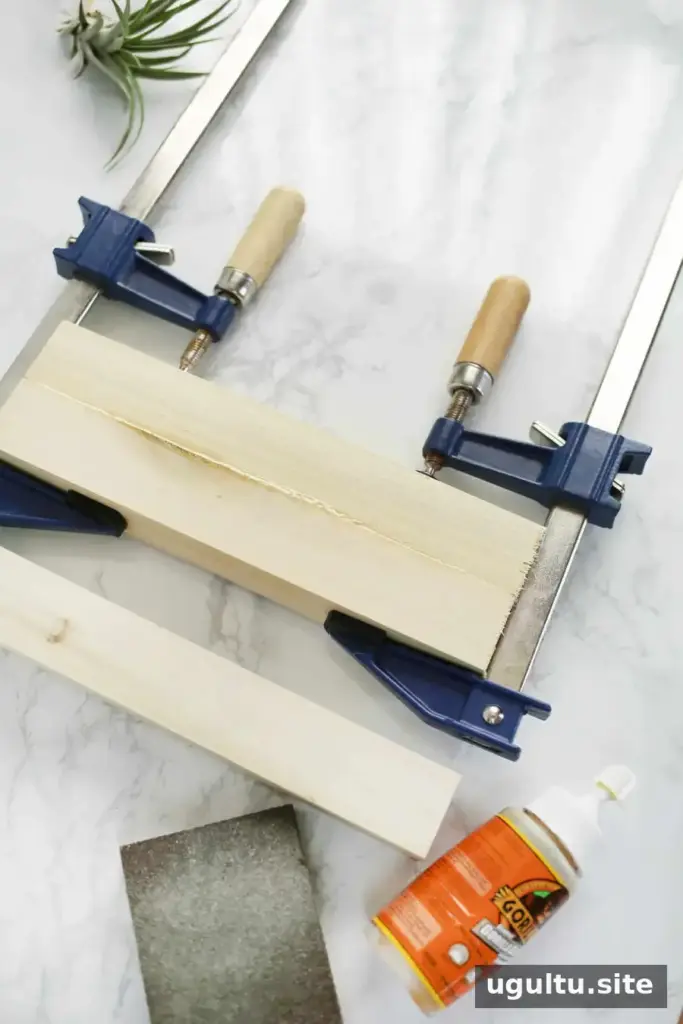
Place a second piece against the first, aligning the edges, then clamp the pieces on the covered work surface. Check the alignment after tightening the clamps and wipe away excess glue. Let the glue set for one hour before adding the third piece to complete this section.
2. Make the second section
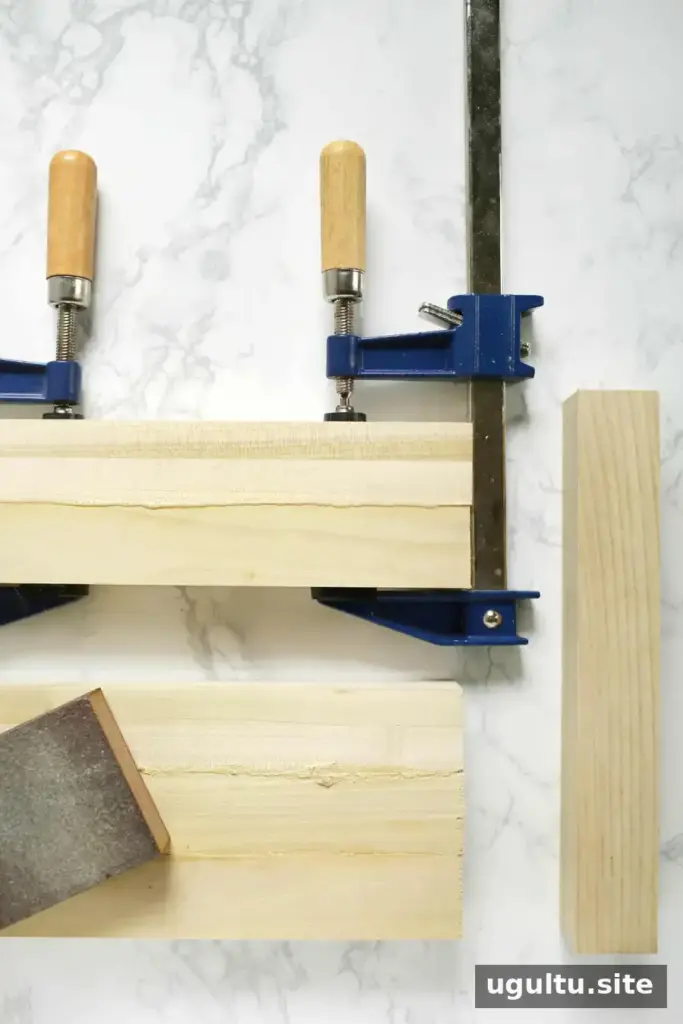
Repeat the process with two more wood pieces to create the next section. Wipe away fresh glue with a damp paper towel. Once the glue has dried, sand any residue at the seams so the surfaces are ready to join.
3. Assemble the stair-step shape
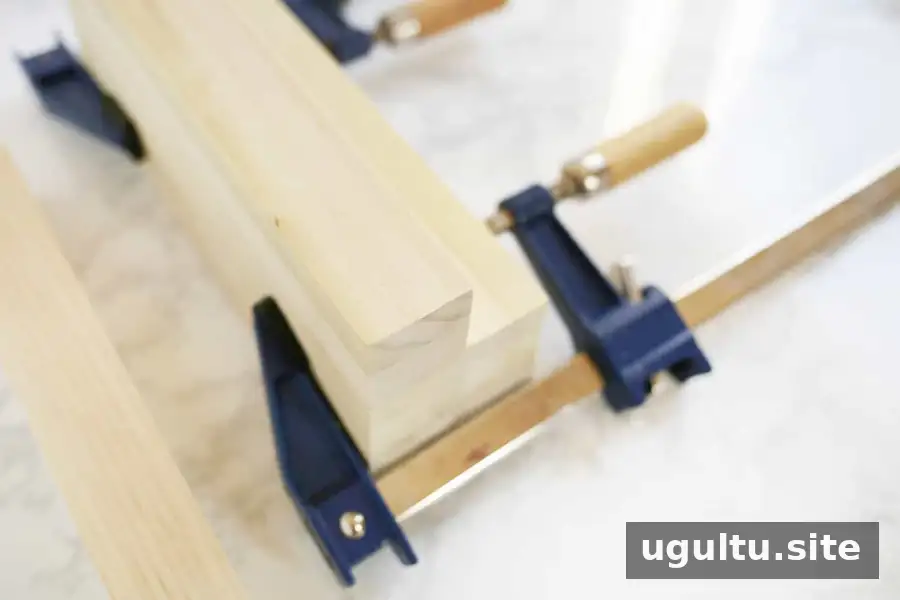
When both sections are dry, line them up along one long edge to create the stair-step profile. Glue and clamp them together, checking that the edges remain aligned. Wipe off excess glue and allow the joint to dry. Attach the final piece to complete the top step.
4. Sand and finish
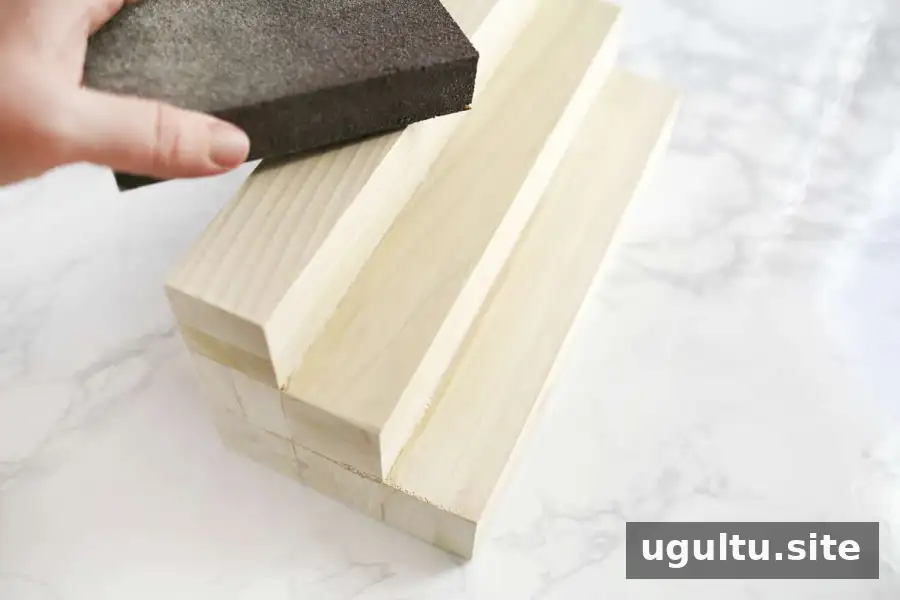
After all the glued joints have dried, smooth rough edges and excess glue with a sanding sponge or a power sander. Wipe away the dust with a damp cloth. Paint the organizer or apply beeswax as a finish, following the finish product’s instructions.
Placement and storage tips
Keep essential oils out of direct sunlight. Place the finished organizer in a shaded spot, such as inside a cabinet, where the bottles are still easy to access. Before setting it in place, make sure the finish is dry and the organizer sits securely on a level surface.
Conclusion
This DIY essential oil organizer turns six poplar blocks into a simple, customizable display. Straight boards, careful alignment, and enough drying time help create a tidy stair-step stand. Choose a length that suits your collection, finish it to match your space, and store the oils away from direct sunlight.


