
 admin
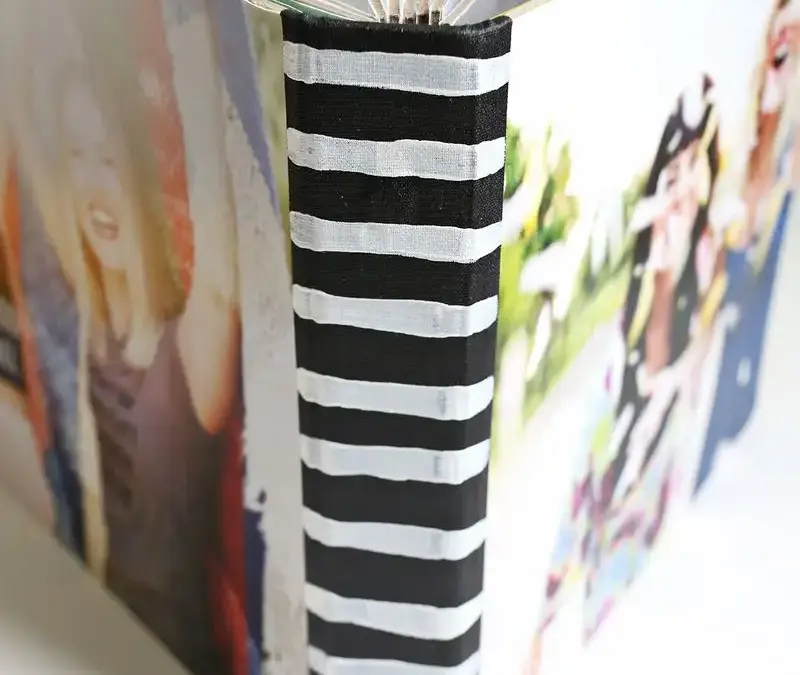
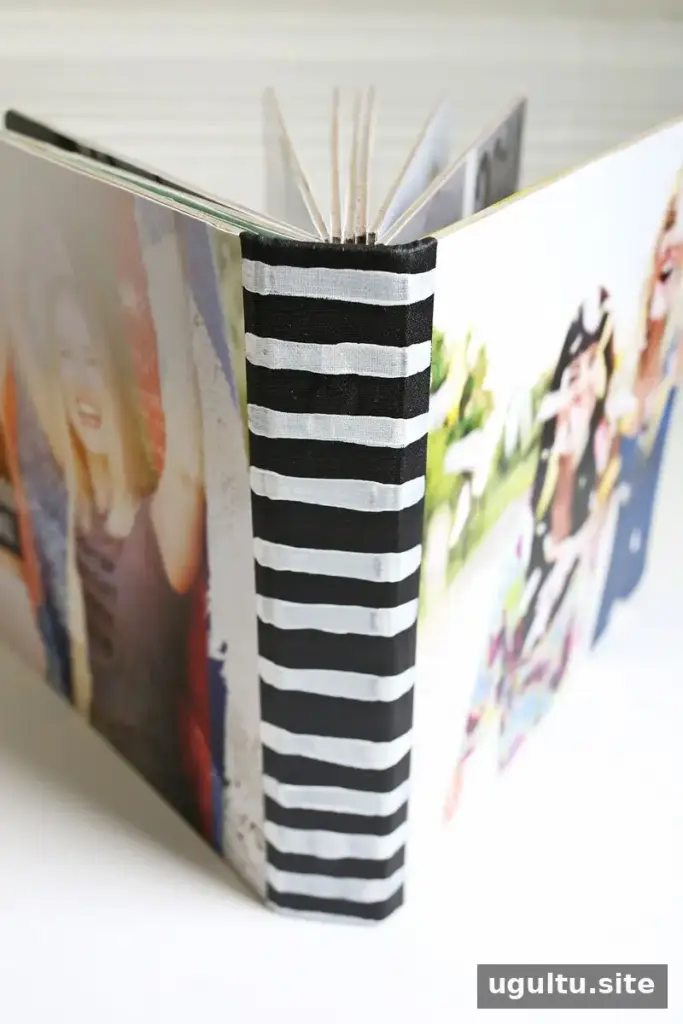
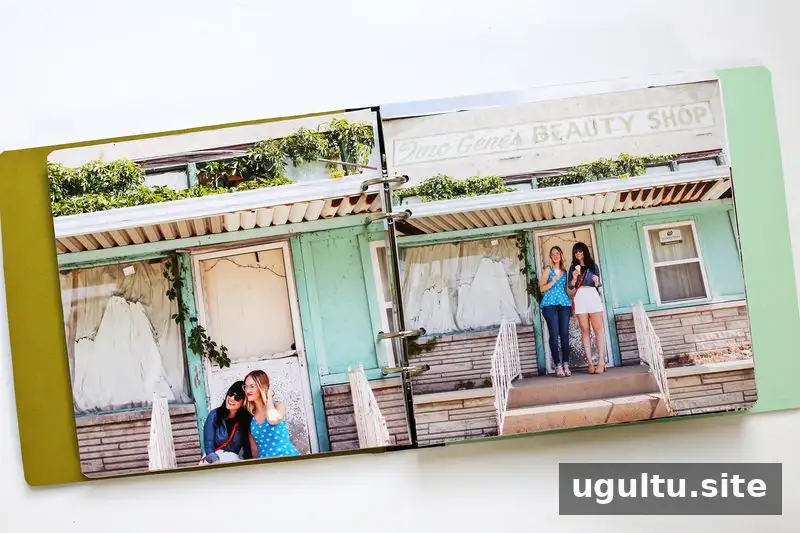
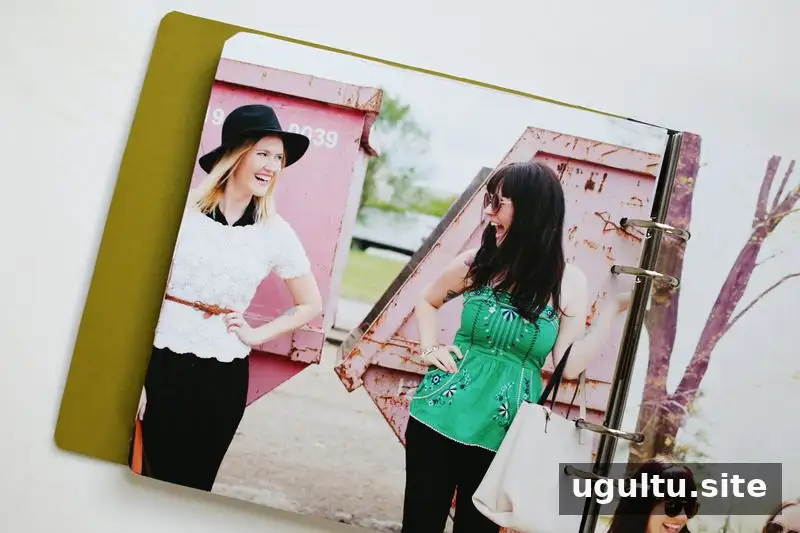
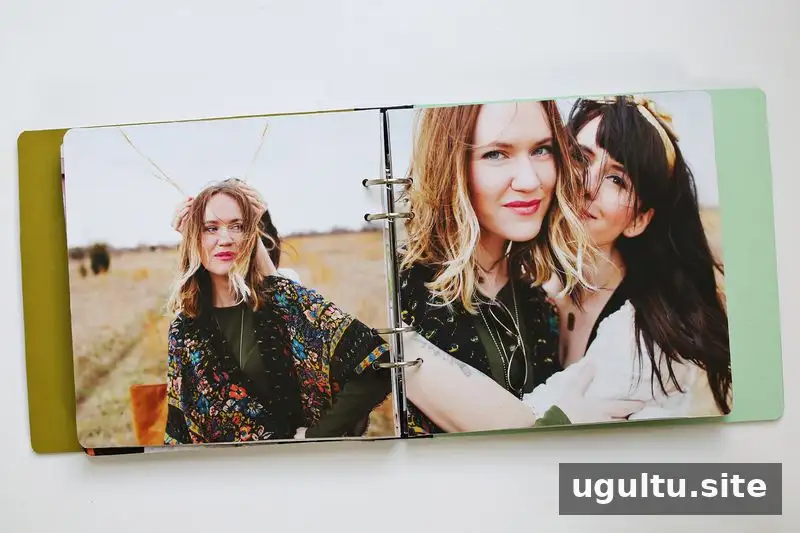
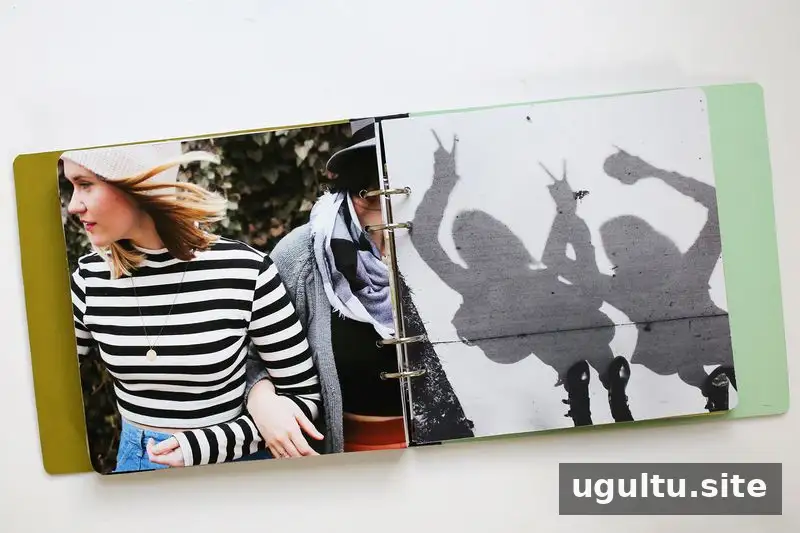
A sister photo book is a thoughtful way to preserve shared memories and turn favorite pictures into a keepsake. This chipboard album uses full-page photos and a three-ring binder-style format, making it a straightforward scrapbooking project that can be personalized for a birthday, holiday, or just because.
The album featured here gathers photographs taken together over the course of a year. Printing the images gives them a lasting place outside a phone or computer, while a personal note makes the finished book feel especially meaningful.

Before starting, choose photos that tell a story or capture a particular season of your relationship. A consistent photo orientation can make layout and trimming easier, but a mix of images can also give the album a more spontaneous feel.
Supplies for a sister photo book
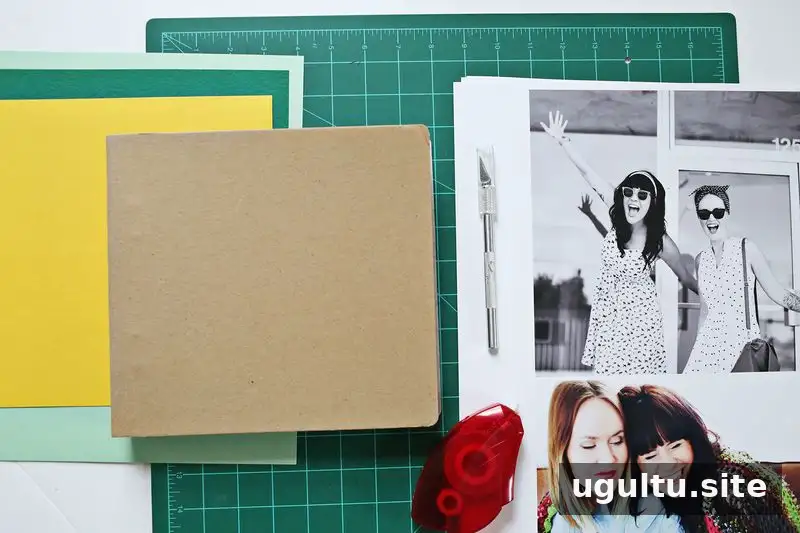
Gather the following materials before assembling the album:
- Chipboard album with binder rings
- Two pieces of colored cardstock
- Printed photos sized to cover the pages
- Scrapbook adhesive
- Scissors
- X-Acto knife
- Black bookbinding tape
- Crop-A-Dile tool
- Black and white acrylic paint
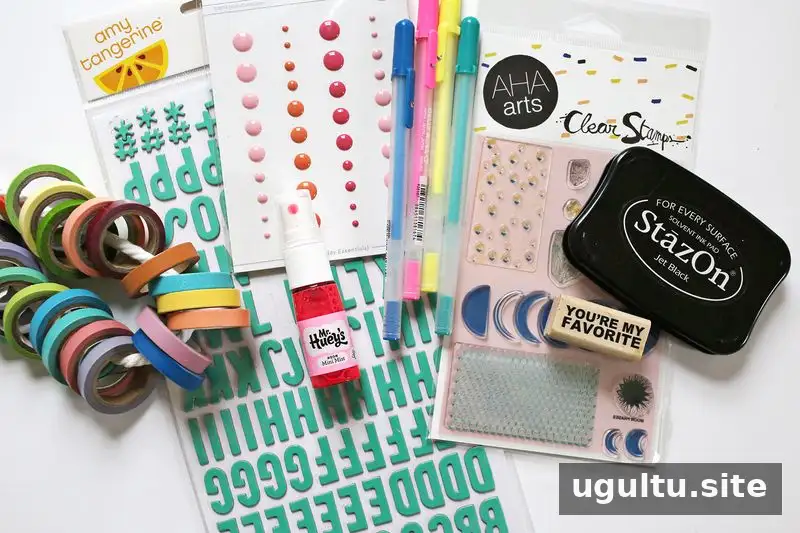
Decorative supplies are optional. Stamps, letter stickers, washi tape, paint mists, and stickers can add color or captions. For a clean, photo-focused style, keep embellishments limited and let the pictures take the lead.
Prepare and print the photos
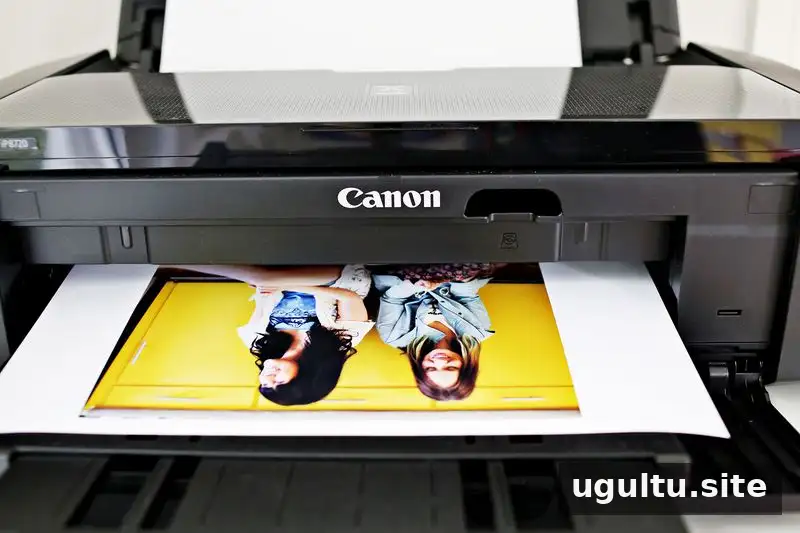
Measure the album cover and every page before printing. Add 1/2 inch to each side of the photo dimensions so the paper extends beyond the chipboard edges. This extra margin gives you room to trim the prints flush after attaching them.
The photos for this project were printed on a PIXMA iP8720, which supports prints up to 13 inches by 19 inches and can fit multiple images on a sheet. When choosing print settings, check that the image size matches your measurements and allow the ink to dry before handling the prints.
Assemble the chipboard album
Attach the photos
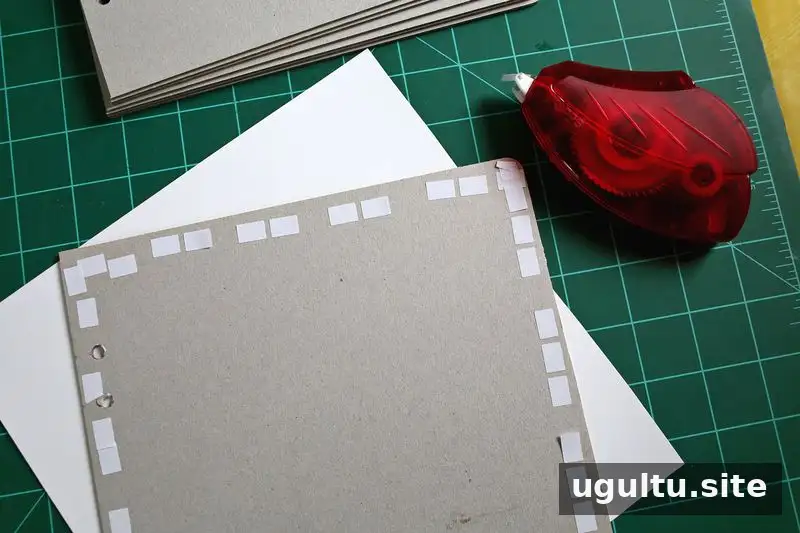
Apply scrapbook adhesive around the outer edge of one chipboard page. Position it on the back of a photo, centering the board so the extra paper extends evenly on every side. Repeat for the other pages and both sides of each page as needed.
Trim the edges and restore the holes
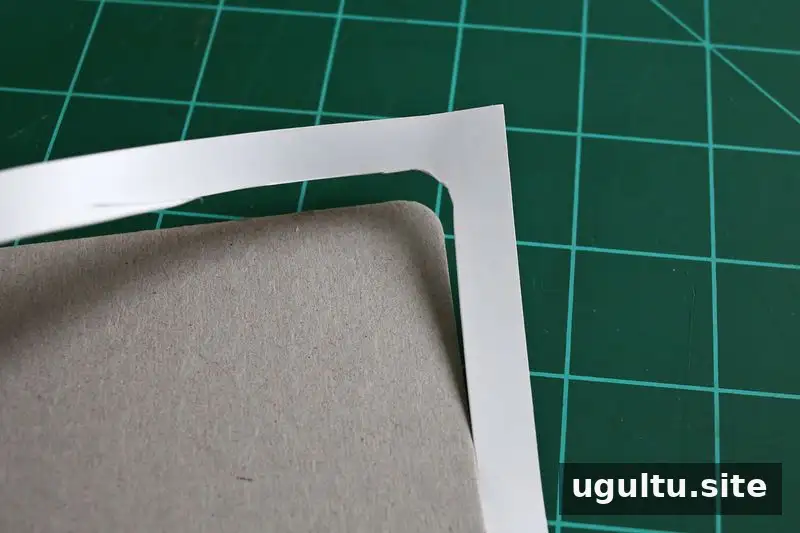
Trim away the excess photo paper with scissors or an X-Acto knife. A craft knife can help create neat curves at the corners. Work slowly and use a suitable cutting surface to protect the table and keep the cuts controlled. Once both sides of a page are covered, use another album page as a guide to line up and re-punch the binder holes with a Crop-A-Dile tool.
Finish the cover and inside panels
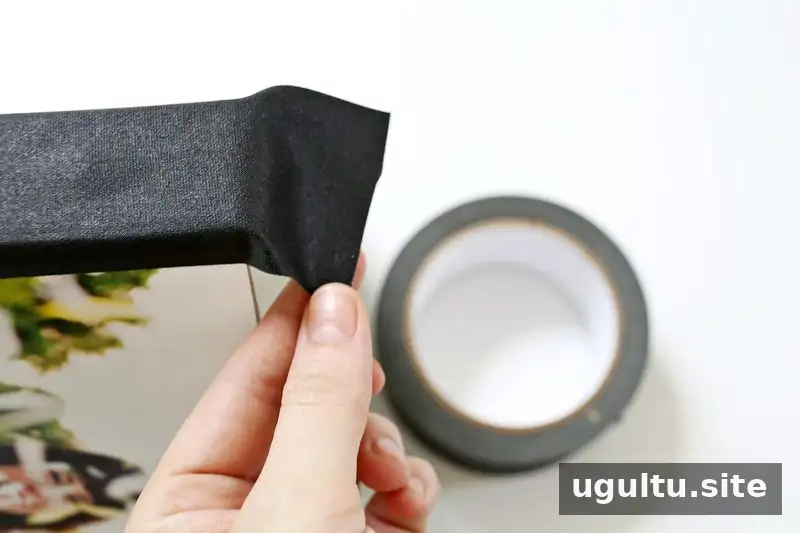
After attaching the cover photos, apply bookbinding tape to secure the paper edges and cover the spine.
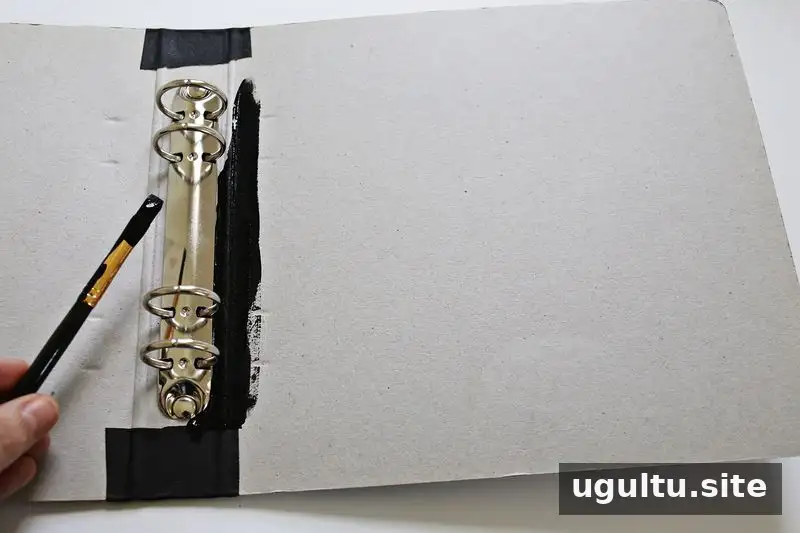
Add black paint around the binder clips for a more finished appearance. Let the paint dry fully before closing or handling the album.
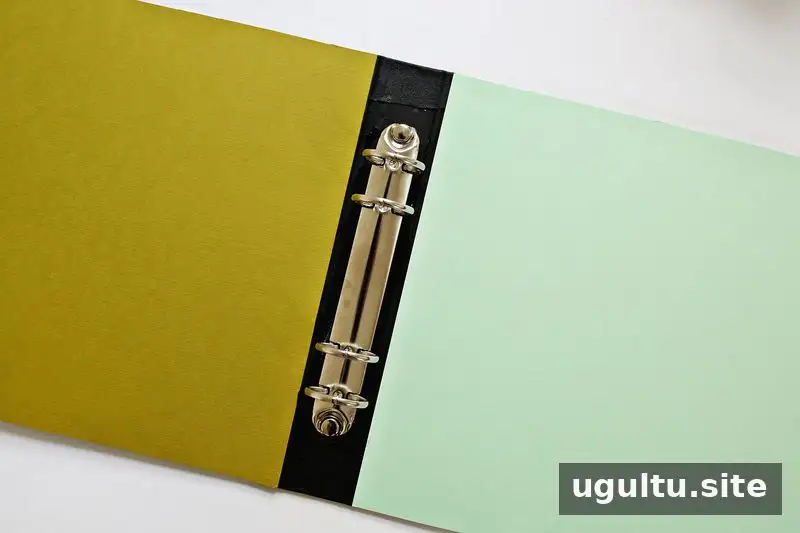
Adhere colored cardstock to the inside of both cover panels. Using two different colors is an easy way to add contrast without making the design complicated.
Personalize the pages and add a note

Once the structure is complete, decorate the pages to suit the recipient. A few small accents can highlight dates or memories, while a minimal approach keeps attention on the photographs. Consider arranging images in chronological order or grouping them by event to make the album easy to browse.
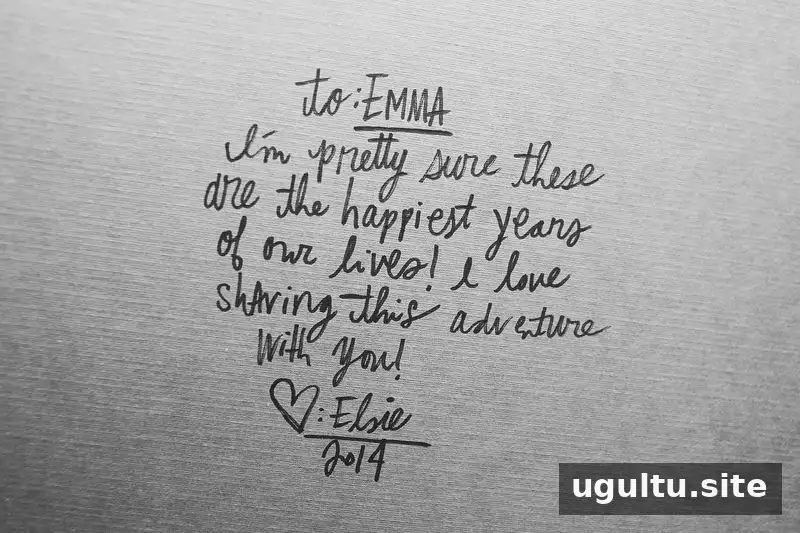
Add a handwritten note, a short caption, or a message on an inside page. Personal words can explain why certain pictures matter and make the album more than a collection of images.
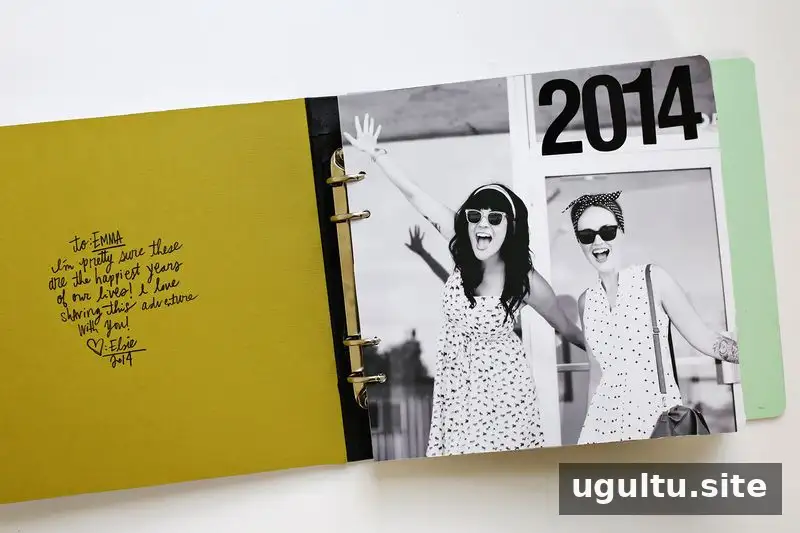
The album is complete once the pages are assembled and decorated. This project took two days, largely because trimming the photo paper is a detailed, time-consuming step. Taking breaks and checking each edge before moving on can help keep the cuts neat.


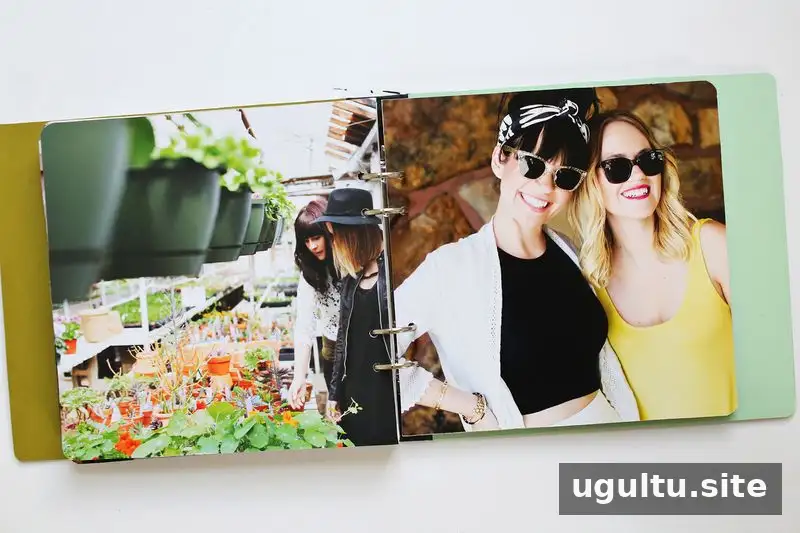
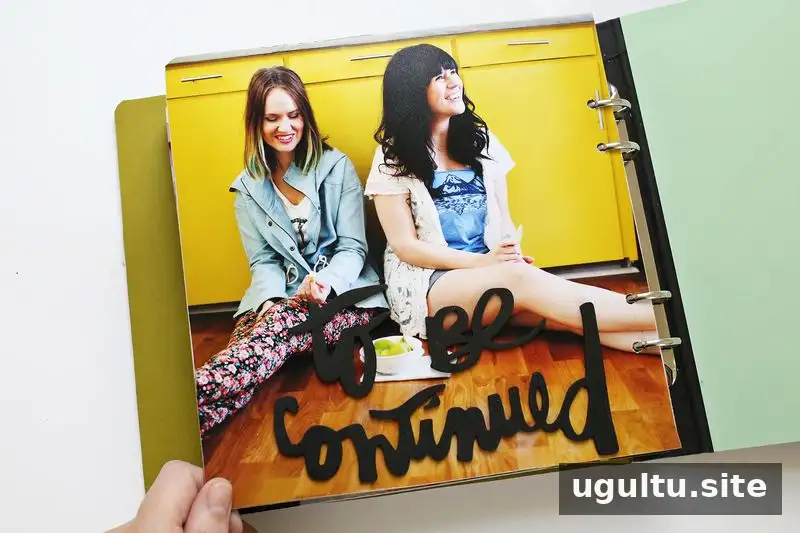
A closing phrase such as “to be continued” can give the album a playful ending. Foam letters or other simple page accents work well for a short final message.
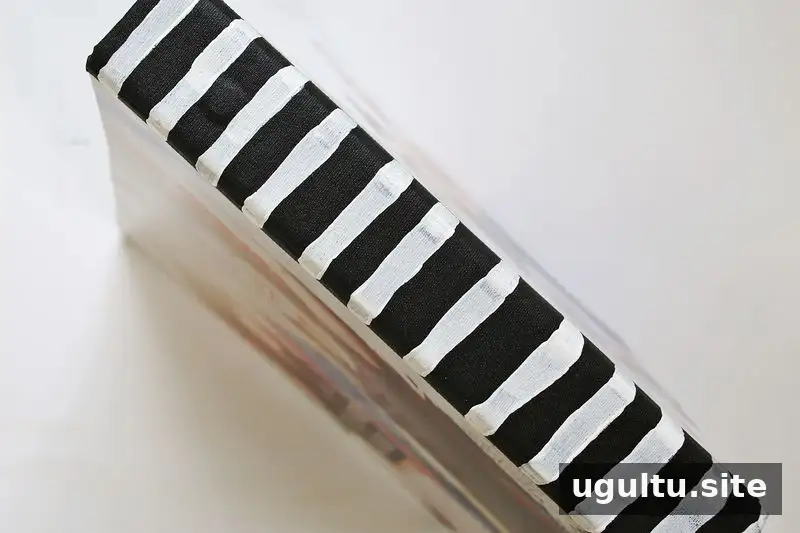
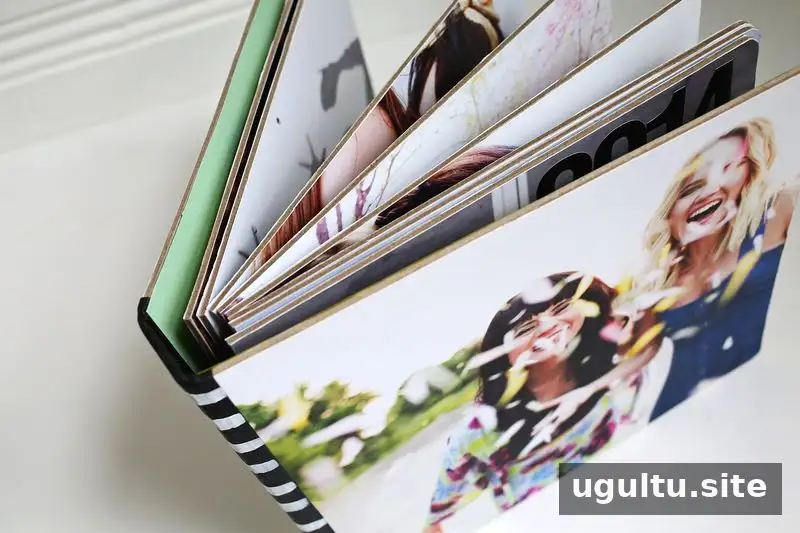
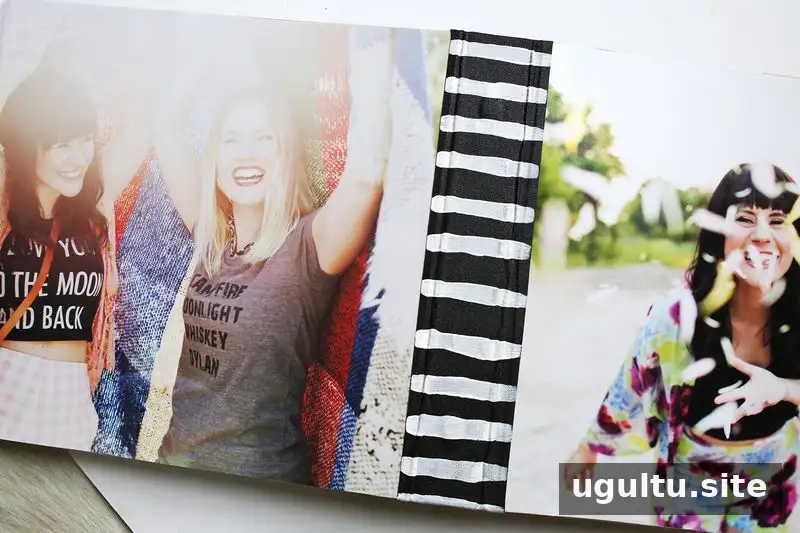
For a final detail, add painted stripes to the bookbinding tape on the cover. The finished album is a personal gift and a practical way to keep printed memories together. A sister photo book can be adapted to any collection of shared moments by changing the photos, colors, and message. By Elsie


