
 admin
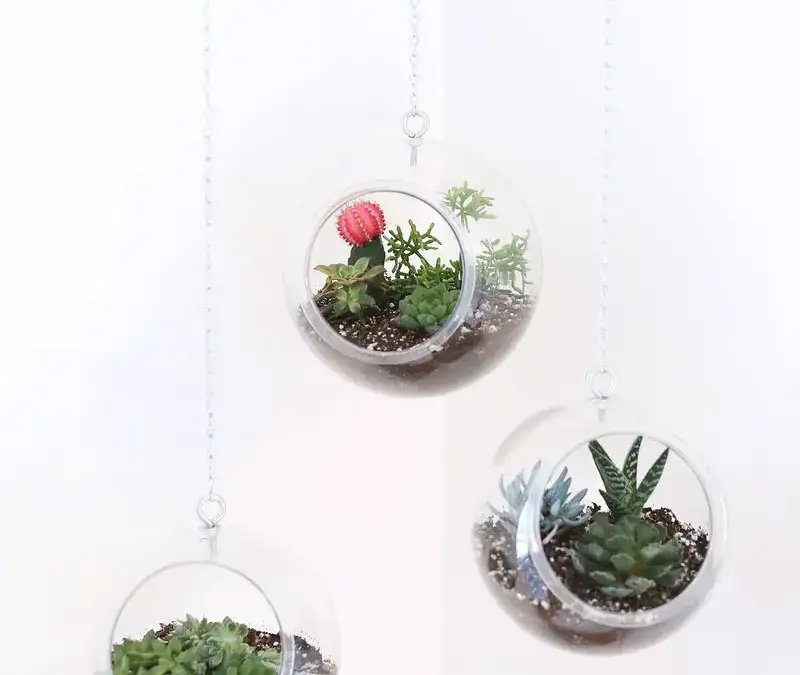
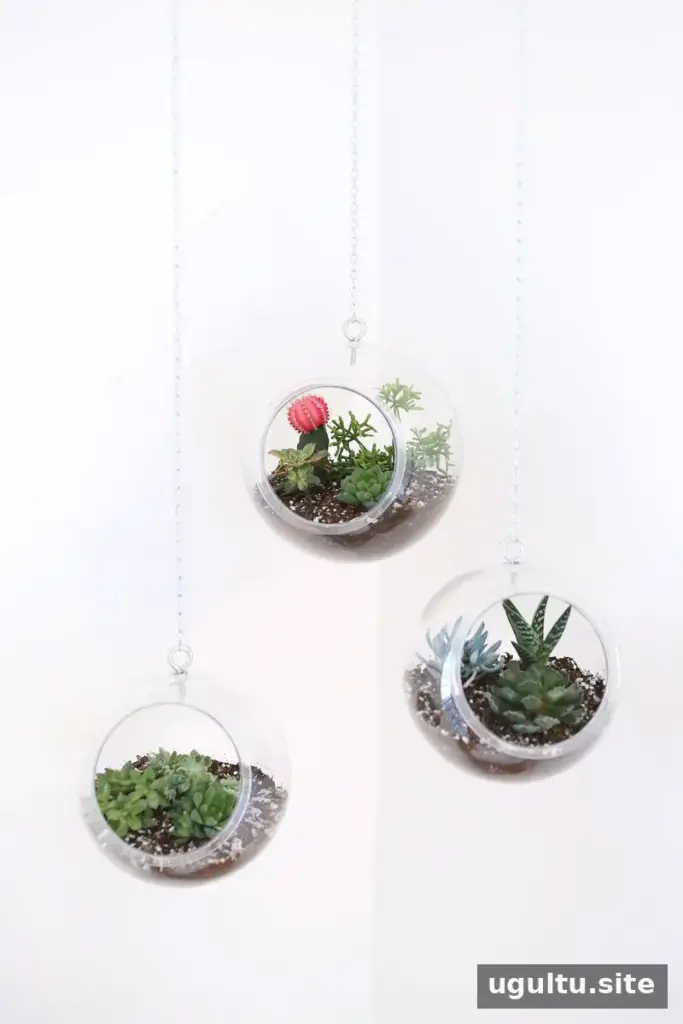
A hanging planter can bring greenery into unused vertical space and give a room a clean, modern look. This simple DIY project uses plastic fishbowls to make a group of suspended planters without the cost of buying ready-made designs. Choose small plants that suit the bowl’s size, and plan where each planter will hang before you begin.
Supplies for a plastic fishbowl hanging planter
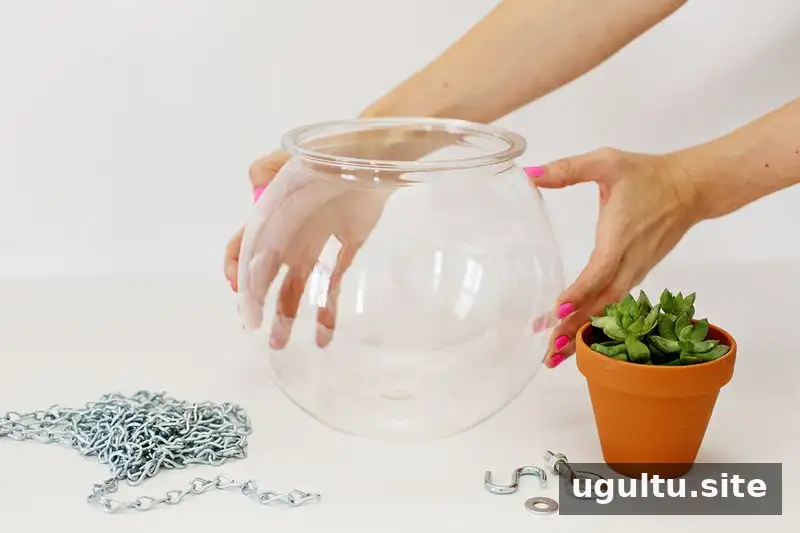
Gather these materials before starting:
- Plastic fishbowls in 1-gallon and 1.5-gallon sizes
- Eye bolts; a 1/4-inch by 2-inch eye bolt was used for this project
- “S” hooks
- A large washer that fits over the eye bolt
- Thin metal chain for hanging the planter
- A drill and a drill bit sized to match the eye bolt
- Ceiling hooks suitable for the installation location
- Small succulents or other appropriately sized plants
- Potting soil
Before purchasing hardware, check that the chain, eye bolt, and hooks are compatible and rated to support the filled planter. The ceiling hook must also be suitable for the ceiling material and the total weight.
How to make a hanging planter
1. Mark and drill the bowl
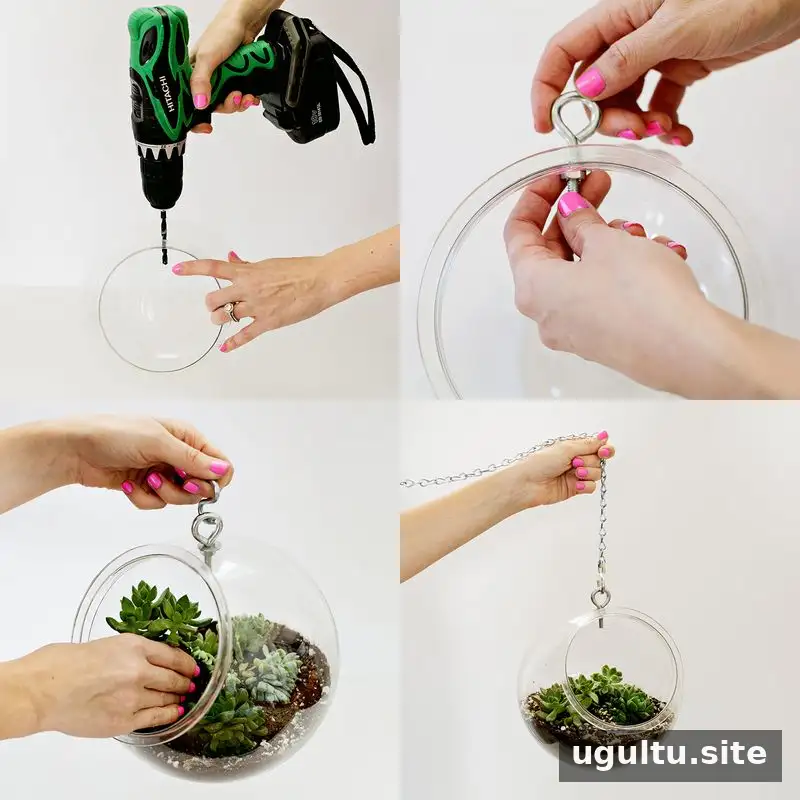
Measure two inches down from the opening of the bowl and mark the spot with a pen. Drill a hole at the mark using a bit that matches the eye bolt. Secure the bowl so it cannot move, and drill carefully to reduce the chance of cracking the plastic. Wear eye protection while drilling.
2. Secure the eye bolt
Pass the eye bolt through the hole. Place the washer over the bolt and secure it on the opposite side as described for your hardware. Check that the fitting is firmly attached and does not wobble before adding soil or hanging the bowl.
3. Add soil and plants
Put about two inches of potting soil into the bottom of the planter, then position the plants and add soil around them as needed. Press the soil down gently rather than packing it tightly. A layer of small rocks may be added if desired, but rocks do not replace drainage holes. Since these bowls do not have a drainage hole in the planting area, water sparingly and avoid leaving excess water around the roots.
4. Attach the chain and hang the planter
Connect an “S” hook to the eye bolt, then attach the planter to the end of the chain. Install the ceiling hook according to its manufacturer’s instructions and hang the chain from it. Choose a location with suitable light for the plants and enough clearance around the planter.
Adjusting the chain and caring for the planter
Whether the chain can be shortened depends on its thickness. A thin chain may be opened at either end with pliers or a Phillips-head screwdriver so it can connect to the ceiling hook and screw eye; in that case, an “S” hook may not be needed. If the chain is too thick to open safely, have it cut to the required length when purchasing it and use an “S” hook to make the connection.
Water carefully and check the soil before watering again, especially because the bowl has no drainage opening. Keep the planter within easy reach for routine care, and inspect the chain, connections, and ceiling hook periodically. These checks help keep the hanging planter secure as the plants grow.
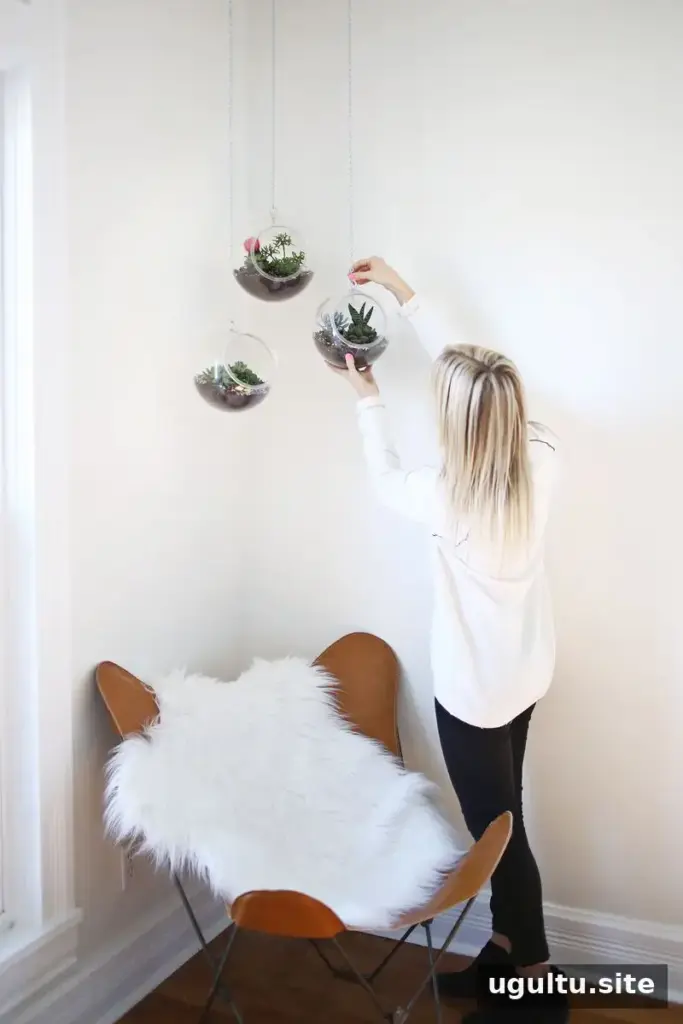
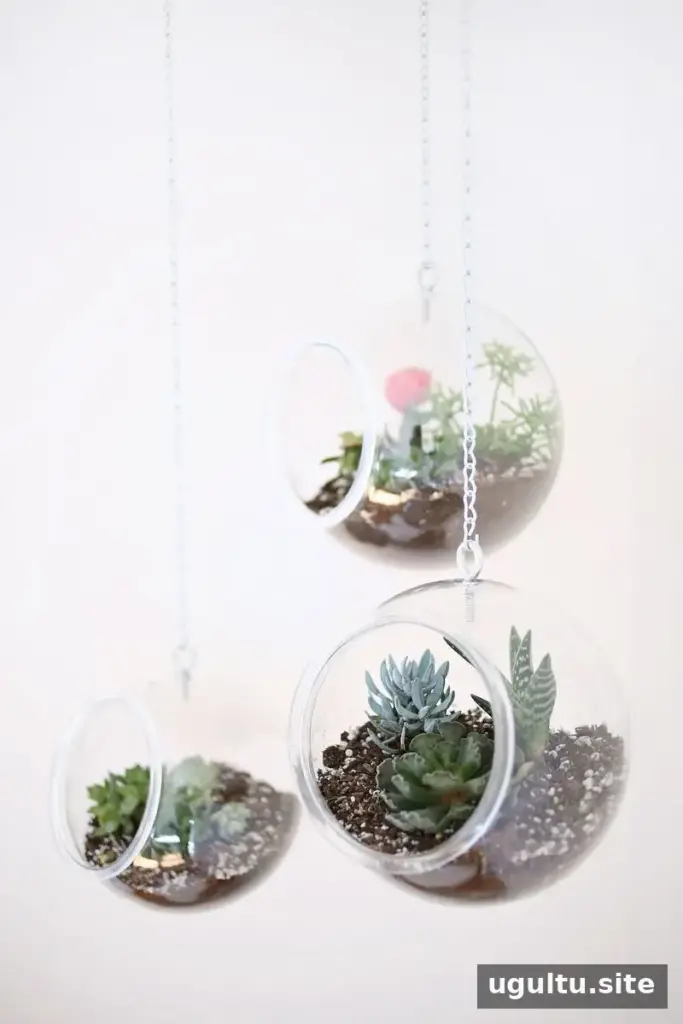
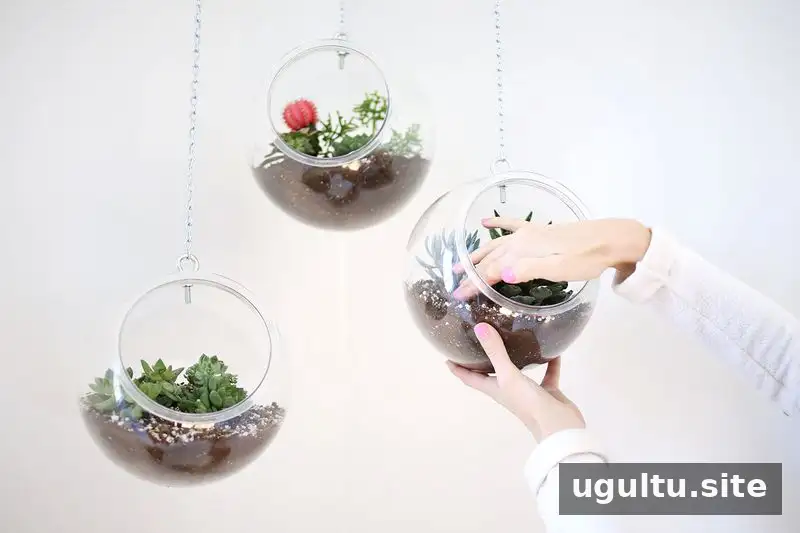
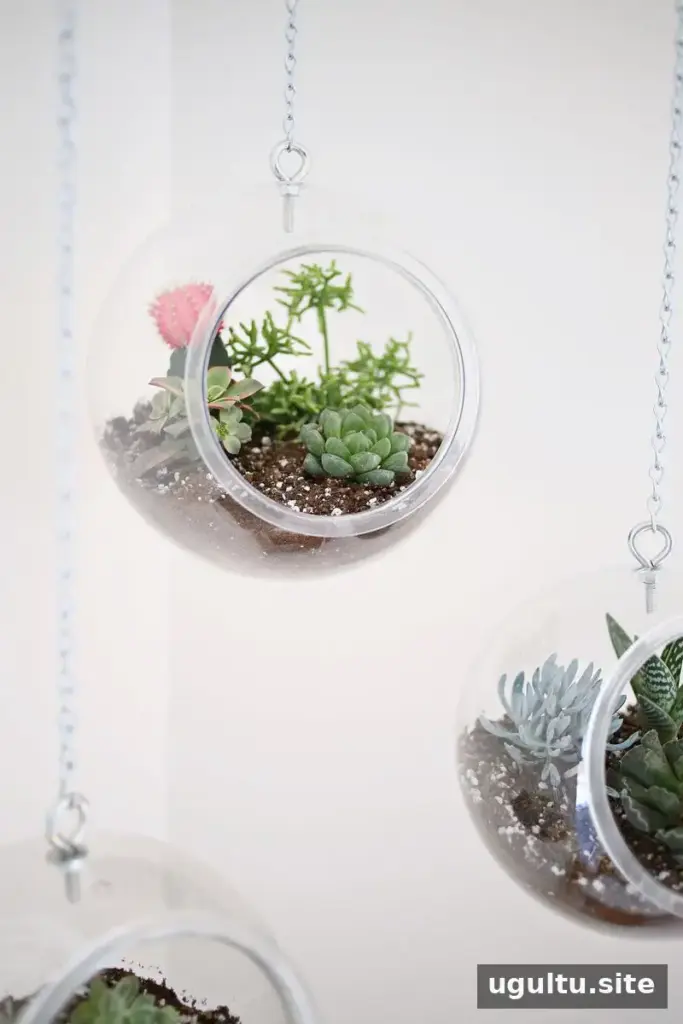
The finished planters have a clear, streamlined appearance that can complement modern interiors. Hanging several at different heights can create a simple display while keeping floor and shelf space open. Laura


