admin
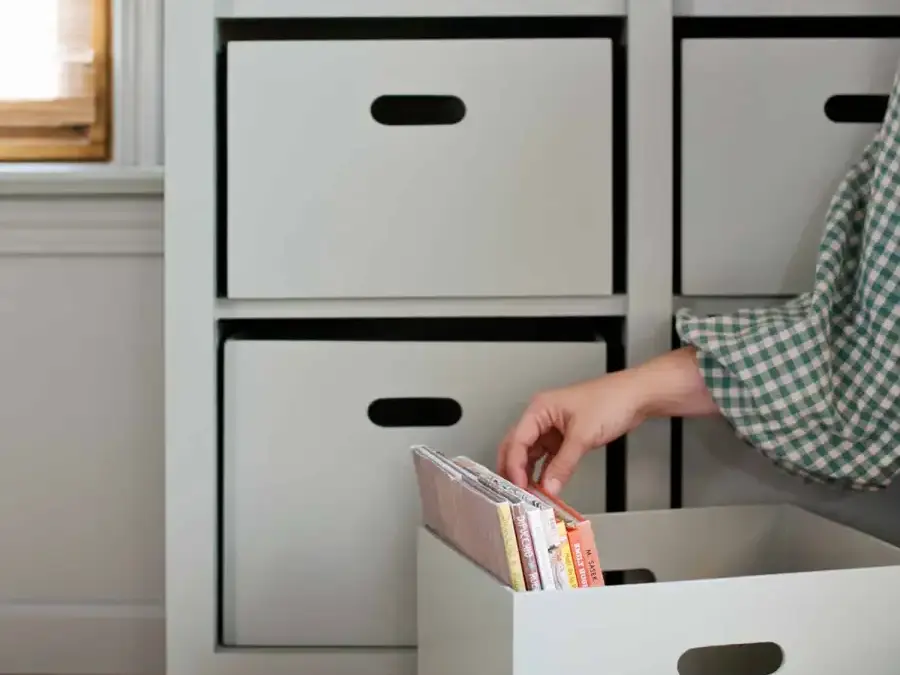
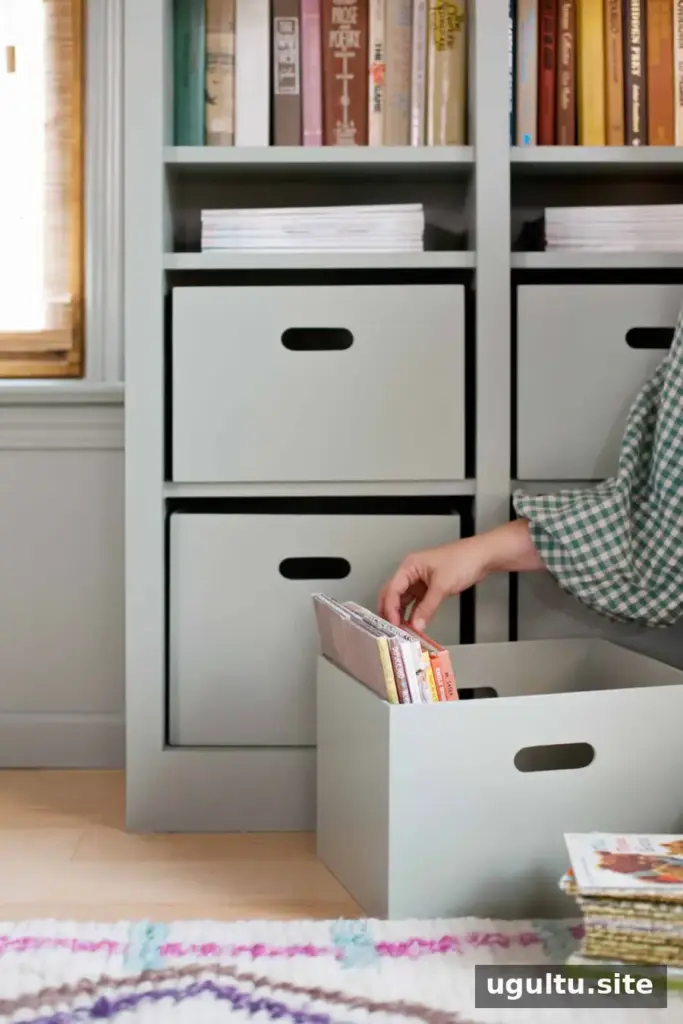
Custom plywood storage boxes can help organize open shelves while keeping books, office supplies, and other small items easy to access. Making your own lets you choose dimensions that fit your shelving, and the finished boxes can be painted or stained to suit the room. This beginner-friendly project uses lightweight plywood for the sides and thicker plywood for the base.
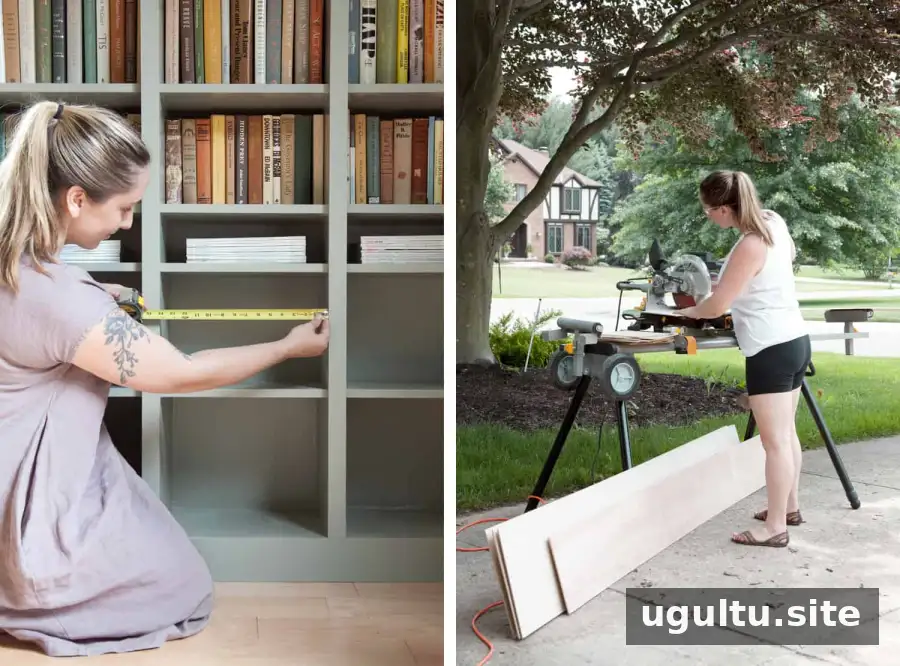
Before cutting materials, measure the shelf openings and decide how much clearance you want around each box. A little extra room makes it easier to slide boxes in and out, especially when children will be using them. The measurements below describe one project made for IKEA Billy bookcase cubbies; adjust them to fit your own shelves.
Plan the size of your custom plywood storage boxes
The shelf openings used for this project were about 14 inches wide. The boxes were made 1 inch narrower than the openings and 3/4 inch shorter than the available height. This clearance made it easier to return each box to its cubby.
Measure the usable width, height, and depth of each opening rather than relying on a product’s stated dimensions. For the side panels, allow for the thickness of the front and back panels: their width should be 1/4 inch less than the shelf depth. Check the actual thickness of your plywood, since nominal measurements may differ from the material’s measured thickness.
Choose plywood and calculate the materials
Use 1/4-inch plywood for the sides to keep the boxes relatively light, and 1/2-inch plywood for the bottoms to provide more support. Thin plywood may not be rigid enough for boxes much larger than this project. Avoid particle board, which can make the boxes heavy to lift and move.
Once you have set the box dimensions, calculate how many panels you need. Plywood sheets are commonly sold in 4-by-8-foot sizes. A hardware store may be able to cut the sheets into strips, which can make handling and later cutting easier. For 11 boxes in this project, the materials used were two full sheets of 1/4-inch plywood and about half a sheet of 1/2-inch plywood.
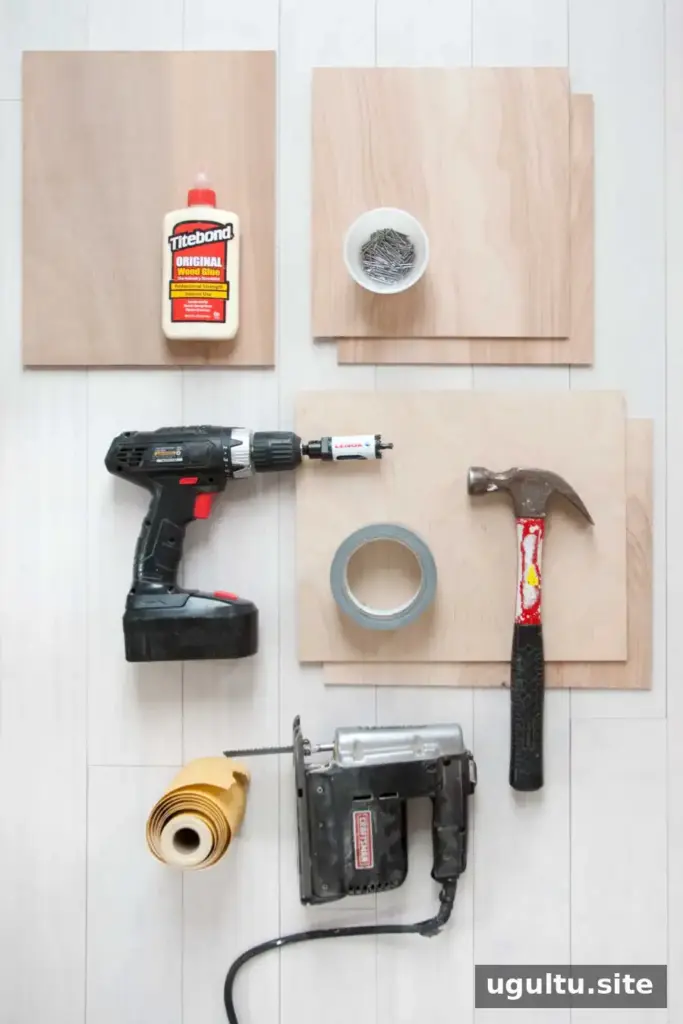
Materials
- 1/4-inch plywood for the sides
- 1/2-inch plywood for the bottoms
- Wire brads: 1/2-inch brads for joints through 1/4-inch plywood and 1-inch brads for nailing through 1/2-inch plywood
- Sandpaper in 80-, 120-, and 320-grit; 180-grit is also useful before staining
- Wood glue and duct tape
- Primer and paint, or wood stain and a suitable sealer
Tools
- Jigsaw with a fine-cutting blade
- Power drill and 1-inch hole saw
- Hammer, pencil, and tape measure
- Palm sander, if available
How to build a simple plywood box
1. Cut the panels
Cut the pieces for the front, back, sides, and bottom to your planned dimensions. The bottom should match the width of the left and right side panels. Its length should equal the width of the front and back panels minus the thickness of both front and back pieces. Measure your plywood before cutting so the joints fit as intended.
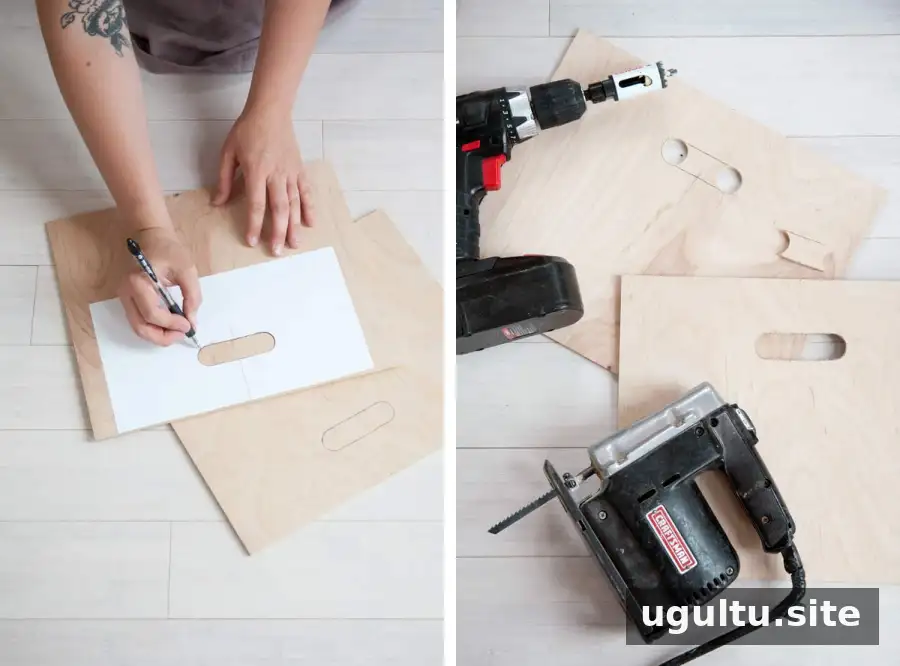
2. Mark and cut the handles
Position a slotted-handle template at the center of the top edge of each front and back panel, then trace the opening. A 1-inch hole saw makes the rounded ends; a jigsaw connects them to form the slot. Practice on scrap wood first, and keep the opening smaller rather than larger until you have checked the shape.
For cleaner holes, mark the center and drill a small pilot hole before using the hole saw. Cutting partway through from one side, then finishing from the other, can help reduce splintering. Follow the tool manufacturer’s instructions and secure the panel while cutting.
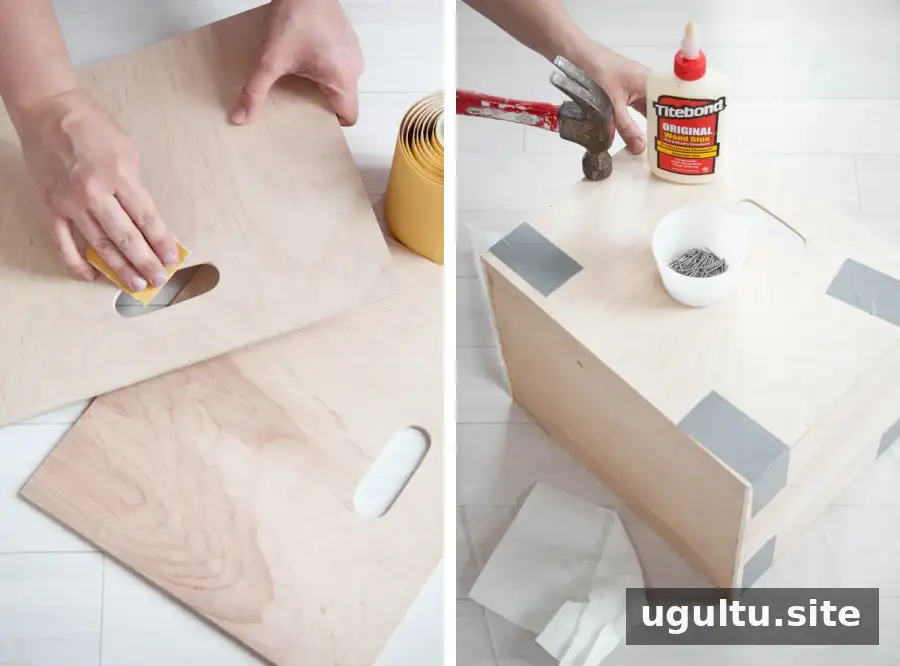
3. Sand the handle openings
Use 80-grit sandpaper to smooth the handle edges, especially where the jigsaw cuts meet the rounded ends. Wrapping adhesive sandpaper around a narrow scrap of wood can help reach the straight sections; use sandpaper by hand to refine the curves.
4. Glue and nail the box together
Apply wood glue to the joints and hold the panels in position with duct tape while you work. The tape is only temporary support, so handle the pieces carefully as you begin nailing. First attach the left and right sides to the bottom, then nail the front and back panels to the bottom. Finish by fastening the front and back edges to the side panels.
Use 1/2-inch wire brads for the joints through the 1/4-inch sides and 1-inch brads when fastening into the bottom. Tap carefully and keep each brad centered and straight to prevent it from protruding through the plywood. Wipe away excess glue before it dries; hardened glue is difficult to sand and can interfere with stain.
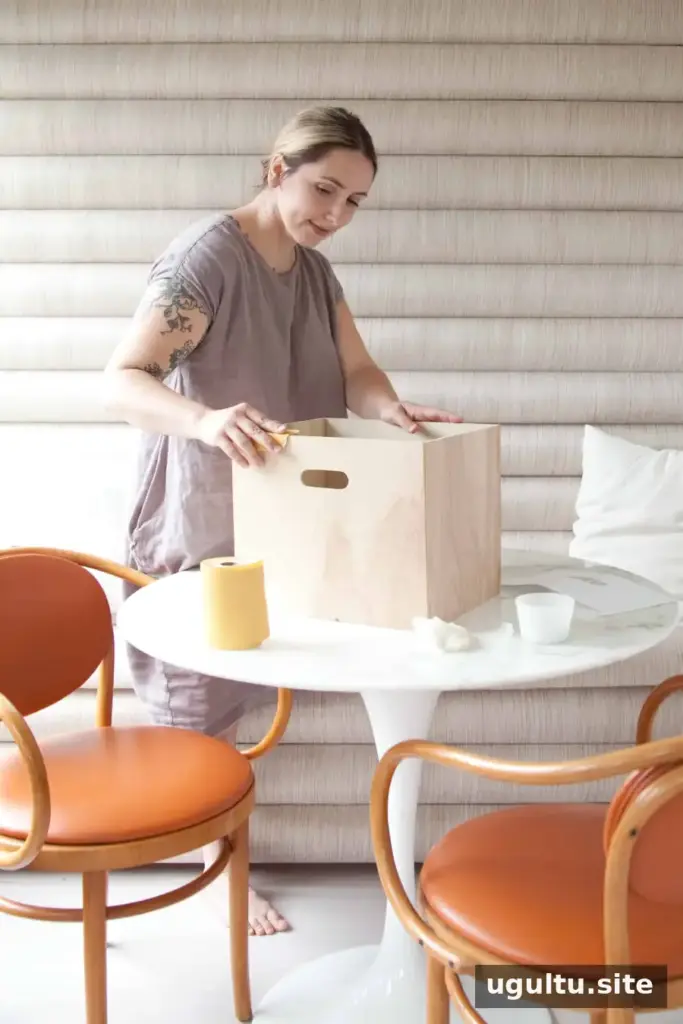
5. Remove the tape and sand the box
Once the nails are in place, peel the duct tape slowly toward the edges of the panels to reduce the chance of lifting plywood fibers. After the glue has set for at least 30 minutes, sand the box, inside and out, with 120-grit sandpaper. Follow the glue manufacturer’s directions if they specify a longer setting time.
Careful sanding matters most when you plan to stain the wood, because scratches left by coarse sandpaper can become more visible. For a painted finish, smooth the surfaces enough to remove rough spots before priming.
6. Paint or stain the boxes
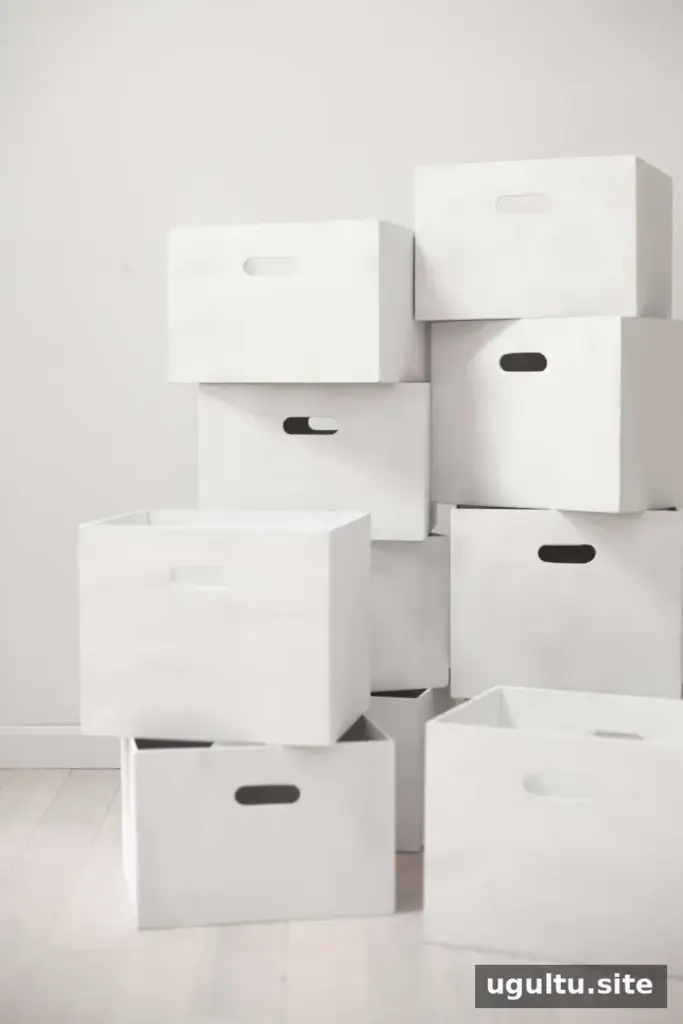
For a painted finish: Apply one coat of primer and let it dry completely. Lightly sand with fine 320-grit paper to smooth raised wood fibers, then remove the dust. Touch up any areas where sanding has removed the primer. Finish with two or three coats of paint, following the product’s drying instructions.
For a stained finish: After sanding with 120-grit paper, make a final pass with 180-grit paper. A wood conditioner may help the stain absorb more evenly. Apply the stain according to its label, then seal the surface once it has dried. Polyurethane is one option; polycrylic may be preferable for light-colored finishes because polyurethane can yellow somewhat over time. After the first sealer coat dries, lightly sand with very fine sandpaper or 0000-grade steel wool, then apply one or two more coats.
Add a smooth base and put the boxes to use
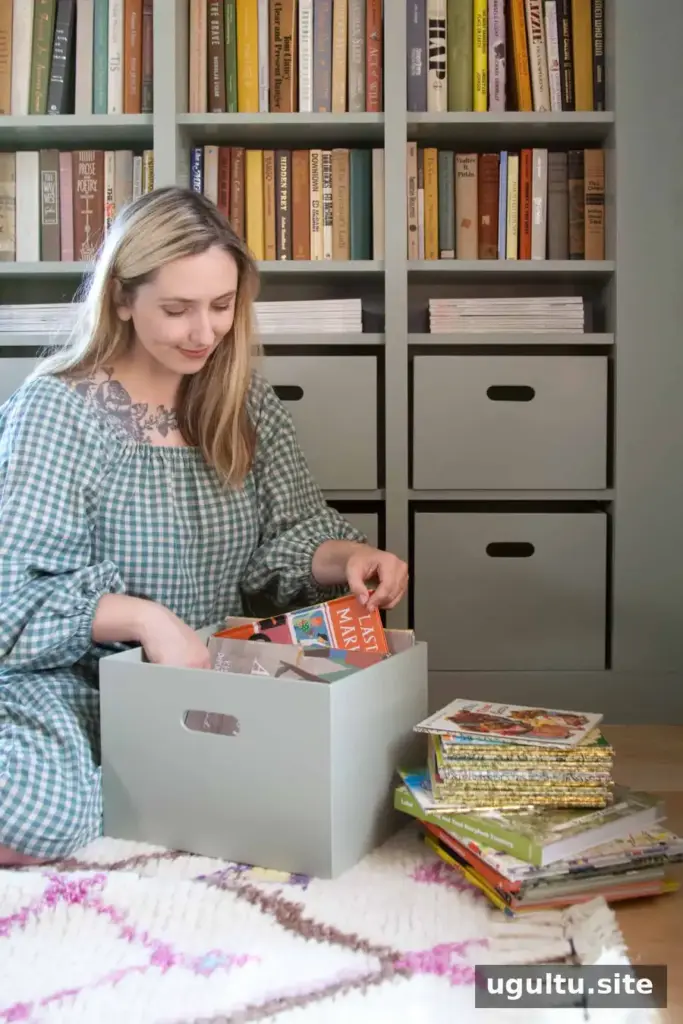
The bottoms can be left unpainted if you want to avoid paint rubbing against the shelves as the boxes move. Felt pads or strips attached to the underside can help protect the shelf surface and allow the boxes to slide more easily. Check that the pads are securely attached and do not make the boxes unstable.
Custom plywood storage boxes are useful for organizing items that would otherwise look untidy on open shelves, while keeping them portable and accessible. Measure carefully, choose materials suited to the box size, and allow each finish to dry fully before loading the boxes. These steps help create storage that fits your shelves and works for everyday use.
— Mandi