admin
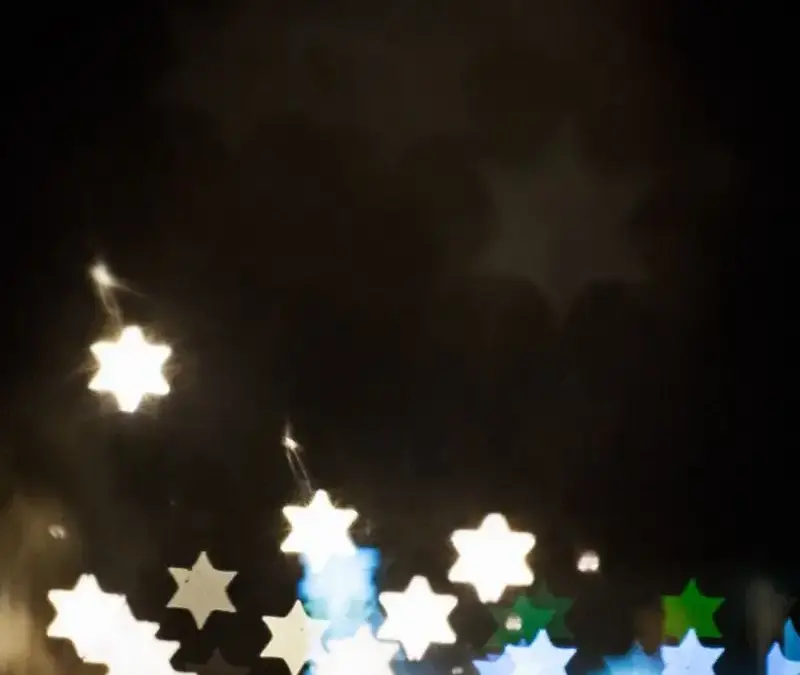
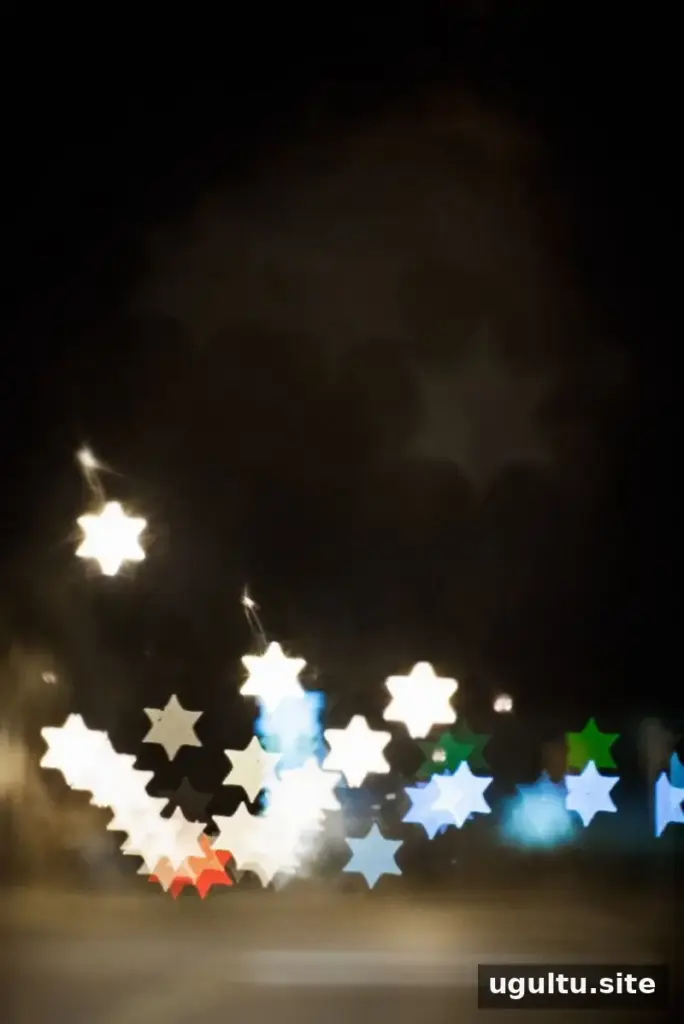
Bokeh shapes are a creative way to turn out-of-focus background lights into decorative forms in a photograph. With a DSLR camera, a lens with a wide maximum aperture, and a small paper cutout, you can create this effect at home or outdoors. The key is to keep your subject in focus while placing small lights behind it.
How bokeh shapes work
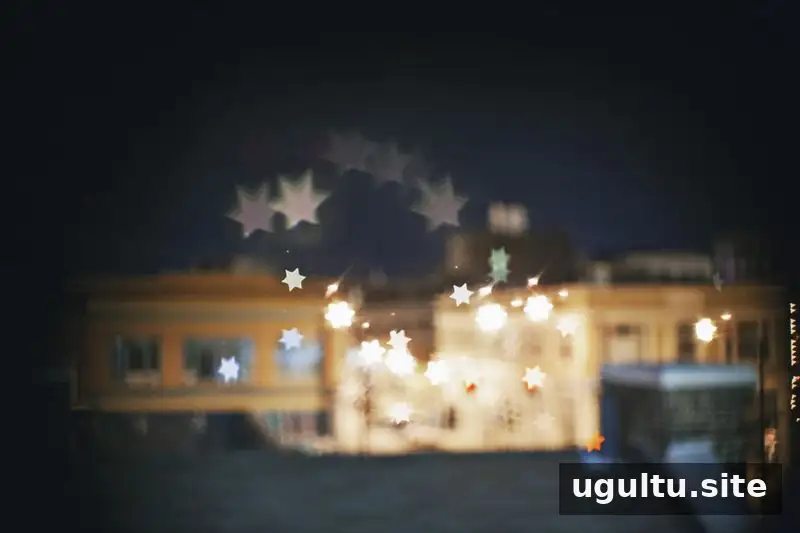
Bokeh describes the appearance of the out-of-focus areas in a photo, especially points of light. A wide aperture, represented by a low f-number, creates a shallow depth of field: the focused subject looks sharp while the background becomes blurred. When a shaped opening is placed over the front of the lens, blurred lights can take on that opening’s form.
The effect is easiest to see when the background contains distinct lights and the subject is closer to the camera than those lights. Try a short test shot and adjust the focus until the subject is clear and the background lights appear as shapes.
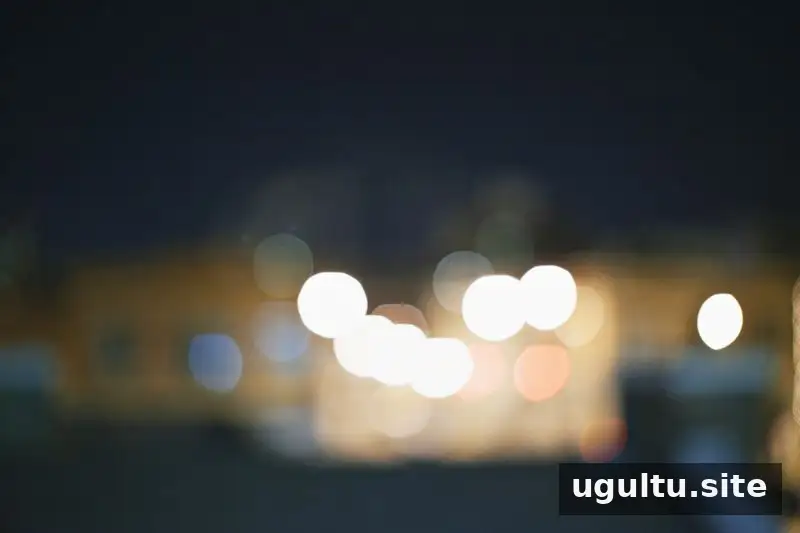
A small cutout in an opaque cover over the lens changes the appearance of defocused light points. For a simple DIY version, gather the following materials:
- A DSLR camera and a prime lens. A prime lens has a fixed focal length rather than a zoom range; the example setup uses a 50mm lens.
- Black construction paper, which helps prevent unwanted light from passing through the cover.
- A craft knife, small scissors, or a shape punch for making the cutout.
- A rubber band to hold the paper in place; tape can provide extra security.
Use care when cutting the paper, and keep the lens glass clear of the cutting tool. The lens opening should be positioned centrally so the cutout sits in front of the lens.
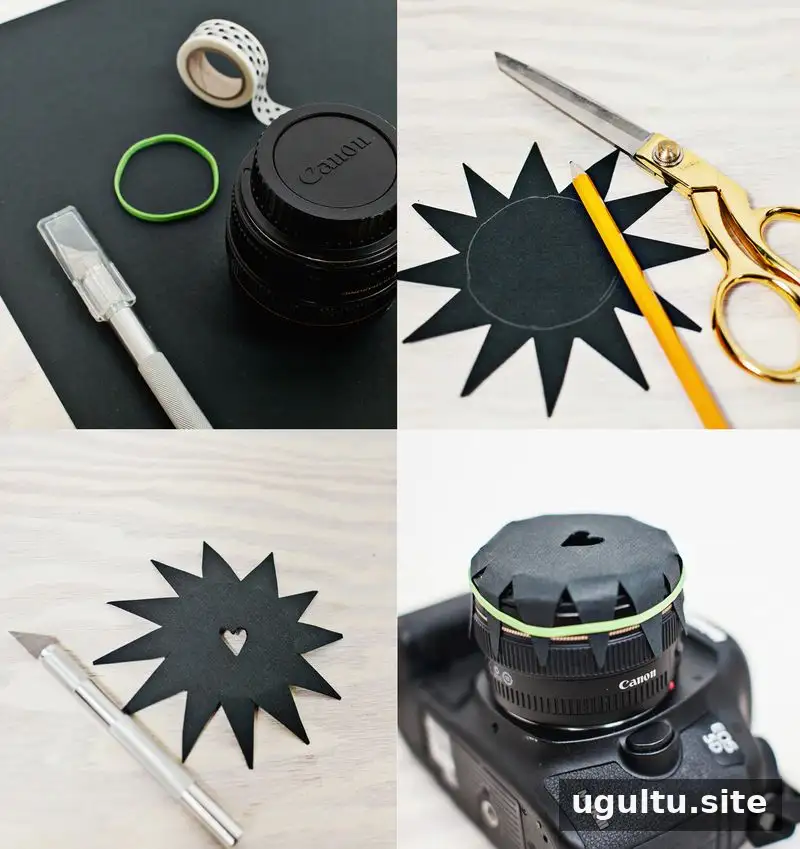
Make a simple bokeh-shape lens cover
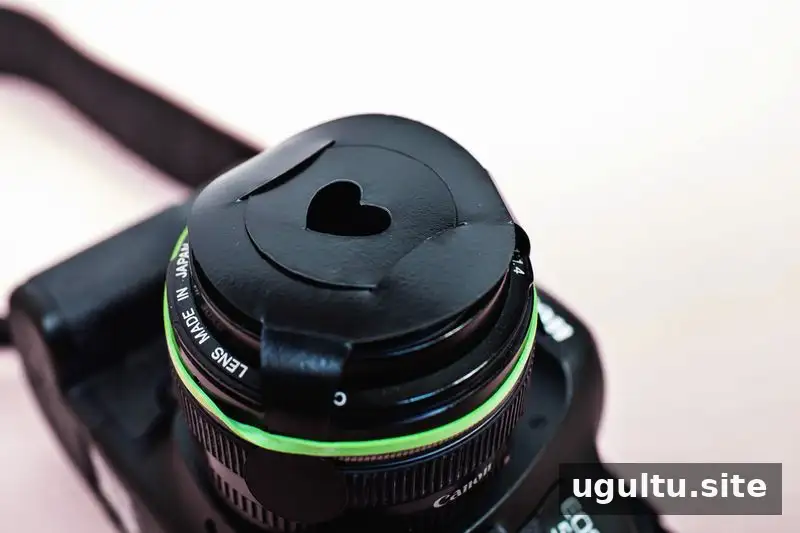
Trace around the lens cap on the black paper, then draw a second circle slightly larger than the first. Cut small inward-pointing triangles from the outer edge toward the smaller circle, giving the paper a flower-like edge. Cut your chosen shape in the center of the smaller circle, then place the paper over the lens and secure it with a rubber band. Check that it is firmly attached before taking a photo.
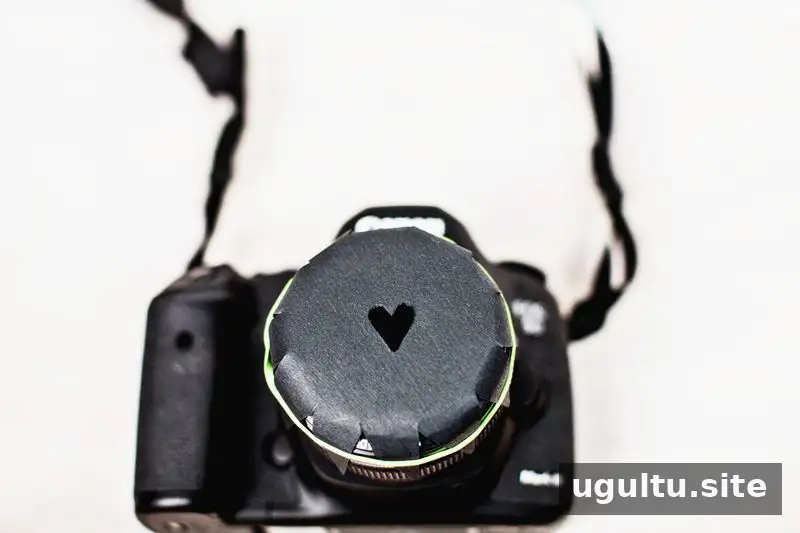
Set the camera to manual mode and choose the lens’s lowest available f-number. This wide-aperture setting creates a shallow depth of field, which helps background lights blur. Switch to manual focus and turn the focus ring gradually until the subject is sharp and the lights become recognizable shapes. If the shapes are unclear, adjust the distance between the subject and the lights or fine-tune focus.
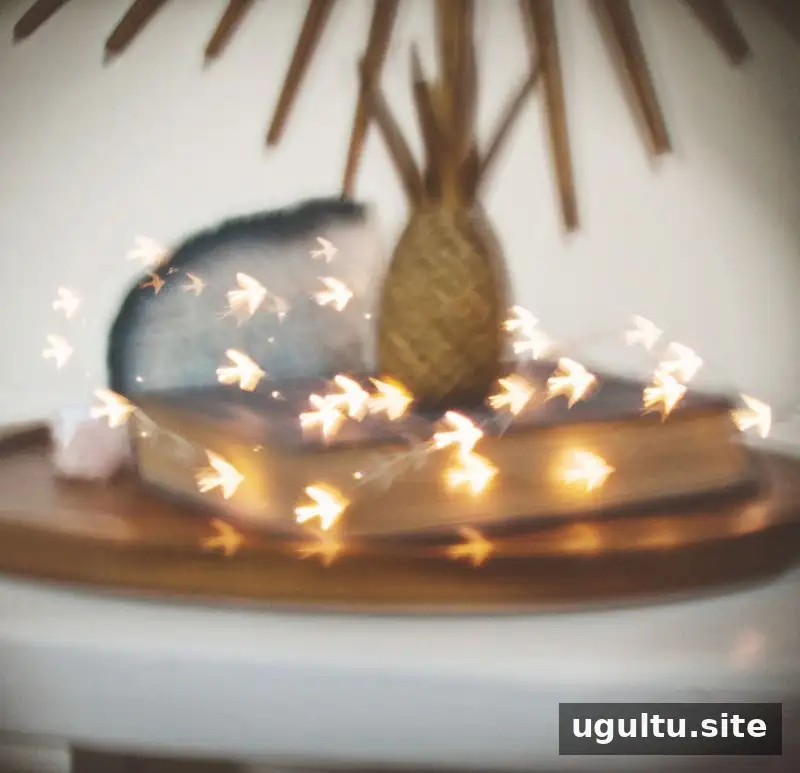
A thin string of LED lights makes a convenient practice background because the individual light points are easy to position. Place the lights behind the subject, rather than beside or in front of it, and experiment with how far they are from the camera.
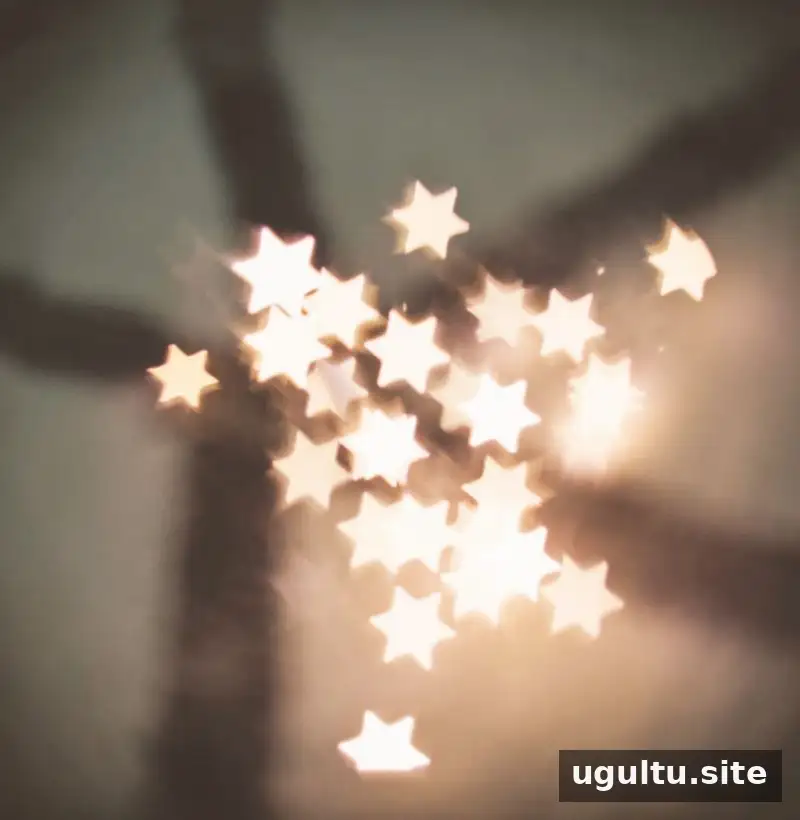
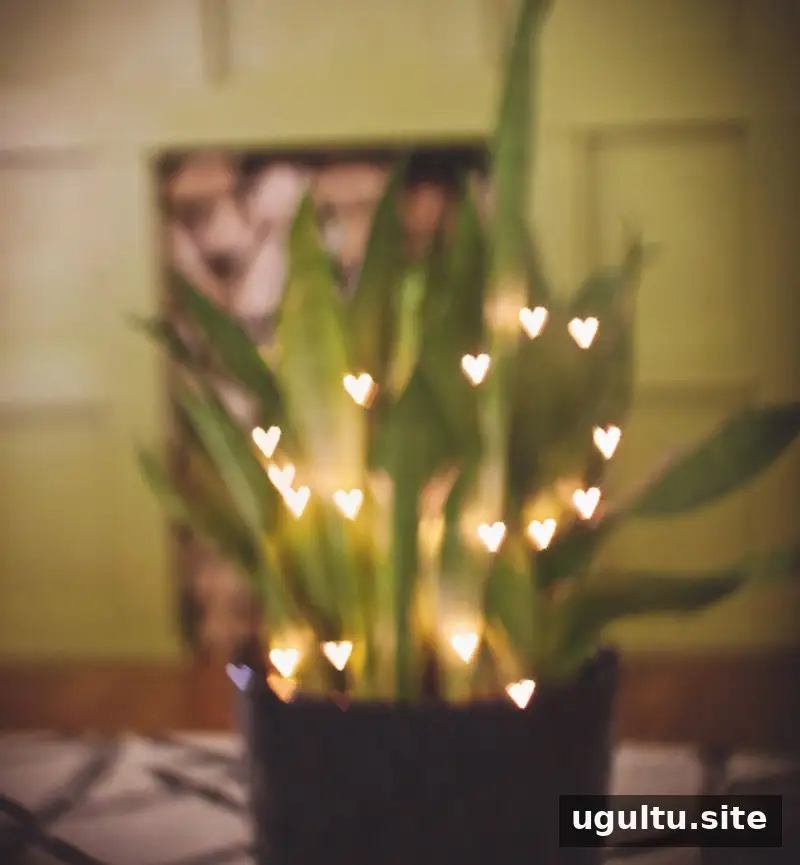
The finished photographs can have a playful, stylized look. A homemade paper cover is a low-cost way to test different cutout designs. Another option is a reusable bokeh kit with interchangeable shapes; these kits typically use a sturdier cover and allow you to switch designs without making a new paper piece.
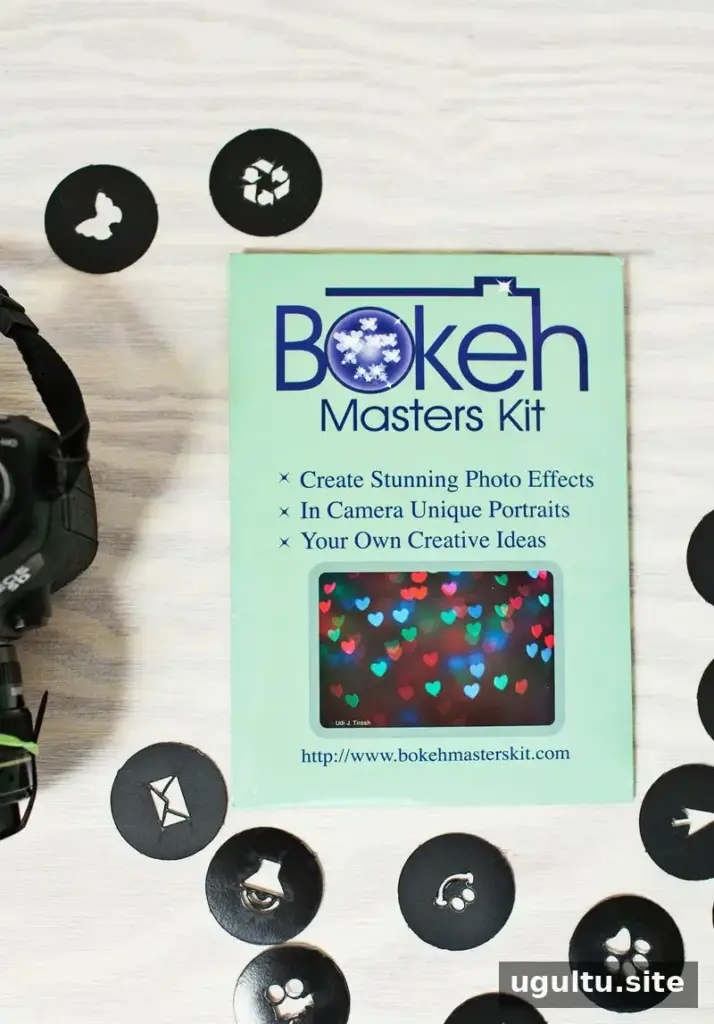
If using a premade kit, follow its fitting instructions and make sure the selected shape is correctly aligned over the lens before shooting. Take a few test photos to check that the attachment stays secure and does not obstruct the image.
Tips for better bokeh shapes
Background lights are essential: each sufficiently blurred point of light can show the shape in the lens cover. More lights can create more visible shapes, while larger or more defocused light points generally produce larger-looking forms. Try city lights, patio lights, indoor lighting, or candlelight, while keeping any flame at a safe distance from the camera and paper.
- Use a wide aperture and manual focus for greater control.
- Keep the subject separated from the illuminated background to make the effect easier to see.
- Change your framing and focus in small increments; a slight adjustment can alter the size and clarity of the shapes.
- Use an opaque cover and secure it carefully to reduce stray light and prevent it from slipping.
With a few simple supplies and a suitable background, bokeh shapes offer an accessible way to add a distinctive visual detail to photographs. Start with a 50mm prime lens and a string of LED lights, then experiment with different cutouts, distances, and focus settings to find the look that works for your scene.