admin
Learning how to use a brad nailer can make trim and woodworking projects quicker and more precise. With the right nails, a few simple checks, and careful handling, beginners can use this tool to attach lightweight pieces of wood and create a neat finish.
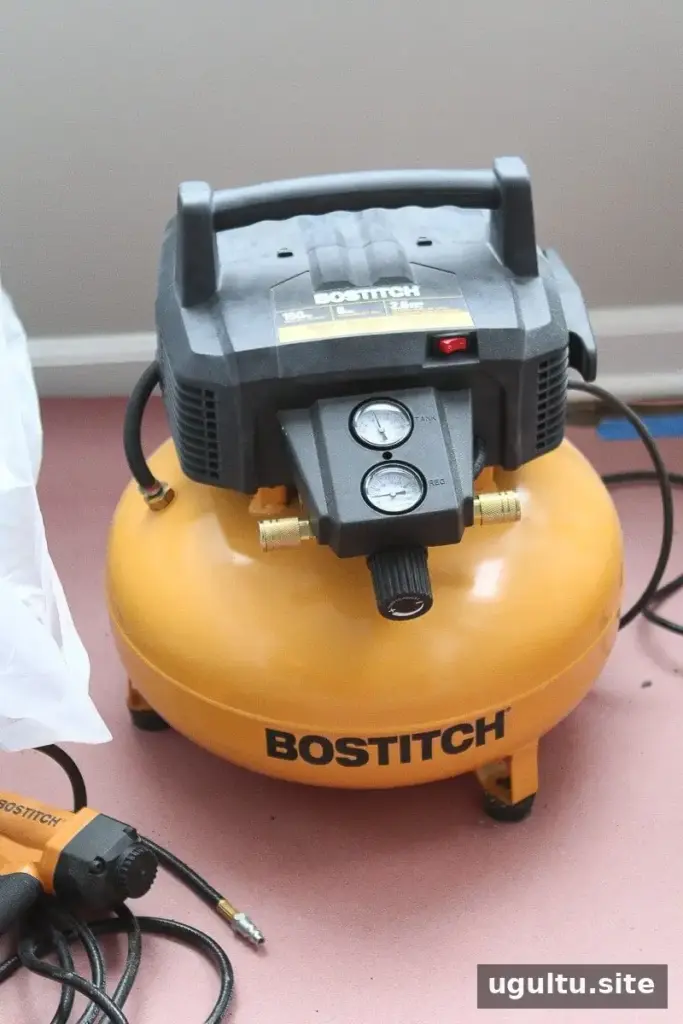
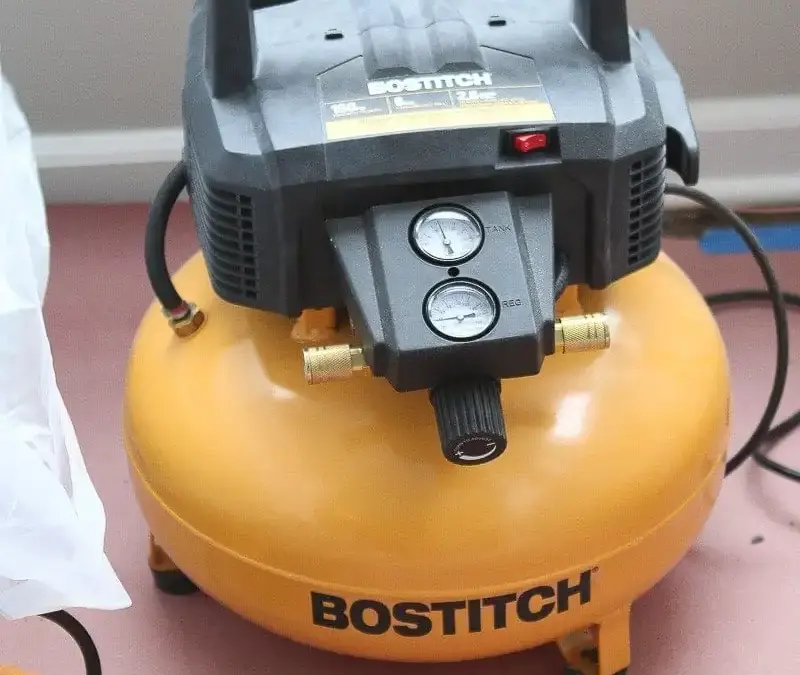
Pneumatic nailer and air compressor setup
Pneumatic brad nailers connect to an air compressor, which adds setup time and requires space for the compressor and hose. Cordless models use a battery instead, so they are easier to move around and can be convenient for small home projects.
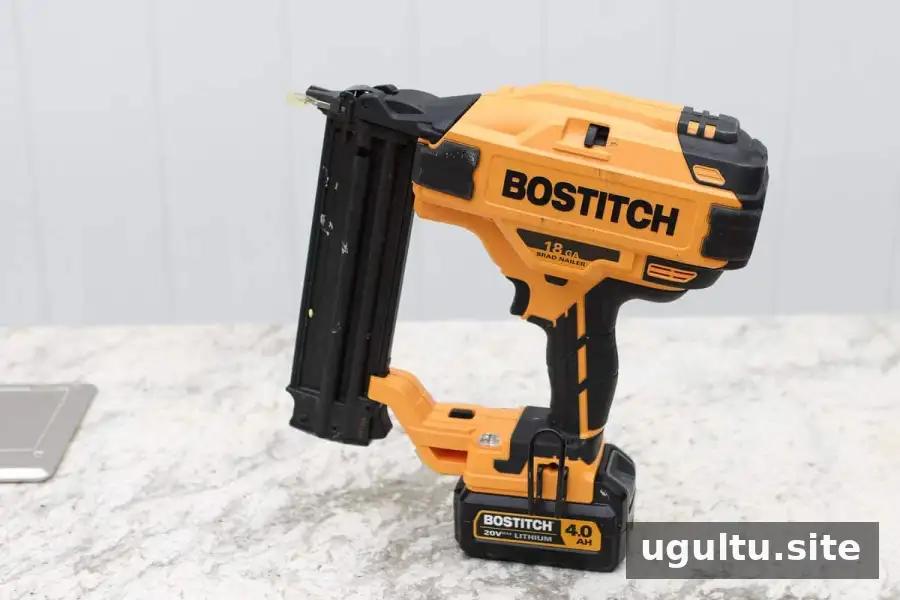
Both types can be useful. If you already have an air compressor, a pneumatic nailer may suit your setup. If you value portability and simpler storage, a cordless model may be a practical choice. Check the tool’s manual for its power requirements and operating instructions.
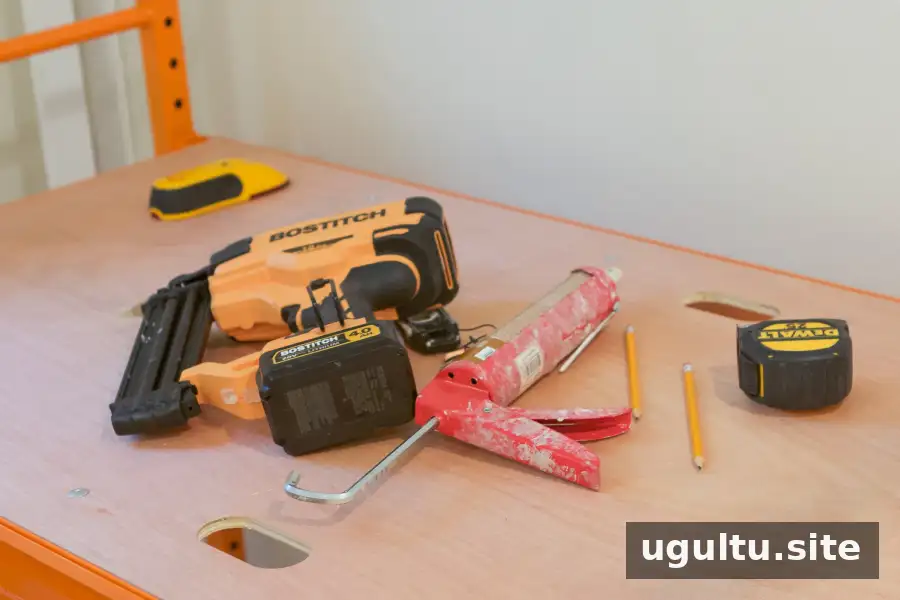
What Is a Brad Nailer?
A brad nailer is a power tool that drives small, thin nails—called brad nails—into wood. Most brad nailers use 18-gauge nails. Nail gauge can be confusing: a higher gauge number means a thinner nail, so an 18-gauge brad is thinner than a 16-gauge finish nail.
The small nail head leaves a relatively small hole that can usually be filled with painter’s putty before painting. Brad nailers are often used when a discreet fastening point is important.
Brad nailer vs. finish nailer
Finish nailers use thicker 15- or 16-gauge nails, which provide more holding power and are generally better for heavier trim work. A brad nailer is typically suited to lighter materials and delicate pieces that could split if fastened with a larger nail.
What Can You Use a Brad Nailer For?
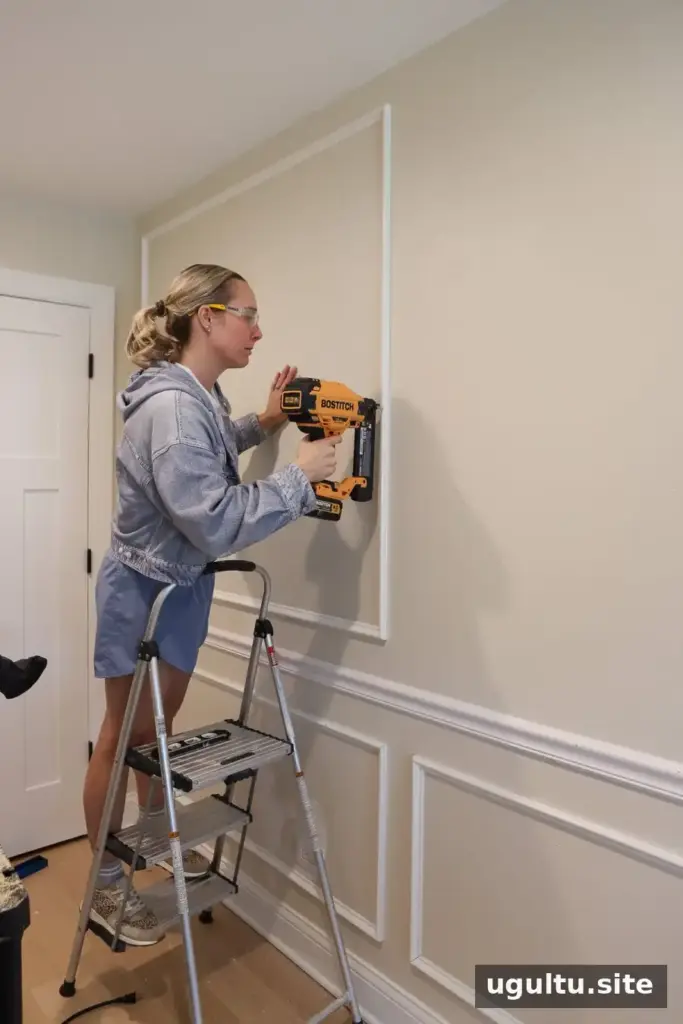
A brad nailer is useful for trim, finish carpentry, and many small woodworking projects. Common applications include:
- Picture frame molding
- Chair rail
- Board and batten
- Decorative and lightweight molding
- Window and door trim
- Built-ins and furniture projects
- Small woodworking projects
Choose the fastener for the material and task. Brad nails are not intended to replace stronger fasteners where a project needs substantial holding strength.
Cordless vs. Pneumatic Brad Nailers
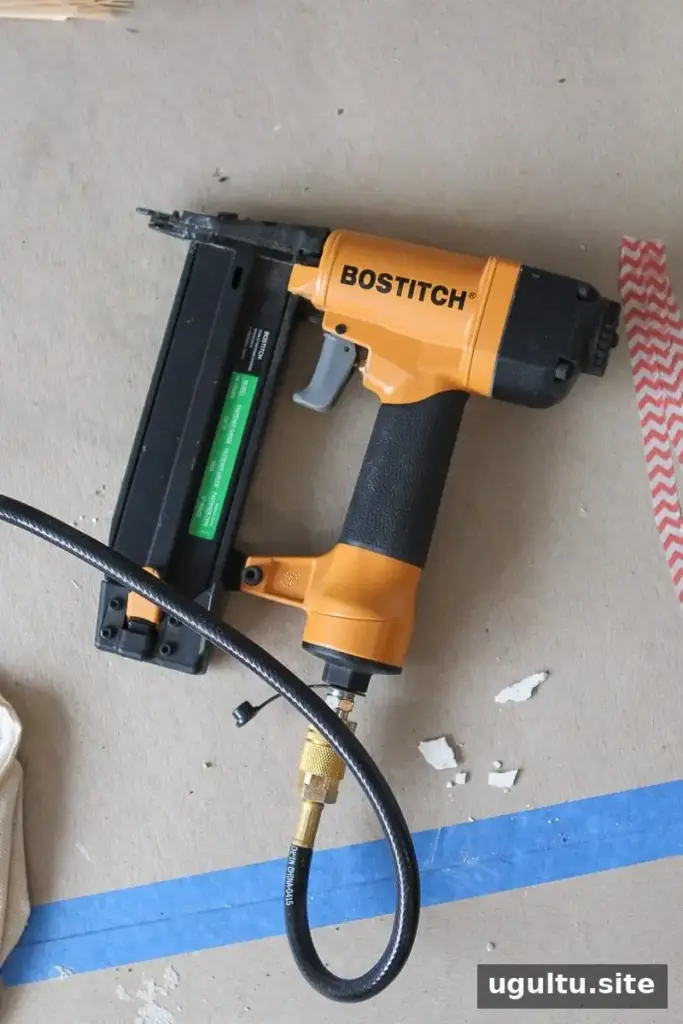
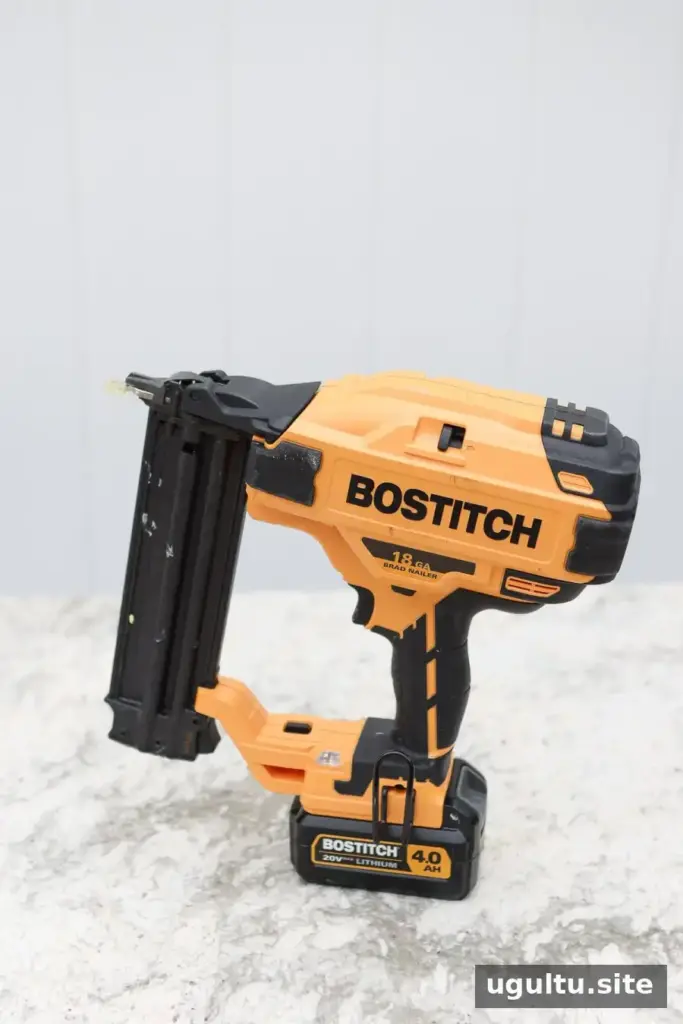
Pneumatic nailers operate using compressed air delivered through a hose. Cordless nailers run on a battery and do not need a separate air compressor. Consider your workspace, storage, and existing tools when deciding which type is appropriate.
Before using either style, read its manual. Nail capacity, compatible nail lengths, loading procedures, and controls can vary between models.
Get to Know Your Brad Nailer
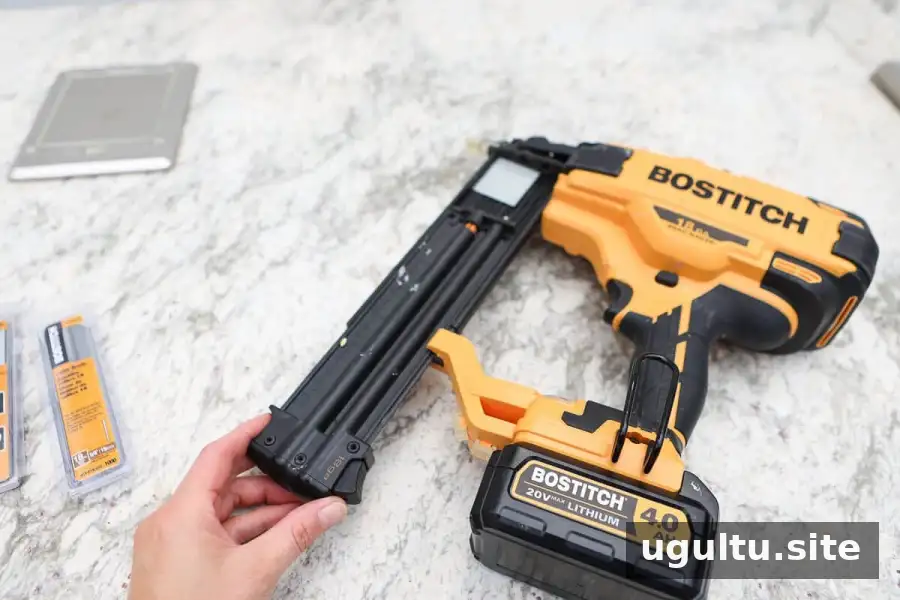
Most brad nailers include several basic parts. Their exact layout can differ by model:
- Magazine: Holds the strip of brad nails.
- Trigger: Activates the tool when its safety requirements are met.
- Safety tip: The nose must be pressed against the work surface on many models before the nailer can fire.
- Depth adjustment: Changes how deeply the nail is driven, if the model has this feature.
- Battery: Powers a cordless brad nailer.
How to Load a Brad Nailer
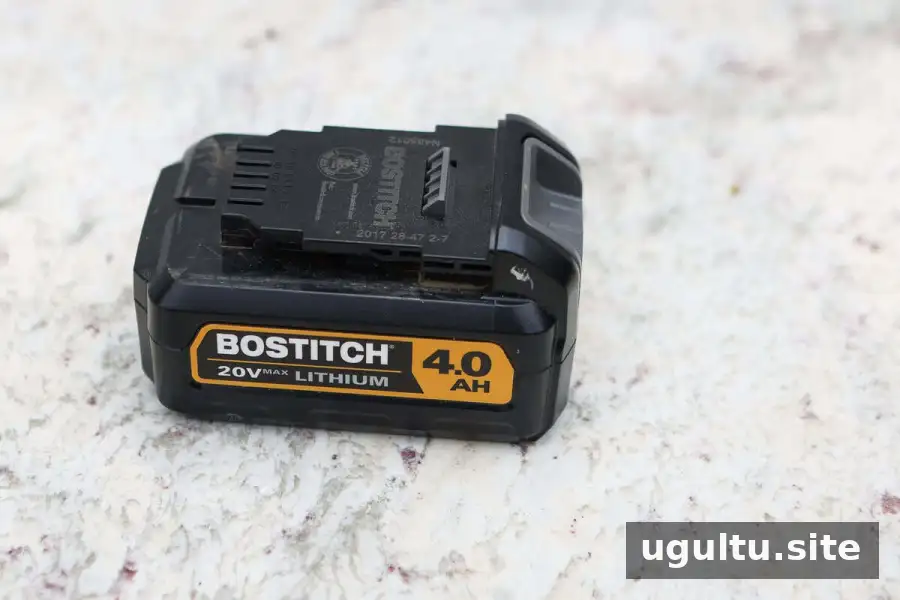
Disconnect the power before loading. For a cordless model, remove the battery; for a pneumatic model, disconnect the air supply according to the manufacturer’s instructions.
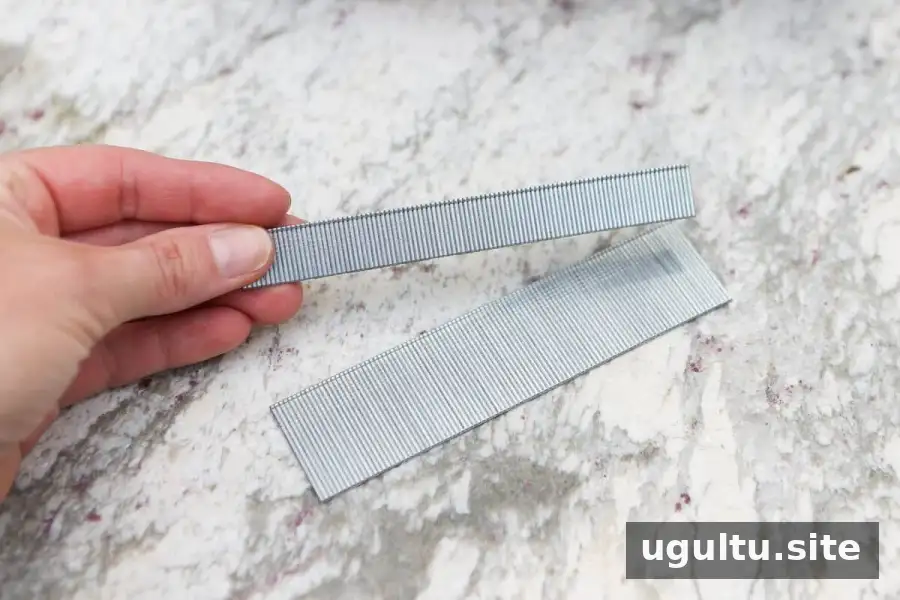
Open the magazine and insert a strip of compatible 18-gauge brad nails in the direction shown in the manual. Close the magazine until it latches securely. Nail lengths vary, so check the range your model accepts and select a length suitable for the materials being joined.
How to Use a Brad Nailer
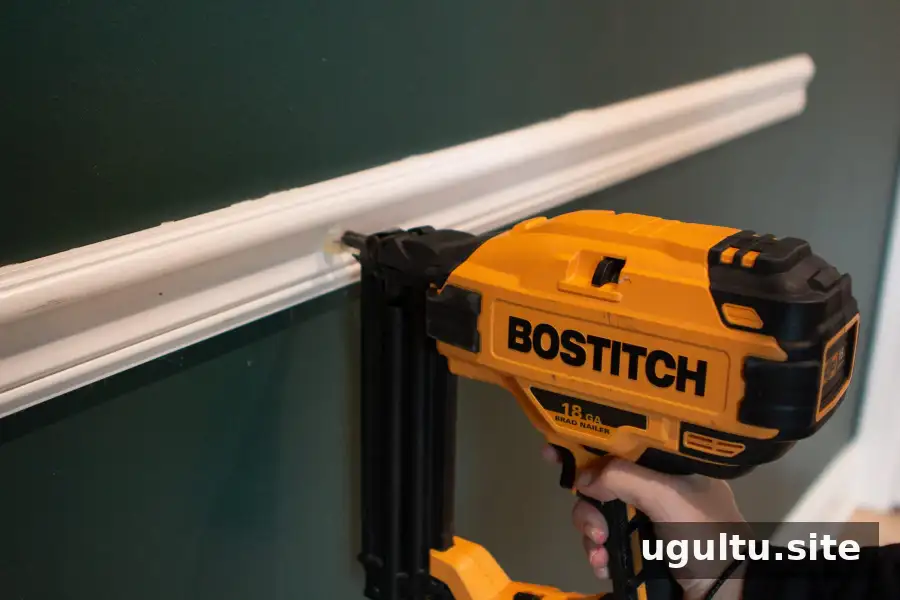
Before working on your project, test the tool on a piece of scrap wood. This helps you check the nail placement and depth without marking the finished surface.
- Wear safety glasses. Protect your eyes from nails, wood fragments, and other debris.
- Restore power safely. Reinsert the battery or reconnect the air supply after loading, following the tool’s instructions.
- Position the nailer. Hold the tool firmly and place its safety tip flat against the wood at the intended fastening point.
- Press and fire. Keep your hands clear of the nail path, press the safety tip against the surface, and pull the trigger when ready.
- Check the result. The nail head should sit just below the wood surface. Adjust the depth if needed and test again on scrap wood.
Keep the tool steady and move it to each new fastening point only after releasing the trigger. Follow the spacing and placement guidance appropriate to your project.
How to Adjust Nail Depth
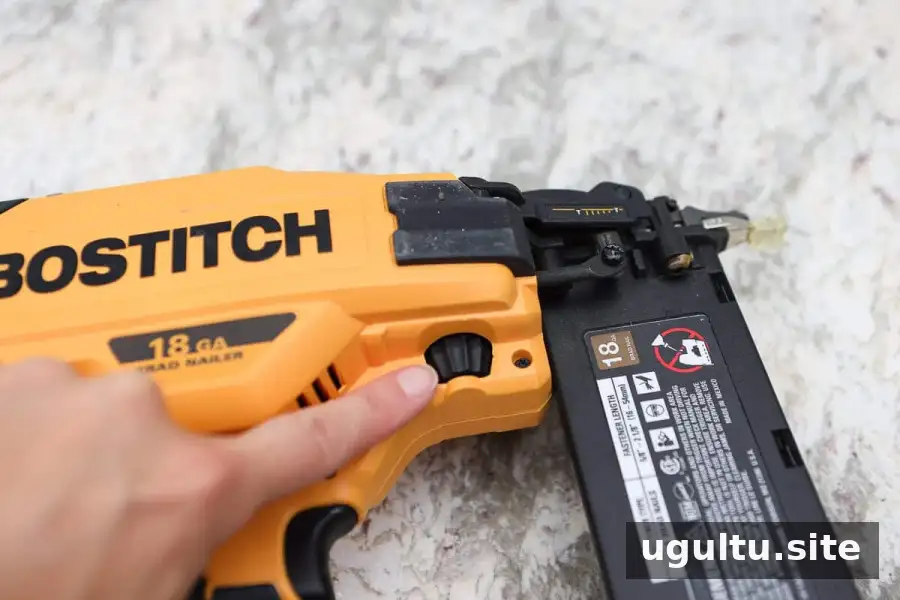
For a painted finish, a brad nail is usually set just below the wood surface so the small hole can be filled. If the nail remains raised, increase the depth setting if your model allows it. If it sinks too far, reduce the setting.
Make small adjustments and test them on scrap wood. The result can vary with the wood and nail length, so check the setting before fastening the finished piece.
Brad Nailer Safety Tips
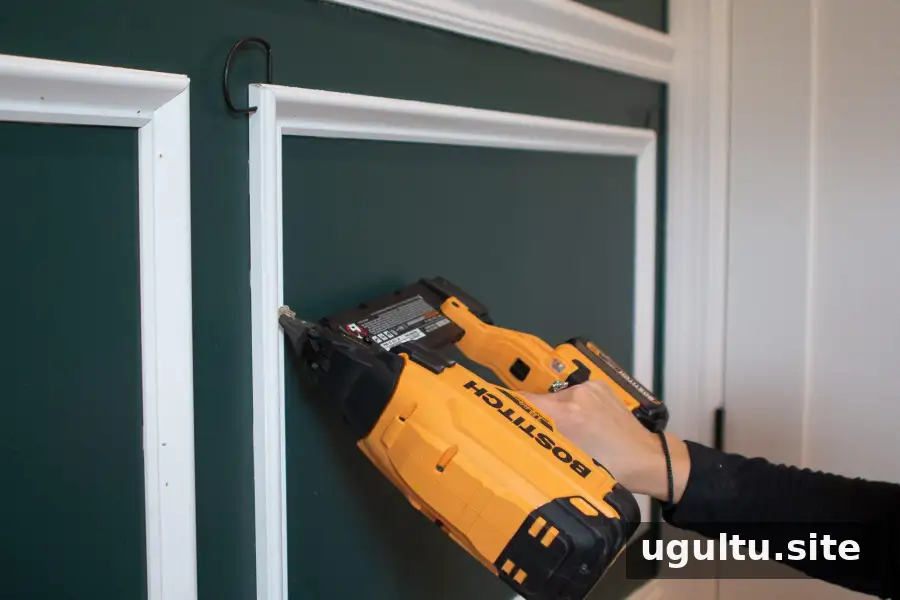
A brad nailer is a powerful tool. Use these precautions each time you work:
- Wear safety glasses while operating the nailer.
- Disconnect the power before loading nails, clearing a jam, or making adjustments near the tool’s nose.
- Keep your finger off the trigger until you are ready to fire.
- Keep your free hand away from the nail path. A nail can bend or emerge from the side of the wood.
- Never point the nailer at yourself or another person. Treat it as a loaded tool whenever it is powered.
- Follow the manufacturer’s instructions for operation, maintenance, and jam removal.
The safety tip is an additional safeguard, not a substitute for careful handling. Keep the tool pointed away from people and ensure your hands are clear before firing.
Is a Brad Nailer Useful for DIY Projects?
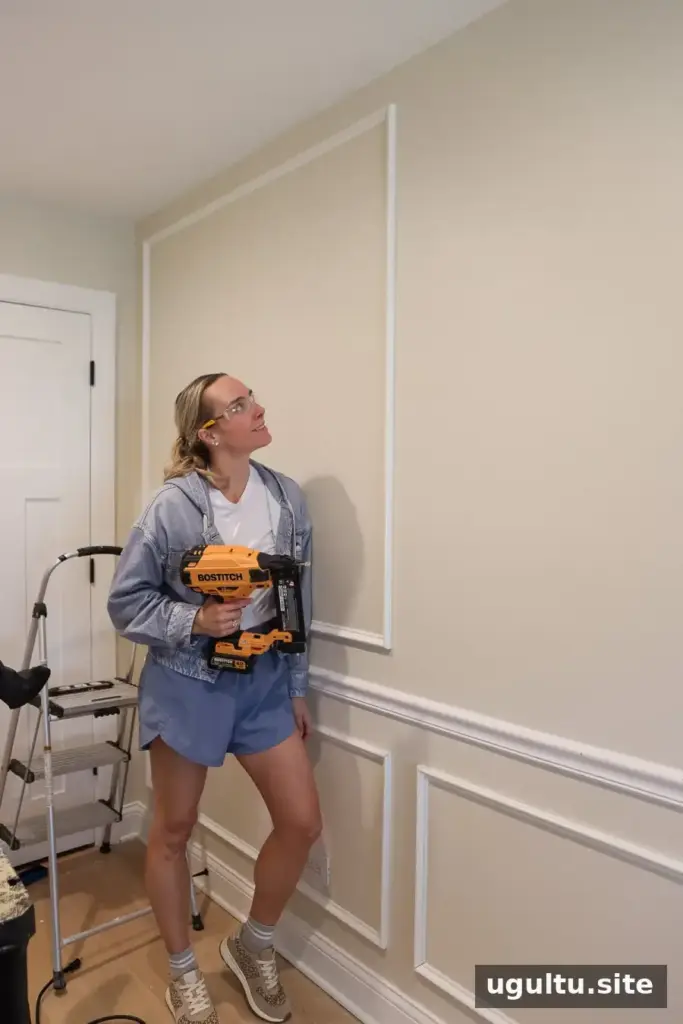
A brad nailer can be a helpful addition for projects such as picture frame molding, chair rail, and lightweight trim. It is not necessary for every DIY task, and the right fastener depends on the materials and the strength the finished project needs.
To learn how to use a brad nailer confidently, start with compatible nails, practice on scrap wood, and check the depth before moving to your project. Careful setup and safe handling help you achieve a cleaner result.