
 admin
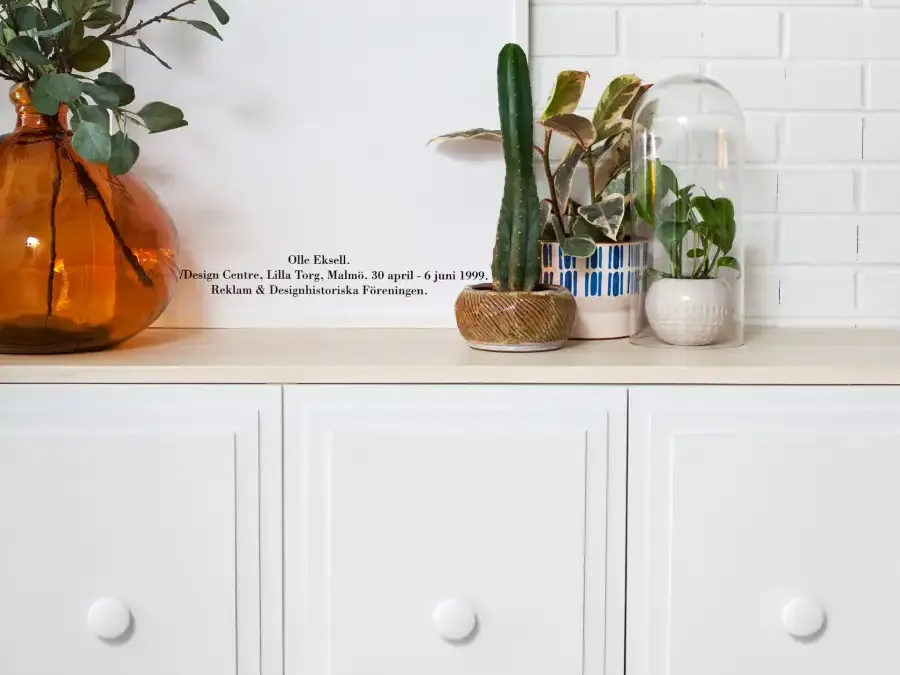
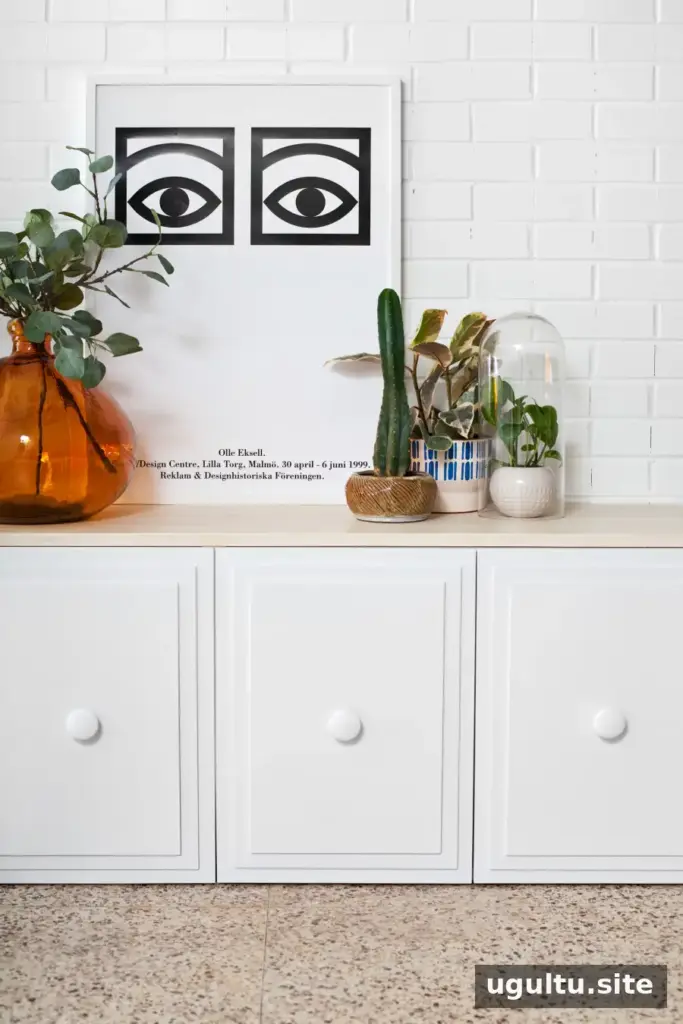
An IKEA Sektion credenza makeover can turn simple cabinets into attractive, practical storage for a shared living room. In this project, plain white cabinets are updated with layered door panels, a wood countertop, paint, and new knobs to create a modern Hollywood Regency look. The finished unit keeps toys out of sight while offering a flexible piece of furniture that can suit other rooms later.
Using modular cabinets makes it easier to choose a credenza size that fits the available space. A few carefully planned finish choices—such as paint color, hardware, and countertop treatment—can also help the cabinet coordinate with existing furniture and decor.
IKEA Sektion Credenza Makeover: Materials and Tools
The project starts with a row of IKEA Sektion upper cabinets and an economical door option. The cabinet size depends on the room and storage needs; combine cabinet widths to create the overall length you want.
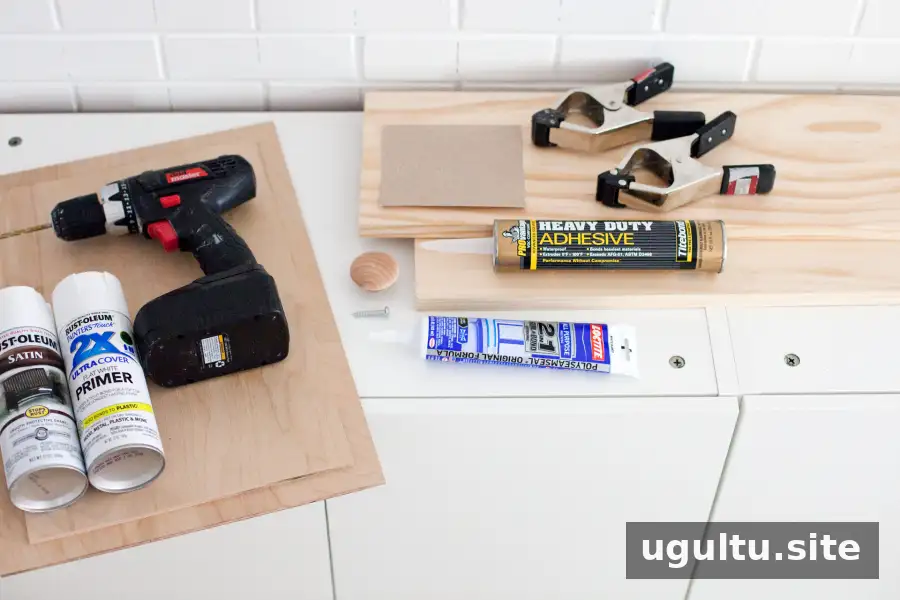
Materials
- 1/4-inch plywood cut into rectangles
- Two 1×8 boards cut to the total length of the cabinet; clear pine was used for this project
- Cabinet knobs with screws
- Construction adhesive
- Paintable caulk, optional for filling gaps
- 120-grit sandpaper
- 400-grit wet/dry sandpaper
- 0000-grade steel wool for polyurethane-finished pieces
- Paint and primer for the cabinet doors
- Stain and sealant for the countertop; diluted white paint and satin polyurethane were used here
Tools
- Power drill
- Caulk gun
- Sanding block
- Spring clamps or heavy weights
Measure and Cut the Door Panels
The amount of plywood needed depends on the number and size of the cabinet doors. A standard sheet measures 48 × 96 inches. Allow for the saw blade’s 1/8-inch kerf when planning cuts. The grain direction does not matter for painted panels, but consider the grain if you plan to stain them.
Cut two rectangles for each door: one that is 2 inches smaller than the door dimensions (W-2 inches × L-2 inches), and another that is 4 inches smaller (W-4 inches × L-4 inches). These layered pieces create the raised, framed appearance. Check every measurement before cutting, and arrange the pieces on the sheet first to reduce waste.
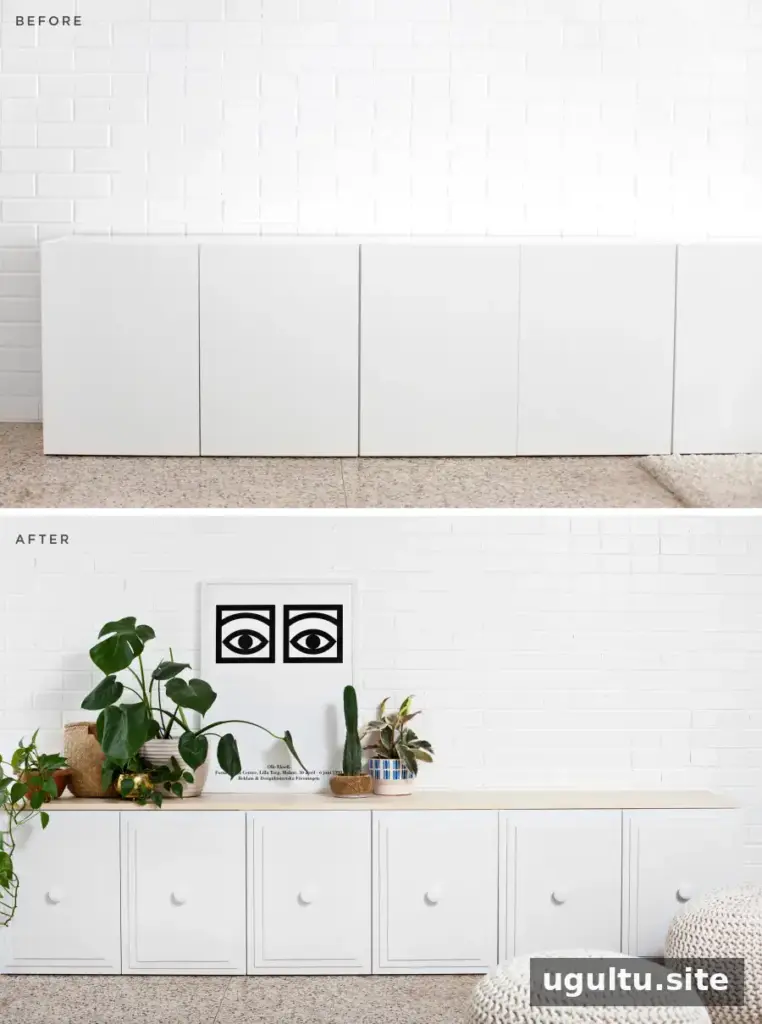
The understated paint and hardware give the finished cabinet a polished look without requiring a dramatic color change. The design can be adapted with different knobs, paint colors, or countertop finishes to better suit the room.
How to Build the Credenza
Step 1: Attach the plywood panels
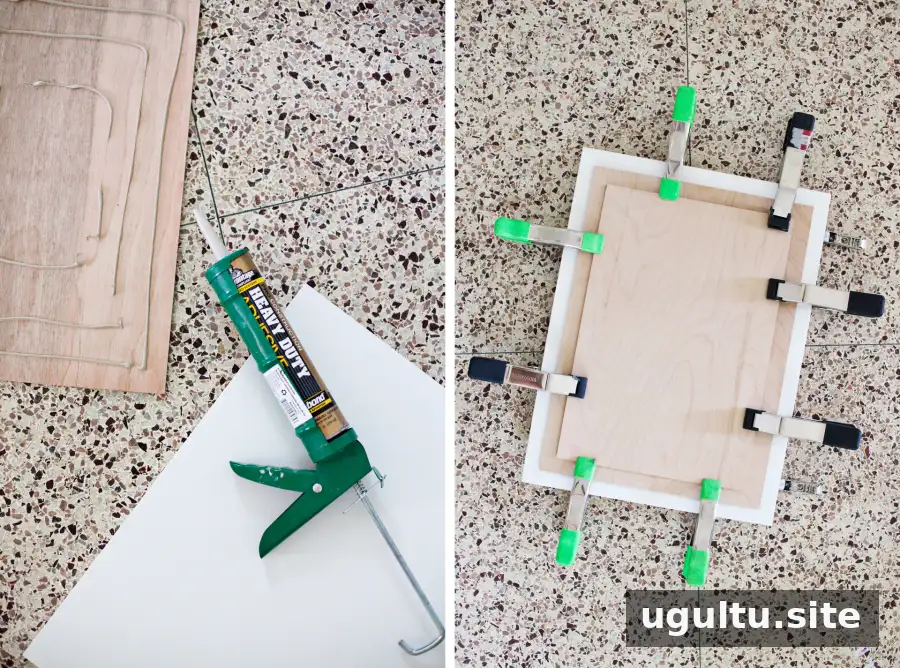
Apply construction adhesive to the backs of the plywood rectangles and position them in the center of each cabinet door. Measure carefully, or use 1-inch scrap pieces around the edges as spacers to help center the panels evenly.
Press across the full surface so the adhesive spreads between the layers, then clamp around the panel edges or place suitable weights on top. Leave the clamps in place until the adhesive has fully set, following the product’s directions. Working on several doors at once may require enough clamps or weights for each one.
Step 2: Sand and fill any gaps
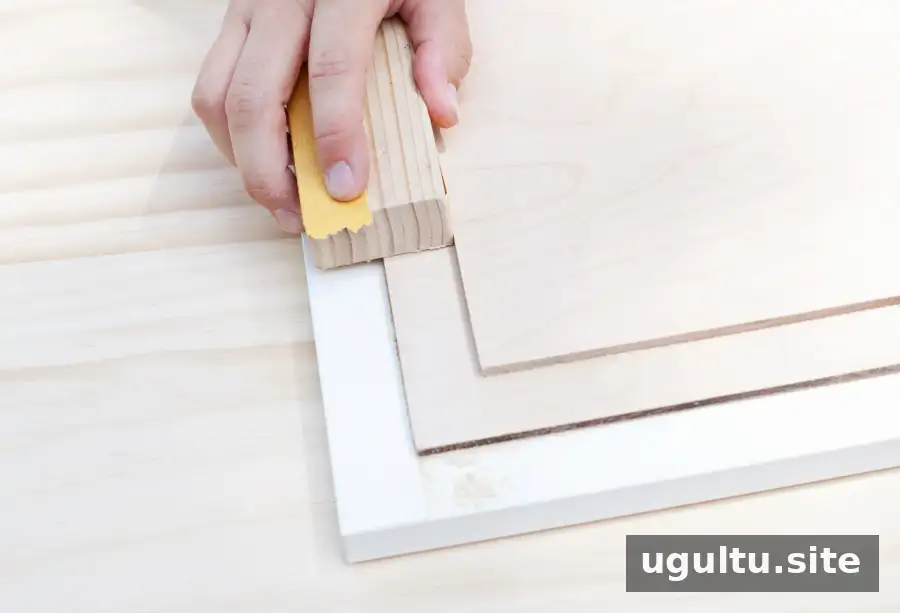
Once the adhesive has cured, use a sanding block to smooth the edges and surfaces of each panel, including the factory-finished door. Lightly round sharp corners and remove splinters or chips. A hand sanding block offers better control here than a powerful orbital sander.
If the plywood edges do not sit flush against the doors, apply paintable caulk to any visible gaps and let it cure before priming or painting. Sanding and filling at this stage helps create a more even finish.
Step 3: Finish the doors and countertop
Prime and paint the doors, or stain and seal them if you prefer a visible wood finish. For the countertop, edge-glue the two 1×8 boards, then sand the top and sides. A diluted white paint wash followed by several coats of satin polyurethane creates a light finish. After the first and final polyurethane coats, lightly buff the surface with 0000-grade steel wool.
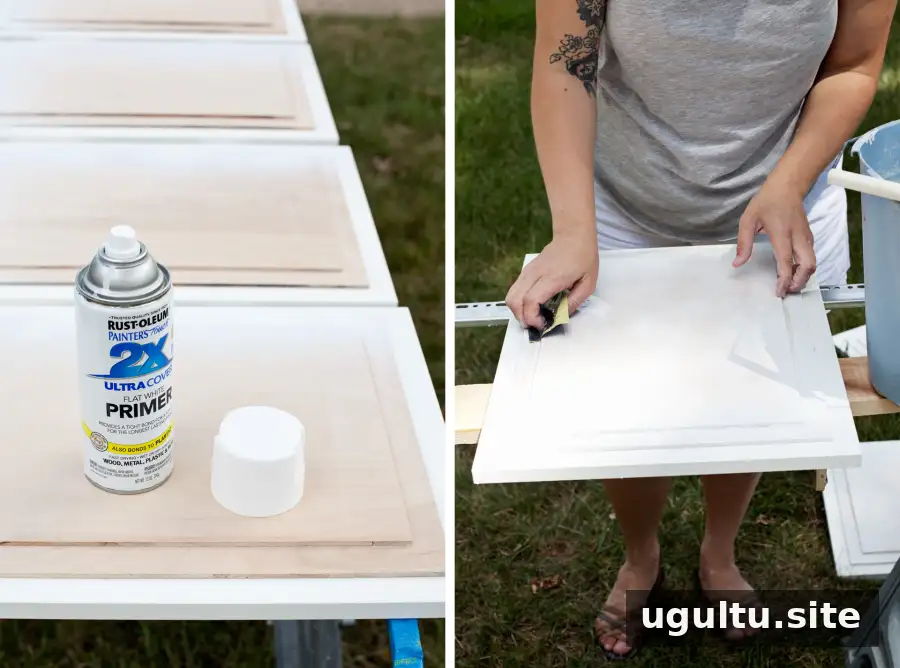
For painted doors, apply two coats of primer and wet-sand the primed surfaces and crevices with 400-grit wet/dry sandpaper. Wet sanding means using water to lubricate the sandpaper while smoothing the surface. Apply another coat or two of primer where needed, lightly wet-sand again, and then apply two coats of satin-finish paint. Allow each product to dry or cure as directed. Unfinished wood knobs can be primed, wet-sanded, and painted to match.
Step 4: Install the knobs
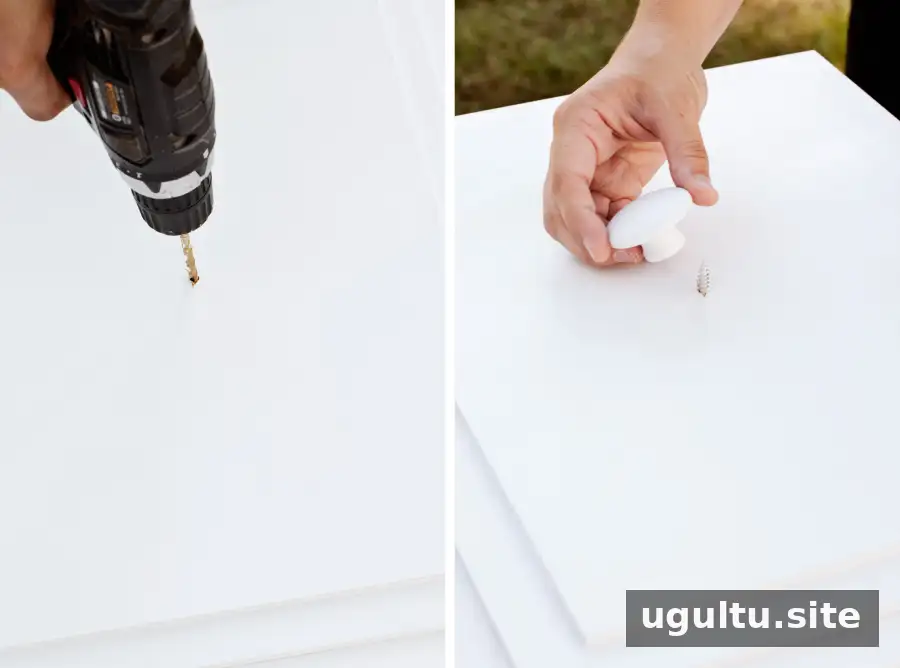
Let the paint cure before drilling. Mark the center of each door from its back side and drill the knob hole. Measuring from the flat back of the door helps keep the hardware aligned even if a decorative panel is slightly off-center.
Check whether the screw heads will sit flush inside the doors. If a screw head protrudes, it may interfere with items stored inside or prevent the door from closing fully. Countersinking the holes, where appropriate for the hardware, can prevent this issue. Reattach the knobs and return the doors to the cabinet.
Set Up and Use the Finished Credenza
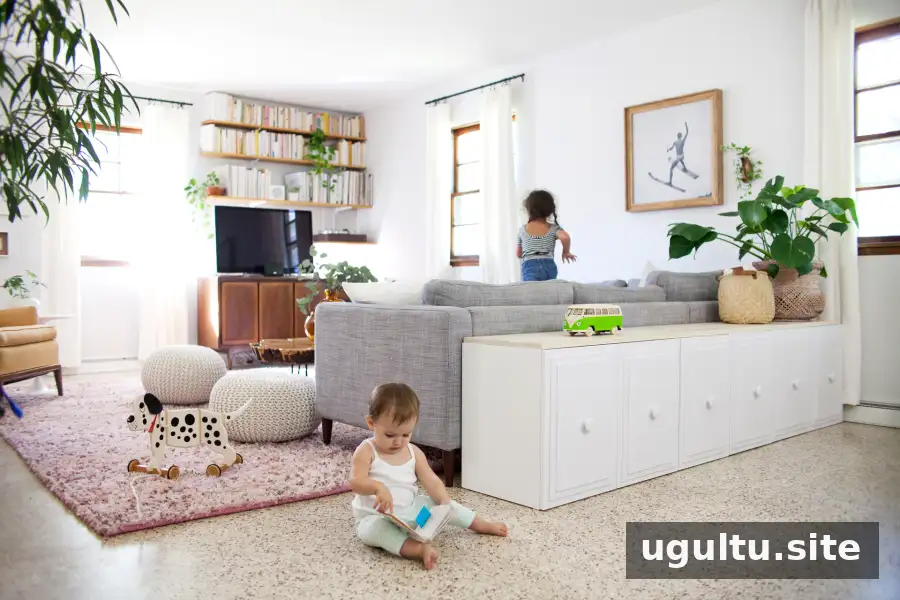
This cabinet was used for toy storage, so legs were left off to avoid creating a hard-to-reach gap where small toys and dust could collect. The cabinets can be connected together, and legs may be added if the intended use and room layout call for them. Thick felt pads beneath the cabinet corners provide a little clearance and help keep the doors from scraping the floor.
The cabinets were left unbolted to make future reconfiguration easier. Before using a cabinet arrangement, make sure it is stable and follow the manufacturer’s instructions for securing furniture, especially in homes with children. Keep the intended storage load within the cabinet’s limits.
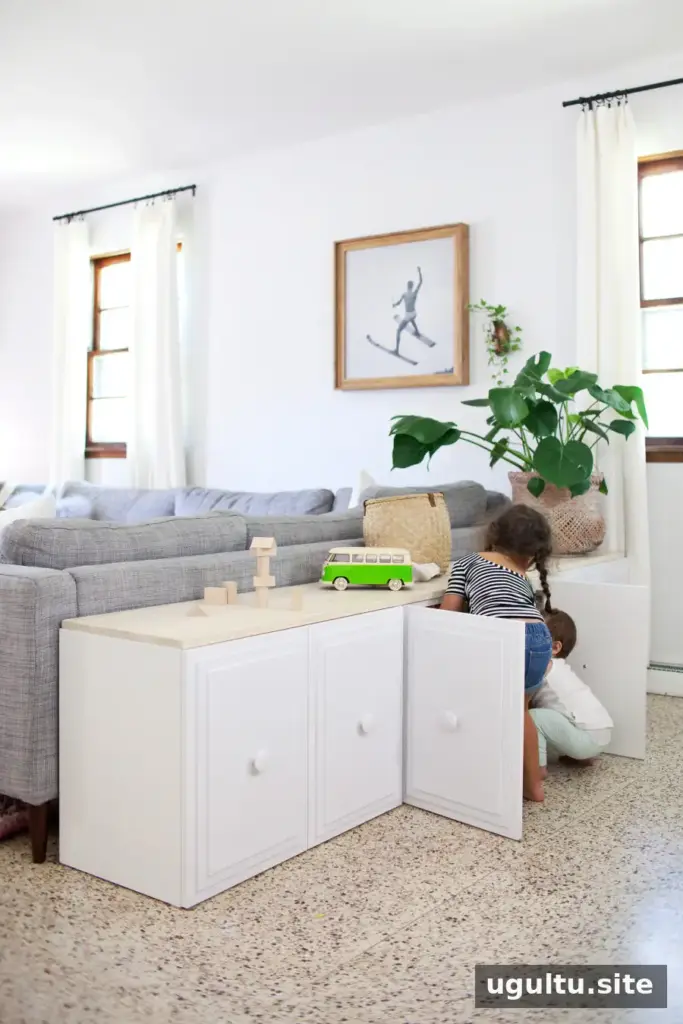
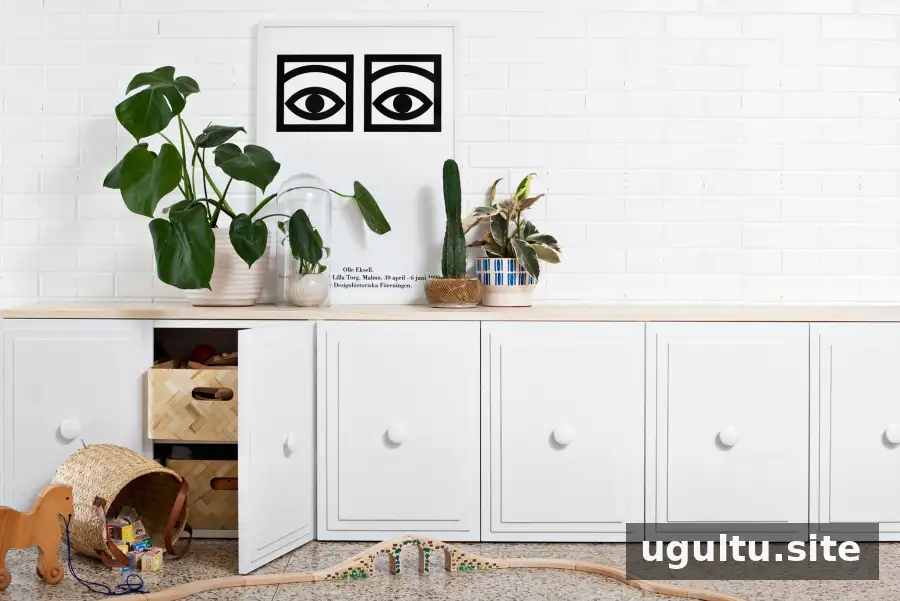
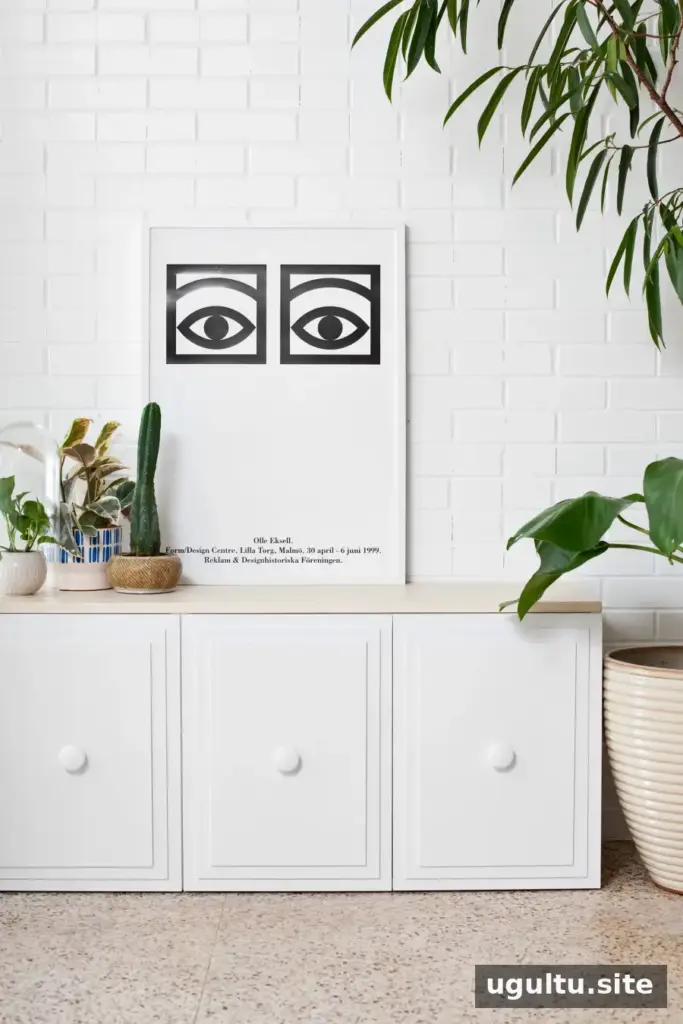
With toys concealed behind doors, the living room can feel less cluttered while still keeping family storage close at hand. Closed cabinets may also make it easier to manage how many toys are accessible at one time. The same paneling and finish approach can be adapted for other cabinet projects by adjusting the dimensions and materials to suit the furniture.
—Mandi


